
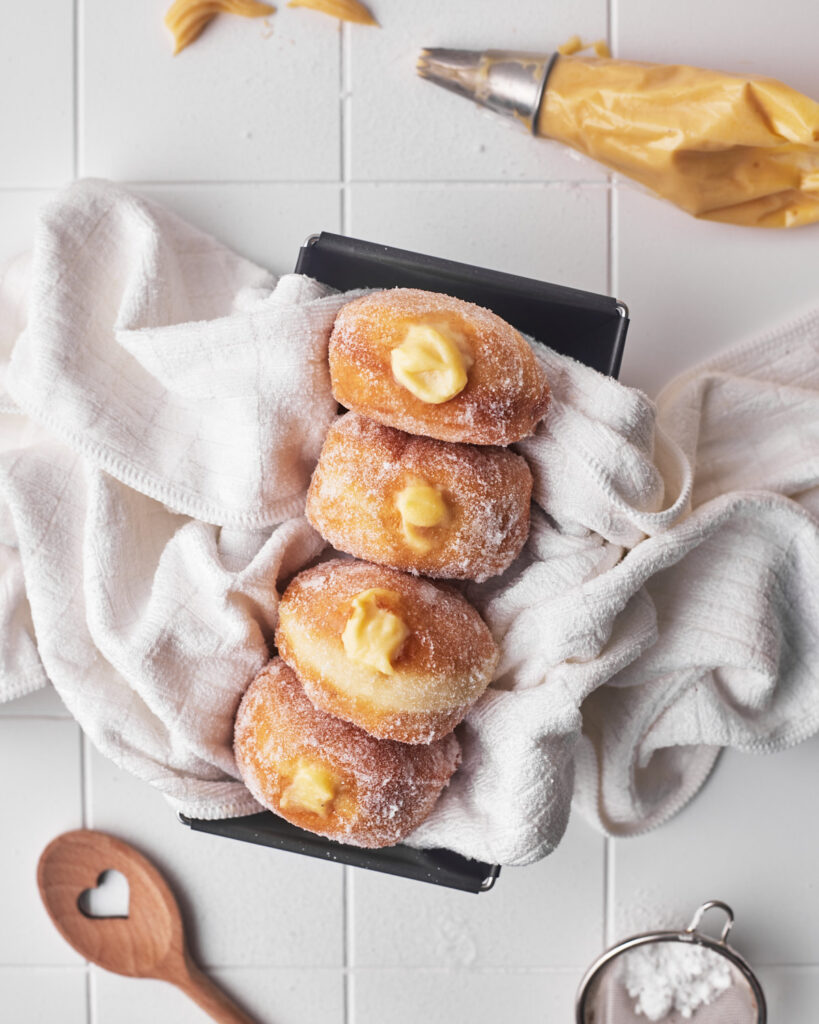
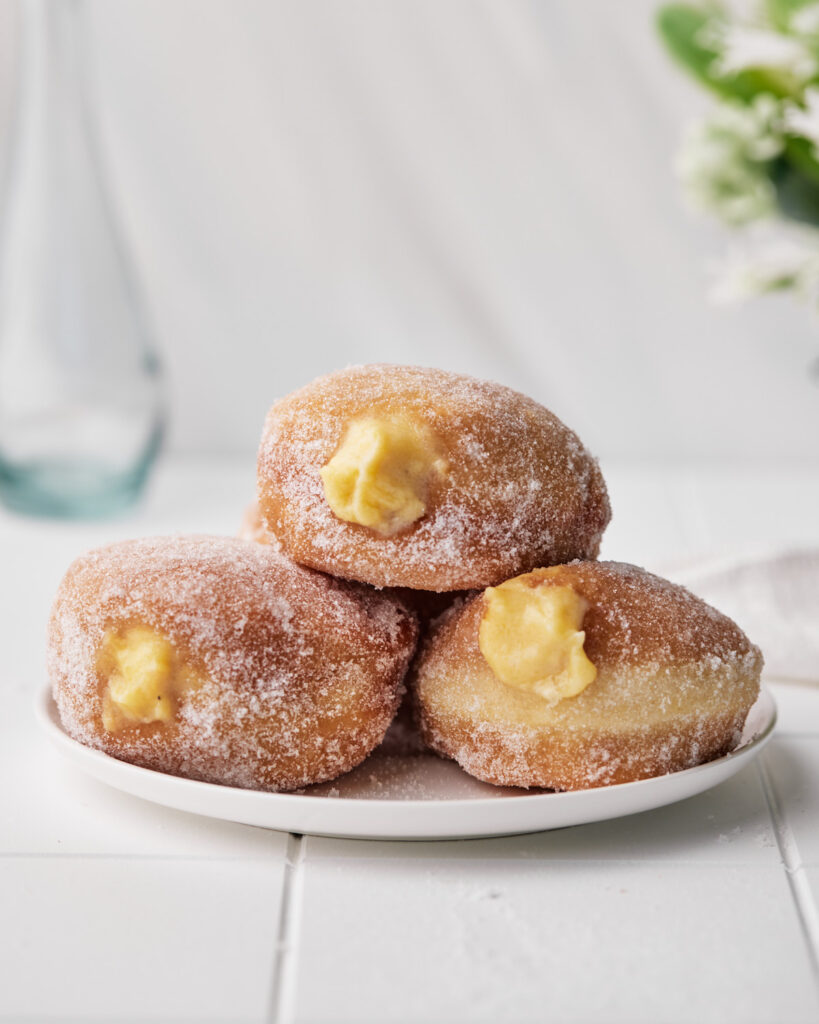
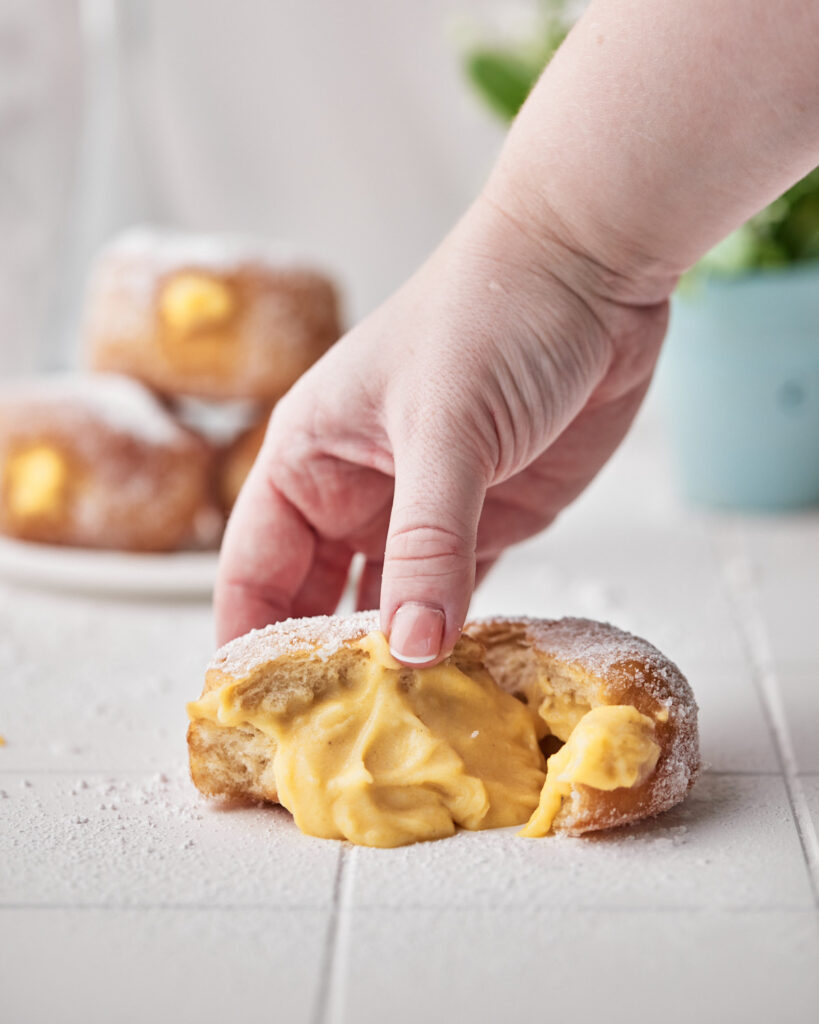
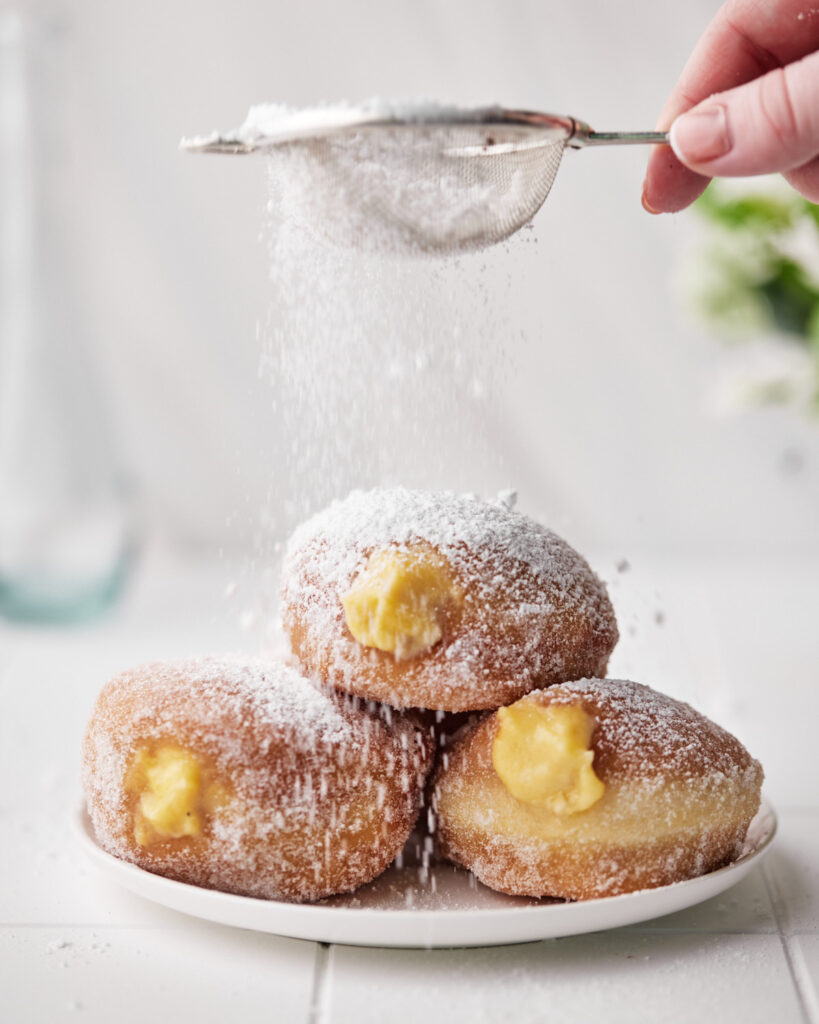
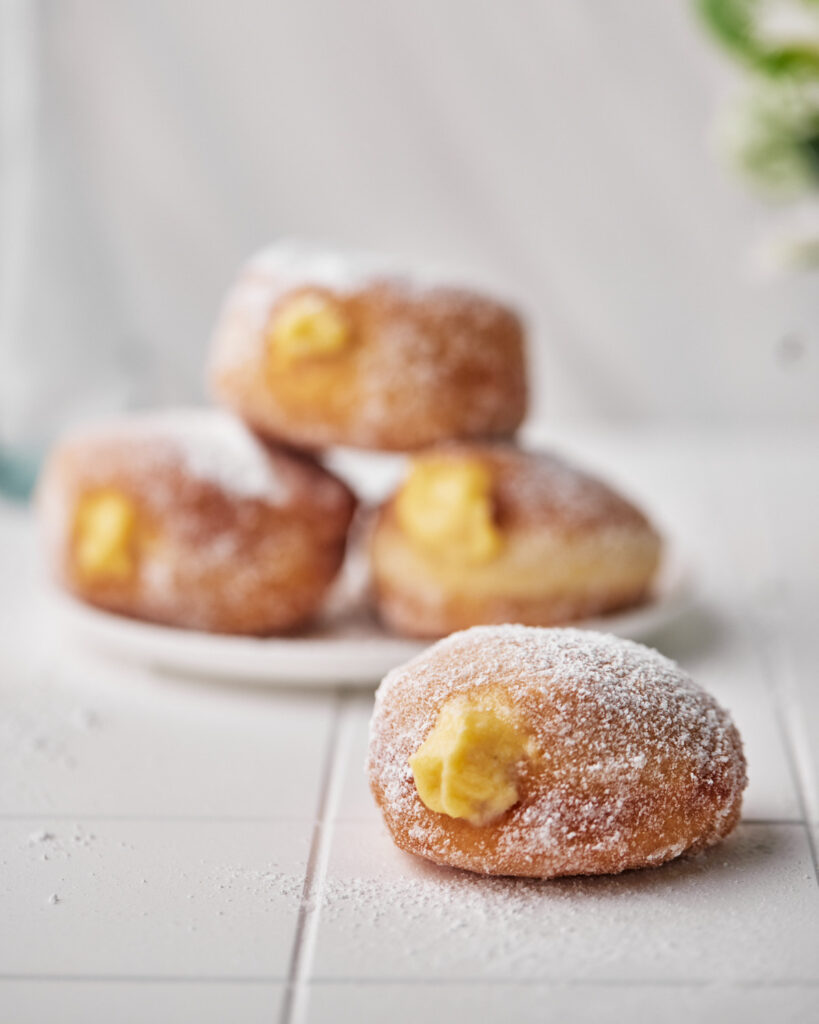
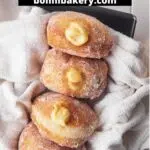
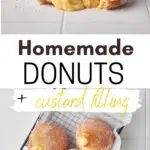
Custard Donuts - fresh, fried donuts filled with homemade pastry cream and rolled in sugar.
Nothing beats a freshly made fried donut. Except maybe one that is bursting with a silky, creamy custard filling! I'm a big fan of trying all kinds of donut-making methods, like my Baked Pumpkin Spice Donuts, but sometimes you really just want the flavor and texture of a fried donut, and these babies do not disappoint.
I avoided making fried homemade doughnuts for years because I was intimidated by the idea of deep frying, or I thought you had to have a deep-fat fryer to do it properly. But once I tried it for the first time I honestly couldn't believe how easy it was and I wondered why I hadn't been doing it all this time!
Granted, the process of making a yeasted dough takes a little time as you have to wait for it to prove, but the steps themselves are actually very simple and easy to follow. So let's dive in and get frying these custard doughnuts!
Jump to:
Ingredients
The yeast donuts and pastry cream filling use a lot of the same ingredients.
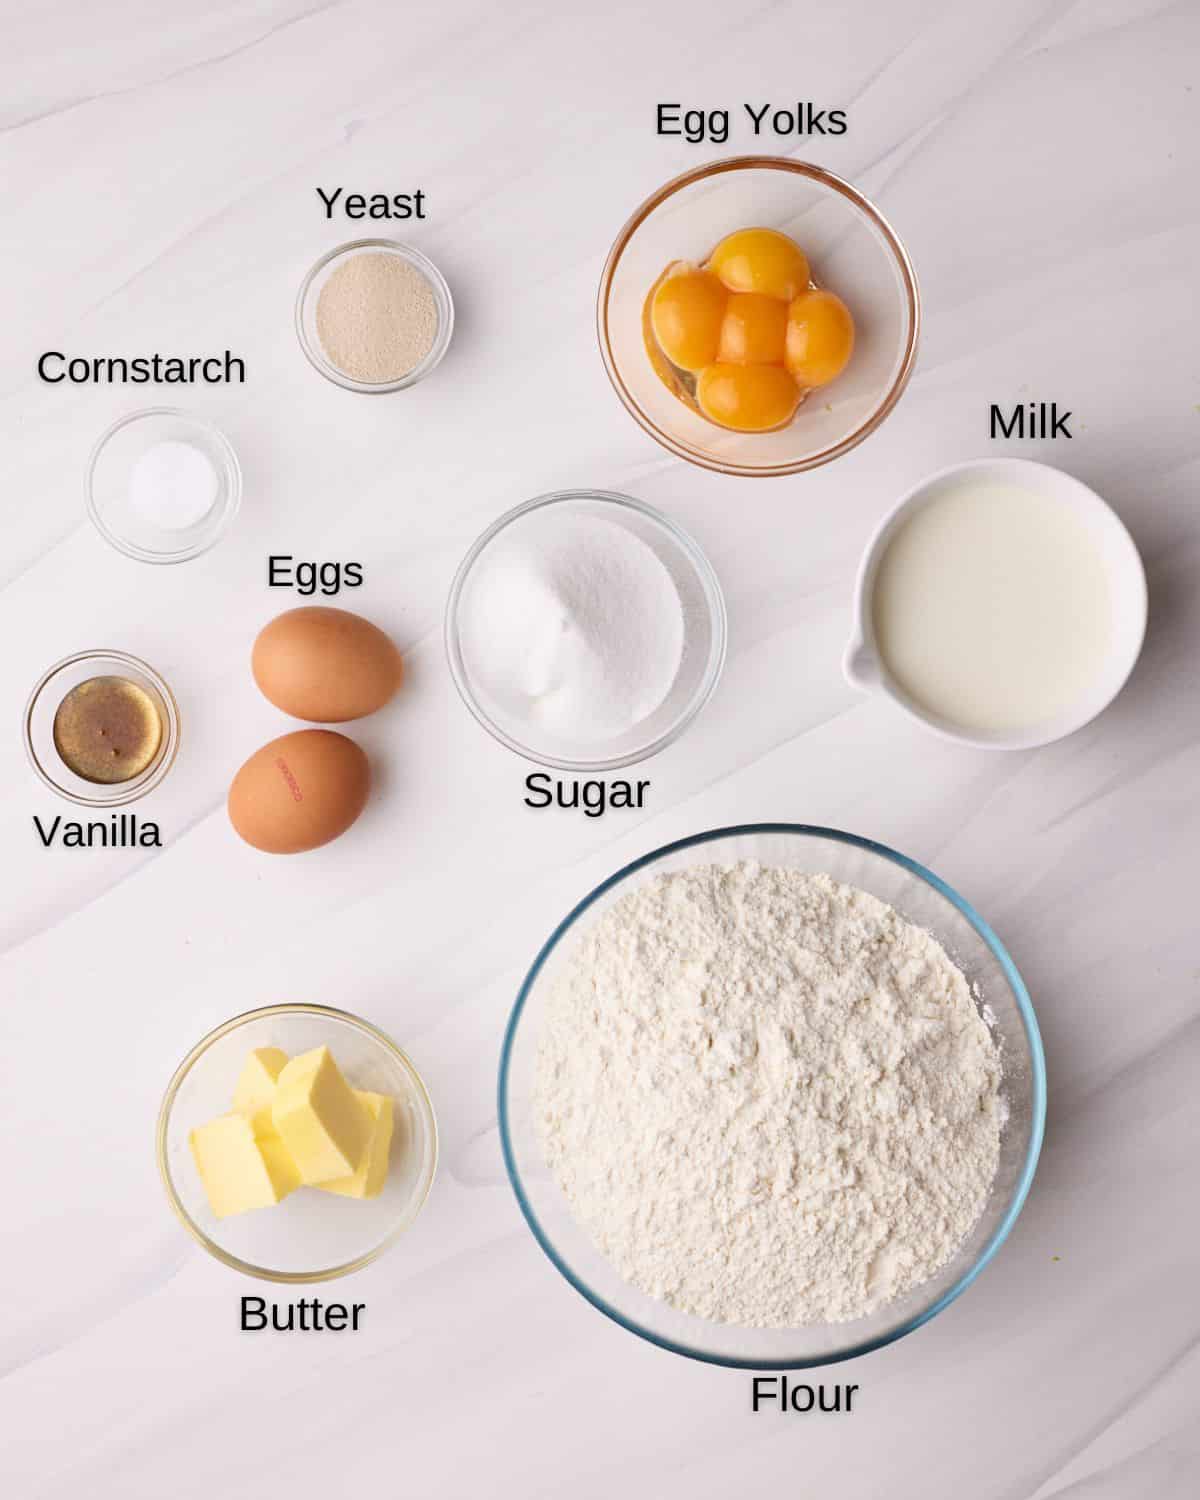
- Eggs - We'll use whole eggs in the donut dough and egg yolks for the custard. You can keep the egg whites to use in another recipe, like my Pecan Pavlova. Use large eggs and always free-range if you can.
- Sugar - Use white granulated sugar (caster sugar in the UK) for both the dough and for rolling the donuts in after frying.
- Milk - I often say you can use whatever milk you have for recipes, but for these custard donuts, that is not the case! You definitely need to use whole milk to make a nice, creamy custard.
- Flour - All-purpose flour (plain flour) provides the perfect strength and structure for our yeast donuts, and we also use a small amount to help thicken the custard.
- Corn starch - Another thickening agent for the custard - also known as cornflour in the UK
- Vanilla - The vanilla flavor will really shine through in the custard, so try to use a high-quality vanilla extract or vanilla bean paste, or even a whole vanilla pod if you have one. Try to avoid vanilla essence.
- Butter - The butter enriches the donut dough, but we will also add some butter to the custard after it's cooked to add richness and flavor. It's best to use unsalted butter so you can control the amount of salt in the recipe.
- Active Dry Yeast - You can use active dry yeast or instant yeast for this donut recipe. If using instant yeast you can add it straight to your bowl, no need to activate it in warm milk first.
- Oil for Frying - I used vegetable oil, but you can also use canola oil, sunflower oil or any other kind of commonly used frying oil. You need enough to fill at least 2 inches of vegetable oil (or whatever oil you are using) in your pot.
See recipe card for quantities.
How to Make the Custard
It's best to make the filling for these pastry cream-filled doughnuts in advance as it needs time to cool. Make the vanilla pastry cream at least 2 hours in advance, but it's even better if left overnight so the vanilla flavor can develop further.
I do have a whole post about how to make custard (pastry cream) if you'd like more detailed information, but here is a rundown of the steps:
- Put egg yolks into a bowl along with two tablespoons of the total sugar amount. Whisk together with the flour and cornstarch. Set aside.
- Heat the milk, vanilla and remaining sugar in a medium saucepan over medium-low heat until it starts to warm up.
- Pour a little warm milk mixture into your egg mixture and whisk until combined, slowly add more and more milk into the egg yolk mixture, stirring the whole time, until all the milk has been added. This is called 'tempering' the eggs, it means slowly warming the eggs up so they get to the right temperature without scrambling. Once all the milk is added, pour everything back into the saucepan.
- Continue to heat the custard slowly until it begins to thicken. Make sure you are whisking constantly the entire time to avoid getting burnt or lumpy custard.
- After a few minutes, you will notice thick bubbles start to burst on the surface of the custard, let it boil like this for about a minute (while still whisking).
- After a minute the custard should be thick and glossy. It should be able to coat the back of a wooden spoon and you should be able to draw a line in the custard on the spoon without it filling back in.
- Remove from the heat and pass the custard through a fine sieve into another bowl to remove any lumps that may have formed.
- Add the butter in small pieces, stirring in between until it is all incorporated.
- Cover the custard with plastic wrap (cling film), making sure the plastic touches the surface of the custard to prevent a skin from forming.
- Let cool completely at room temperature before using. If you are leaving it to cool for more than a couple of hours, transfer it to the fridge once it has cooled to room temp.
How to Make Yeast Donuts
Yeast doughnuts might seem intimidating, but the process is actually pretty straightforward.
Wet Ingredients
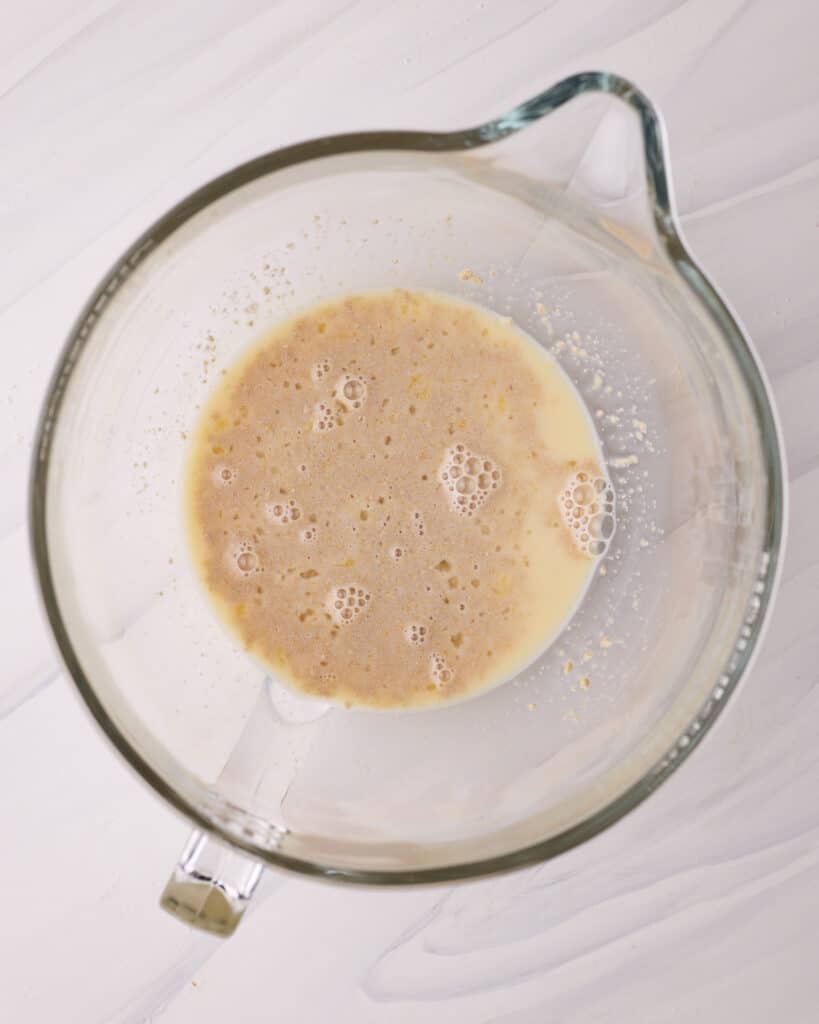
Warm the milk in the microwave until it is body temperature, then stir in 1 tablespoon of sugar and all of the yeast. Let sit for 5-10 minutes until it becomes frothy. Melt the butter in the microwave and set aside to cool.
Put the remaining sugar into the bowl of a stand mixer along with the eggs and salt. Once the yeast has activated, add the milk/yeast mixture to the bowl and mix everything together until combined.
Knead
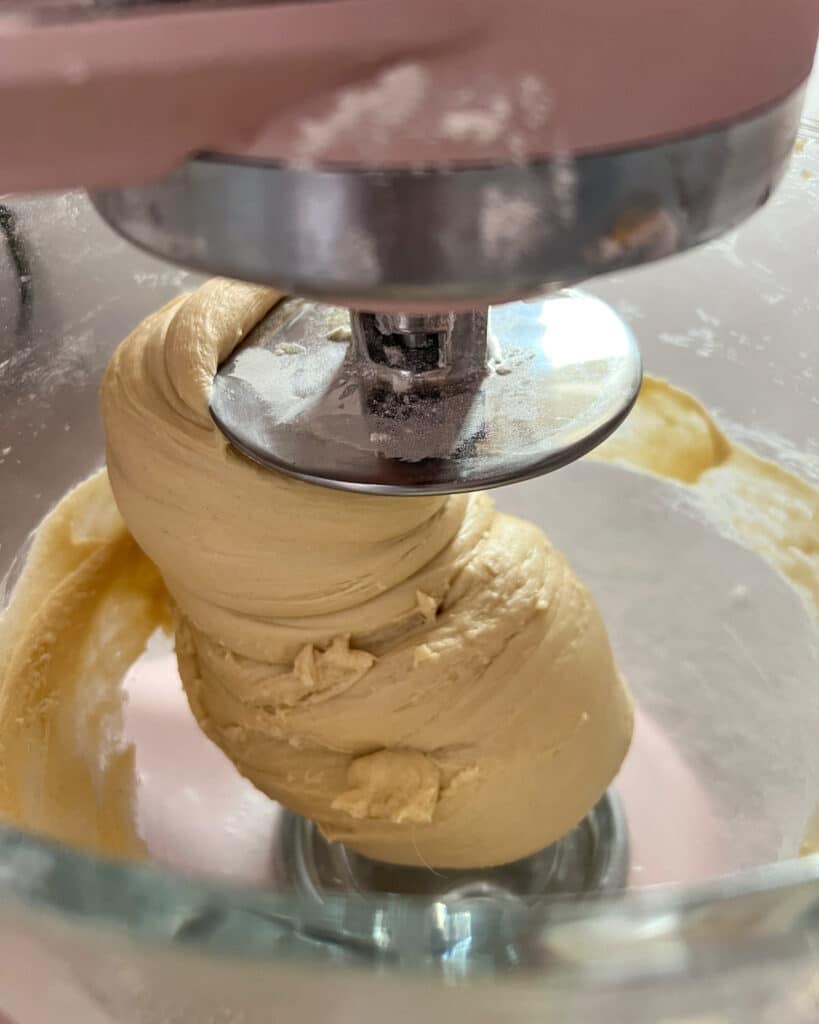
Add the flour to the bowl and turn the mixer on low speed with a dough hook attachment. Let it mix for a minute until everything comes together a bit, then slowly drizzle in the melted butter.
Turn the mixer up to high speed and let it mix for 3-5 minutes or until the dough is no longer sticking to the sides of the bowl. If the dough seems too sticky, add another tablespoon of flour and mix a little longer.
Proof
After 3 minutes, tip the dough out onto a lightly floured surface and knead it by hand until it is smooth and can form into a ball without sticking to your hands.
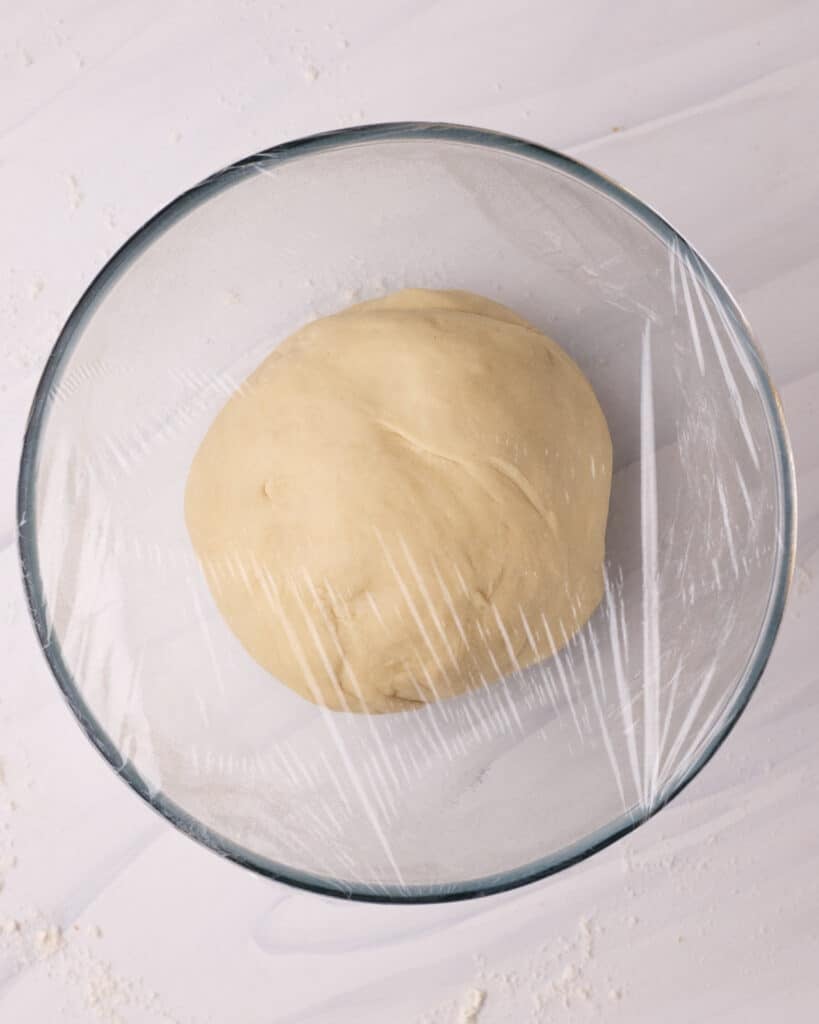
Form it into a ball and place it into a large bowl that has been greased. Cover with plastic wrap and leave on the counter to proof until it doubles in size (1-2 hours depending on the temperature of the room).
How to know when the dough is done proofing
You can check if the donut dough is ready by pressing on it slightly with your finger. If the indent disappears immediately it needs longer.
When it is perfectly proofed the indent should come back slowly and will still be slightly visible.
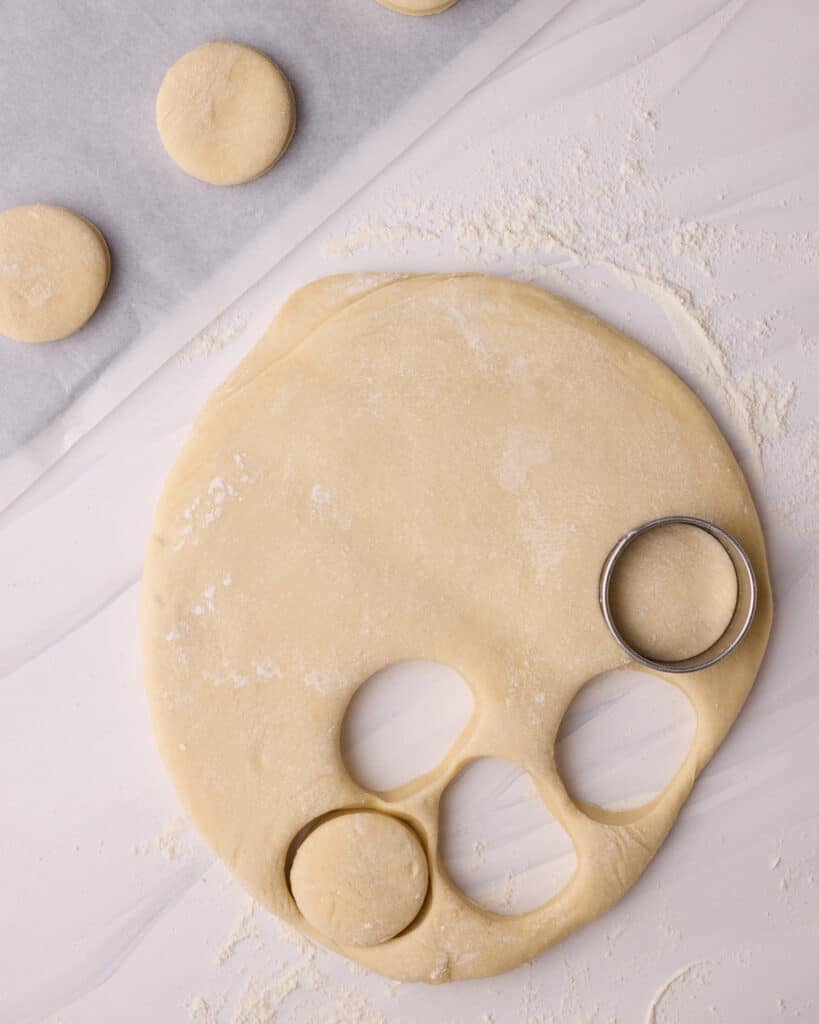
Cut the Donuts Out
Once the dough is ready, punch it down to release excess air then tip it onto a floured work surface. Roll it out to about ½ inch thick and use a 21/2 - 3-inch cookie cutter to cut rounds out of the dough. Place them on a lined sheet pan, with a little room between them.
You can roll out the scraps to cut again, but only once.
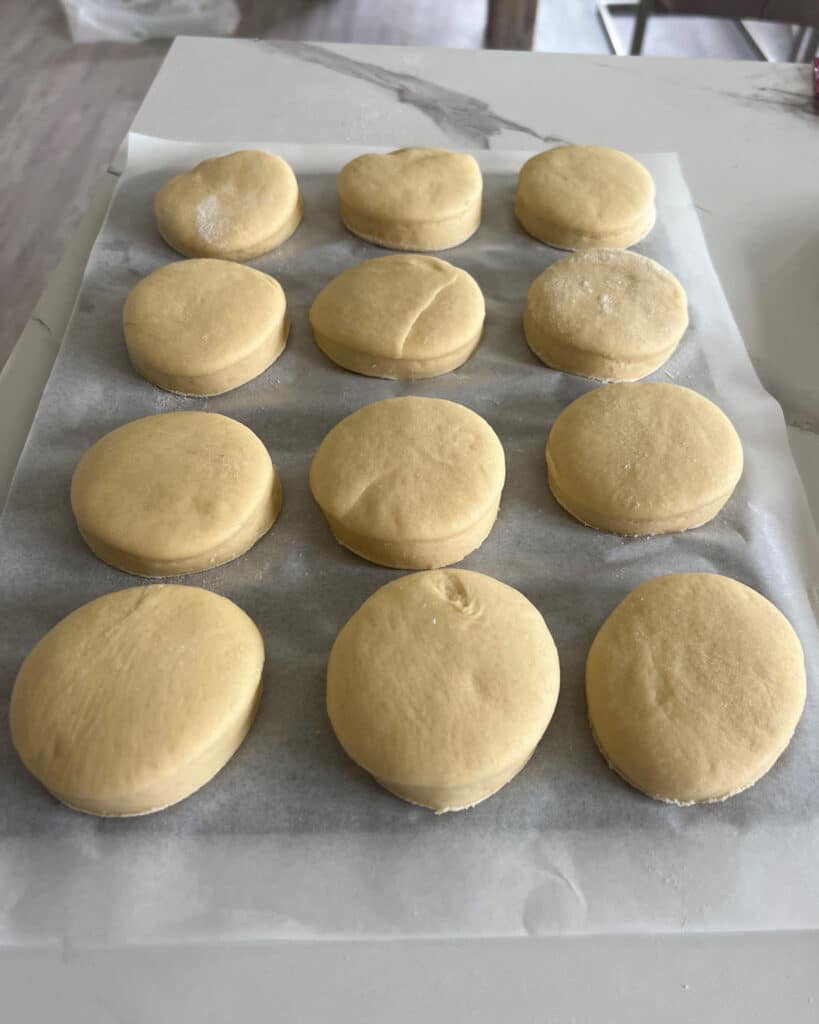
Cover the donuts with a kitchen towel or loose plastic wrap and leave them in a warm place to proof for about 45 minutes.
Prepare the Oil
In the last 10 minutes of the proof, you can start to prepare your frying oil. Pour at least 2 inches of oil into a deep saucepan and heat to about 350°F / 180°C. I find it's best to put the oil on medium heat and then turn it up and down accordingly to keep it at a steady temperature.
If you don't have a candy thermometer, put the end of a wooden spoon into the hot oil to test it, there should be a light fizz of bubbles around the spoon. If there are no bubbles it's not hot enough, if it's a raging fizz then it is too hot.
For best results, try to keep the oil between 325° and 350°. Any hotter and the outside may brown faster than the inside can cook.
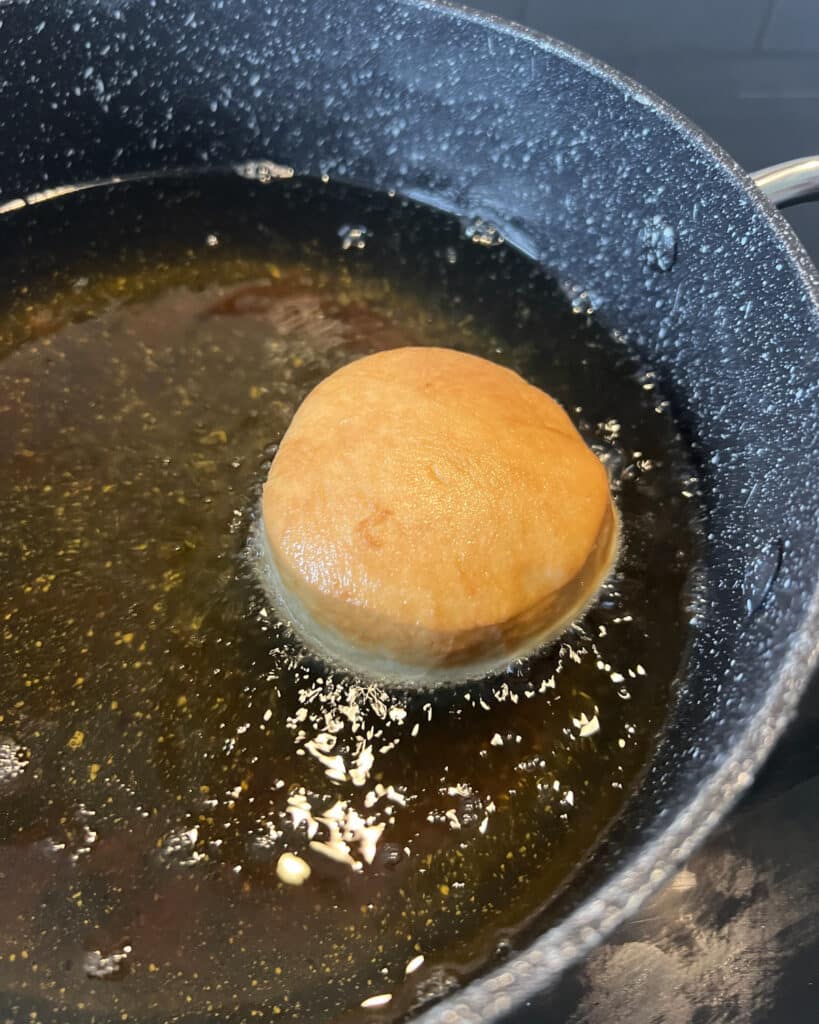
Fry the Donuts
Gently place your donuts into the oil, they should start bubbling at the sides. I like to do only 2 or 3 at a time, depending on the size of the saucepan. They fry super fast and this allows you to have more control.
Allow the donuts to bob around and fry for a minute or two, checking the underside from time to time. Once the underside looks lightly golden brown, flip the donut and fry the other side until the color matches.
As there are so many variables (oil temperature, donut size etc) it is impossible to give you an exact time to fry the donuts for - you really have to do it by eye and see when they look ready.
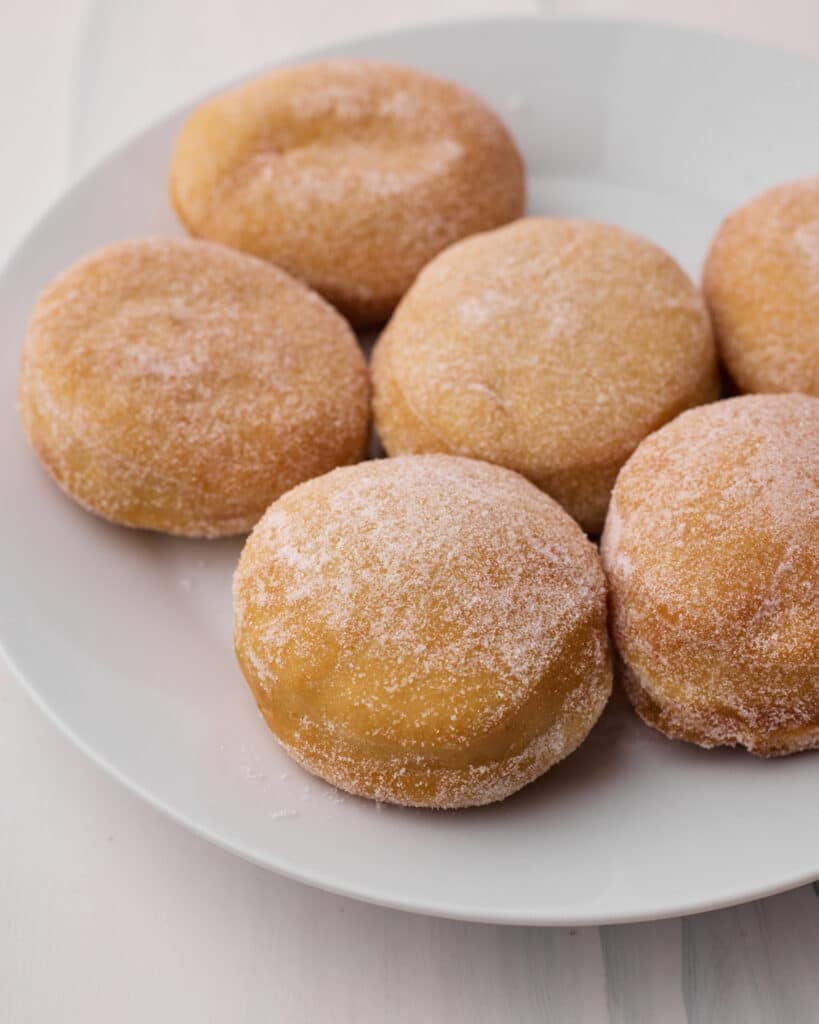
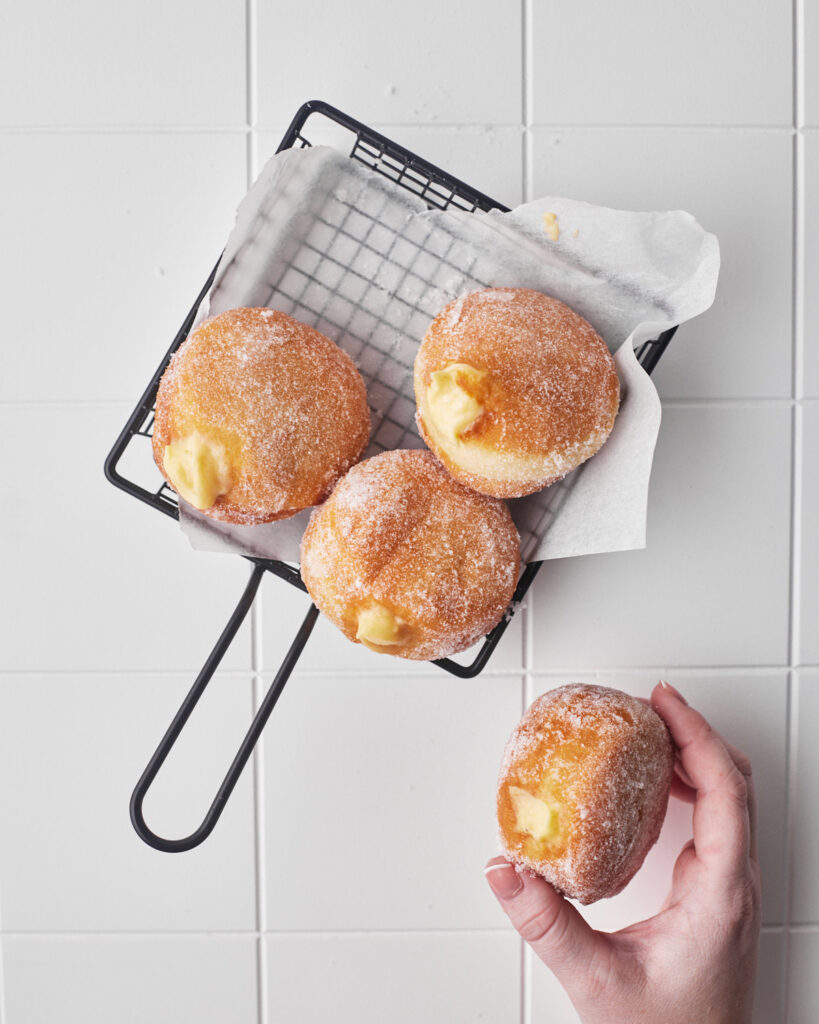
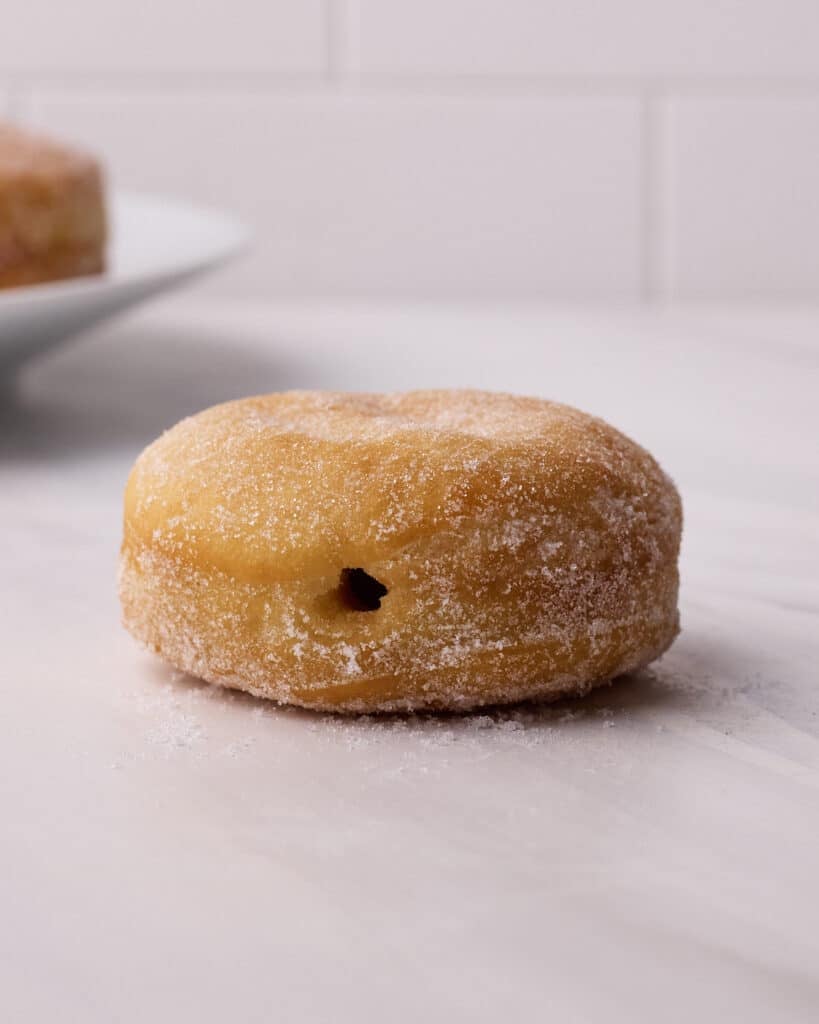
Coat in Sugar
Once both sides are done, scoop them out with a metal slotted spoon and lay them on a wire rack lined with paper towels to absorb excess oil.
Let them cool for a few minutes then roll in a small bowl of granulated sugar or powdered sugar to coat them entirely. Then let them cool completely before filling.
Top Tip: It can be helpful to cut the parchment paper under the proofed donuts into little squares to help you slip the donuts into the oil without getting finger dents in them.
Slide the parchment paper and donut onto a frying spoon or spatula (something that can withstand the heat of the oil - e.g. metal) and then slowly lower it into the oil while holding onto the corner of the parchment paper - the donut will slip off into the oil without any marks or dents!
It's an extra step and is not necessary - but it ensures better results!
How to Fill Custard Donuts
It couldn't be easier to put the custard filling inside these pastry cream-filled donuts!
Make a hole
Once donuts are completely cool, use a long thin object (like a metal straw or a chopstick) to poke a small hole in the side of each doughnut and move it around to create extra space for your custard - we want these bad boys to be FULL of custard, so you need to give it somewhere to go.
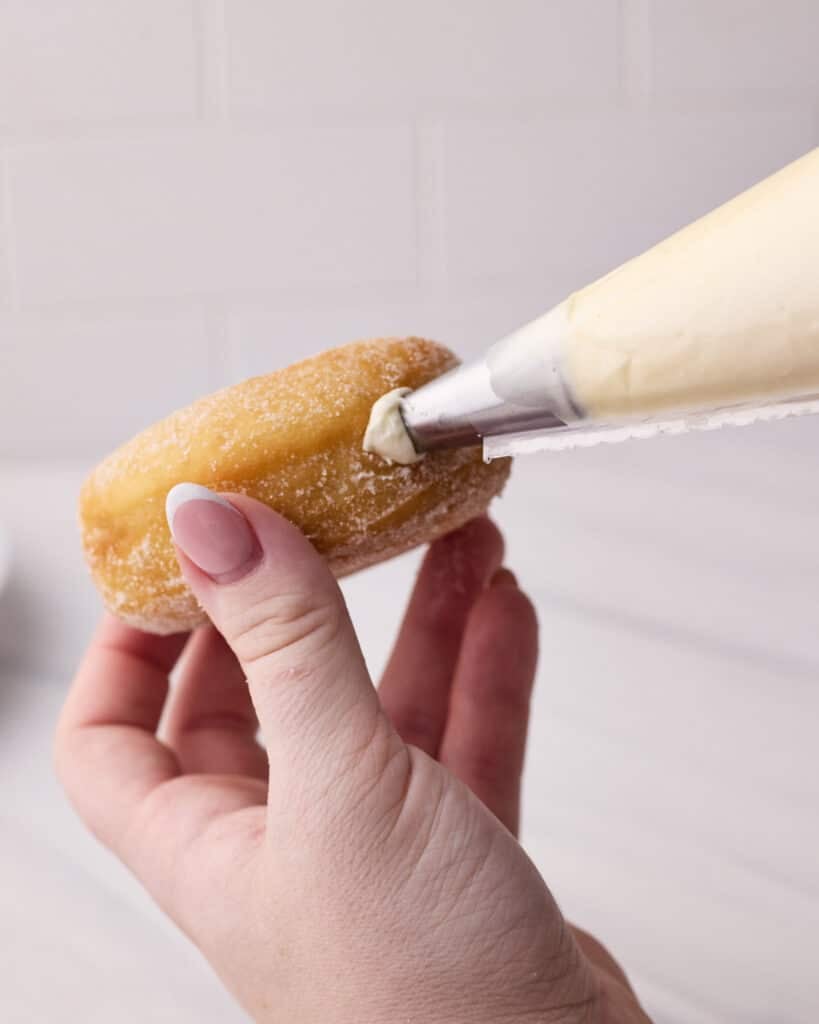
Fill with Custard
Put your custard in a piping bag with any kind of nozzle, then push the nozzle into the hole you created earlier and squeeze gently.
You will feel the donut start to feel heavy, which means it's full of delicious custard! Pull the nozzle slowly out of the donut, leaving a pretty little blob of custard on the outside to show the delicious custard filling.
Variations
This custard donut recipe is to die for, but it doesn't have to be custard that you fill your donuts with. If you'd like to make homemade donuts but don't want to make the custard, try some of these fillings instead. Or just eat them without a filling - also super delicious!
Jelly Donuts - Any kind of jam or jelly.
Nutella Donuts - Smooth chocolatey bliss.
Nut Butter - My favorite is my Sweet Pecan Butter recipe.
Pistachio Custard - In my opinion, one of the best flavors, make my Pistachio Pastry Cream recipe to fill these instead.
Bavarian Cream Donuts - With just one extra ingredient (heavy cream), you can also make my Bavarian cream donuts recipe.
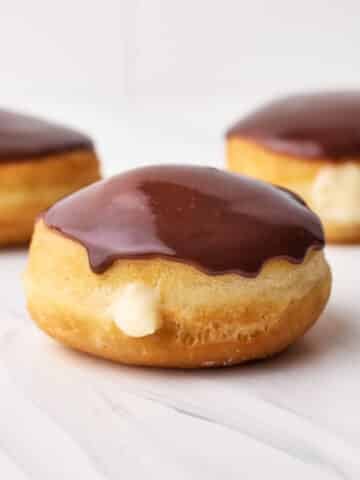
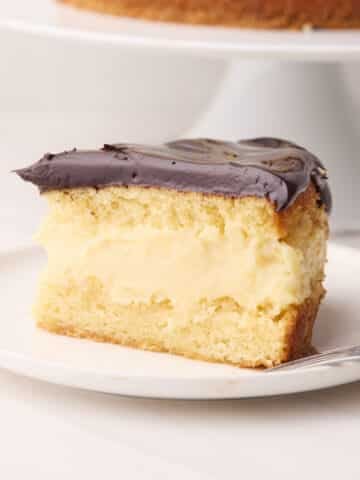
Boston Cream Donuts - Check out how to easily turn these into homemade Boston cream donuts.
Creme Brulee Donuts - If you love creme brulee, dip these donuts into a sugar caramel to make creme brulee donuts.
Equipment
Stand Mixer - You can technically make these by hand, but it takes a long time to knead the dough so I definitely prefer using a mixer.
Medium Saucepan - You'll need a medium saucepan to make the custard in.
Bowl Scraper - I love this tool for getting sticky dough out of my mixing bowl. It's also great for making sure you have every last drop of cake batter or frosting scraped from the bowl. Bowl scrapers are super cheap and simple but so effective!
Rubber Whisk - If you are using a non-stick saucepan, you'll want a rubber whisk so you don't scratch your pan with a metal one.
Deep Saucepan - It's best to use a deep saucepan for frying the oil so you don't get little spits of oil coming out of the top.
Slotted Frying Spoon - You want a heatproof tool to help you scoop the donuts out of the hot oil. I use this slotted frying spoon for all my deep frying.
Storage
As these donuts are freshly fried at home, they aren't stuffed with all the nasty preservatives that you get at the supermarket. This is great, but it does mean these donuts are really best enjoyed on the day of frying. They will still be safe to eat the next day, but they may not have the wonderful, squishy fried donut texture that you are looking for.
If you do decide to keep them, store them in an airtight container on top of paper towels.
Store any cream-filled donuts in the refrigerator, but if they are not yet filled with the pastry cream filling, they are best kept at room temperature.
More Custard Desserts
If you love these custard-filled donuts, you may enjoy some of these other custard recipes:
Recipe

Custard Donuts
Ingredients
- 600 ml (2½ cups) Whole Milk
- 30 g (2 tablespoon) Unsalted Butter
- 2 teaspoon Vanilla Extract
- 100 g (½ cup) Granulated Sugar (caster sugar in the UK)
- 5 Large Egg Yolks
- 30 g (¼ cup) Cornstarch
- 600 g (5 cups) All-purpose Flour (plain flour)
- 100 g (½ cup) Granulated Sugar (caster sugar) plus extra for coating
- 1 teaspoon Salt
- 14 g (1½ tablespoon) Active Dry Yeast (or instant yeast*)
- 240 ml (1 cup) Whole Milk
- 2 Large Eggs
- 75 g (⅔ stick) Unsalted Butter (melted)
- Oil for frying
Equipment
- Large saucepan or deep fat fryer
Instructions
- Make one batch of my custard recipe (pastry cream) in advance so it has time to cool before you make your donuts.600 ml (2½ cups) Whole Milk, 30 g (2 tablespoon) Unsalted Butter, 2 tsp Vanilla Extract, 5 Large Egg Yolks, 30 g (¼ cup) Cornstarch
- Warm the milk to lukewarm and add the yeast and one tablespoon of sugar. Stir and let it sit for 5-10 minutes, it should start to foam up. If you are using instant yeast, you can skip this step.14 g (1½ tablespoon) Active Dry Yeast, 240 ml (1 cup) Whole Milk, 100 g (½ cup) Granulated Sugar
- In the bowl of a stand mixer with a dough hook attachment, add the remaining sugar, eggs, and salt. Once the yeast has activated, add the milk/yeast mixture to this bowl and mix everything to combine.100 g (½ cup) Granulated Sugar, 2 Large Eggs, 1 tsp Salt
- Add the flour to the mixing bowl and turn the mixer on low for one minute to let the flour mix in.600 g (5 cups) All-purpose Flour
- After a minute, slowly drizzle in the melted butter while still mixing on low speed.75 g (⅔ stick) Unsalted Butter
- Turn the mixer up to high speed and let it mix for 3-5 minutes or until the dough is no longer sticking to the sides of the bowl. If it seems too sticky, add an extra tablespoon of flour.
- Tip your dough out onto a floured work surface and knead by hand until it is no longer sticking to your hands.
- Form a smooth ball with the dough and place it into an oiled bowl. Cover with plastic wrap and let proof on the counter until it doubles in size (about 1-2 hours, depending on temperature).
- Once the dough has doubled in size, check if it's ready by pressing it lightly with your finger. If it springs back immediately, it needs longer. Once it is ready, it will spring back slowly, and only about halfway.
- Punch the dough to knock the air out of it, then tip it onto a floured work surface. Roll it out to ½ inch thick.
- Cut rounds out of the dough with a cookie cutter that is 21/2 - 3 inches wide. Place the donuts on a lined cookie sheet with a little space between them.
- Cover the tray of donuts loosely with plastic wrap or a kitchen towel and let them proof for another 45 minutes.
- In the last 10 minutes of the 45-minute proof, you can start to prepare your frying oil. Pour at least 2 inches of oil into your saucepan and heat to about 350°F / 180°C.Oil for frying
- Gently place your donuts into the oil*, and they should start bubbling at the sides. I like to do only 2 or 3 at a time, depending on the size of the saucepan. They fry super fast and this allows you to have more control.
- Allow the donuts to bob around and fry for a minute or two, checking the underside from time to time. Once the underside looks golden brown, flip the donut and fry the other side until the color matches. As there are so many variables (oil temperature, donut size, etc), it is impossible to give you an exact time to fry the donuts for - you really have to do it by eye and see when they look ready.
- Once both sides are golden brown, scoop the donuts out with a frying spoon or spatula (something that is resistant to the heat, e.g. metal), and lay them on a wire rack lined with paper towels. The paper towels will soak up the excess fat.
- Once the donuts look dry, but are still hot, roll them in a bowl of white sugar to coat them entirely, then let them continue to cool.
- Once the donuts are completely cool, use a long thin object (like a metal straw or a chopstick) to poke a hole in the side of the donuts and move it around to create extra space for your custard - we want these babies to be FULL of custard, so you need to give it somewhere to go.
- Remove your pastry cream from the refrigerator and give it a mix to restore the texture. Put it in a piping bag with any kind of nozzle.
- Push the nozzle into the hole you created earlier and squeeze gently. You will feel the donut start to feel heavy, which means it's full of delicious custard! Pull the nozzle slowly out of the donut, leaving a pretty little blob of custard on the outside to show the delicious custard filling.


John
What are the instructions for the custard
Jules Grasekamp
Hi John,
There are step-by-step instructions in the post, but if you'd like more detailed instructions for custard, along with process pictures and a tutorial video, you can click on the custard post. I'll paste a link here for you as well 🙂 - https://bonnibakery.com/creme-patissiere-vanilla-pastry-cream/
Hope this helps
Jules
Caz P
1/3 butter equals 75g but you have it posted as 2/3 butter???
Jules Grasekamp
Hi Caz,
The recipe says 2/3 of a stick which is equal to 75g. You may be thinking of 1/3 of a cup which is 75g.
Either way, I recommend weighing your ingredients with a kitchen scale as grams are always far more accurate.
I hope you enjoy the donuts 🙂
Jules
Lisa Pratte
I can't wait to make, custard filled donuts are my absolute favorite donut of all donuts!
A
Is this 2x 14g packs of yeast or 14g of yeast total?
In NZ the sachets size is 8g!
Jules Grasekamp
Hi A,
It's 14g of yeast total. Our packs in the UK at 7g each. Thank you for this question, I will make it more clear in the ingredients list!
Hope you love the donuts!
Jules
A
Thank you, these were SO good!!
Definitely best eaten as soon as possible, don't stay fresh very long but still taste amazing!
Kristine
Storing the sugared donuts ? I used jam to fill. Seem good. Good rise. Burns quickly.
Jules Grasekamp
So glad you liked the donuts Kristine - jam filling sounds lovely!
There is a whole section on storage instructions in the post above 🙂
Jules
Esther
Hi, I just made this dough and it was toughhhh. So I'm not sure if I used the wrong amount of milk. The recipe list says 1 cup and then in the recipe instructions it says 2.5 cups. I'm going to try a bit of a halfway mark to see because I sadly already lost my first dough. I hope when I come back to this recipe for the next time I can see which was the right milk amount!
Thanks!
Jules Grasekamp
Hi Esther,
Thank you so much for pointing this out! The recipe card had saved the 2.5 cups milk from the custard to the dough instructions - I have fixed the error now, thank you so much and I'm sorry about that!
How did your donuts turn out in the end? So sorry for the confusion!
Jules
Shakera
Hi there. Tried it out and it was an absolute hit! Thank you so much. Just wanted to know, would it be okay to replace the yeast with fresh/wet yeast and if so, how would one go about doing that?
Thanks
Jules Grasekamp
Hi Shakera,
Thank you for trying my recipe, I'm so glad you liked it!
You can definitely use fresh yeast for these. You'll need to use twice as much fresh yeast (by weight) and dissolve it into the warm milk. Then continue the recipe as normal.
Hope this helps!
Jules
Cecile
Hi Jules
These didn’t come out like I’d hoped . Everything seemed to be going well until the second rise - quite a few of them flattened out instead of rising upwards so maybe I didn’t knead enough? (Though I kneaded them by hand and did a windowpane test to check gluten formation) When I fried them they browned really quickly no matter what temperature I used and didn’t puff up (I don’t know if this is because I used an induction hob) – they still tasted good, but I can hardly call them doughnuts. Now I just have a bowl of custard in the fridge and what looks like a bunch of fried crunchy fritters.
Jules Grasekamp
Hi Cecile,
I'm so sorry to hear that you donuts didn't turn out! Donuts collapsing in the second prove is typically due to them being a little too warm, which can lead to overproofing and then collapse.
I will actually be updating this recipe soon with more details and tips to help people have success with them - including a full video tutorial.
I hope you can still enjoy the 'fritters' and that your next batch turns out perfectly!
All the best,
Jules
Cecile
Hi again!
So I tried again with a half batch and I found that the issue was indeed over proofing on the second rise! I usually turn the oven on low heat for a little bit and then turn it off to create an ideal environment for the dough to rise. I must have left it on for too long the first time because I didn’t have that issue on my second and third tries.
They came out really well! But now my only issue is the browning. I think my stove just runs hot but I might try rolling out the dough flatter to make sure it cooks through without getting too dark.
Thanks so much for the recipe and your help Jules!
Hayley
Can the dough be made overnight? If so what things, if any, would I need to change? I want to try making these for my coworkers, but don't have the time before work to do all of the proofing and then frying.
Eve
They were good but for the love of God please just put the actual amount of time that it will take in the recipe. 23 minutes? Try 7 hours.
Jules
Hi Eve,
Glad you liked the donuts! Sorry if that was misleading, I tend to put the amount of time spent actually working on the recipe and don't include resting, chilling and proving time - especially since some recipes need to chill overnight! I hope you enjoyed making them anyway and thanks for giving my recipe a go 🙂
Shakera
Hi there. Tried it out justuh it was an absolute hit! Thank you so much. Just wanted to know, would it be okay to replace the yeast with fresh/wet yeast and if so, how would one go about doing that?
Thanks
Kris
What size cutter did you use?
Jade
Doughnut dough didn’t work, the yeast didn’t activate using the method. I tried twice and both failed via this method.
Rajesh
your yeast is dead, buy new yeast
Yaya
Agree.
Cecile
I think part of the problem is that the recipe doesn’t mention that the milk should be warm when adding the yeast
Hannah
I saw these on your stories! They looked absolutely amazing
Can't wait to try them out!
Chris Radwanski
Cover anything in custard and I'm sold, but jam it into a nice fluffy homemade donut, cover it in sugar, and im beyond elated! I have never had homemade donuts before this and my goodness they are so much better than store bought!