
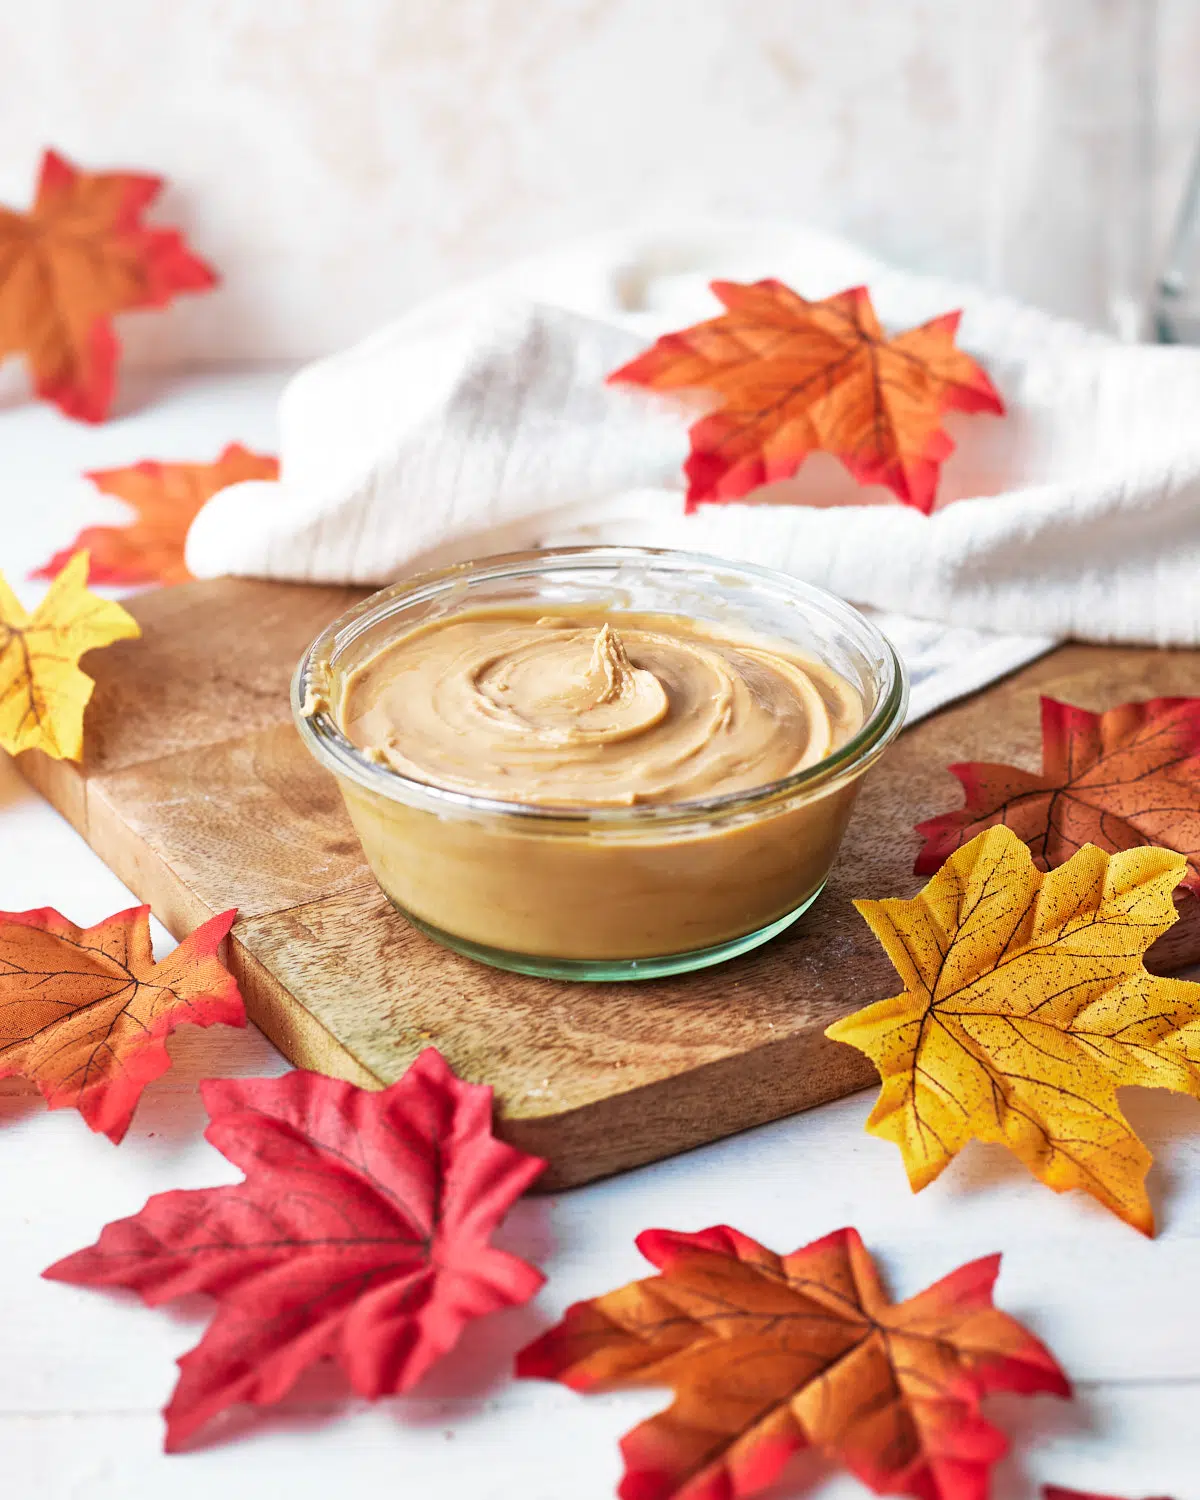
This homemade maple cream (also known as maple butter) turns pure maple syrup into a thick, silky spread with the most incredible maple flavour. It takes a little patience - and some serious stirring - but trust me, it is so worth it!
Quick Look: Maple Cream Recipe
A thick, sweet spread made from just one ingredient - maple syrup!
☆ Why make THIS version? Cooling the syrup to 90°F / 32°C gives it enough time to cool before crystallisation begins without making it unnecessarily difficult to stir. Clear colour and texture cues also help you catch the very short window when it is ready to go into the jar.
SUMMARIZE AND SAVE THIS POST ON
Maple cream was one of the many wonderful things I discovered after moving to Canada, and I was instantly obsessed. It has all the flavour of pure maple syrup, transformed into a thick, velvety spread that is basically maple syrup in its most dangerously delicious form!
Although it is made from just one ingredient, I won't pretend that the process is completely effortless. Temperature and timing really matter, and I went through plenty of runny and rock-hard batches when I first learned how to make it. But every failed batch taught me something, and I'm going to share all those lessons with you here so you know exactly what to look for and your maple cream turns out beautifully.
Reader Review:
Amazing! Addictive! Having a lot of food intolerances, I love that this recipe uses only maple syrup and nothing else. It takes some time to get to the end result, but it's worth it! It worked perfectly, I'm in love with this recipe!
⭐⭐⭐⭐⭐ - Julie
Jump to:
What is Maple Cream?
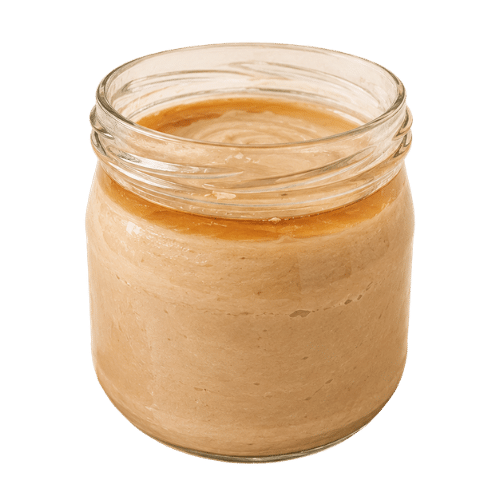
Maple cream is a sweet, smooth spread made by heating pure maple syrup, cooling it without disturbing it, then stirring it until tiny sugar crystals form. This controlled crystallisation transforms the dark, glossy syrup into a pale, opaque spread with a texture similar to peanut butter.
Confusingly, despite the names maple cream and maple butter, there is no cream, butter, or other dairy involved. It is also not the same as compound maple butter, which is made by whipping regular butter with maple syrup. This version really is just maple syrup!
Ingredients
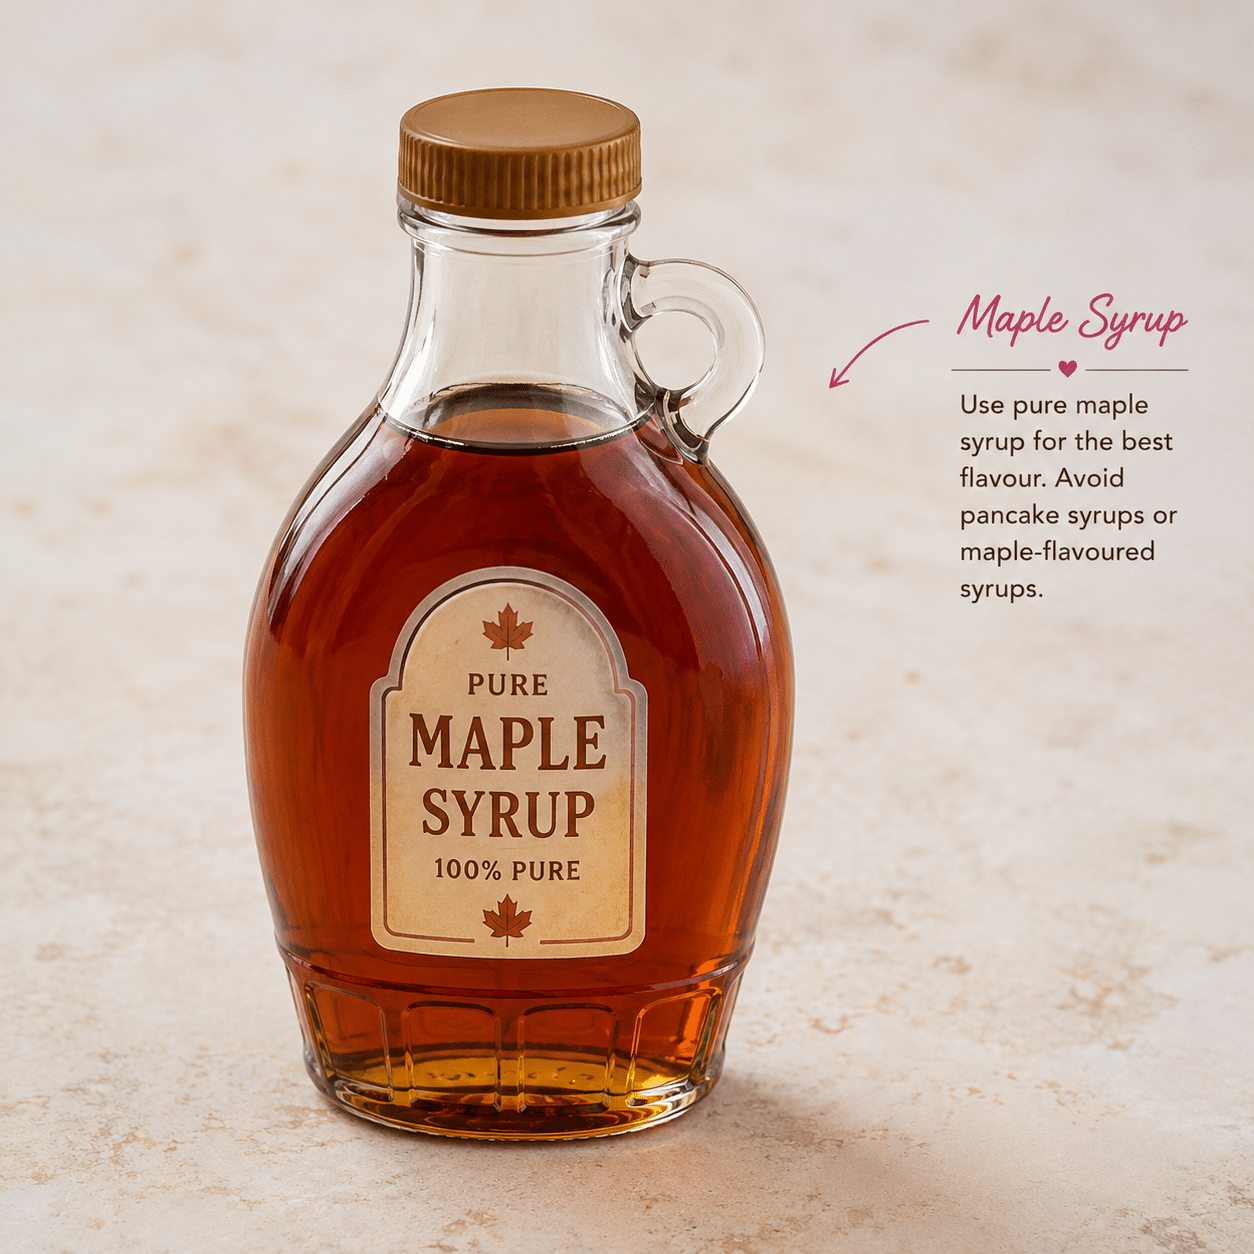
Maple Syrup - Make sure the bottle contains 100% pure maple syrup. Artificial pancake syrup will not work because it contains different sugars and other added ingredients. I find that lighter or amber maple syrup gives the best colour and consistency for maple cream.
See the recipe card for quantities.
How to Make Maple Cream
Okay, while this may be a simple recipe, I'm not going to lie to you and say this process is quick and easy. It does require a bit of time and attention - but the results are so worth it! There is limited information out there on how to do this properly, and it took me a few tries to get it right. But I'm sharing everything I learned in that process so hopefully you will have wonderful homemade maple cream the first time!
Before You Begin...
- Prepare an ice bath - Once the syrup reaches the right temperature, we'll pour it into a bowl in an ice bath to cool it down quickly, so it's best to have it prepared in advance.
- Have your jars ready - There is a very short window between when the maple cream is ready and when it starts to thicken so much it's not pourable anymore, so have your jars ready so you can fill them right away.
Heat the Maple Syrup
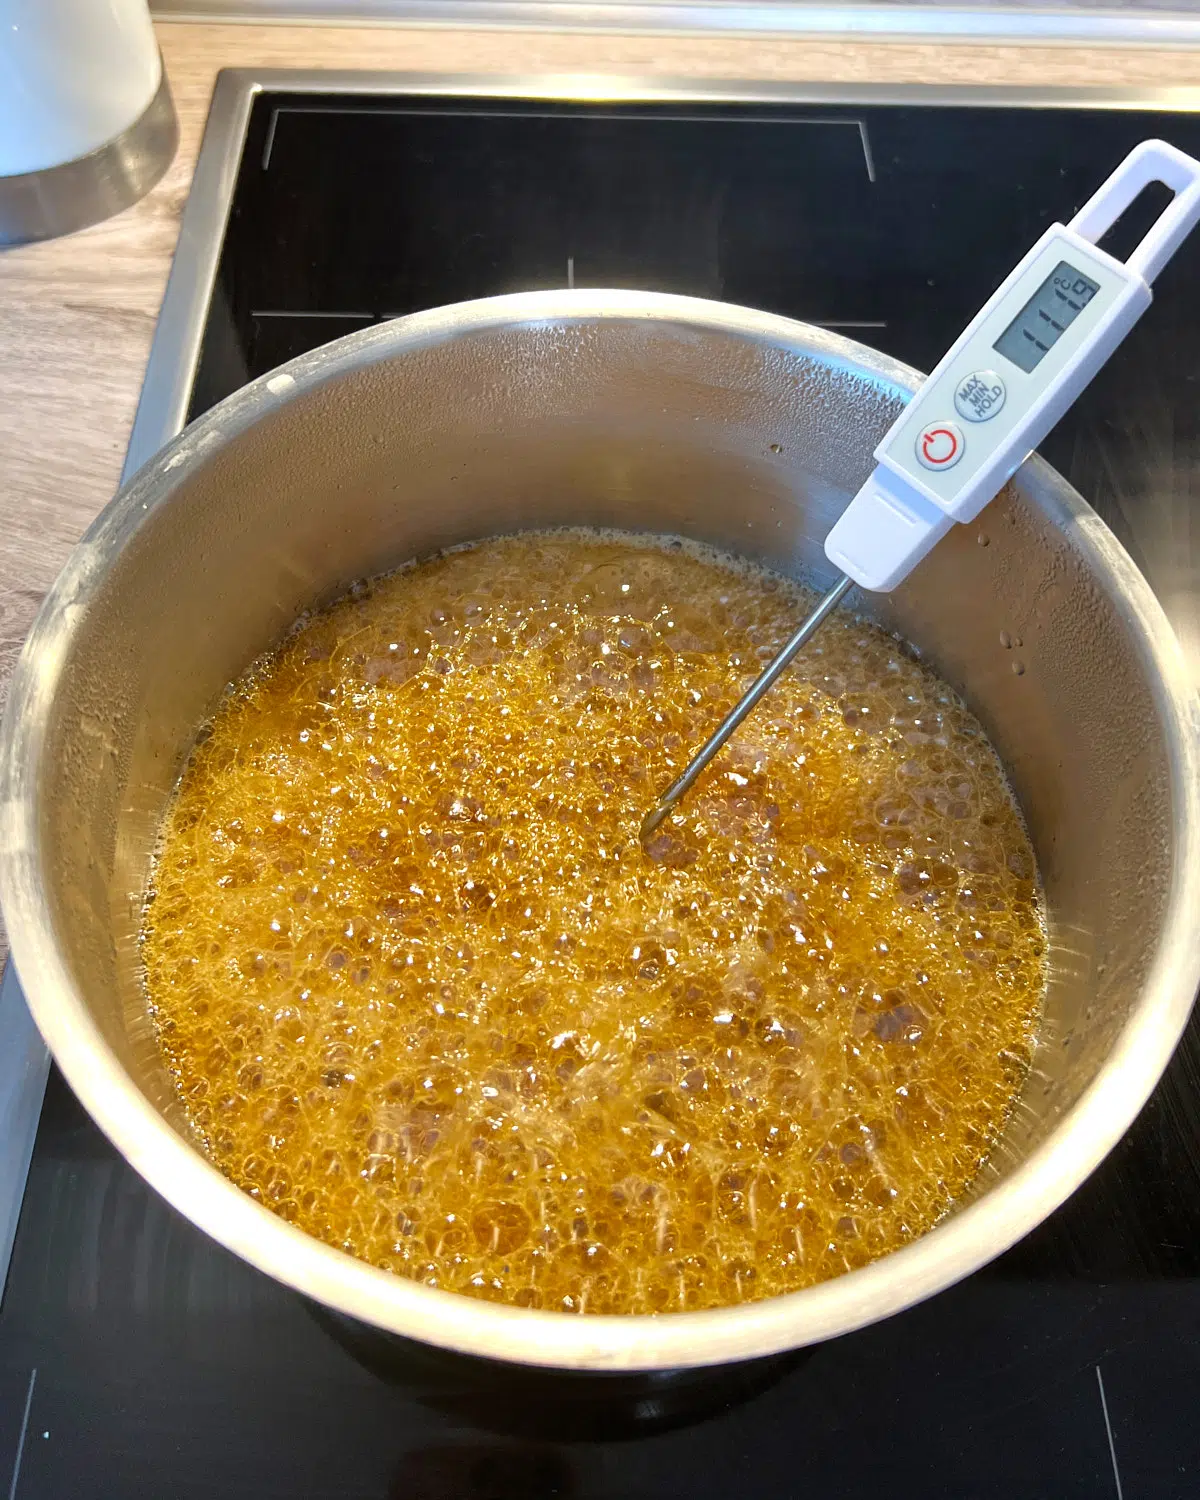
Pour the maple syrup into a deep saucepan over medium heat. Attach a candy thermometer, making sure the tip is submerged in the syrup but not touching the bottom of the pan.
Let the syrup boil without stirring until it reaches exactly 235°F / 113°C. It will foam up a lot, so watch it closely to make sure it doesn't boil over.
Don't worry if the temperature seems to hover around 212°F / 100°C for quite a while. The water in the syrup needs to evaporate before the temperature can climb any higher, so don't turn up the heat. Once it does begin rising again, it can move quickly, so don't walk away.
Remove the syrup from the heat as soon as it reaches 235°F / 113°C. Heat it even a few degrees too far, and you'll end up with hard maple candy instead of smooth, spreadable maple cream.
Cool the Maple Syrup
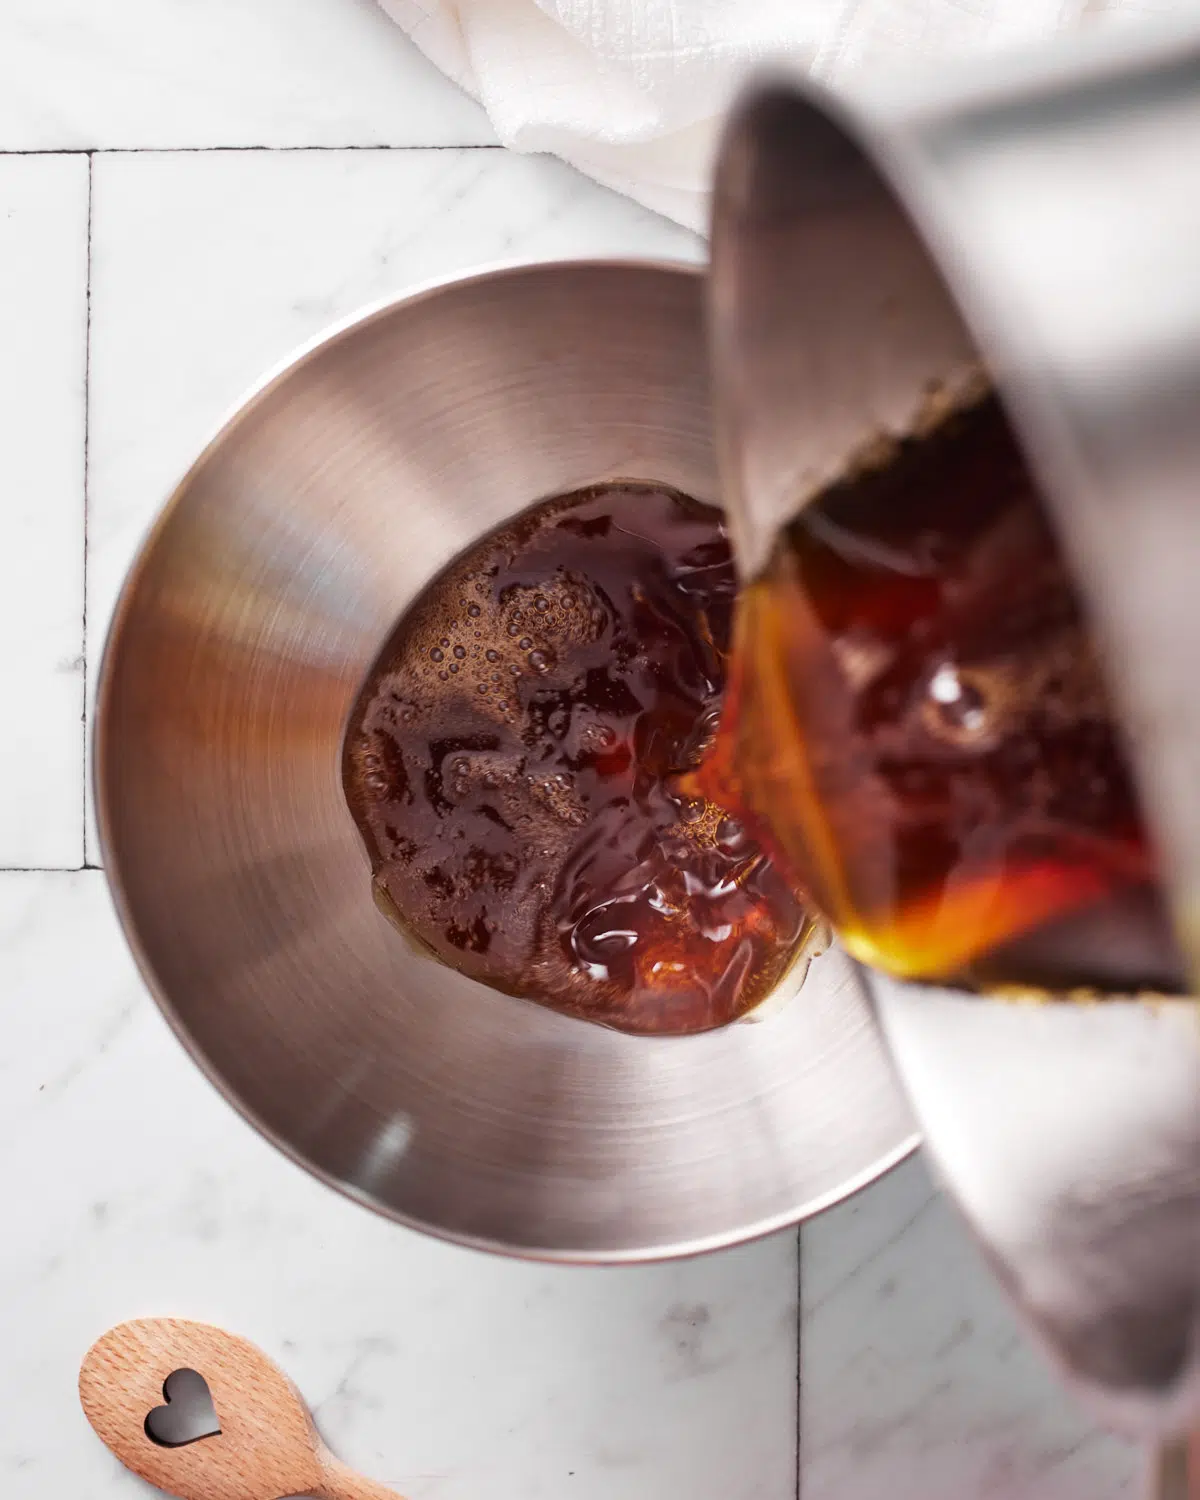
Carefully pour the hot syrup into the bowl sitting in the prepared ice bath. Keep the thermometer in the syrup so you can monitor the temperature without repeatedly inserting and removing it.
Leave the syrup completely undisturbed as it cools - don't stir it, shake the bowl or scrape down the sides. Disturbing it while it is still hot can encourage a few large crystals to form instead of lots of tiny ones, making the finished maple cream grainy.
Let the syrup cool to 90°F / 32°C. It should still look dark and clear, but it will be noticeably thicker than it was when hot.
Stir, Stir, and Stir Some More
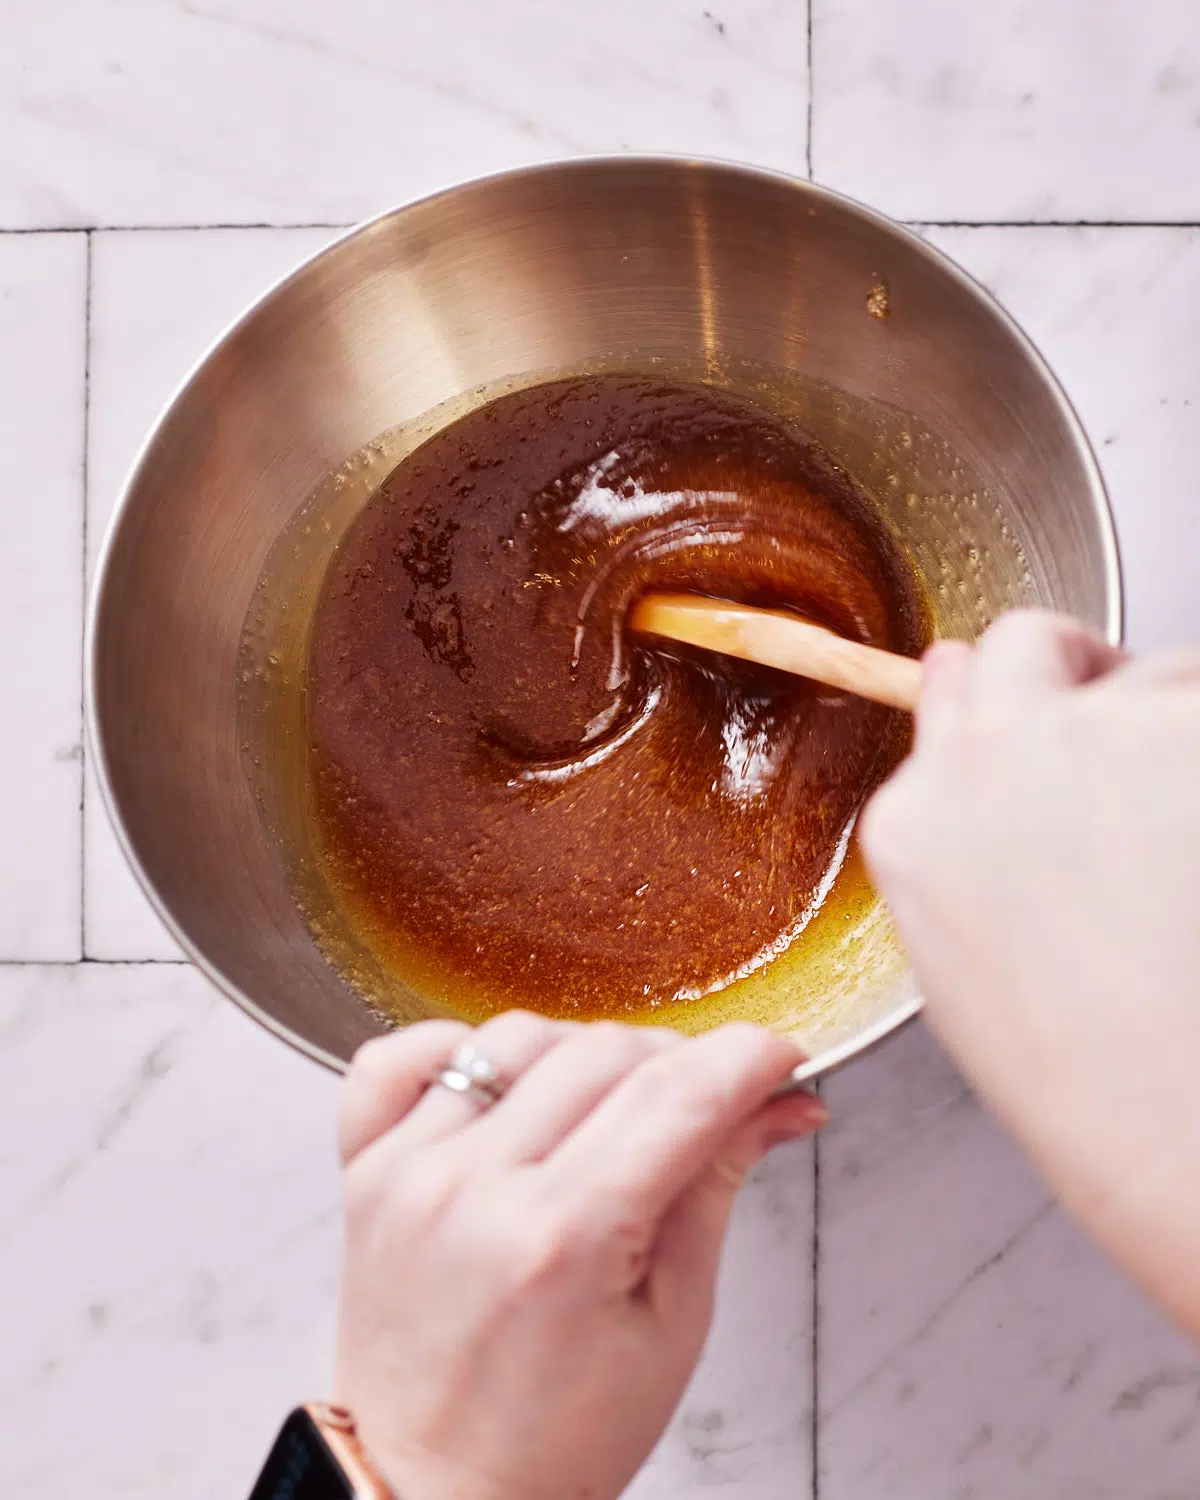
Once the syrup reaches 90°F / 32°C, remove the bowl from the ice bath so it doesn't continue cooling. Use a sturdy wooden spoon to stir slowly and steadily, scraping around the sides and across the bottom of the bowl as you go.
The syrup will be thick and sticky, a little like maple taffy, and it may seem like nothing is happening for quite a while. But as tiny sugar crystals begin to form, it will gradually become lighter, thicker, and increasingly difficult to stir. You should feel more resistance against the spoon as you go - this is a good sign that the maple cream is beginning to form.
Avoid whisking or beating vigorously - you are encouraging controlled crystallisation, not trying to whip air into it. The process usually takes around 30 minutes but can take quite a bit longer, depending on the syrup, room temperature and how quickly you stir. Use the appearance and texture rather than the clock to decide when it is ready.
JULES' tip
Sore Arms?
Maple cream is a serious arm workout! If you can, recruit a second stirrer and swap over every few minutes!
If you'd rather save your arms, you can do part of this step in a stand mixer, see FAQs for details.
Watch for the Final Transformation
As you stir, the maple syrup will slowly become lighter and lighter until it reaches a pale latte colour. This can take a while, so be patient and keep going. The colour change means it is nearly ready, but don't stop stirring yet. You may also notice the mixture loosen slightly and become a little easier to stir at this stage-this is completely normal.
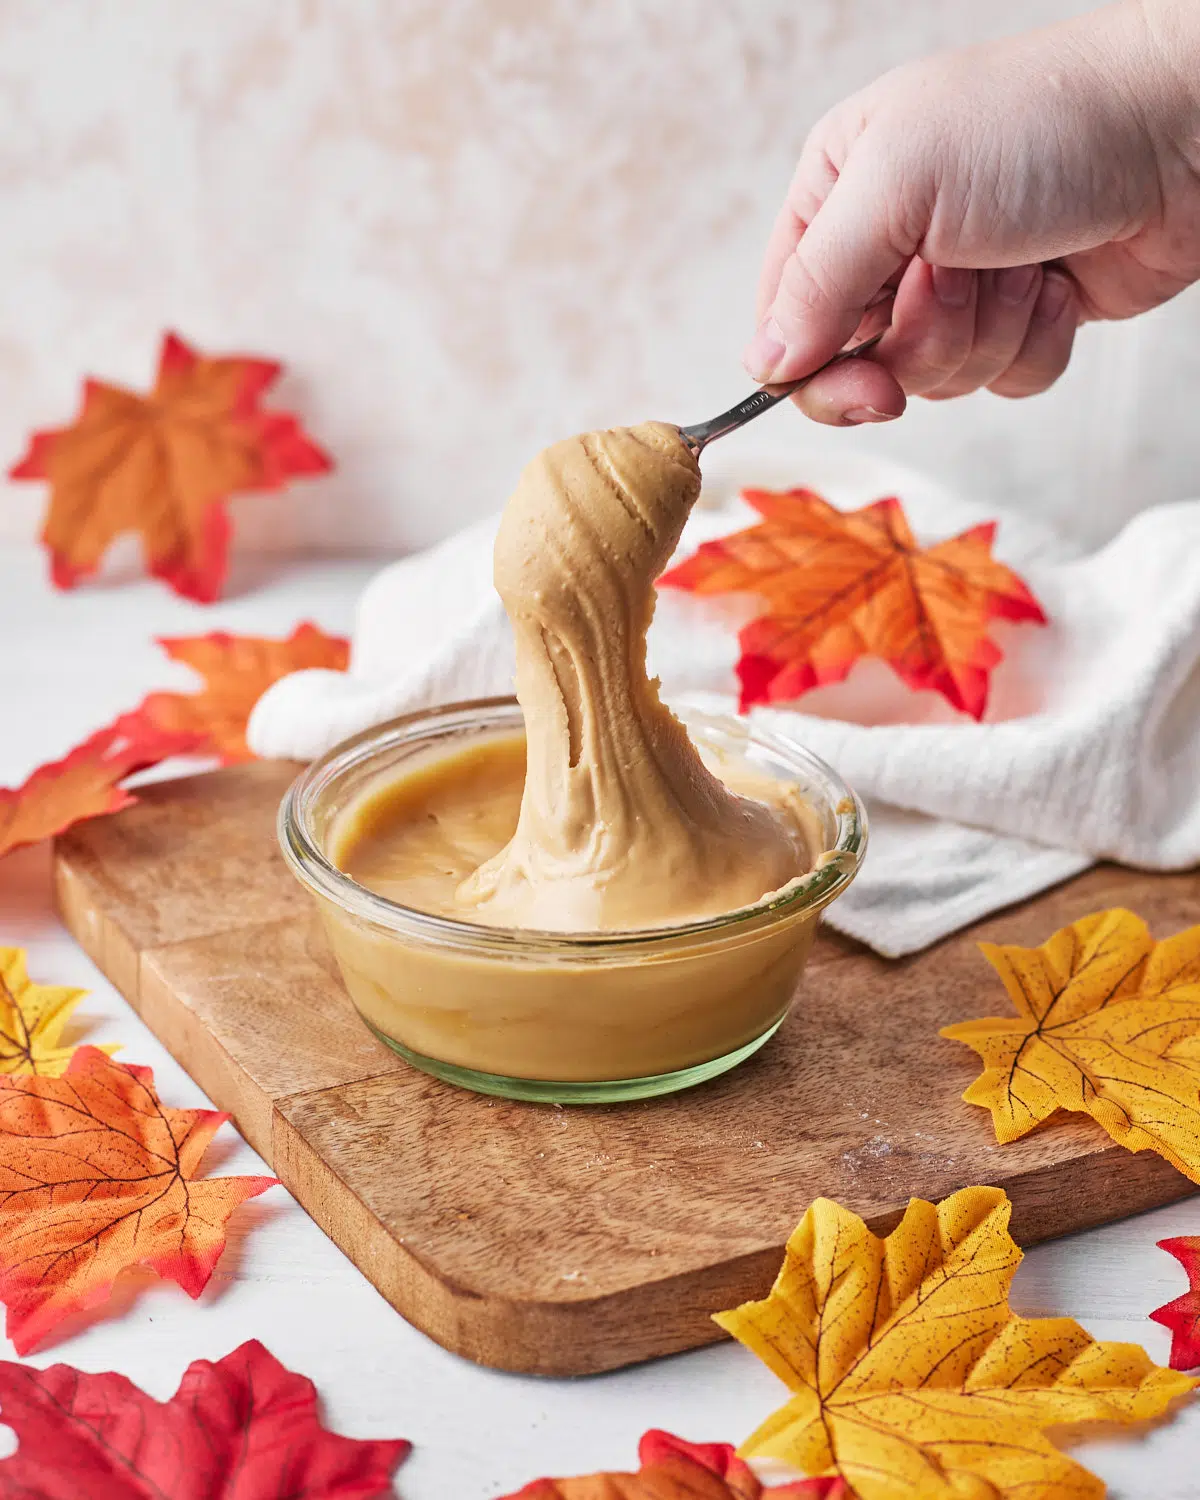
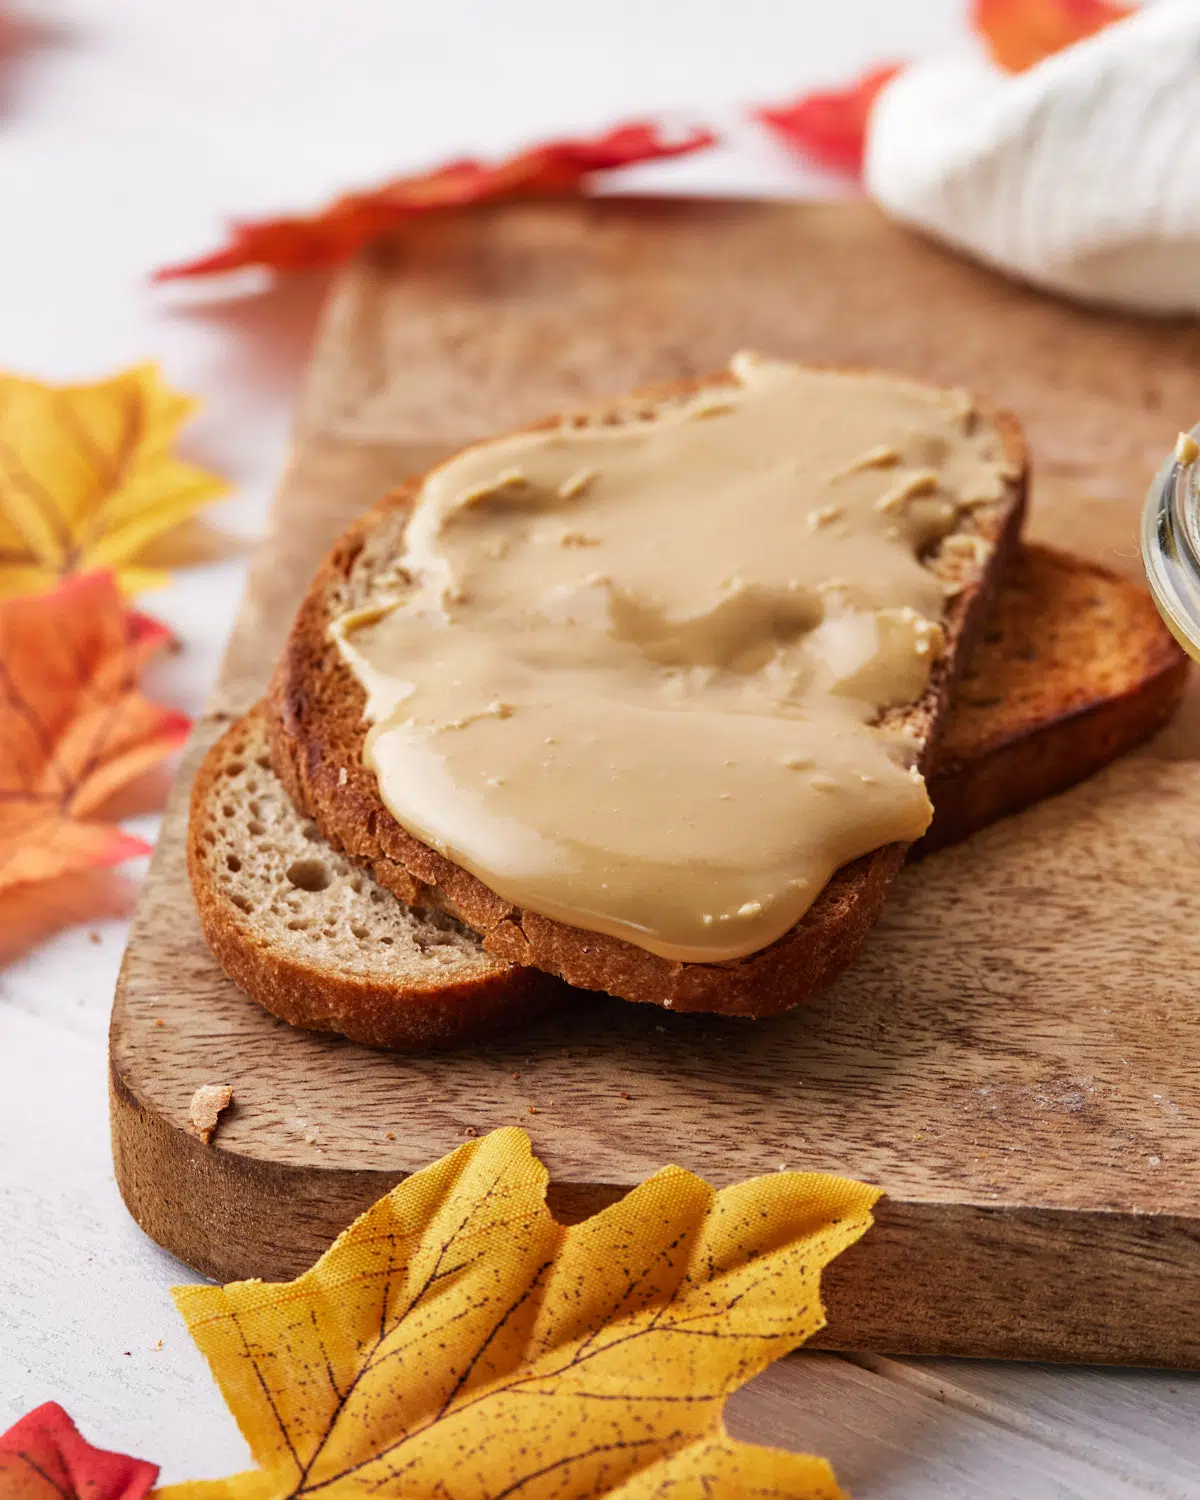
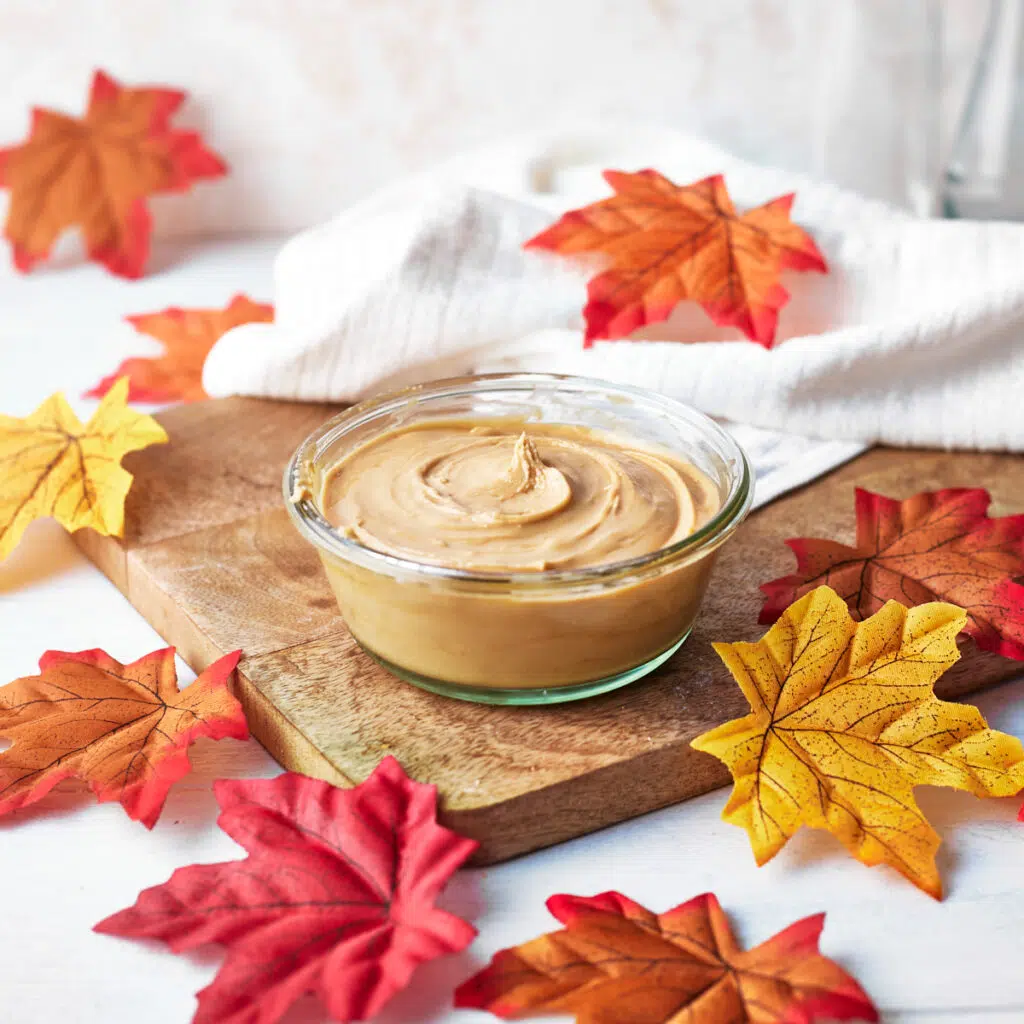
Once it reaches that pale colour, watch the surface very closely. The maple cream will still look glossy and shiny at first, but as you continue stirring, it will lose its shine and suddenly become a thick, matte, creamy spread with a consistency similar to soft peanut butter. This subtle change from glossy to matte is the clearest sign that it is ready.
As soon as you see that change, stop stirring and immediately pour or scrape the maple cream into your prepared jar. It will only remain pourable for a very short time, then continue to thicken and set as it rests.
Ways to Use Maple Cream
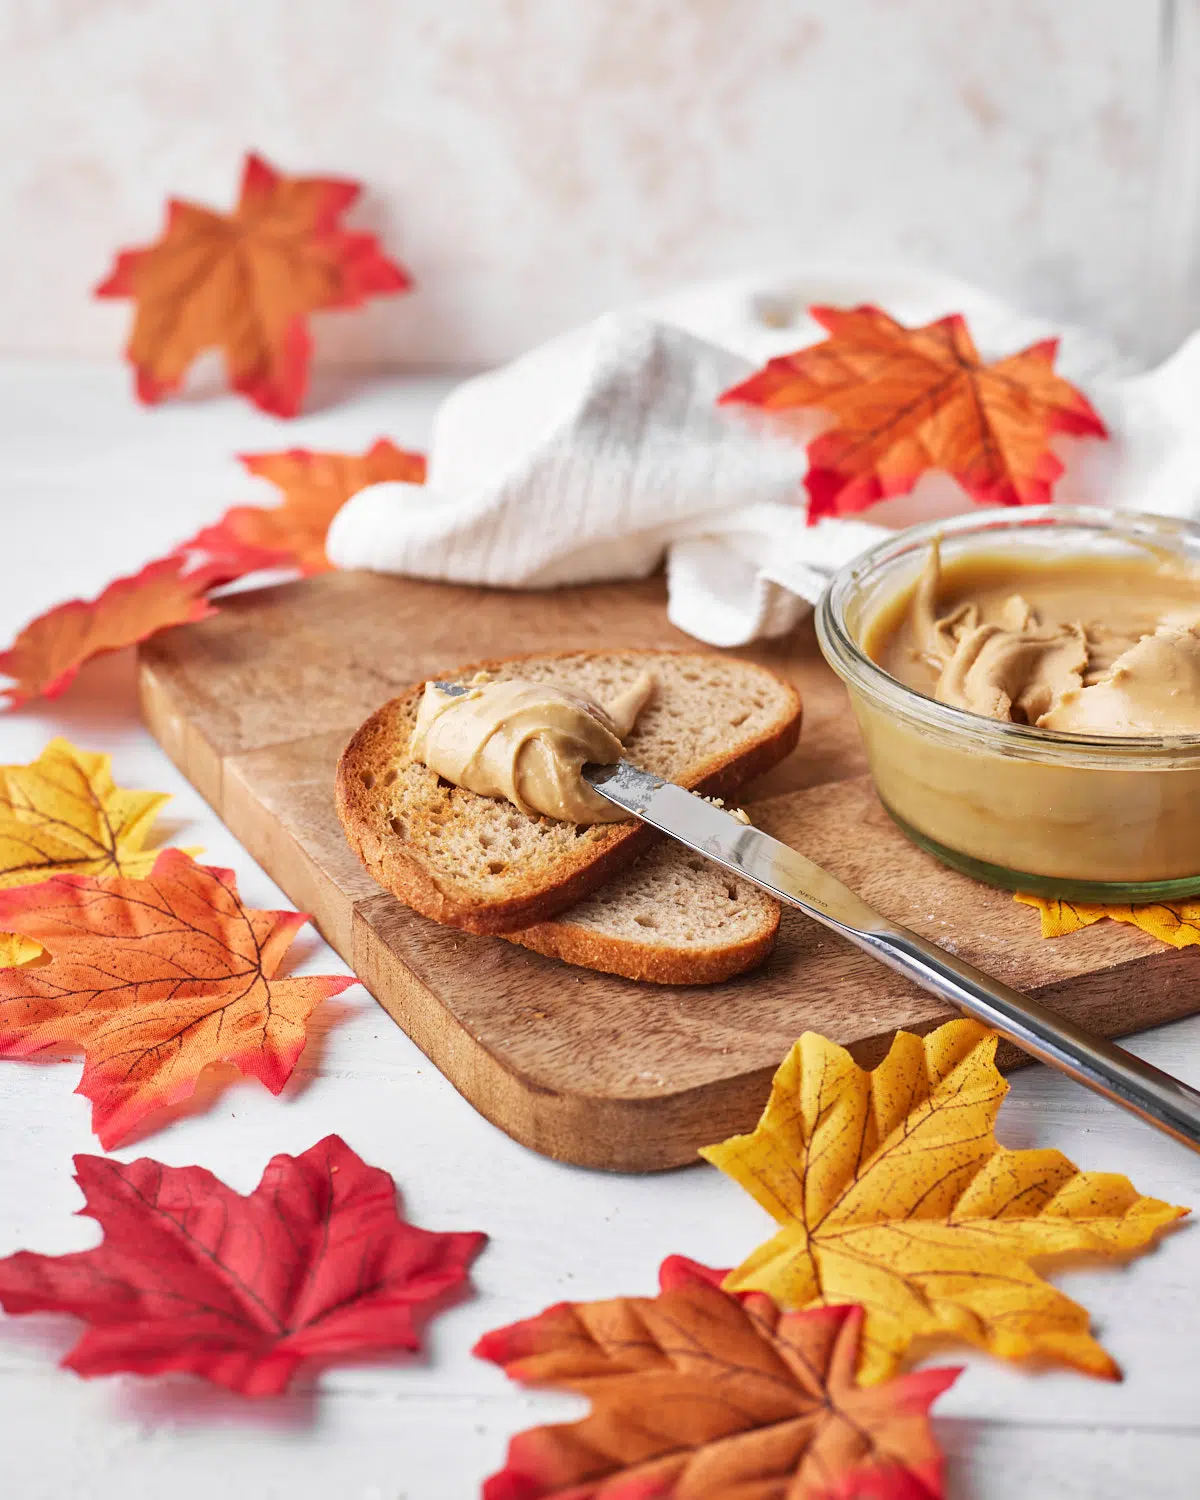
Maple cream has a wonderfully intense sweetness, so a little goes a long way. Honestly, I could happily eat it straight from the jar, but here are a few other ways to use it:
- Spread it on breakfast favourites - Try it on toast, flaky scones, warm biscuits, pancakes, or cinnamon waffles.
- Add it to desserts - Swirl a little through vanilla ice cream, spoon it onto cheesecake or use it as a filling for cupcakes and sandwich cookies.
- Serve it with fruit - Its rich sweetness is particularly lovely with tart green apple slices or fresh pears.
- Pair it with something savoury - Add it to a cheese board with a sharp cheddar, or spread a very thin layer inside a grilled cheese with crispy bacon. Sweet, salty and ridiculously good!

Troubleshooting
There's a lot of science going on while making maple cream, so it can be temperamental, but a batch that doesn't turn out perfectly can usually be rescued. These are the fixes that worked for me while testing the recipe.
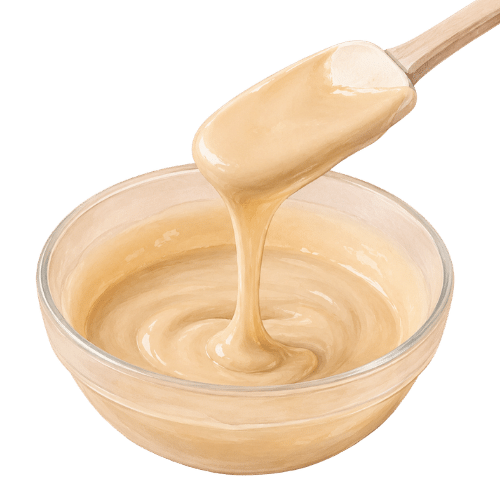
Maple Cream Won't Thicken
Why it happens:
It may just need more stirring, or it wasn't cooked hot enough to remove enough liquid.
What to do:
Try stirring for longer, and if it still won't thicken, return to the heat and bring it to 3-4 degrees higher than last time.
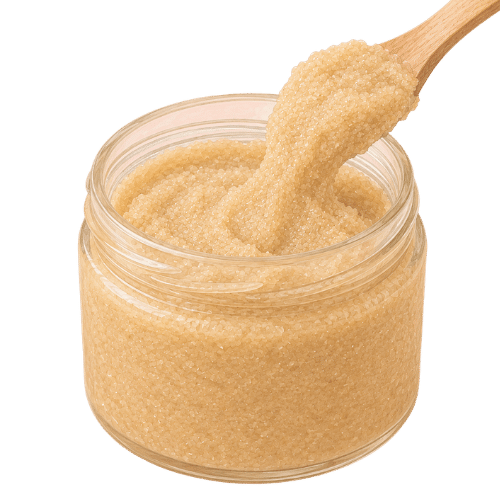
Maple Cream Is Grainy
Why it happens:
A small number of large sugar crystals formed instead of lots of tiny ones - usually it was agitated too much while cooling.
What to do:
Reheat and start again. If it happens repeatedly, I've had success adding 1-2 tablespoon of powdered sugar before stirring to encourage the growth of smaller crystals.
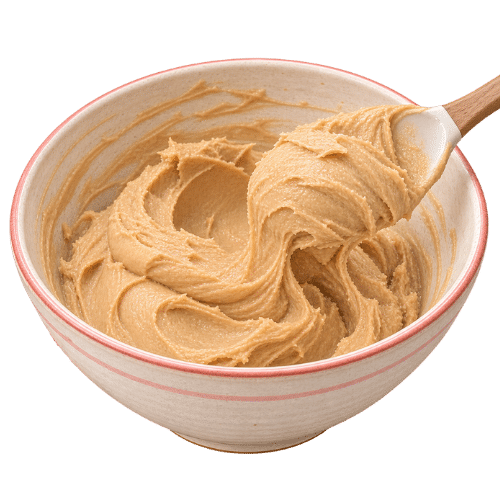
Maple Cream Is Too Thick
Why it happens:
The syrup was cooked too hot, stirred beyond the matte stage or left too long before being transferred.
What to do:
Reheat in the pan with ⅓ cup (80ml) water until completely dissolved, then heat to 3-4 degrees less than last time.
Maple Cream Has Separated
Why it happens:
A little separation is normal during storage.
What to do:
If it's just a little, stir it back in before serving. If the cream has completely split, you can rewarm it and stir back together.
Storage
Store your maple cream in a clean, airtight jar in the refrigerator for up to 6 months. It will become firmer when chilled, so let it sit at room temperature for a few minutes before spreading.
A little liquid may occasionally separate and settle on top during storage; simply stir it back into the maple cream. If you notice any mould or an unusual smell, discard it.
I don't recommend storing homemade maple cream at room temperature for extended periods or attempting to water-bath can it without a properly tested preservation method.
Maple Cream FAQs
This is unfortunately not one of those recipes where you can get by without a candy thermometer - it's a scientific process, and the temperature has to be pretty precise.
Can I Make Maple Cream in a Stand Mixer?
You can use a stand mixer for some of the stirring, but I don't recommend leaving the entire job to the machine. Maple cream becomes extremely thick as it crystallises, and I came very close to burning out my KitchenAid motor while testing it!
Once the syrup has cooled to 90°F / 32°C, remove the bowl from the ice bath and fit it onto your mixer with the paddle attachment. Mix on the lowest speed for about 10-15 minutes, stopping occasionally to scrape the bottom and sides of the bowl.
As soon as the mixture begins to lighten and thicken - or if the mixer sounds strained or feels warm - stop the machine and finish stirring by hand. This gives your arm a break during the early stage without asking the motor to handle the maple cream once it becomes very stiff.
Yes, maple butter and maple cream are the same sweet spread made from 100% maple syrup. It shouldn't be confused, though with compound maple butter, which is made by whipping maple syrup into butter to make a flavored butter.
More Fillings and Toppings
Show Me Your Bakes!
If you tried this recipe, I'd love to know how it turned out in the comments!
Want to share a photo? You can send me a pic or tag @bonni_bakery on Instagram - I love seeing all your creations.
Maple Cream Recipe (Maple Butter)
Ingredients
- 720 ml (3 cups) Maple Syrup
Equipment
- Ice bath Large bowl filled with ice cubes and water
Instructions
- Pour the maple syrup into a saucepan over medium heat. Do not stir it, let it boil until it comes to a temperature of 235°F / 113°C.720 ml (3 cups) Maple Syrup
- Remove from the heat and immediately pour the syrup into a mixing bowl submerged in an ice bath - this will help the syrup to cool down quickly.Do not stir or agitate the cooling syrup in any way. Keep your thermometer in the syrup so you can monitor the temp without inserting it in and out.
- Once the syrup cools to 90°F / 32°C, start stirring with a wooden spoon. The maple syrup should be thick like taffy. Stir slowly and steadily - this process usually takes about 30 minutes of stirring, but it could take longer. (For info on how to use a stand mixer for this, read the post above).
- As you stir, the maple syrup will thicken and lighten in color. Once it is a pale 'latte' color, watch closely for it to go from shiny to matte, it will look a bit like peanut butter. As soon as this happens, transfer it into a jar or airtight container that you intend to store it in. It will only be pourable for about 30 seconds so move quickly.
Nutrition
Notes
Two things create those high, rounded tops: filling the muffin cases almost to the top and starting them in a very hot oven. The high heat releases an initial burst of steam, which gives them a rapid rise; then the lower temperature allows the centers to bake through without the tops becoming too dark.

Lisa says
This turned out great! It took over an hour of stirring and as I learn more perhaps would have benefitted from chilling it in the fridge for at least a few hours to make that go faster. Also once we got the temp down to 80 we removed it from the ice which was maybe the wrong way to go. In any case it is delicious!
Martha says
First batch I made with Amber was perfect. The second batch was made with Dark has set up hard as a rock. Any suggestions?
Jules Grasekamp says
Hi Martha,
Sorry to hear that! Maple cream is incredible fickle, even the tiniest change can cause it to be off so it's hard to say whether this was because of the kind of maple syrup or if it was something else that influenced it.
You could maybe try making it a couple of degrees cooler next time to see if that helps with the consistency.
Good luck!
Jules
Sarah Switzer says
I'm getting ready to try and make this for Christmas gifts. Question, can you whip it to make it light and fluffy? I'll be using my kitchen aid stand mixer.
Jules Grasekamp says
Hi Sarah,
I haven't tried whipping the maple cream but from a scientific standpoint I'm not sure it would work.
For a light, fluffy version maybe try instead whipping butter and then gradually adding maple syrup to it until it has the desired flavor and sweetness.
That version could also easily be done with a stand mixer so is a bit easier too!
Hope this helps and happy holidays!
Jules
Nic says
Omg!!! Amazing, that’s what everyone can say! I put them in little molds and handed them out, kept them refrigerated. Everyone raved about them! Don’t be turned off by the stirring it’s not that bad! The only thing is when it turns from glossy to not glossy I think you have about 0.3 seconds not 30 seconds to transfer it (he he) but wasn’t bad putting it in a mold since you can pat it down! Thank you for this recipe!
Jules Grasekamp says
Hi Nic,
I'm so glad you enjoyed the maple cream recipe! Putting it in little molds sounds lovely, I bet they made great gifts.
Thank you for trying. my recipe 🙂
Jules
Stephen says
Just made it!
I had trouble maintaining a hot enough boil without spilling over.
It took over an hour of churning to reach a good consistency.
Used artisanal maple syrup which I helped make from collecting the maple water to canning.
Vincent says
I had this issue too the first couple times I tried. Then someone told me to drop in a very tiny piece of butter when you start heating (I guess it would also work with half a teaspoon of vegetable oil). This acts as surfactant agent and prevents bubbles from lasting too long. This changes it all !
Jules Grasekamp says
Ooh I'll need to give that a try, thanks Vincent!
Elana C says
Can you use an electric stand mixer? My old hands and arms can't stir that long.
Jules Grasekamp says
Hi Elana,
I can definitely relate, I have a lot of issues with my hands and try to find ways to take the workload off of them wherever I can! I have a section in the blog post that talks about the use of a stand mixer that you may find helpful. The main point is that you can, but you need to have a sturdy mixer that can handle it, or the motor may burn out. Hope this helps!
Jules
Katie says
Can this recipe be doubled or is it too hard to stir that way and better done in multiple batches? Thank you for the recipe!
Julie says
Amazing! Addictive! Having a lot of food intolerances, I love that this recipe uses only maple syrup and nothing else. It takes some time to get to the end result, but it’s worth it! As for me, it took 40 minutes of stirring to achieve the right texture. I also put the boiled syrup in the fridge to cool it down (to 90 degrees) since I didn’t have ice on hand. It worked perfectly! I’m in love with this recipe!
Jules Grasekamp says
Hi Julie,
I'm so glad you like it! Yes this recipe is definitely a labor of love, I had to recruit the hubby to help me at times! But the end result is worth it. Thank you for trying my recipe and letting me know you loved it!
Jules
Donna says
Can this recipe be canned as in a water bath canning?
Jules says
Hi Donna, to be honest I have never tried it! I don't see why it wouldn't work but I wouldn't want to tell you yes without knowing 100%. If you do try it please let me know how it works out!
Tammie says
I believe Maple is my favorite flavor. When they thought of creaming honey crossed my mind, it wasn’t a far jump to Maple syrup. Thank you for posting this recipe. Although I have arthritis in my hands, and I definitely don’t want to harm my kitchenAid, I do have a cordless drill, and I will use an orphaned hand mixer whip inserted in it to do the job. (After a detailed cleaning and plastic wrap of the part of the drill directly over the whip, of course). If successful, I think these will be this year’s Christmas gifts for neighbors and coworkers. Again, thank you!
Chris Radwanski says
Sweet spreadable maple butter. A little bit of this on toast in the morning and I am one happy person!
Janice says
Never had it before. Sounds lovely. Don't like icky sweet, taste as I go. Think I have to give it a go.
Jules says
It is pretty sweet, you probably only want to use a little bit at a time. If you like maple syrup you'll probably like this! 🙂
Ona says
Maple cream is 100% maple syrup
Maple butter is 1part maple syrup 2 parts butter.
Different things
Maritza says
Can you use a meat thermometer?
Jules says
Hi Maritza,
You can use a meat thermometer as long as it is able to go up to a high enough temperature for the maple cream. Not all food thermometers are graded for the higher temperatures, so just check with the manufacturer first 🙂