
Brown butter is one of the easiest ways to make your baking instantly taste better. Just one simple step makes everything richer, nuttier, and more complex. I'll show you exactly how to brown butter and what it should look like when it's ready.
Brown Butter Recipe Snapshot
What it is: Butter that has been cooked to toast the milk solids to make a toasty, nutty flavor.
Why it matters: Adds deep, nutty flavor without changing the recipe.
Common Mistakes: Taking it off the heat too late, so it ends up burnt and bitter.
I'm convinced there's no easier way to upgrade a recipe than by browning your butter - I use it in everything from cookies to frostings whenever I want to add instant depth of flavor. It's a simple extra step at the start, but it completely transforms the result, giving your bakes a rich, nutty complexity.
If you've never made it before, it can feel a little intimidating - but browning butter is actually very straightforward once you know what to look for. The key is taking it off the heat at exactly the right moment. The most common mistake is waiting until it looks fully done in the pan, but brown butter continues to cook from the residual heat, so by the time it's "perfect," it's already on its way to burnt.
Reader Review:
I made brown butter for the first time following your recipe. It was easy, and I couldn't believe how much of a difference it made. I mixed it with mascarpone to make a frosting for my GF chai cake. It was out of this world good! Thank you, I love your website.
⭐⭐⭐⭐⭐ - Claudia
Jump to:
What is Brown Butter?
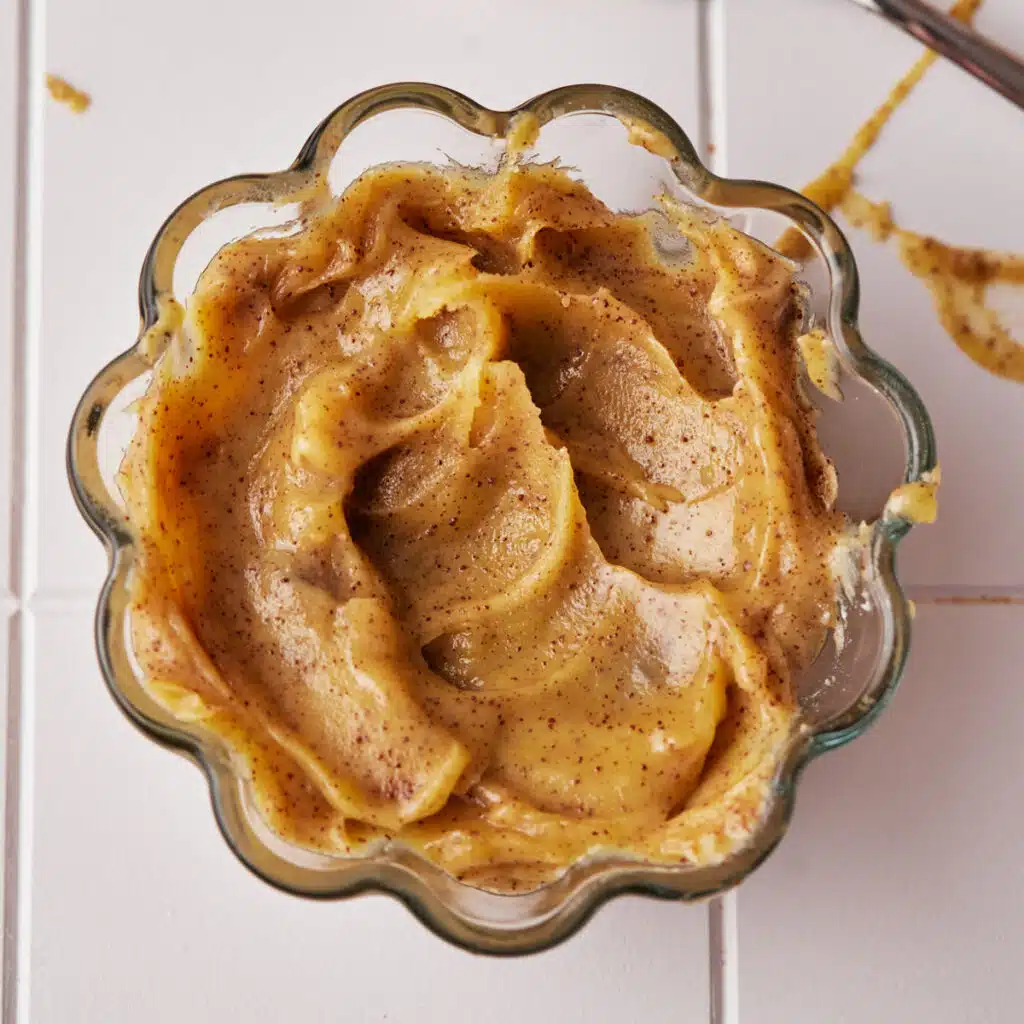
Brown butter is just regular butter that has been cooked until the milk solids toast. What makes it different from melted butter is that you're actively developing the flavor - not just liquifying fat.
As the water starts to evaporate, the milk solids sink to the bottom of the pan and toast, turning into golden brown specks with a deep, nutty flavor.
Ingredients
You only need one ingredient - butter. Here's how to know what kind of butter to use:

Unsalted butter is best as it lets you control the salt level in your final recipe, and it's less likely to burn.
Higher-quality butter has higher fat content, which gives a slightly richer flavor, but any regular butter will brown.
Just don't use low-fat butters or spreads, as they often have extra ingredients and more water, so they won't brown properly.
See the recipe card for full instructions and measurements.
Things You'll Need
- Light-colored Saucepan or Frying Pan - the light color is to make it easier for you to see the color change of the butter.
- Wooden spoon
- Heatproof bowl
How To Brown Butter
Butter goes through 4 stages as you brown it:
Melting → Crackling → Foaming → Browning
Here is how it should look at each stage and what to do.

- Melting: Cut the butter into even-sized pieces, then melt in a pan over medium heat, stirring occasionally.

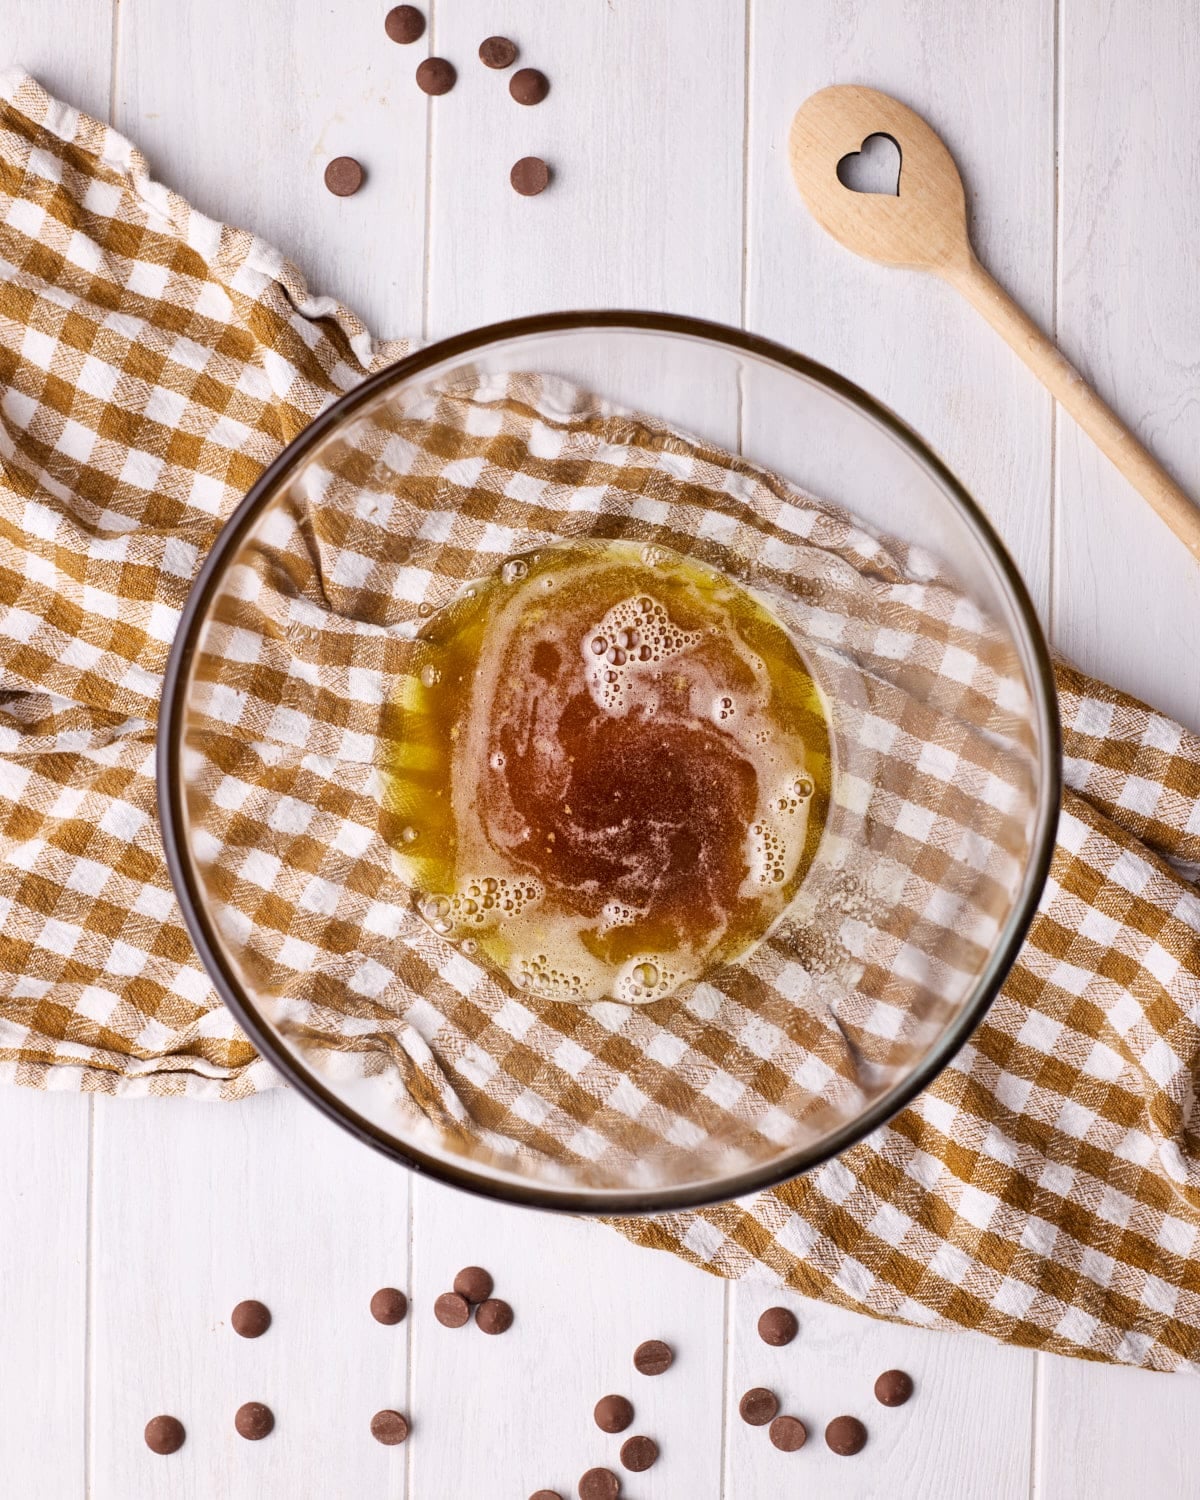
- Crackling: The butter will start to boil and crackle - this is the water evaporating from it.
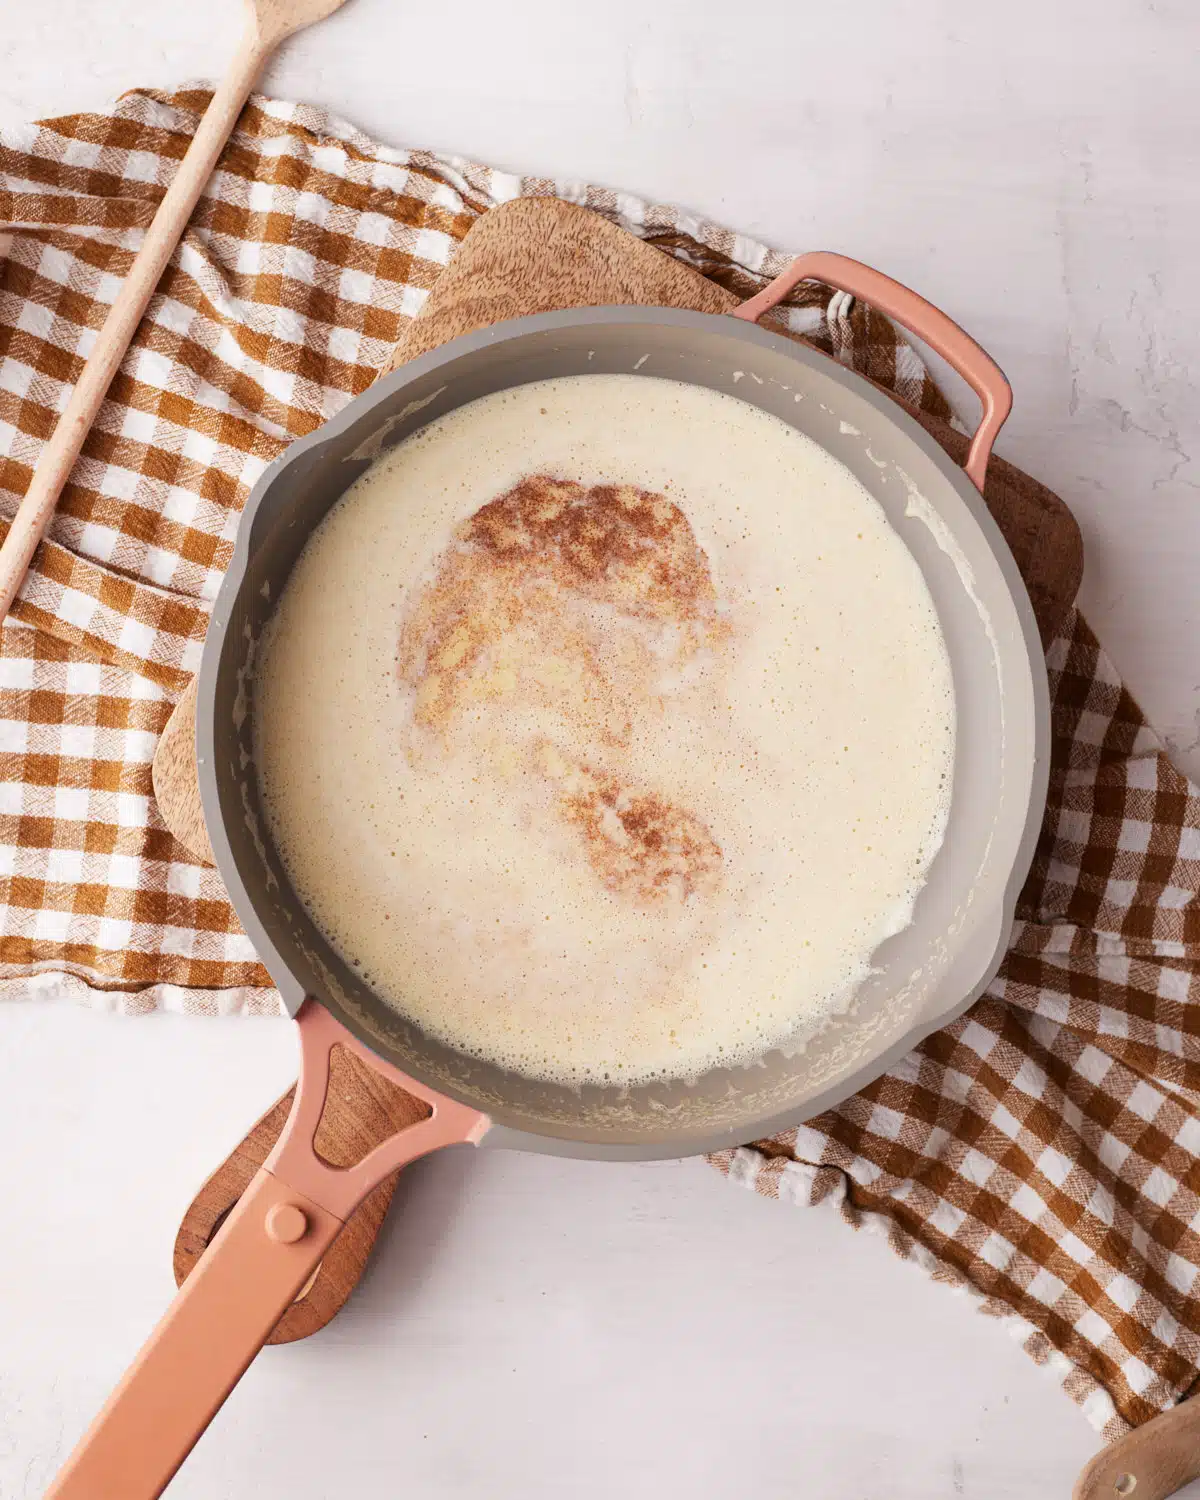
- Foaming: The crackling sound will subside, and the butter will get foamy on top. You can spoon it to the side to check the color of the butter. Don't take your eyes off of it as it browns very quickly.
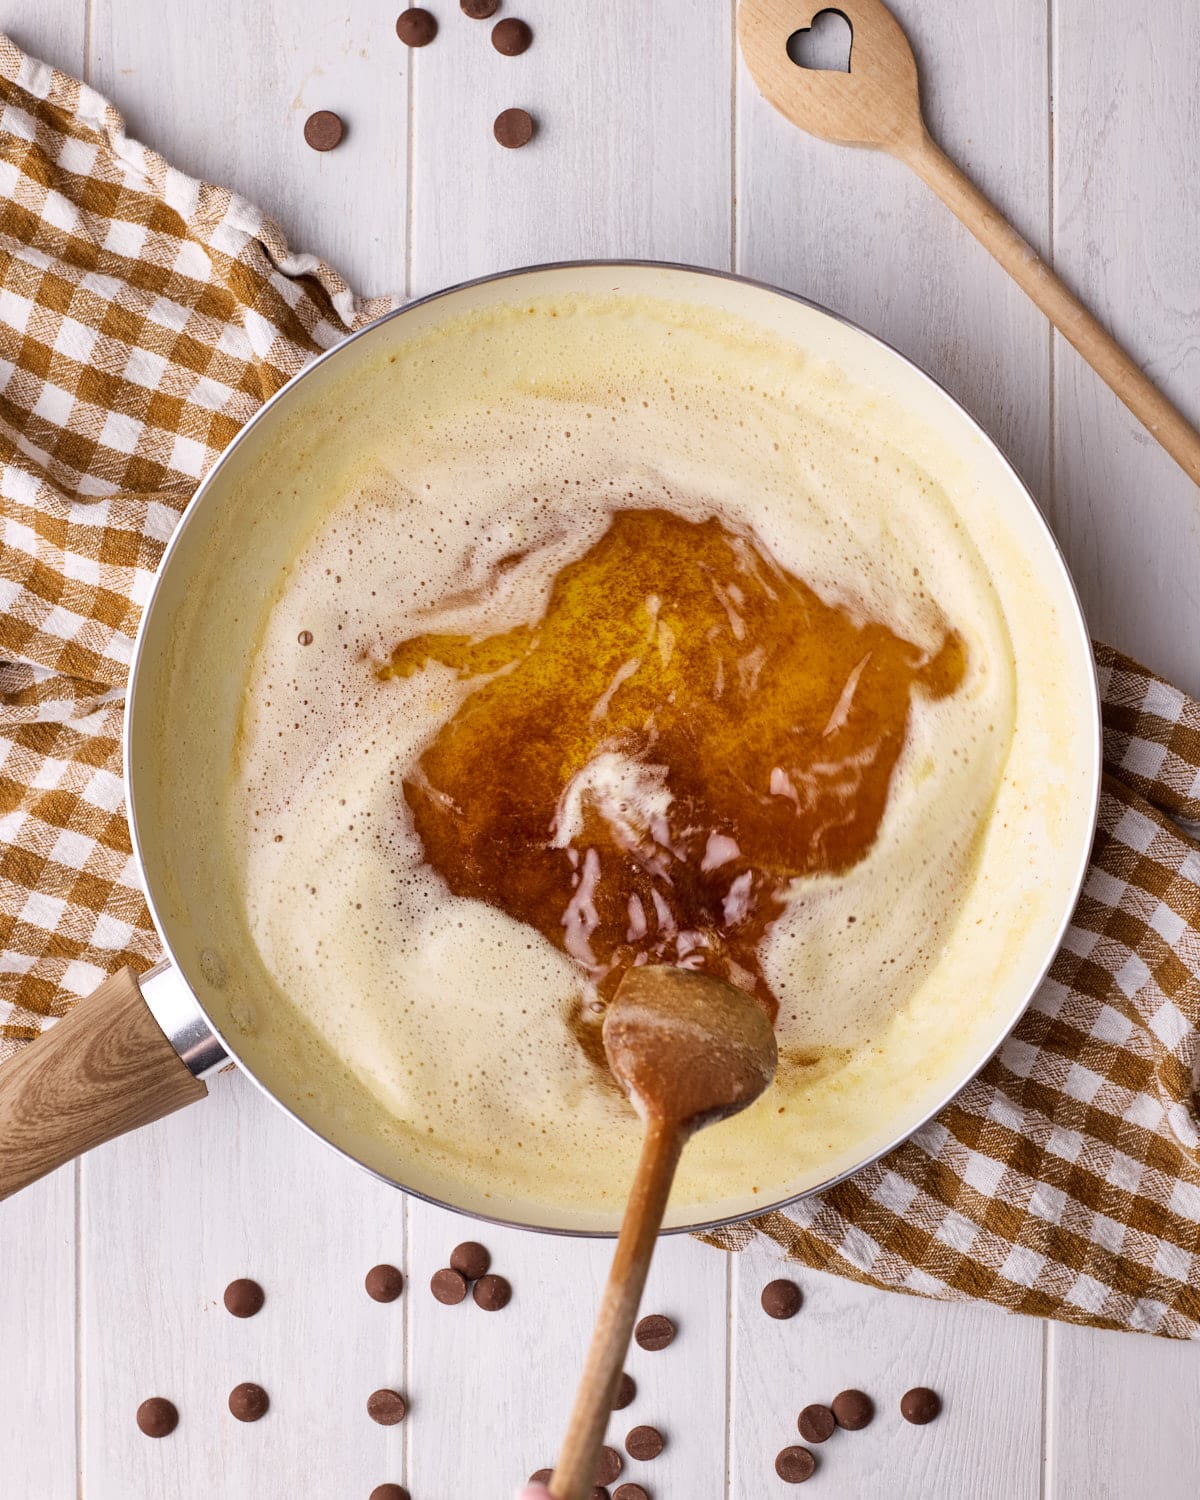
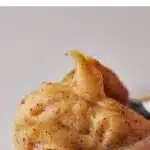
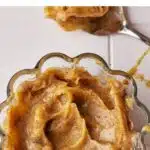
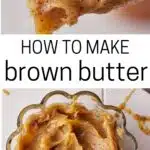
- Browning: You'll see little brown specks appear on the bottom of the pan. The butter will be a golden brown color and will smell gorgeously nutty. Take it off the heat as soon as it reaches this point.
- Transfer to bowl: Immediately pour the browned butter into a bowl to stop it from cooking further.
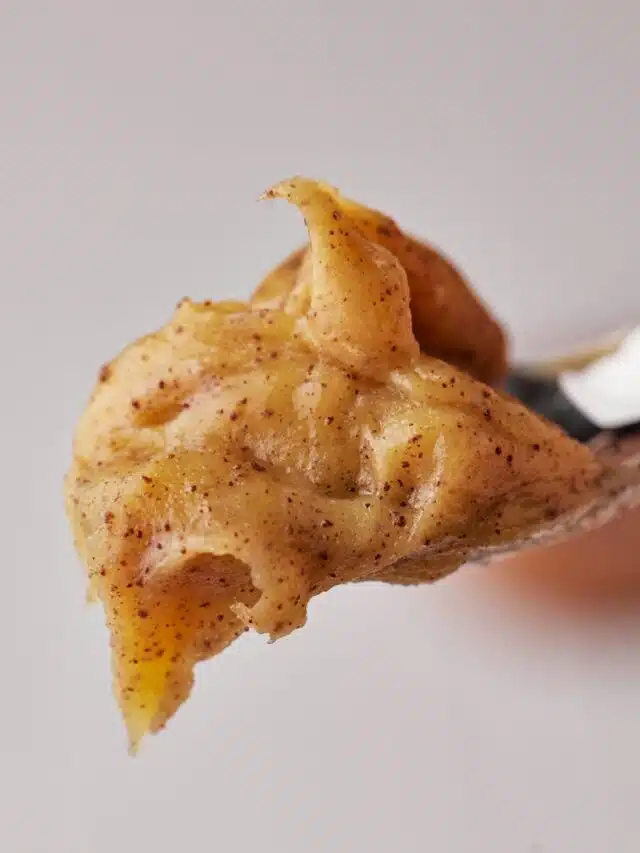
Make sure you scrape the bottom of the pan to get all the little brown bits - these are the toasted milk solids that have all the wonderful flavor!
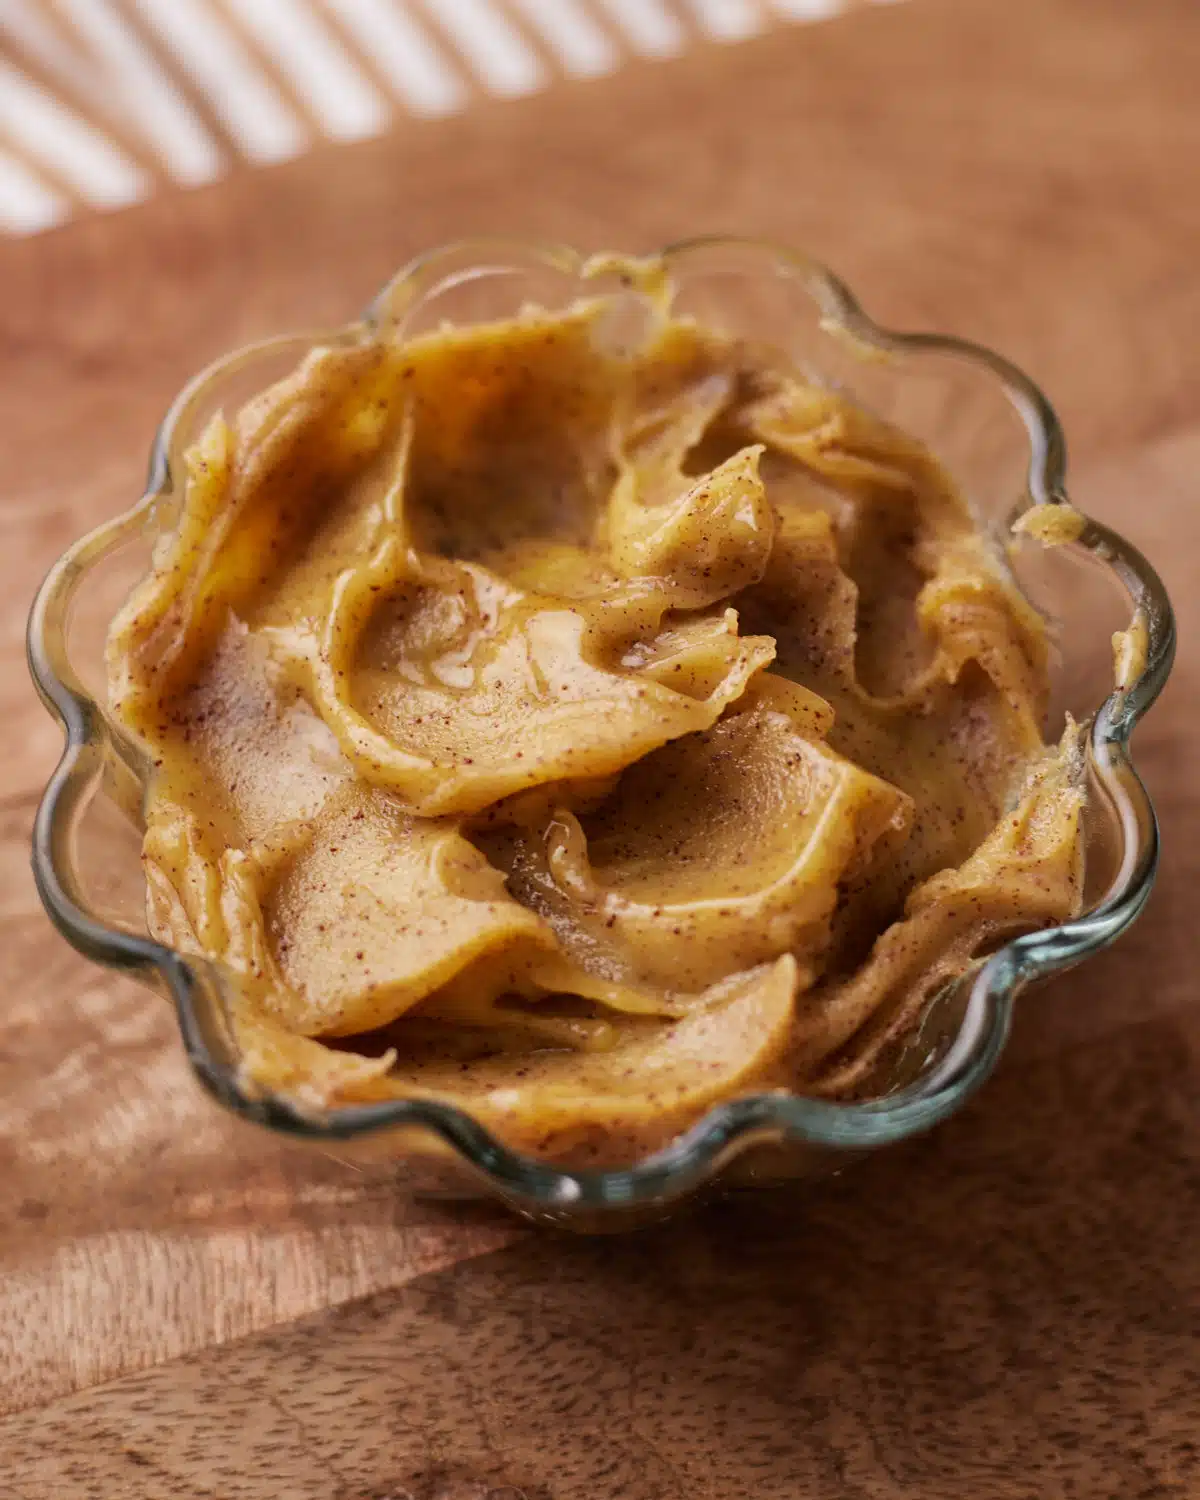
- Use or set: You can use the warm brown butter right away if your recipe calls for melted butter.
If your recipe needs softened butter, let it cool until solid, then stir thoroughly to evenly distribute the brown flecks before using.
Tips For Success
- Use a light-coloured pan: It's easier to see the color change and avoid burning.
- Don't rely on timing: Watch for the visual cues and smell to take it off the heat, not on a recipe time.
- Cut butter evenly: So it can all melt at the same rate and brown consistently.
- Trust your nose: The best indicator that it's ready is that gorgeous nutty smell. As soon as you smell that, it's ready.
- Scrape the pan: Don't leave any of the little brown flecks behind - they contain all the flavor! Make sure to stir them through evenly once cooled.
How to Use Brown Butter
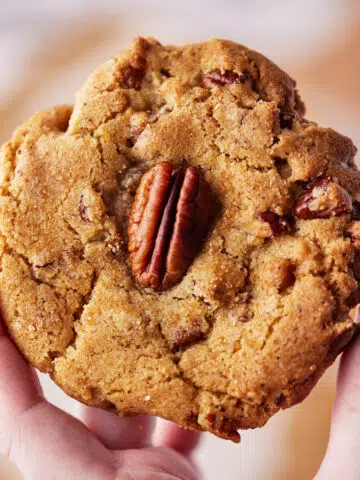
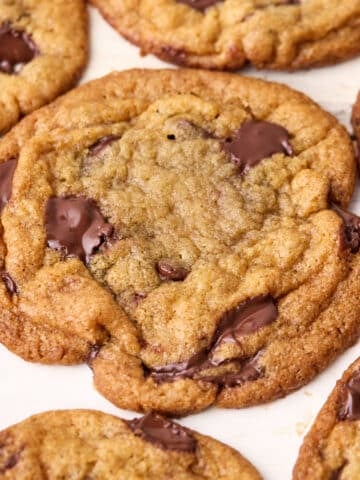
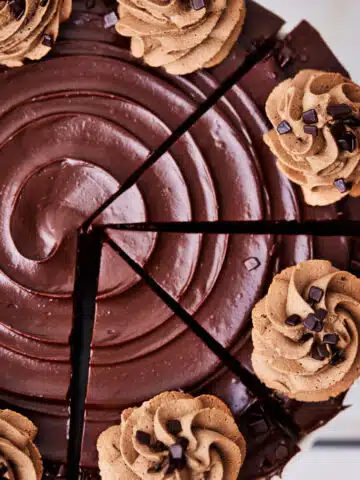
Upgrade Classic Flavors: Brown butter works especially well in recipes with simple flavor profiles, adding depth, warmth, and a more complex flavor. Things like vanilla cakes, shortbread, and buttercream. It also goes exceptionally well in anything with nuts, chocolate, or warm spices.
Add Chewy Texture: In some recipes like chocolate chip cookies and fudgy brownies, the reduced water content also gives a slightly denser, chewier texture, which is perfect for getting that rich, fudgy bite.
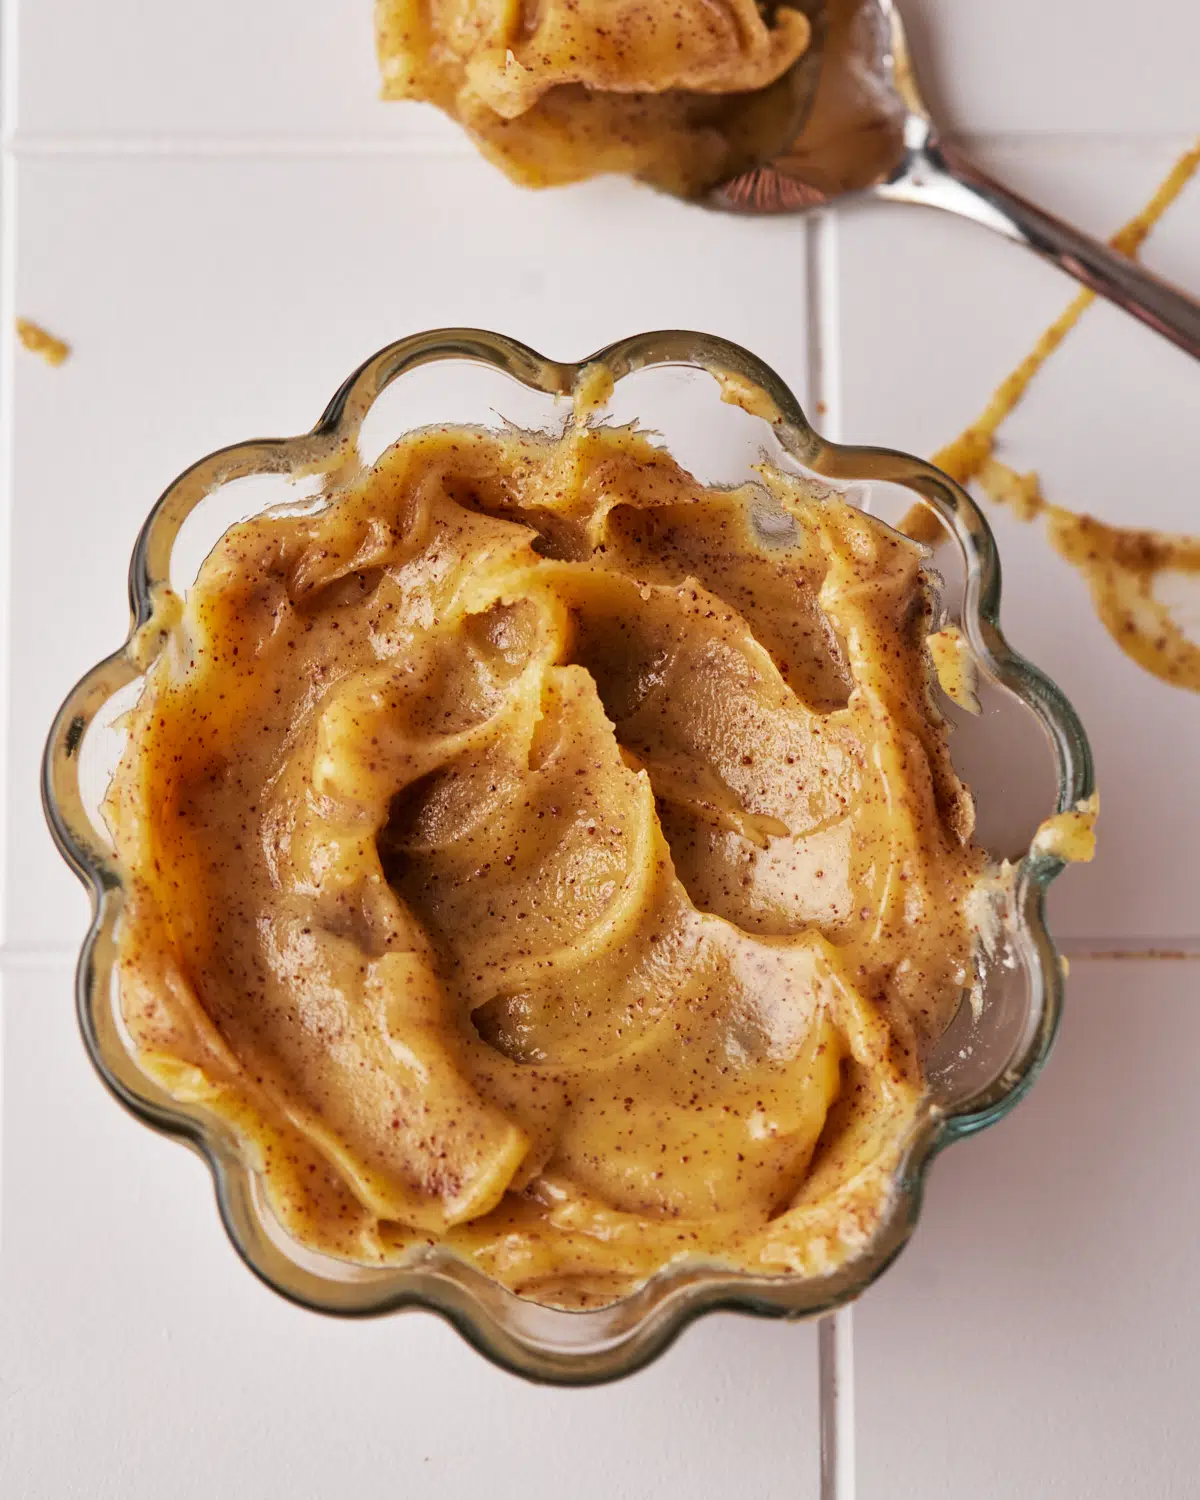
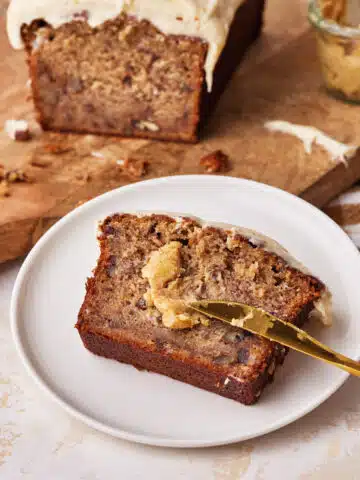
Frosting and Buttercream: Another place where brown butter can really shine is in frosting recipes (especially brown butter cream cheese frosting). The unique flavor cuts through the sweetness and instantly makes any frosting taste more sophisticated. Also, the little brown flecks look soooo pretty!
Spread On Top: Your brown butter doesn't have to be baked in. You can still get all the deliciousness by spreading it on top of scones or a slice of banana bread.

How To Substitute Brown Butter
Brown butter can usually be swapped 1:1 for regular butter, but the browning process does remove about 15% of the moisture content, so you need to be aware of that if substituting in a recipe that is sensitive to ratio changes.
For most recipes, you can use it as a 1:1 replacement.
When moisture matters (cakes and delicate bakes), you can add a little extra liquid to make up for what was lost. Add 1 tablespoon of milk or water for every 113g (1 stick) of butter.
Butter Temperature
If your recipe calls for melted butter, you can use the browned butter right away after browning. Alternatively, you can make it ahead of time and then just re-melt it like you would with regular butter.
If your recipe calls for softened butter, let the brown butter cool and solidify completely before using so it can aerate and add structure to the bake. Make sure you give it a good stir after it solidifies to distribute the milk solids evenly.

Storage
Store your browned butter in a mason jar or any airtight container and keep it in the fridge. It will be good in the fridge for up to 2 weeks.
Remember to stir well once it has solidified to make sure those yummy toasted milk solids are distributed evenly.
You can also freeze your browned butter. I like to pour it into an ice cube tray and freeze little cubes of brown butter to throw into a hot pan when cooking, and add a little flavor boost.
FAQ
About 5-8 minutes, depending on the amount of butter you are browning and the temperature of your stovetop. It's best to trust the visual cues and smells to know when it is done, rather than relying on a timer.
You can brown as much butter as you like at a time! Follow the recipe and compensate with 1 tablespoon extra liquid per cup of browned butter.
The main reason for using browned butter is that it adds depth and a more complex flavor to your baked goods. The additional flavor that is gained from just one additional step is well worth the few extra minutes added to the recipe time.
If you want to get nerdy about it, the flavor of brown butter comes from something called the Maillard reaction. This is what happens when proteins (from the milk solids) and sugars are heated together to make new flavor compounds.
That's why brown butter tastes nutty and complex - just like toasted marshmallows or a piece of toast!
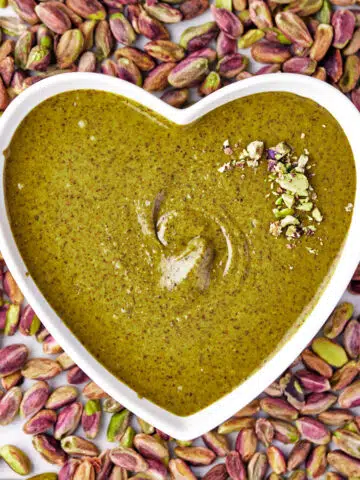
More Baking Components
Try some of these homemade baking ingredients to level up your next bake!

How To Brown Butter
Ingredients
- 227 g (2 sticks) Unsalted Butter
Instructions
- Cut the butter into small pieces and place it into a light-colored pan over medium heat.227 g (2 sticks) Unsalted Butter
- Melt the butter, stirring occasionally. Once melted, it will start to bubble and make a crackling sound - this is the sound of the water evaporating from the butter.
- Once the crackling subsides, the color will start to change quite quickly, it will go a golden brown color - keep watching it and stirring gently until it is a deep golden brown and you can smell the delicious nutty aroma.
- Remove from the heat and transfer to a heatproof bowl immediately, make sure you scrape the bottom of the pan to get all the little brown specks out - these are the milk solids and they are what add all the flavor to the brown butter.
- If you are using it in a recipe that calls for melted butter, you can use the brown butter immediately. If you need room-temperature butter, let it sit on the counter until it solidifies again. Give it a thorough mix once it is solid to disperse all the brown flecks of milk solids evenly throughout the butter.

Fenyw says
I love these recipes and that i can have them emailed to me. What i would really love is to have some kind of printable version that is achievable. (When i tried to print, the recipe was 28 pages long! I know i can chose which pages i want, but the recipe id so fragmented and as i use my phone for this the script is too small to attempt to deselect the page from printing)
Jules Grasekamp says
Hi Fenyw,
Thank you for your comment - I'm so glad you enjoy the recipes!
If you scroll down to the recipe card at the bottom of any post and click the 'Print' button from there, it will generate a consolidated printable recipe card for you to print easily.
Hope this helps!
Jules
Fenyw says
Hi Jules,
Thank you for the information, im an oldie, and just couldnt fathom out how to do this 🙄 I knew there'd be a way to do it - i just couldn't find it. Thank you so much, im going to go and try to print out a few of these delicious recipes 😬
Claudia says
Hi Jules! I made brown butter for the first time following your recipe. It was easy, and I couldn't believe how much of a difference it made. I mixed it with mascarpone, inulin powder, vanilla, and one tablespoon of maple syrup to make a sugar-free frosting for my GF chai cake. It was out of this world good! Thank you, I love your website.
Jules Grasekamp says
Hello again!
I agree, browning the butter is such a quick extra step but makes a world of difference - so happy you enjoyed it 🙂
Jules