

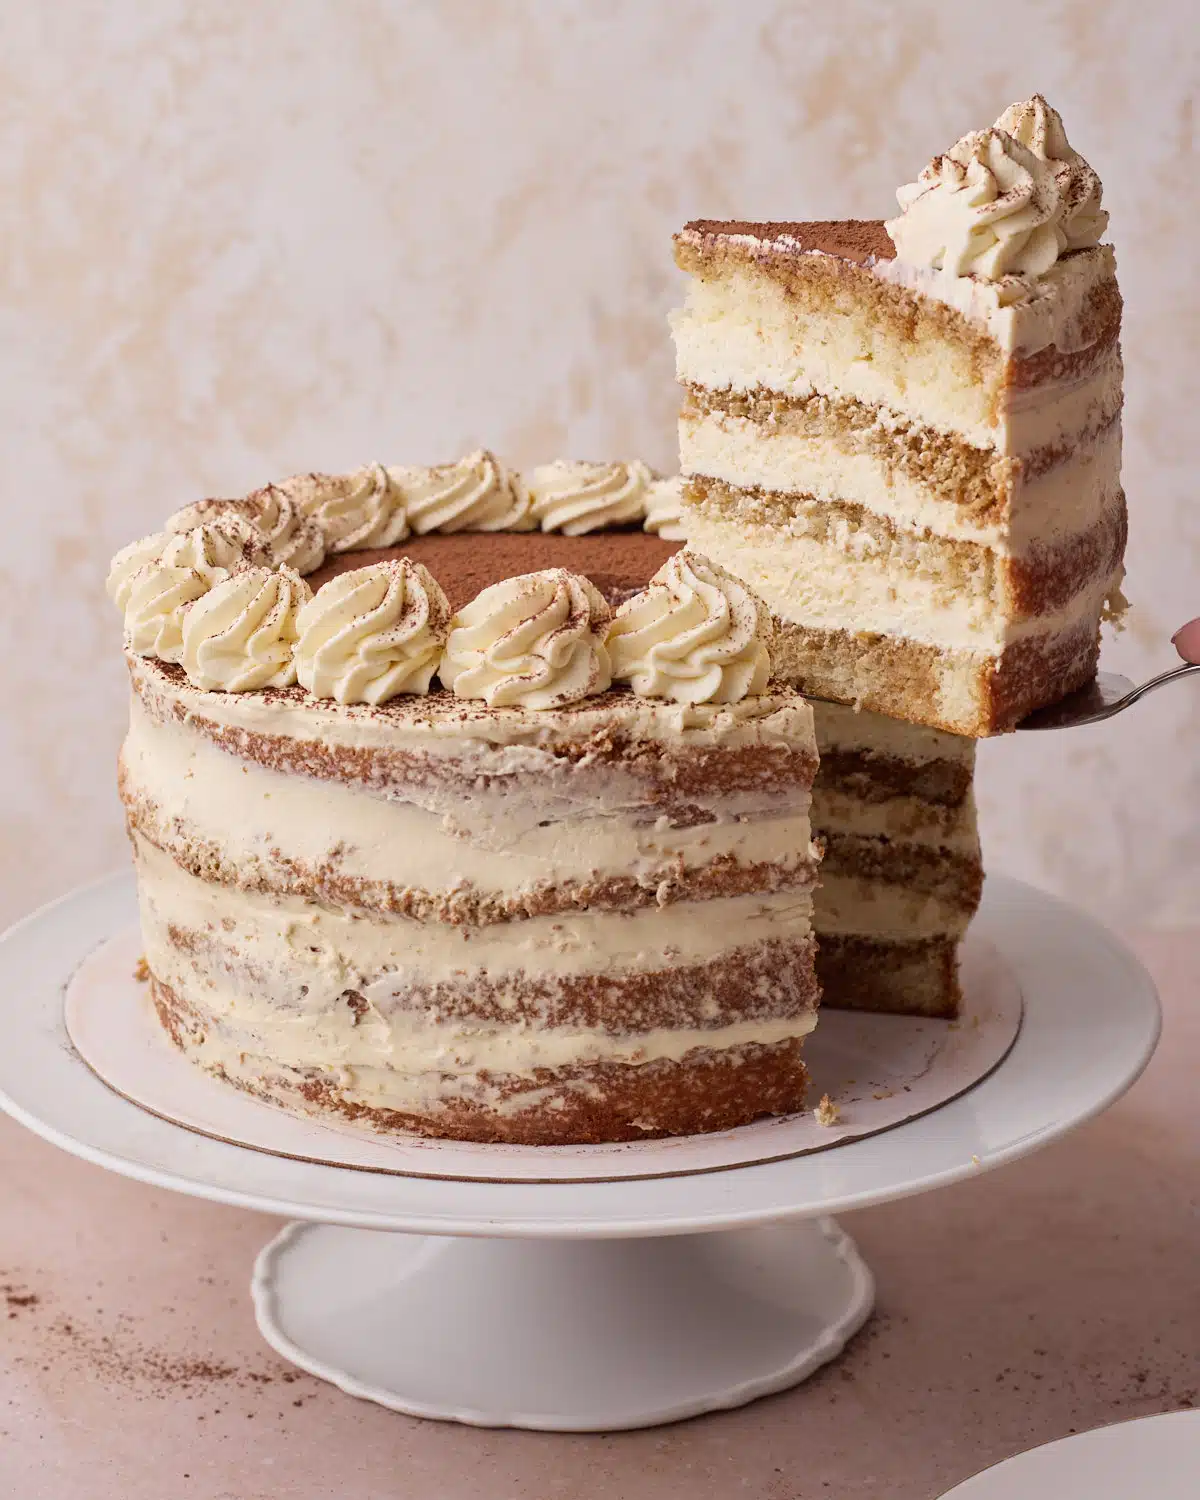
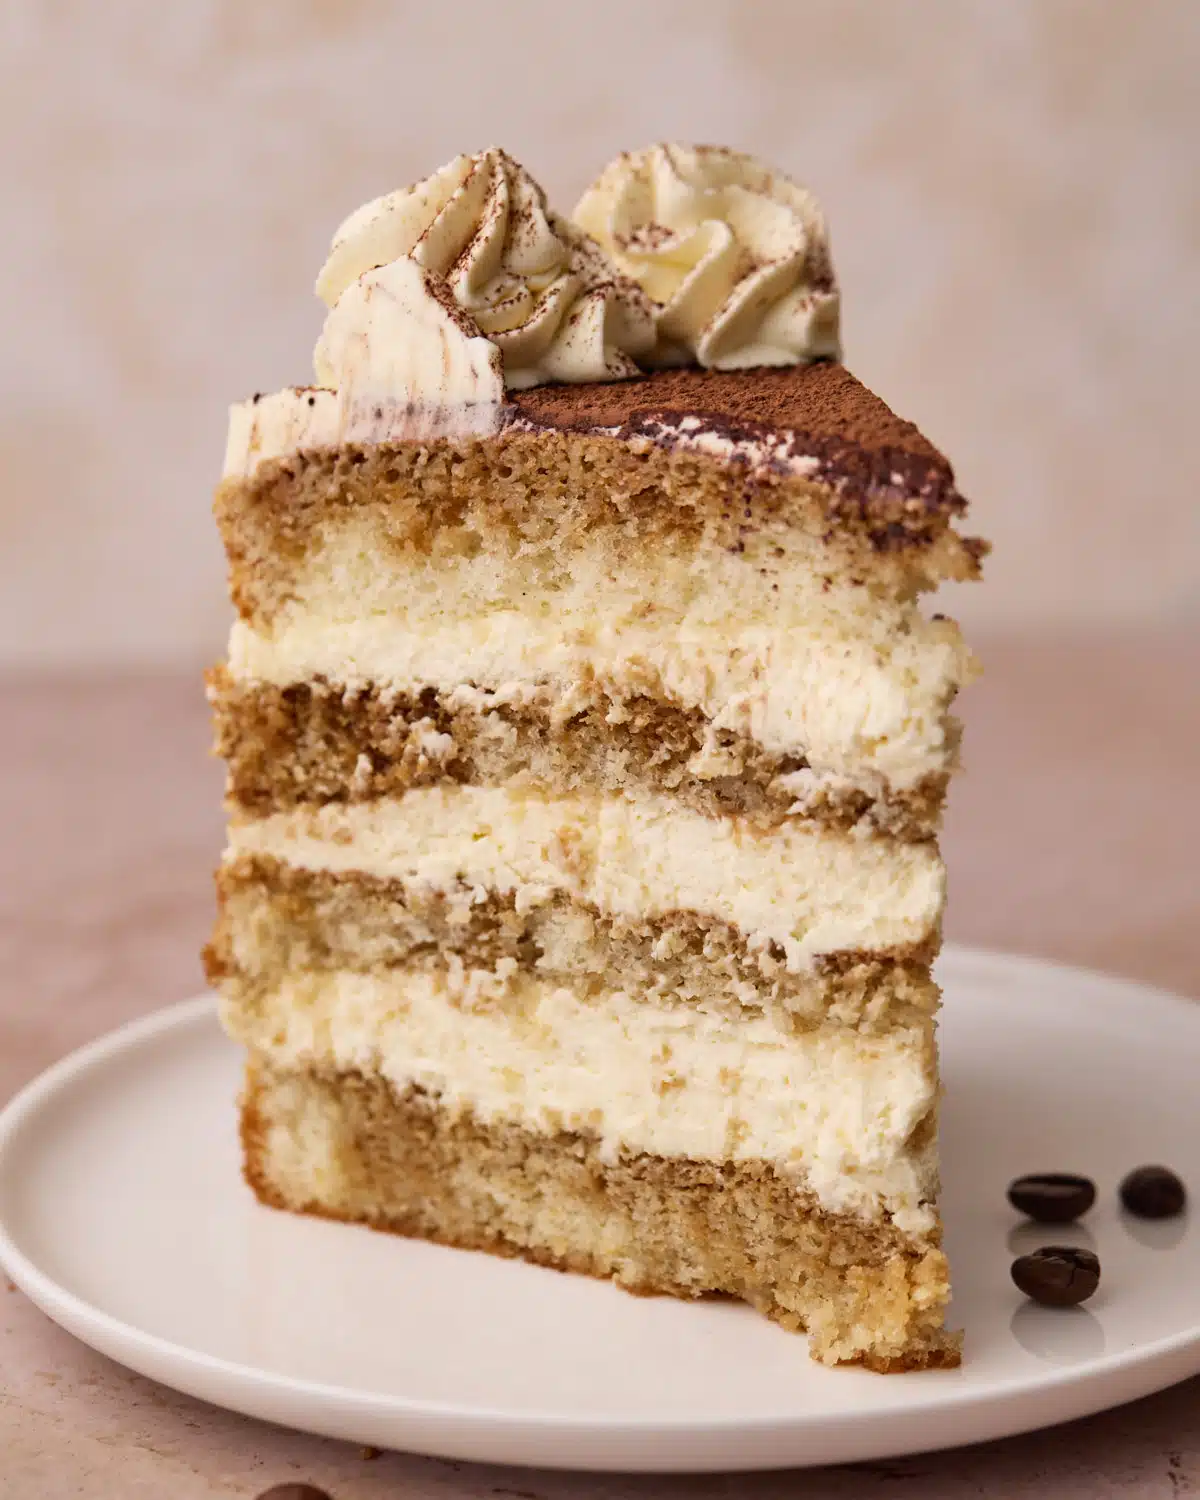
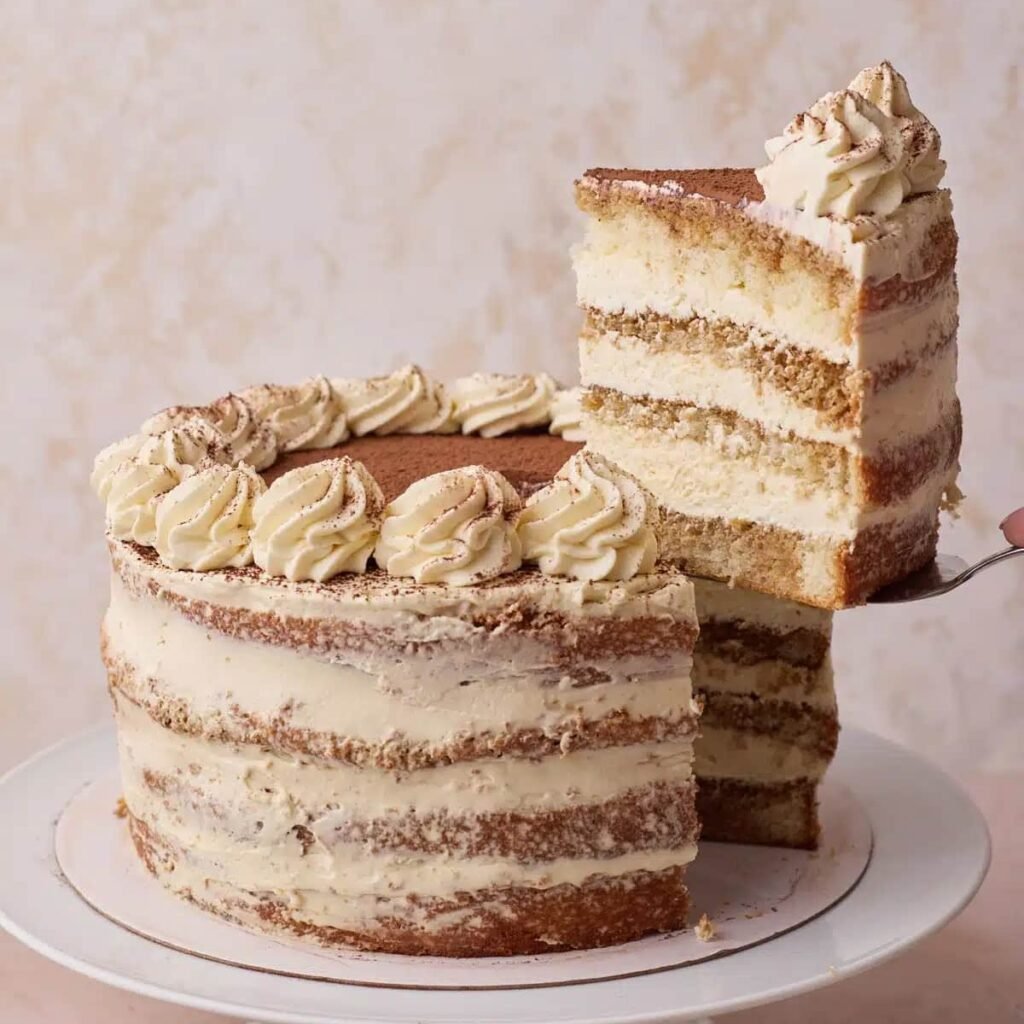
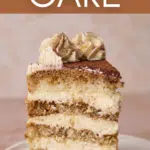
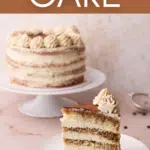
This Tiramisu Cake has all the flavor of classic tiramisu - espresso-soaked sponge, creamy mascarpone filling, and a hint of amaretto - but in a stunning layer cake that slices cleanly.
Tiramisu Cake Recipe Snapshot
What it is: Traditional tiramisu made into a layer cake that is stable and slices cleanly.
Why you'll love it: This is not a dupe - it has all the real elements of an authentic tiramisu, just developed without raw eggs.
How to make it: Make the genoise sponge (what ladyfingers are made of), then soak it with coffee and stack it with silky mascarpone cream.
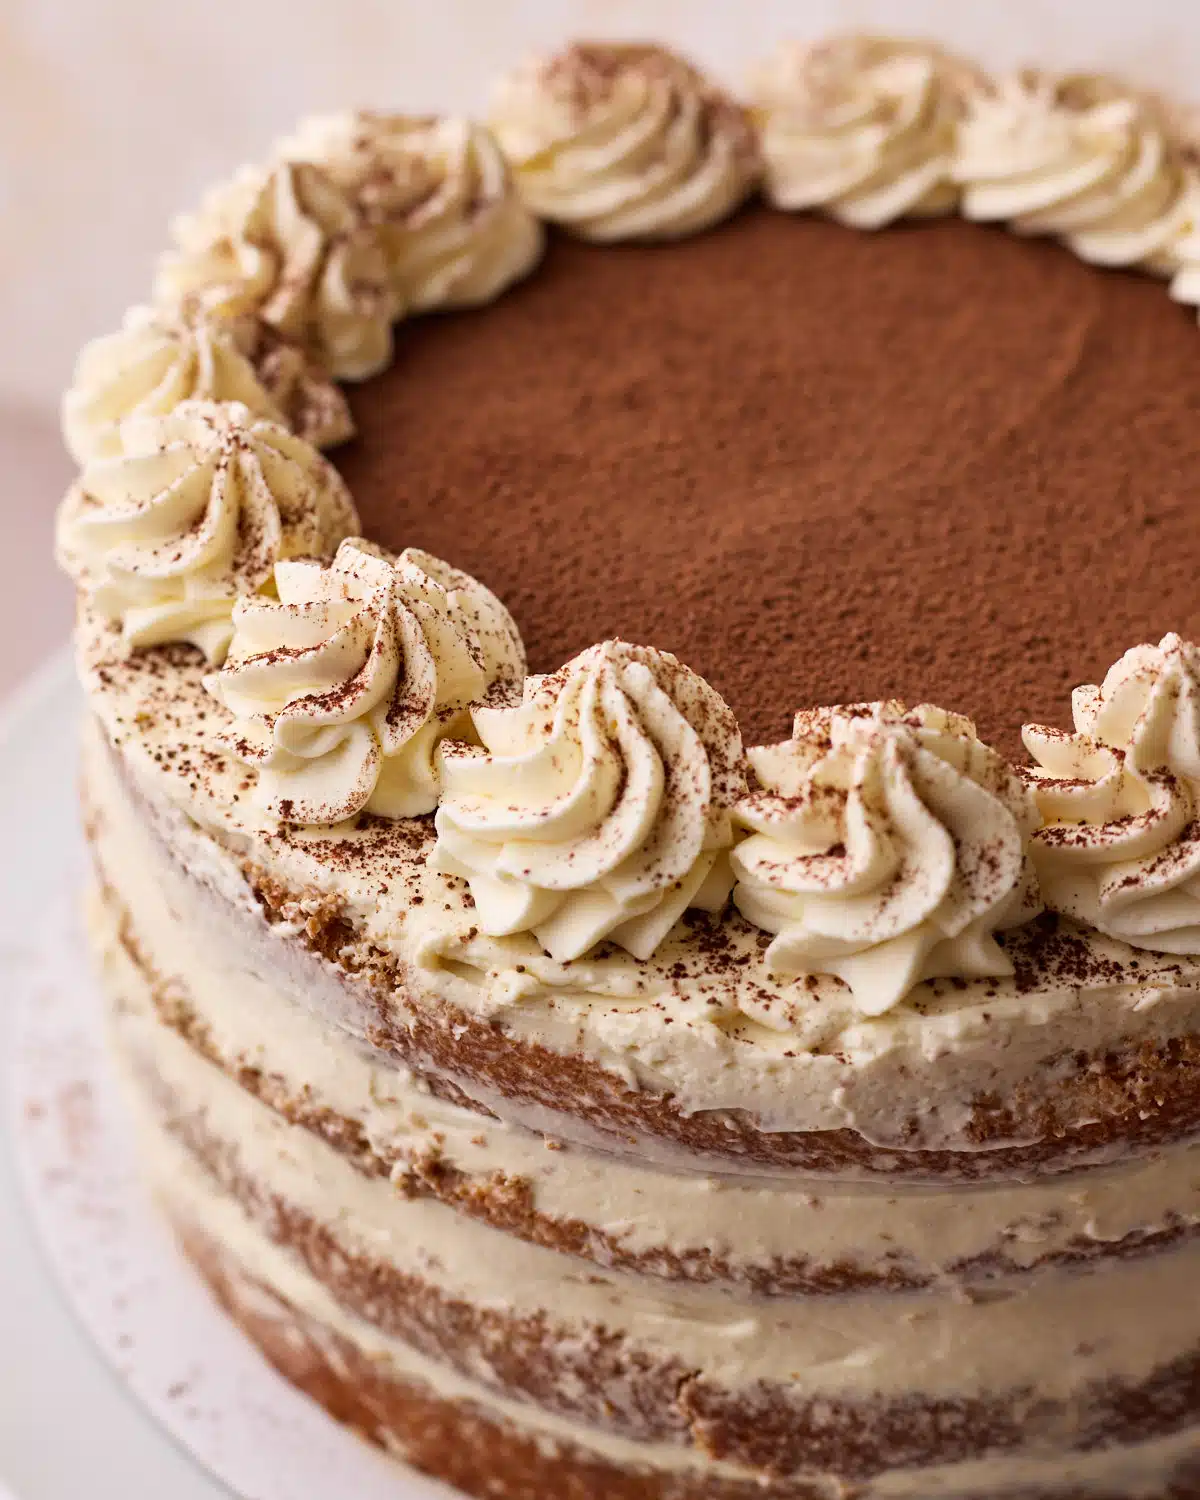
Classic tiramisu is delicious, but let's be honest - it's not the easiest dessert to slice and serve. I wanted a version with all the flavour of traditional tiramisu, but with the structure of a proper layer cake.
After a lot of testing, this recipe makes a sponge that is light but sturdy, a coffee soak that adds flavour without turning the cake soggy, and an authentic mascarpone cream that's rich, smooth, and stable enough to slice cleanly.
Why This Recipe Works
Making tiramisu as a cake isn't just about stacking layers - it requires balancing moisture, structure, and stability. Here's why this recipe works:
- Unlike other cakes, genoise sponge is naturally light and designed to soak up liquid without going soggy. This is exactly what the ladyfingers are made of (the base of layered tiramisu recipes).
- The coffee soak keeps the sponge layers moist and full of flavor.
- Cooking the egg yolks means the mascarpone cream has an authentic tiramisu flavor, without the risk of raw eggs.
- Replacing the egg whites with whipped cream keeps the cake stable, sliceable, and safe to eat.
- Chilling transforms the texture - just like classic tiramisu, as it chills the layers set and flavors meld together.
Reader Review:
Wow…I am so grateful for having found this recipe!!! Explained so well and in great detail. Thank you. Can't wait to make it this upcoming Thanksgiving. Sounds like it will be a hit!
⭐⭐⭐⭐⭐ - Yaya
Jump to:
Ingredients
I tried to make this tiramisu cake as authentic as possible, so you'll see all the same ingredients as a classic tiramisu, with one exception. This recipe uses whipped cream instead of egg whites to make it stable, sliceable, and safe to eat.
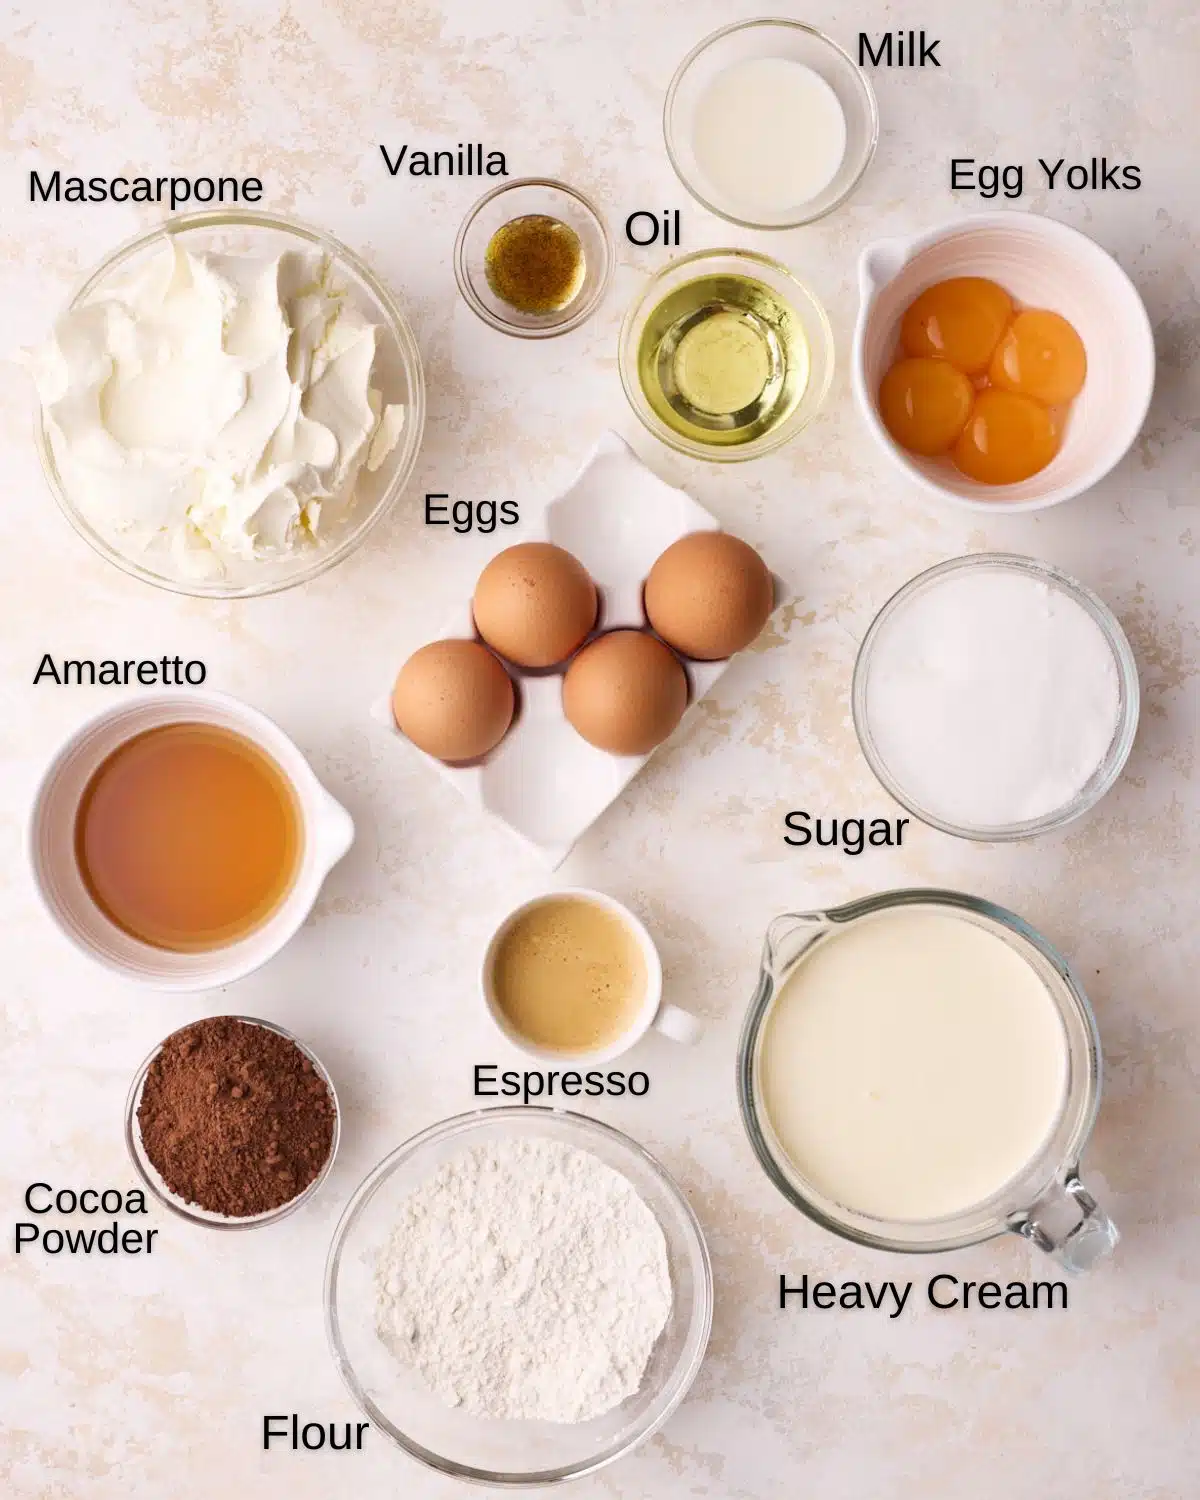
- Eggs - Whole eggs create all the rise in the sponge, and the egg yolks add richness to the filling. Use fresh large eggs (or medium if you're in the UK).
- White Sugar - Granulated sugar (Caster sugar) will dissolve into the eggs over heat.
- Cake Flour - will keep the sponge light with a fine crumb. 00 flour or all-purpose flour (plain flour) will also work.
- Vegetable Oil - or any neutral oil.
- Whole Milk - for a fluffy texture.
- Vanilla - pure vanilla extract or vanilla bean paste.
- Espresso - Fresh shots of espresso, or instant espresso powder dissolved in hot water.
- Amaretto - The alcohol is optional, but I am obsessed with a bit of Amaretto in my desserts. You can also use dark rum, marsala wine, brandy, or even coffee liqueur.
- Mascarpone - It should be thick, not watery. If it is too soft, you can strain it with a cheesecloth to remove the excess liquid. I don't recommend substituting with cream cheese; it's just not the same.
- Heavy Cream - or heavy whipping cream, or double cream. Anything with less than 35% fat will not be firm enough to hold its shape.
- Cocoa Powder - For dusting on top of the cake.
See the recipe card for the full recipe and measurements in both cups and grams (though I highly recommend using a kitchen scale).
Things You'll Need
- Stand mixer - with a whisk attachment
- Saucepan
- Heatproof Bowl
- Large Bowl
- Rubber Spatula
- 8-inch Cake pans (x2)
- Whisk
- Sieve
How To Make Tiramisu Cake
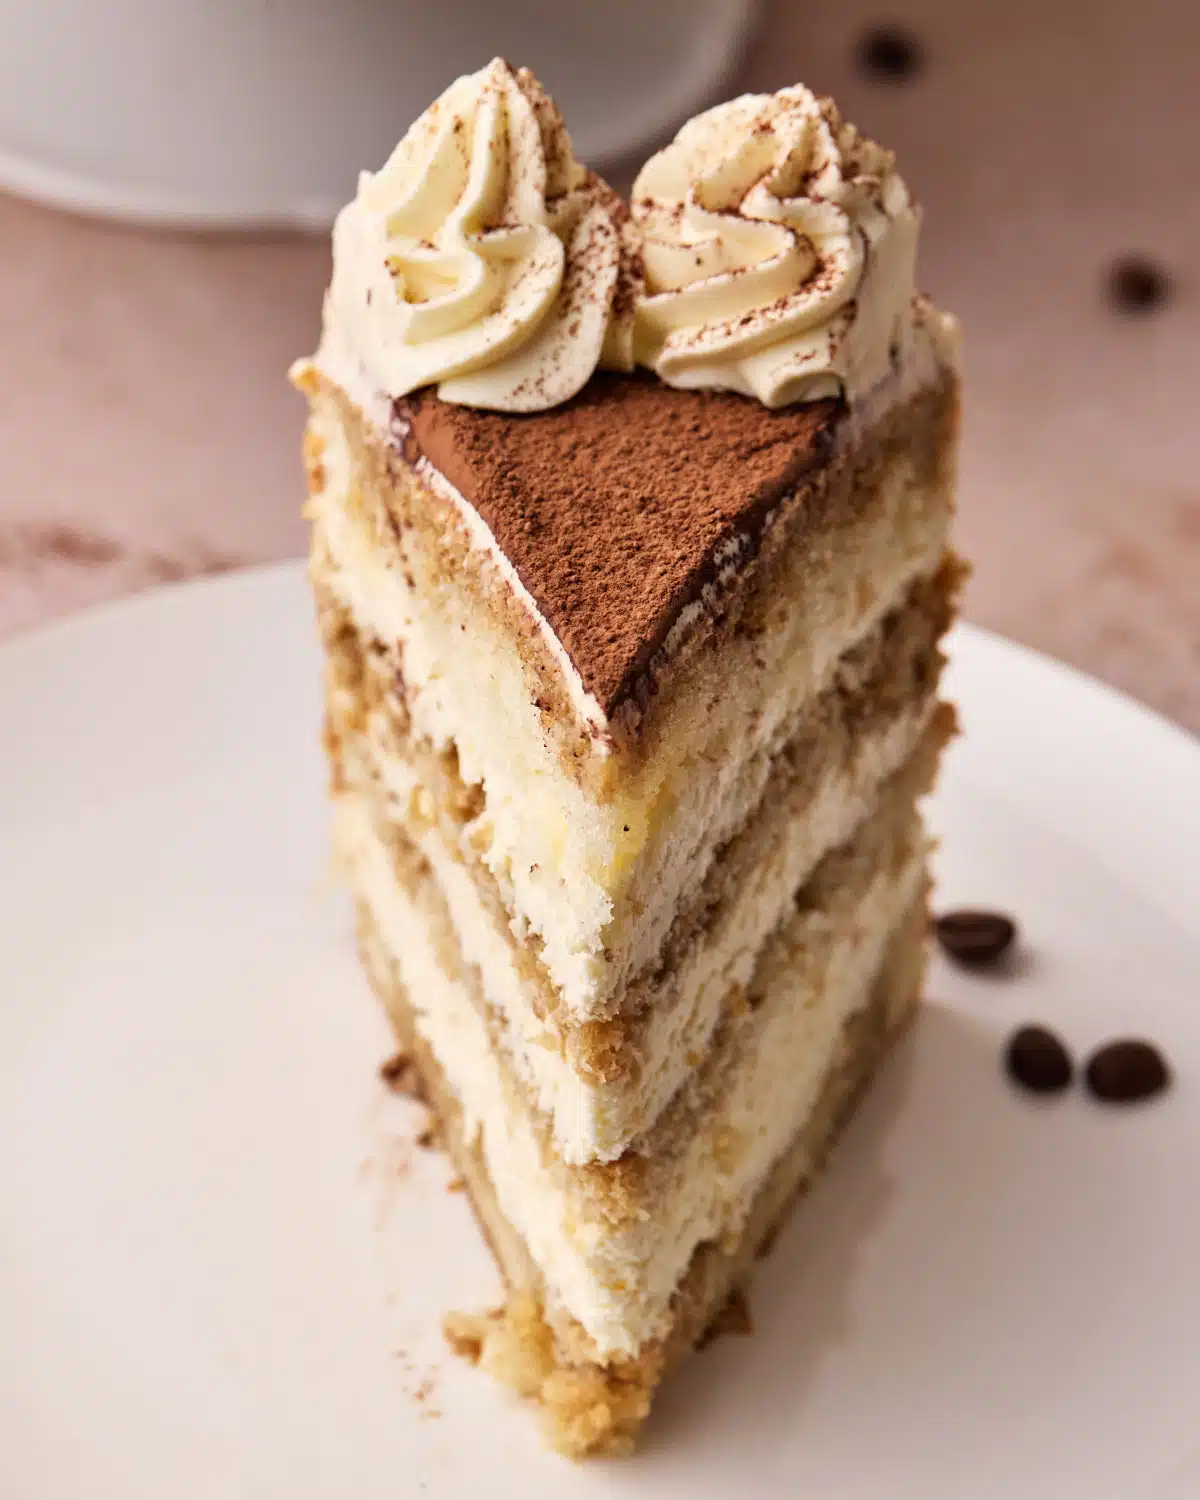
There are three elements to this dessert: the genoise sponge, the coffee soak, and the creamy mascarpone frosting. I'll break each part down step-by-step.
Genoise Sponge Cake
This tiramisu cake uses a 1.5x version of my Genoise sponge cake recipe, split into two cake pans.
It is a straightforward recipe when you have clear instructions and visual cues, but if you'd like a simpler version, you can try my easy sponge cake recipe.
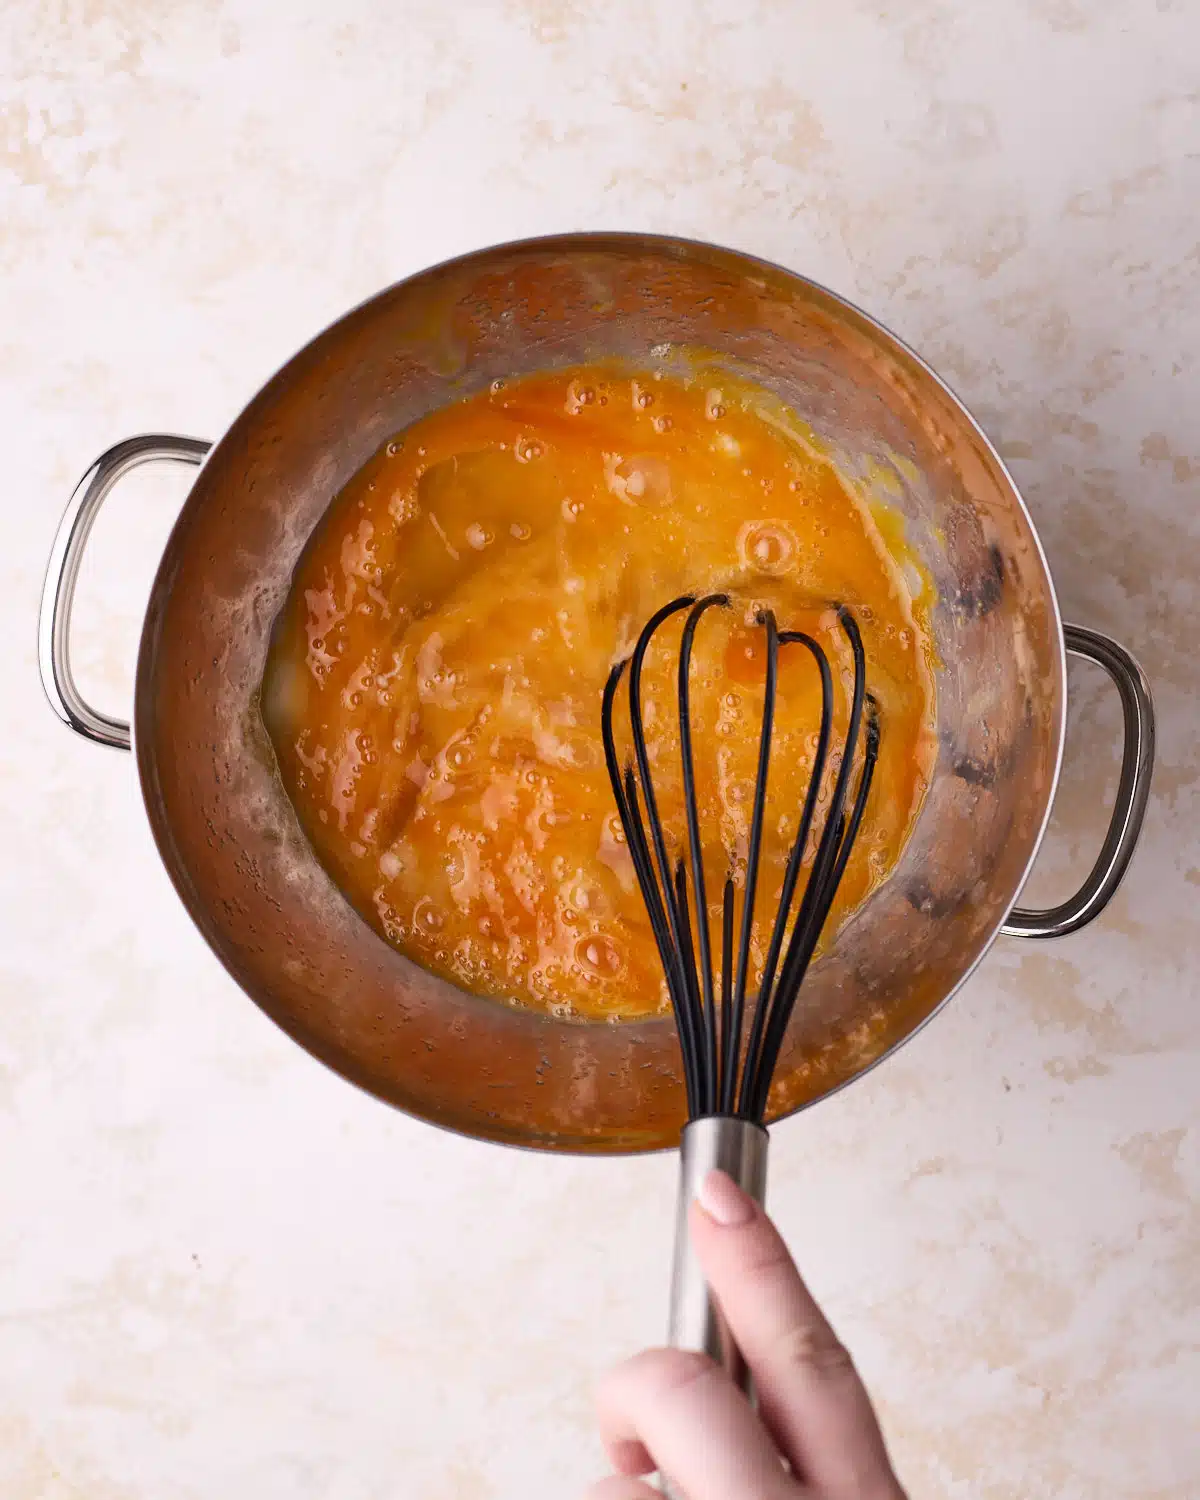
Dissolve Sugar
Whisk eggs and sugar over a double boiler until the sugar dissolves. Test it by rubbing a little bit between your fingers; it should be warm and not gritty at all.
Whip Eggs and Sugar
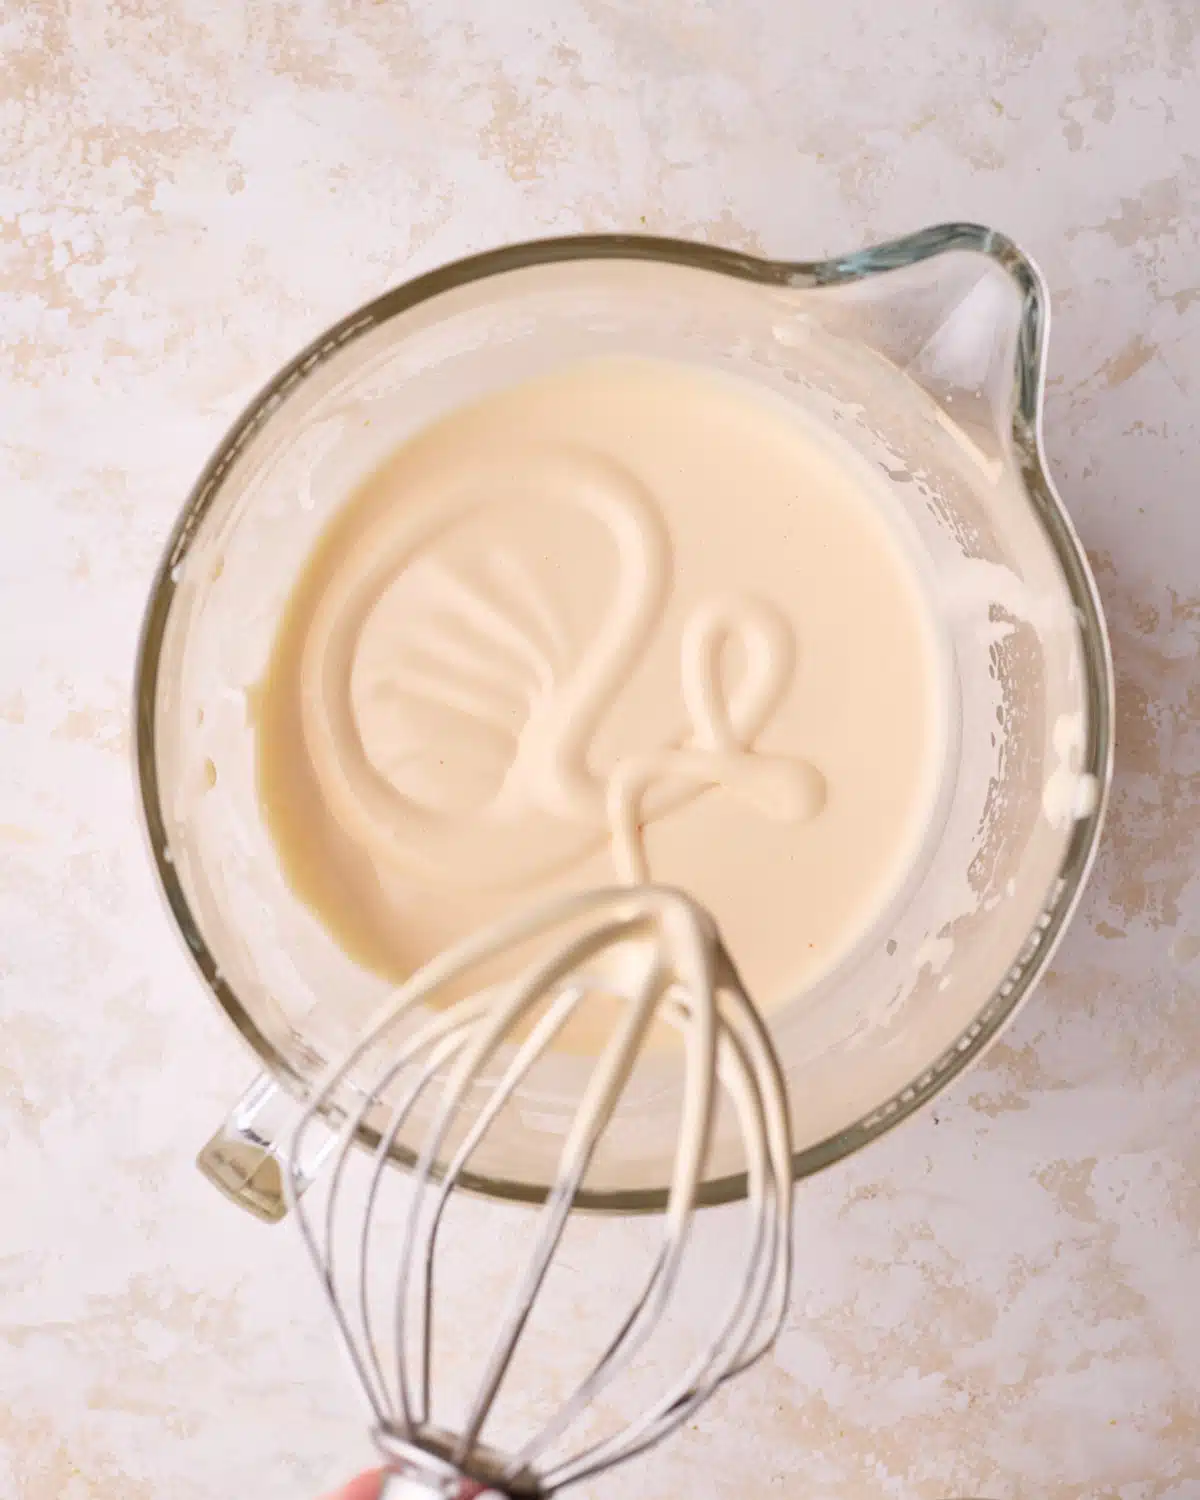
Transfer the mixture to a stand mixer and whip on high speed for 5 minutes, then reduce to low speed for 10 minutes to stabilise the foam.
You'll know it's ready when the mixture is pale, thick, and leaves a trail that sits on the surface for a few seconds. If it's still thin or bubbly, keep whipping.
Fold In The Flour
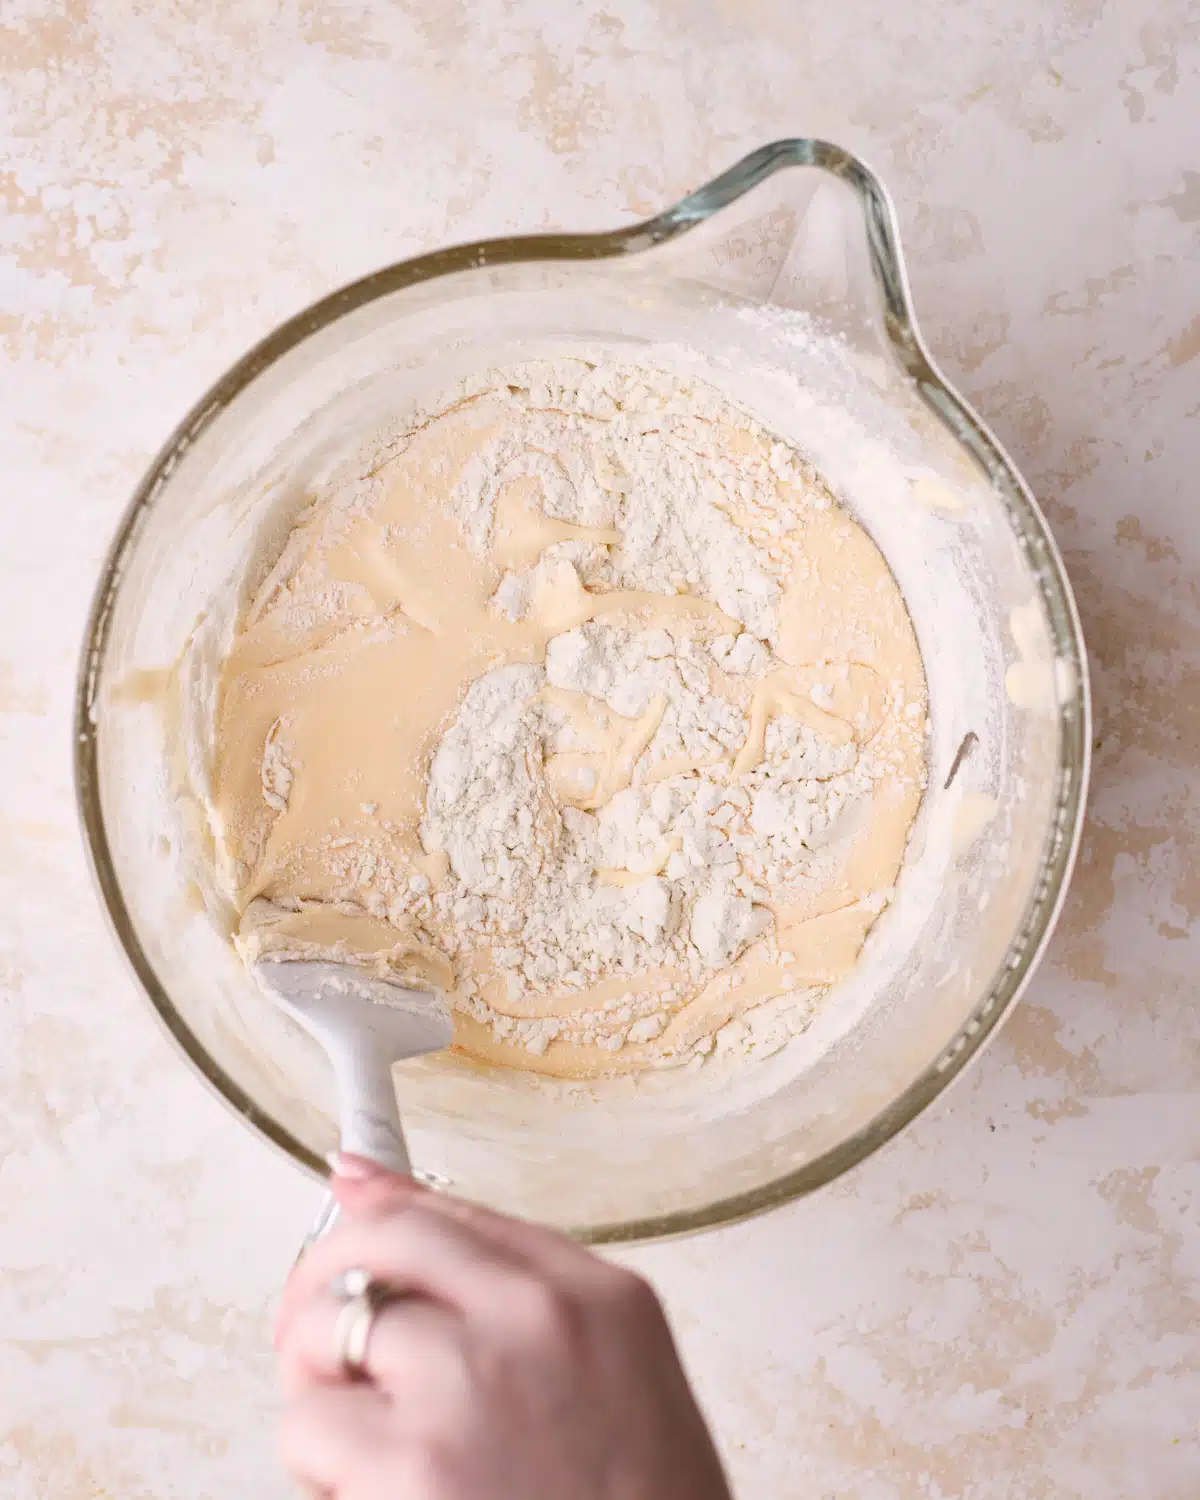
Gently fold in the sifted flour. Use a rubber spatula to carefully scoop the batter from the bottom of the bowl, rotating as you go.
Be very careful not to knock the air out - if it deflates, the cake will be dense and rubbery.
Wet Ingredients
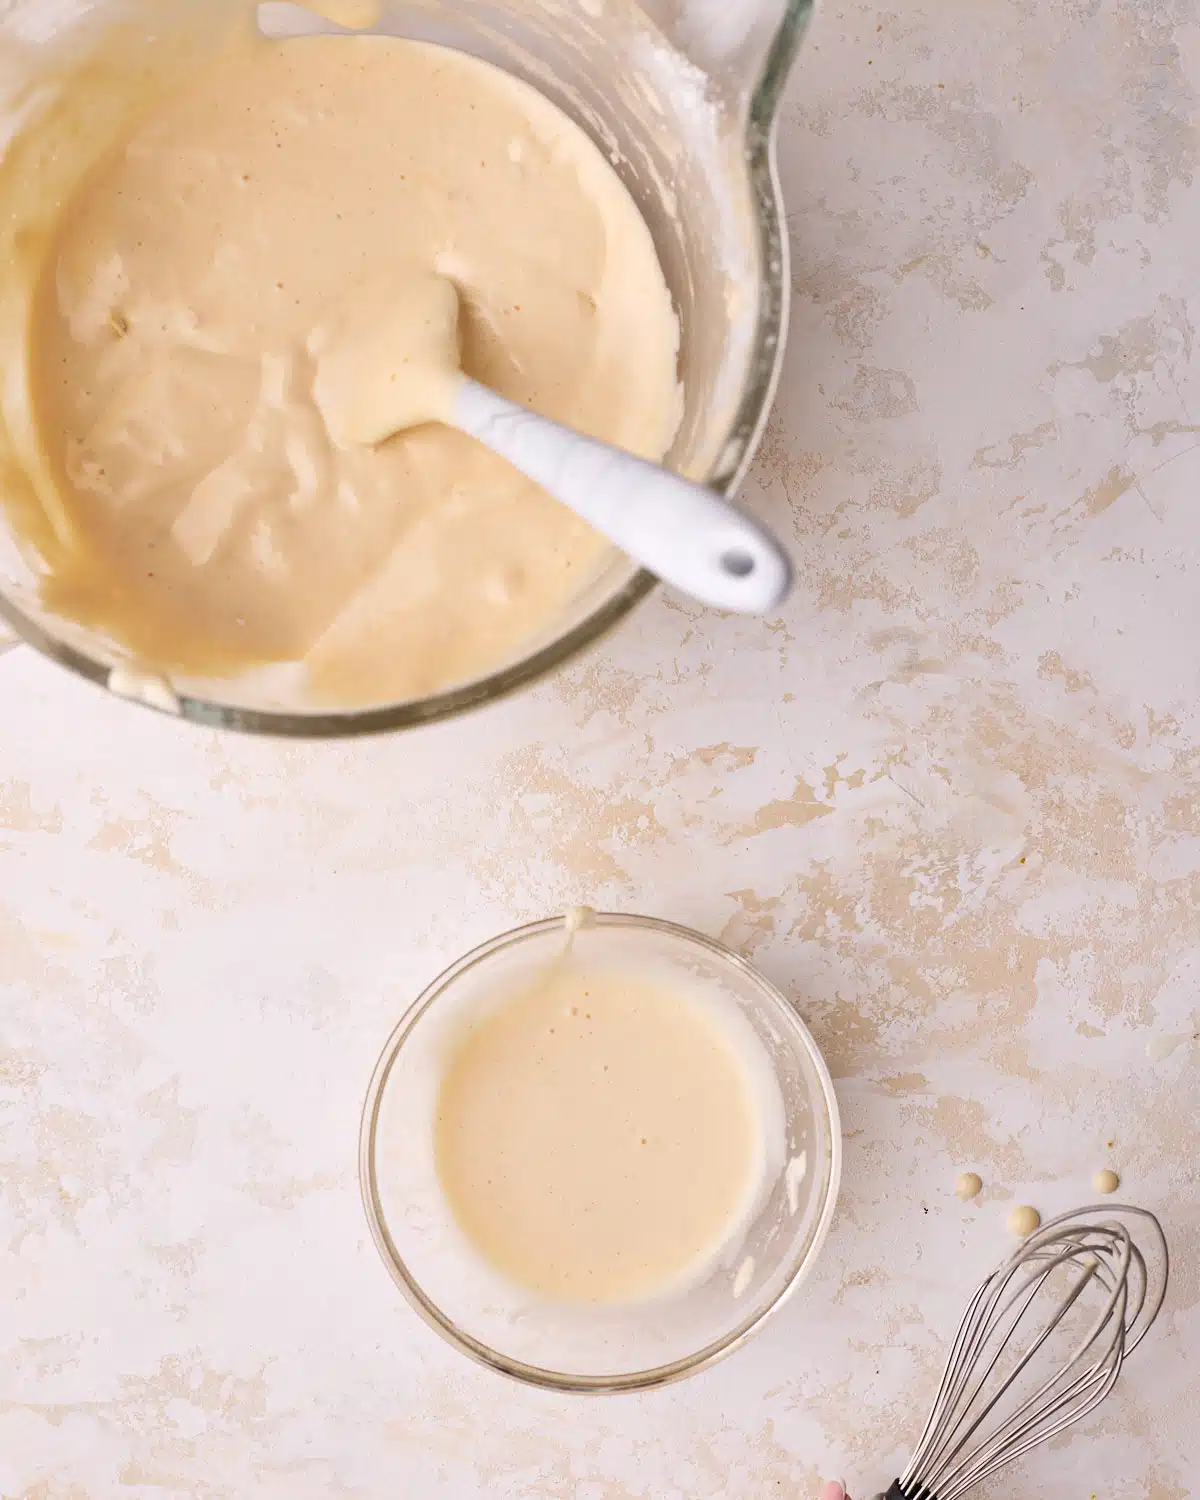
Combine the wet ingredients in a separate bowl, then add a dollop of cake batter (a few tablespoons) and mix everything together thoroughly.
This is called 'sacrificing' the batter - the air will be knocked out of it, but it will help the liquids to incorporate into the rest of the cake batter more easily.
Fold to Ribbon Stage
Pour the 'sacrificed' batter back into the main batter and fold in gently until combined.
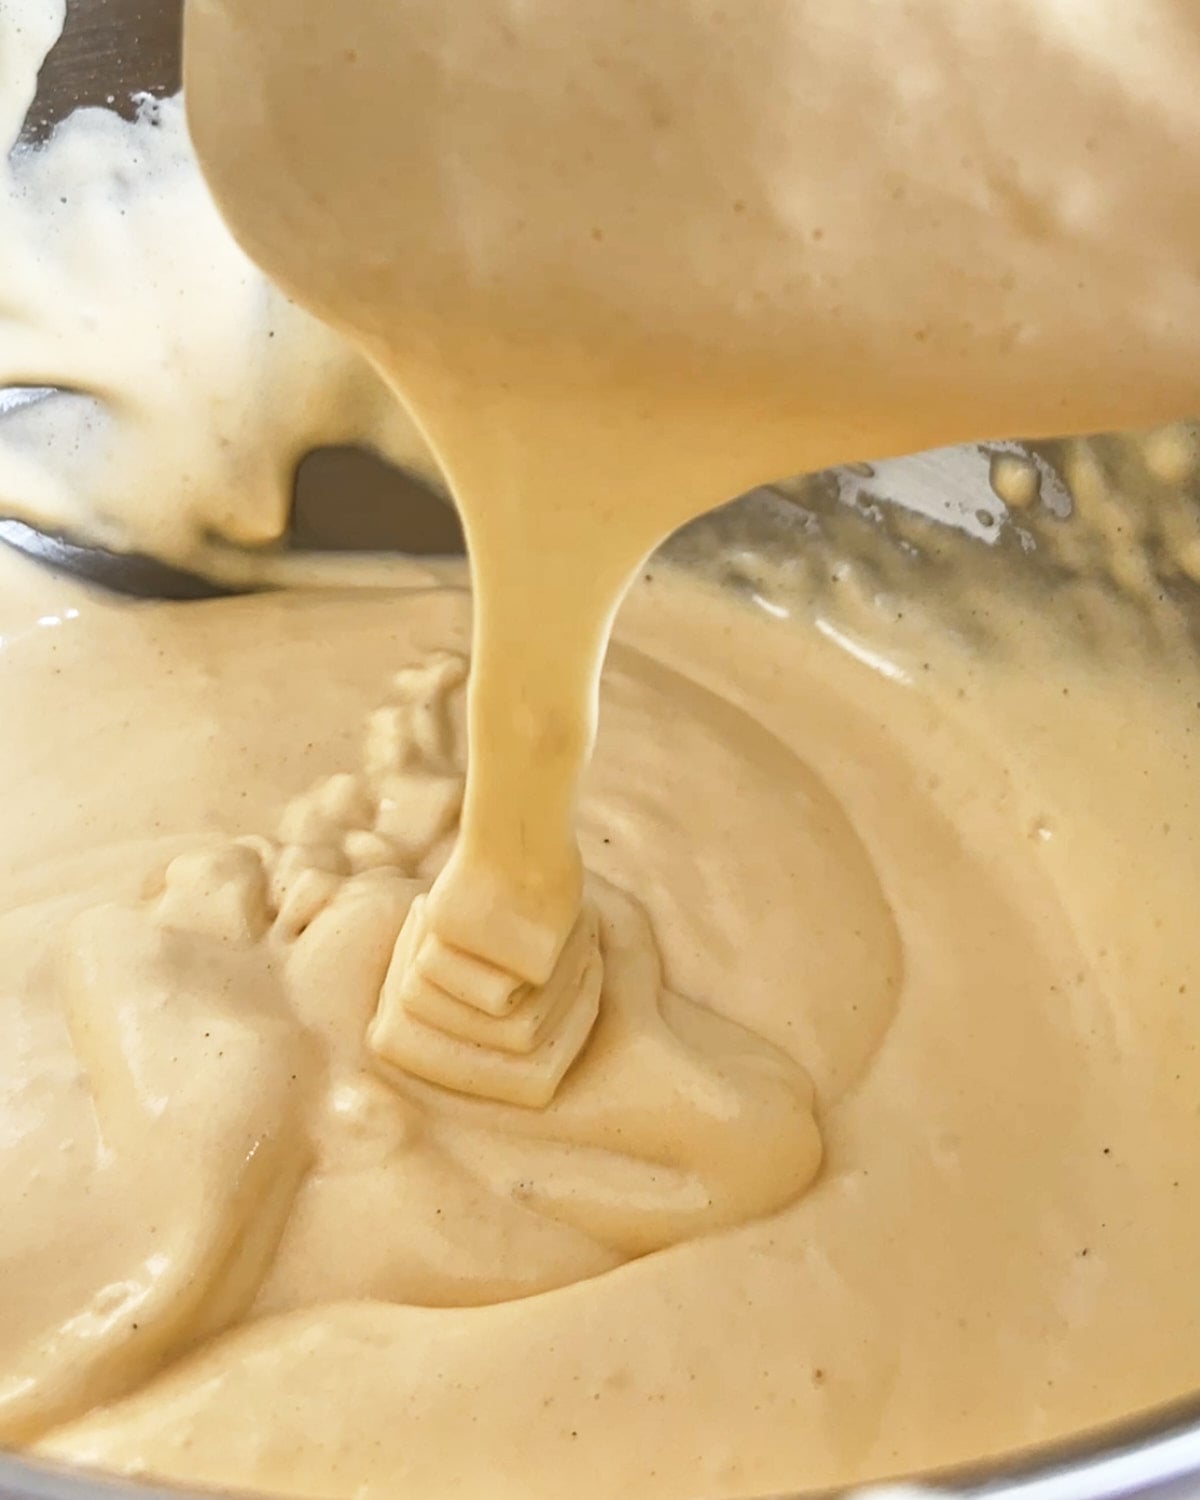
Keep folding until the genoise batter reaches the 'ribbon stage'. This means that if you lift your spatula out of the batter, it should flow off steadily in a ribbon shape.
Bake
Divide the batter between two greased cake pans, and tap them on the counter a few times to release any large air bubbles.
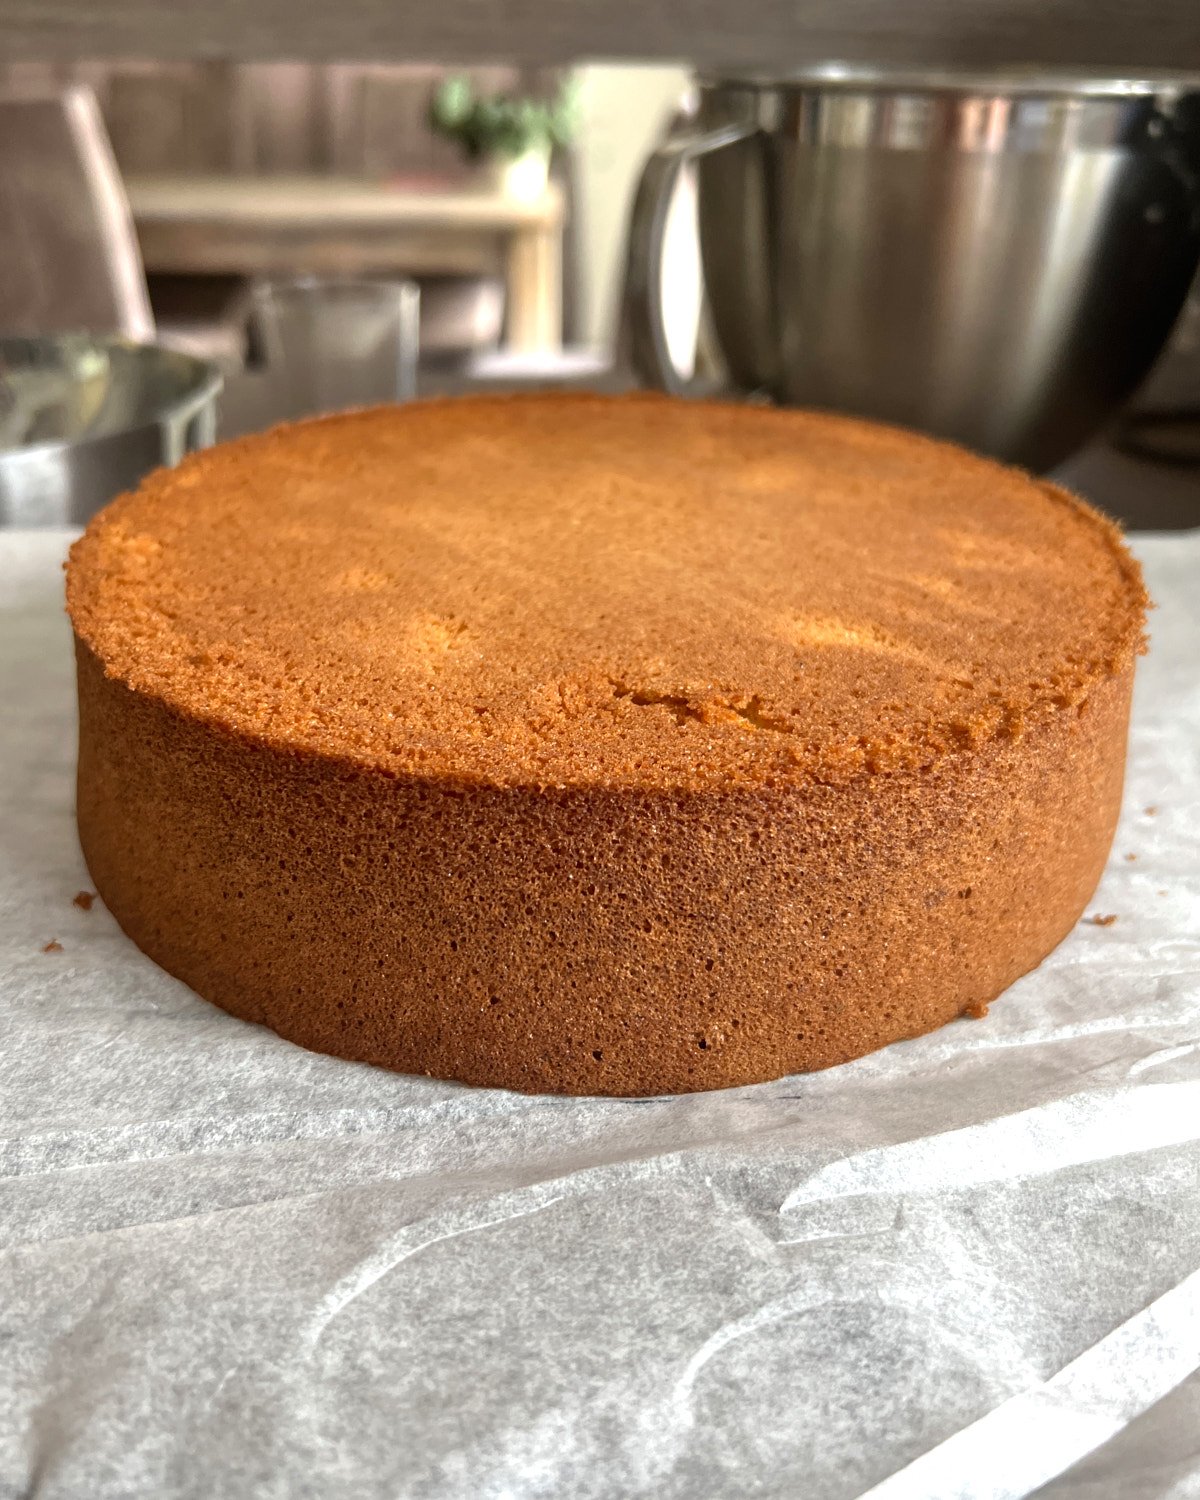
Bake for 20-25 minutes or until the cakes are golden brown all over and pulling away from the edges of the pan just slightly. You'll know they're ready when they are springy to the touch and bounce back right away if you press on them lightly.
Cool the cakes upside down on a wire rack lined with parchment paper. After a few minutes, the pans should be cool enough that you can lift them off and let the cakes cool completely.
Make the Espresso Soak
The espresso soak should be nice and strong, as it brings all of the coffee flavor to the tiramisu cake. This is a hugely underrated part of the tiramisu structure, as it forms the texture and the bulk of the flavor - just like the strawberry syrup in my strawberry tiramisu recipe.
If you are using instant espresso powder, make sure the volume of liquid is the same.
It needs to cool completely before using, so I like to make it before starting the filling.
Combine Espresso and Amaretto
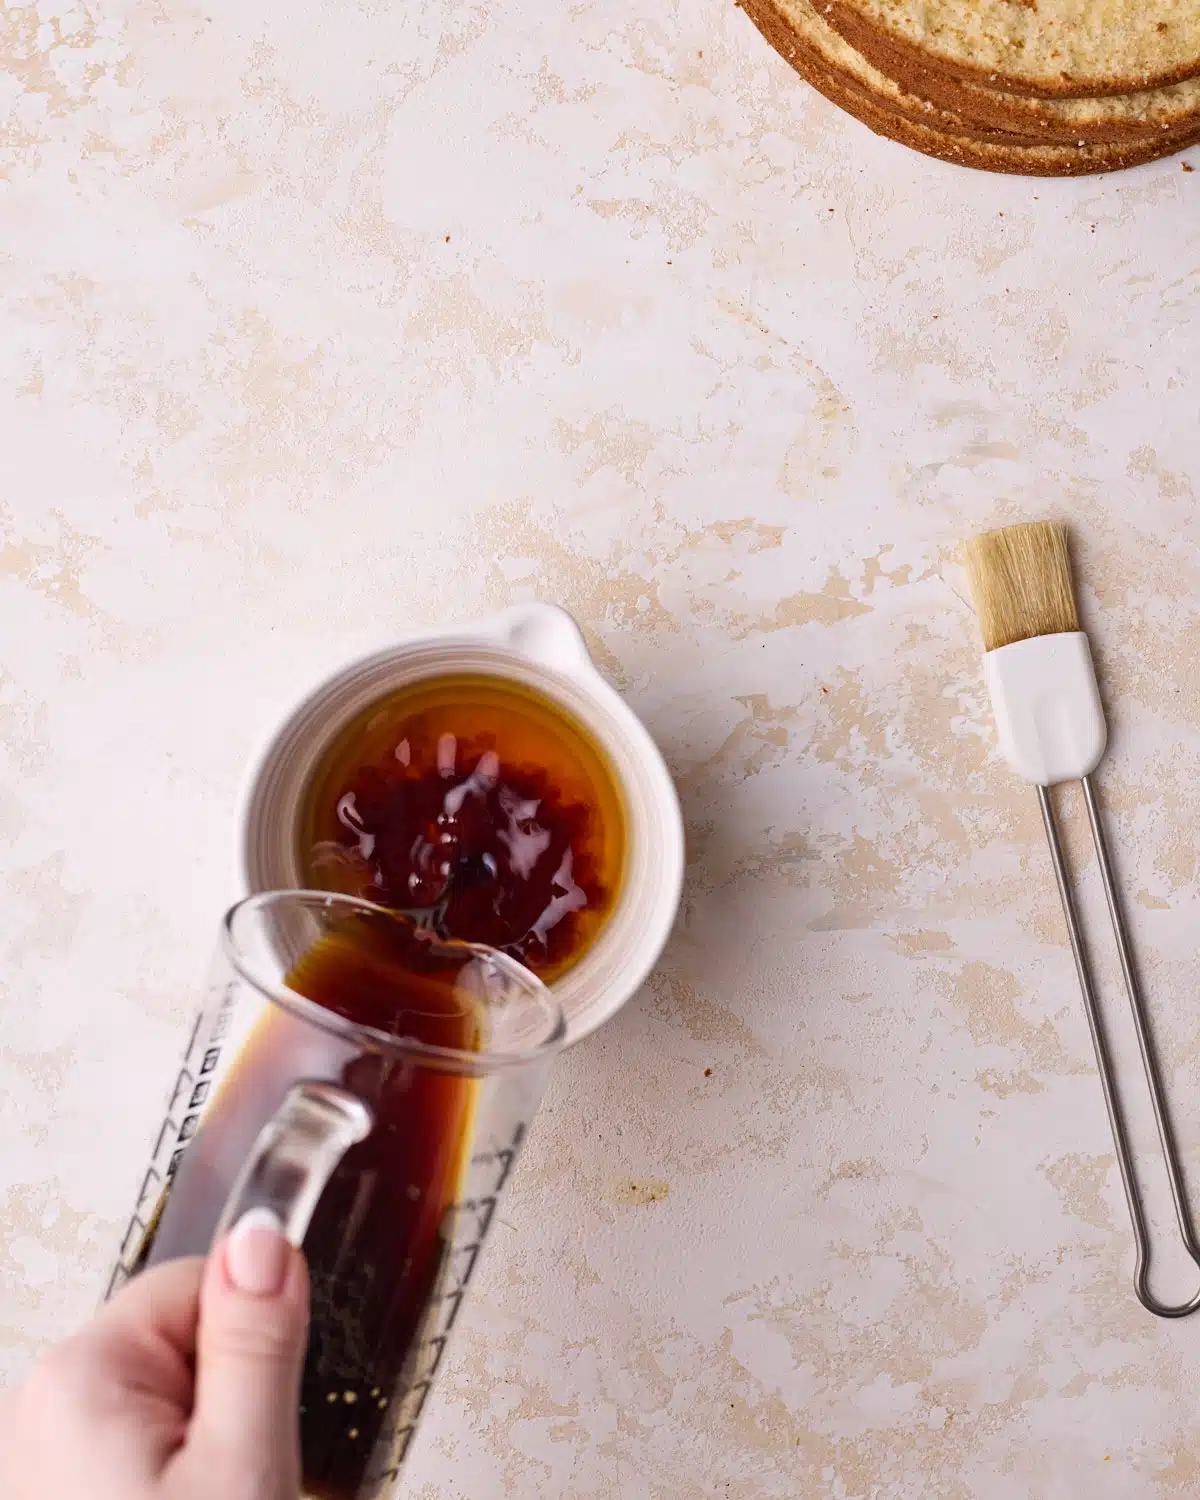
Stir together the espresso and amaretto until fully combined.
The coffee should be strong and slightly bitter, as this balances the sweetness of the mascarpone cream.
Let it cool completely before using, so it will soak into the sponge evenly.
Make the Mascarpone Cream
I wanted this cake to be as close to authentic tiramisu as possible, so the mascarpone cream uses egg yolks, but we cook them so they are safe for everyone to eat.
If you'd like a version without eggs, you can try the mascarpone whipped cream from my fresh strawberry tiramisu or Tiramisu Brownies recipe.
It's best to make the mascarpone cream right before stacking the cake layers.
Cook Egg Yolks
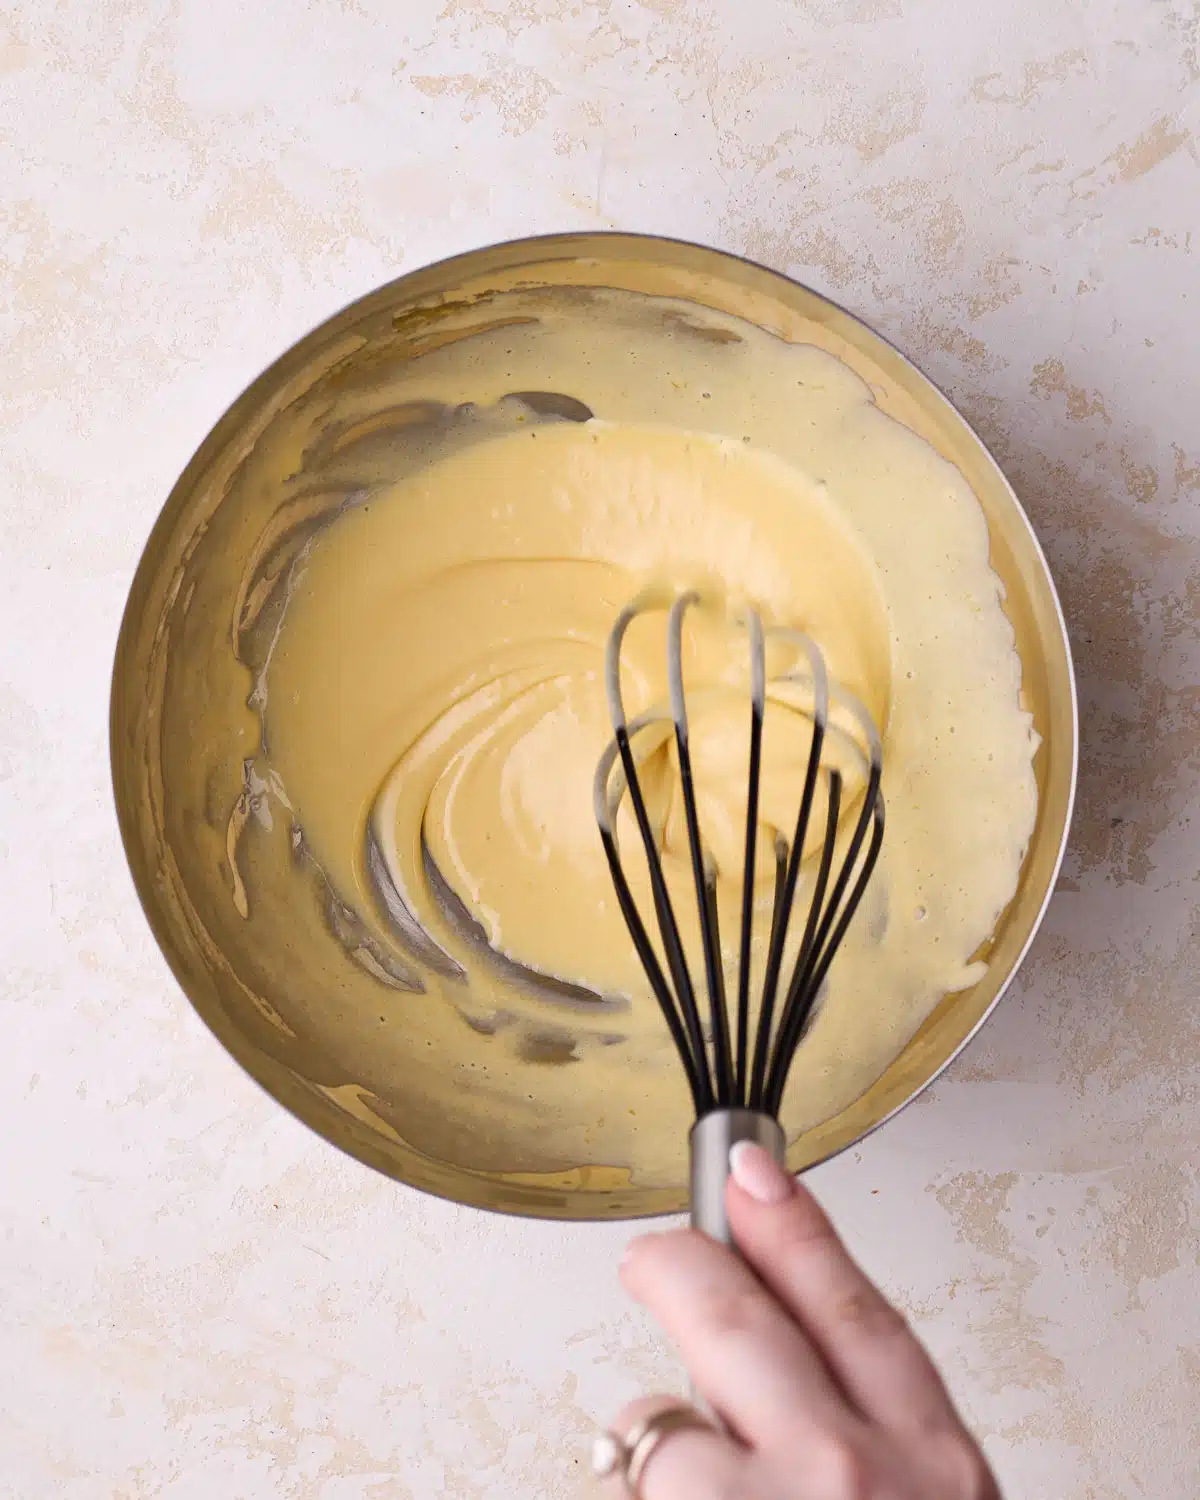
Create another double boiler, as we did for the cake, but this time add only egg yolks and sugar. Whisk constantly while warming until the sugar dissolves and the mixture is pale and thick.
Remove from the heat and keep whisking until it is thick enough that a trail drizzled on top takes 1-2 seconds to sink back in.
Add Yolks to Mascarpone
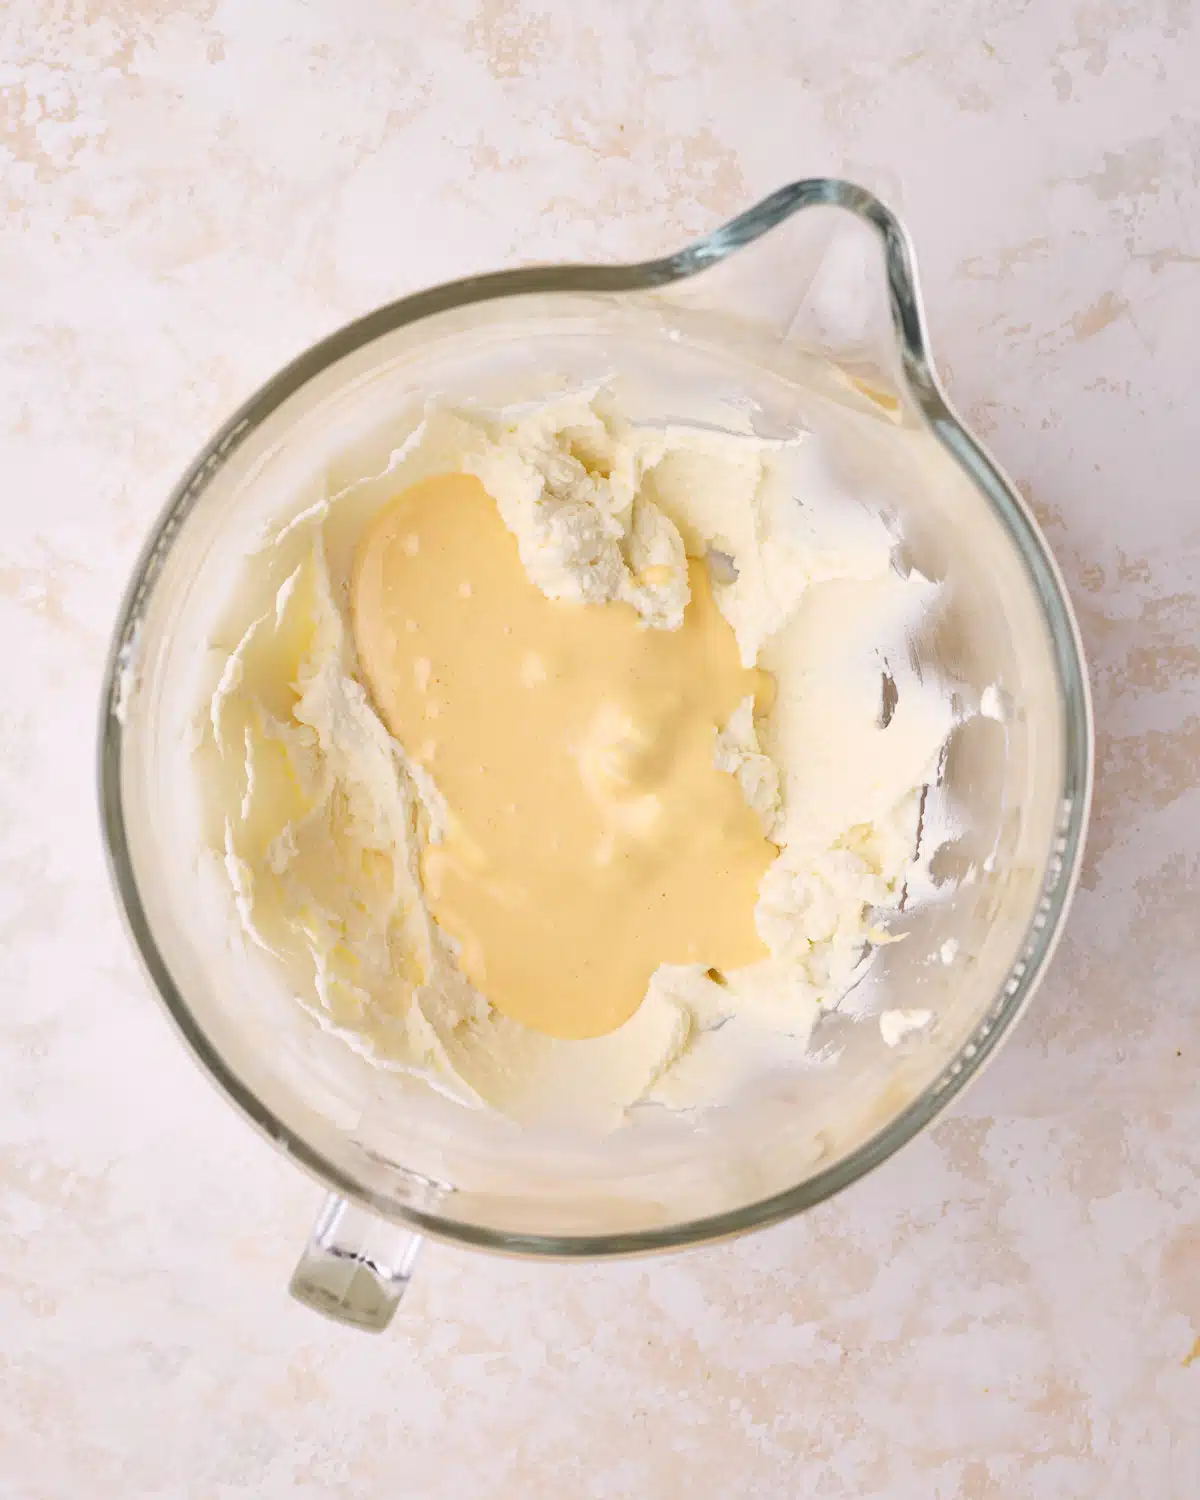
Add the cold mascarpone and amaretto to a bowl and mix gently until smooth and creamy.
Make sure the egg yolk mixture is warm, not hot. Then, with the mixer on low speed (or mixing by hand), slowly pour it into the mascarpone, mixing gently until just combined.
Scrape down the sides of the bowl and stop mixing as soon as the mixture is smooth and thick - mascarpone can quickly split and turn grainy if it's overmixed.
Whip the Cream
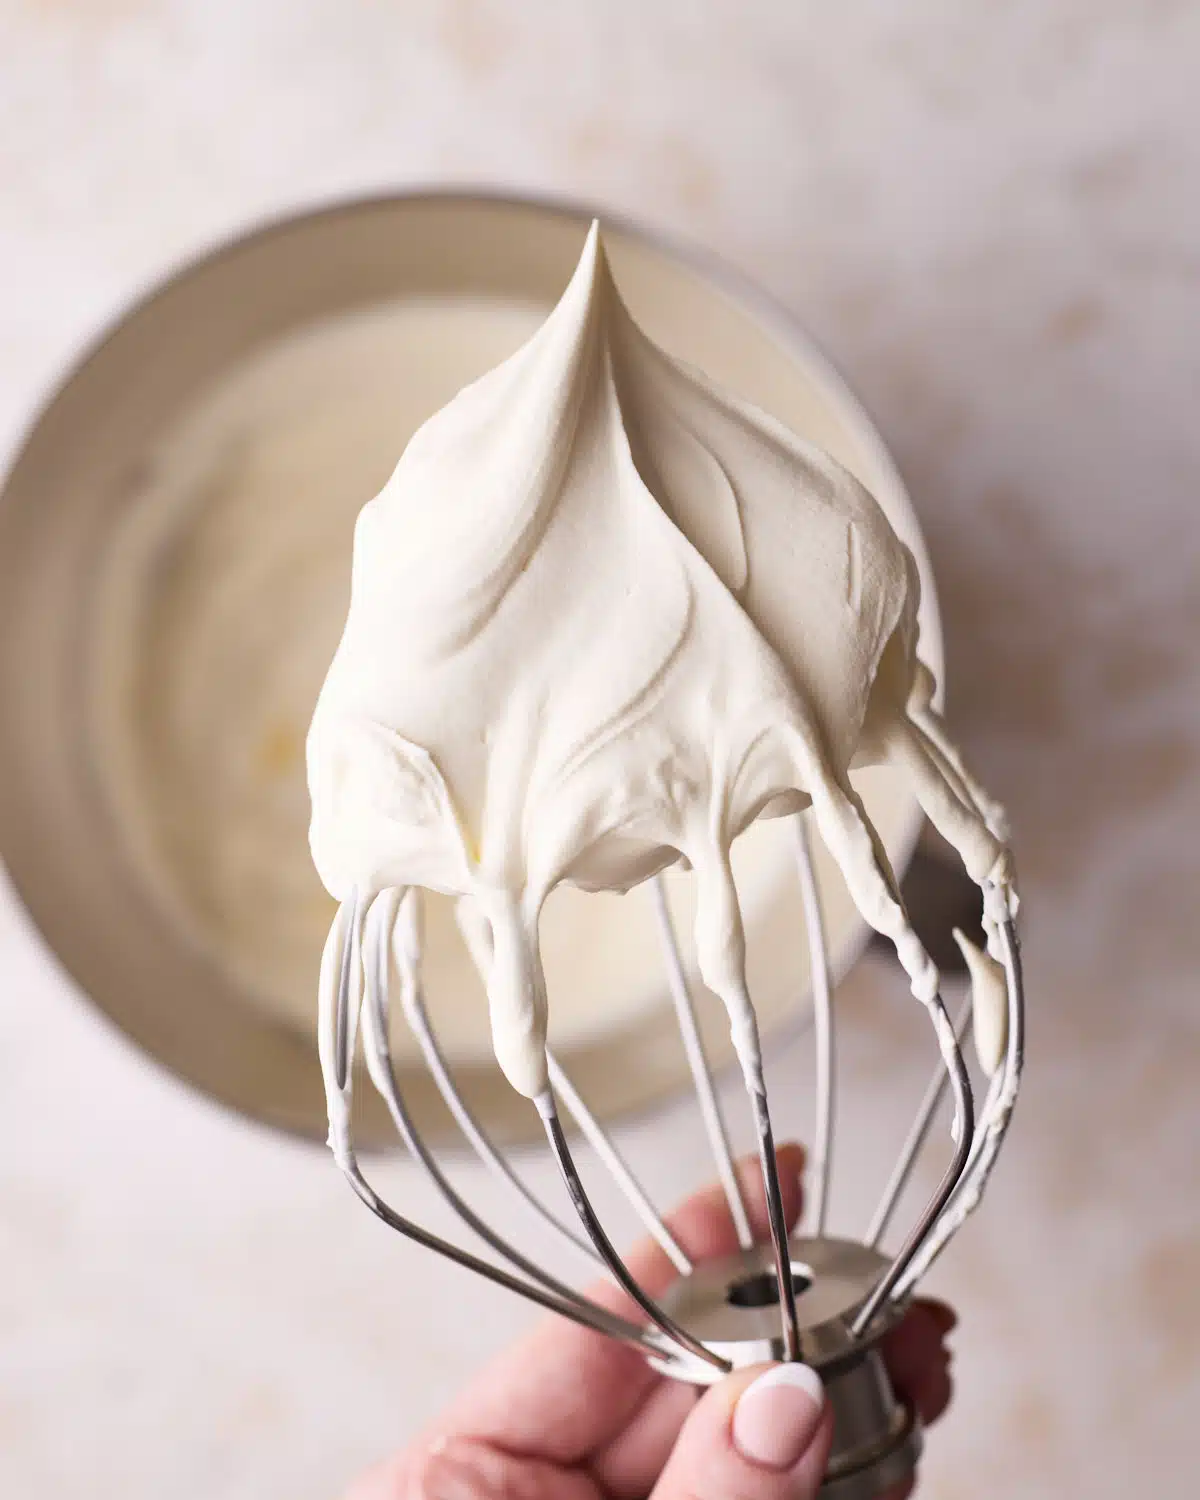
Whip the cold cream until it reaches medium peaks - it should hold its shape but still look soft and pillowy.
I like to get most of the way there with the mixer and finish it off by hand, as if the cream gets to stiff peaks, it won't incorporate well, and the filling will be lumpy.
Fold Together
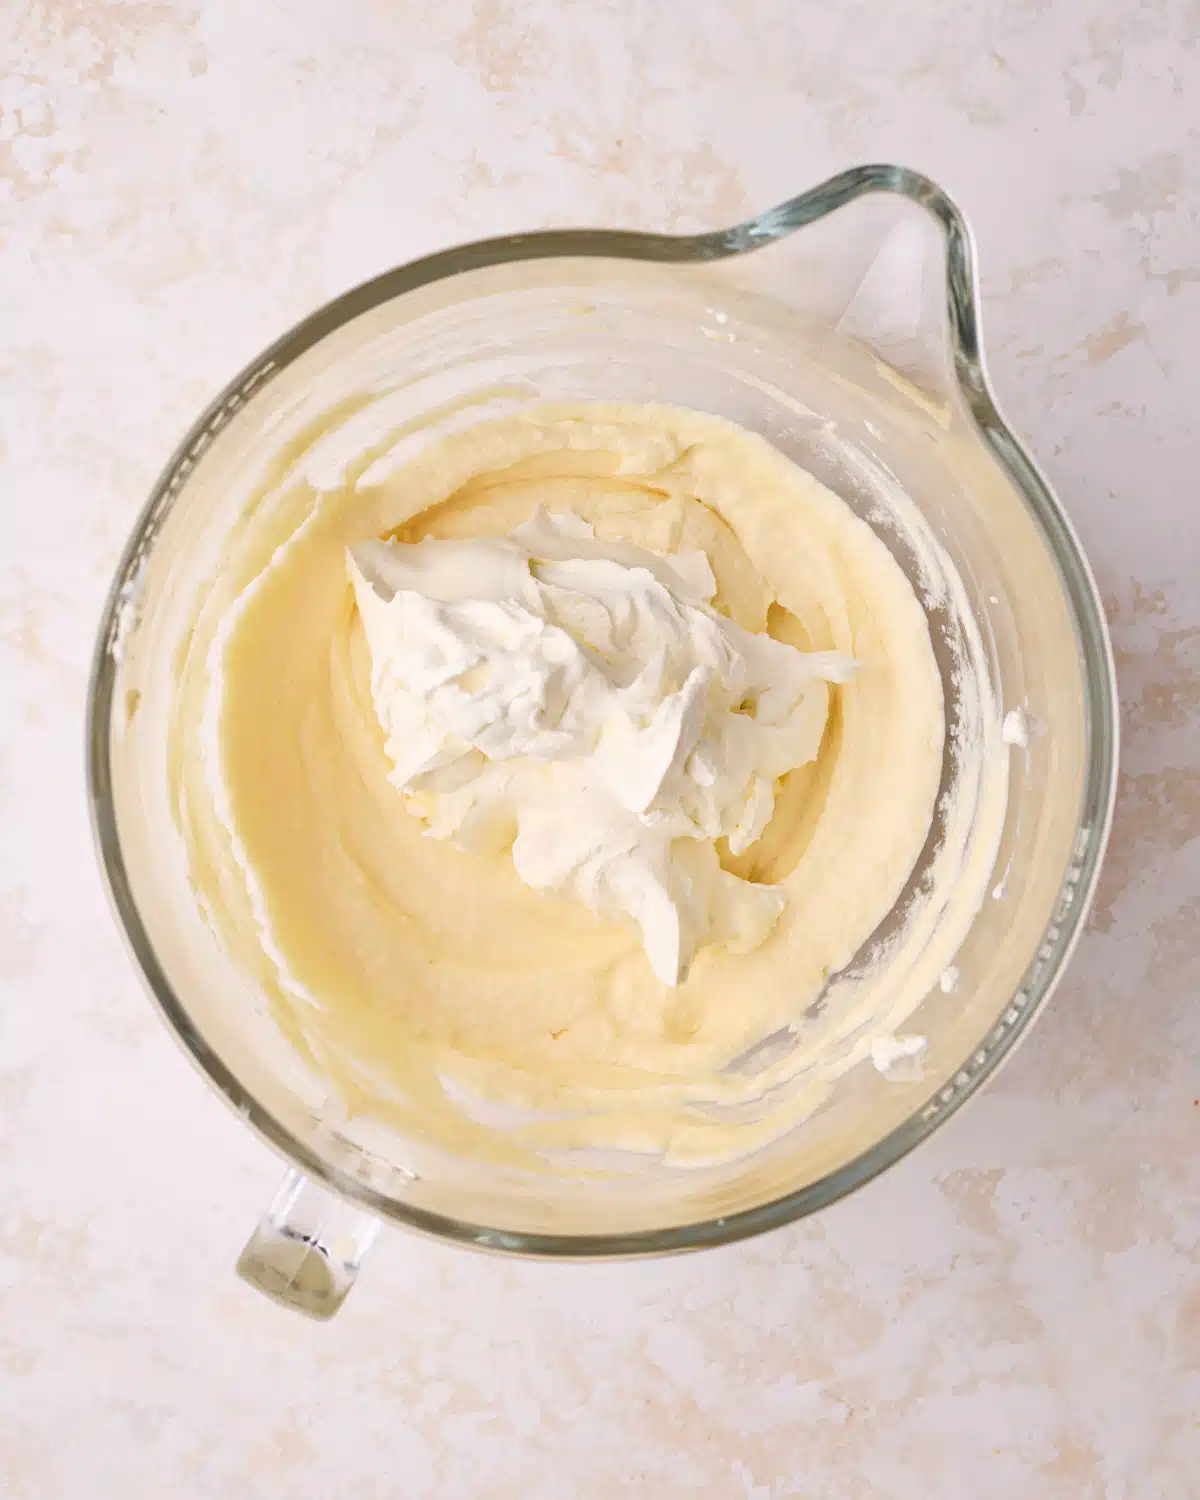
Add about a third of the whipped cream to the mascarpone mixture and fold it in to lighten it.
Then gently fold in the rest of the whipped cream until there are no white streaks left. The mascarpone cream should be thick, smooth, and spreadable.
Assemble The Tiramisu Cake
Once you have the different elements ready, it's fairly easy to assemble the tiramisu cake, and actually quite relaxing (a lot like Opera cake!).
Torte the Sponge
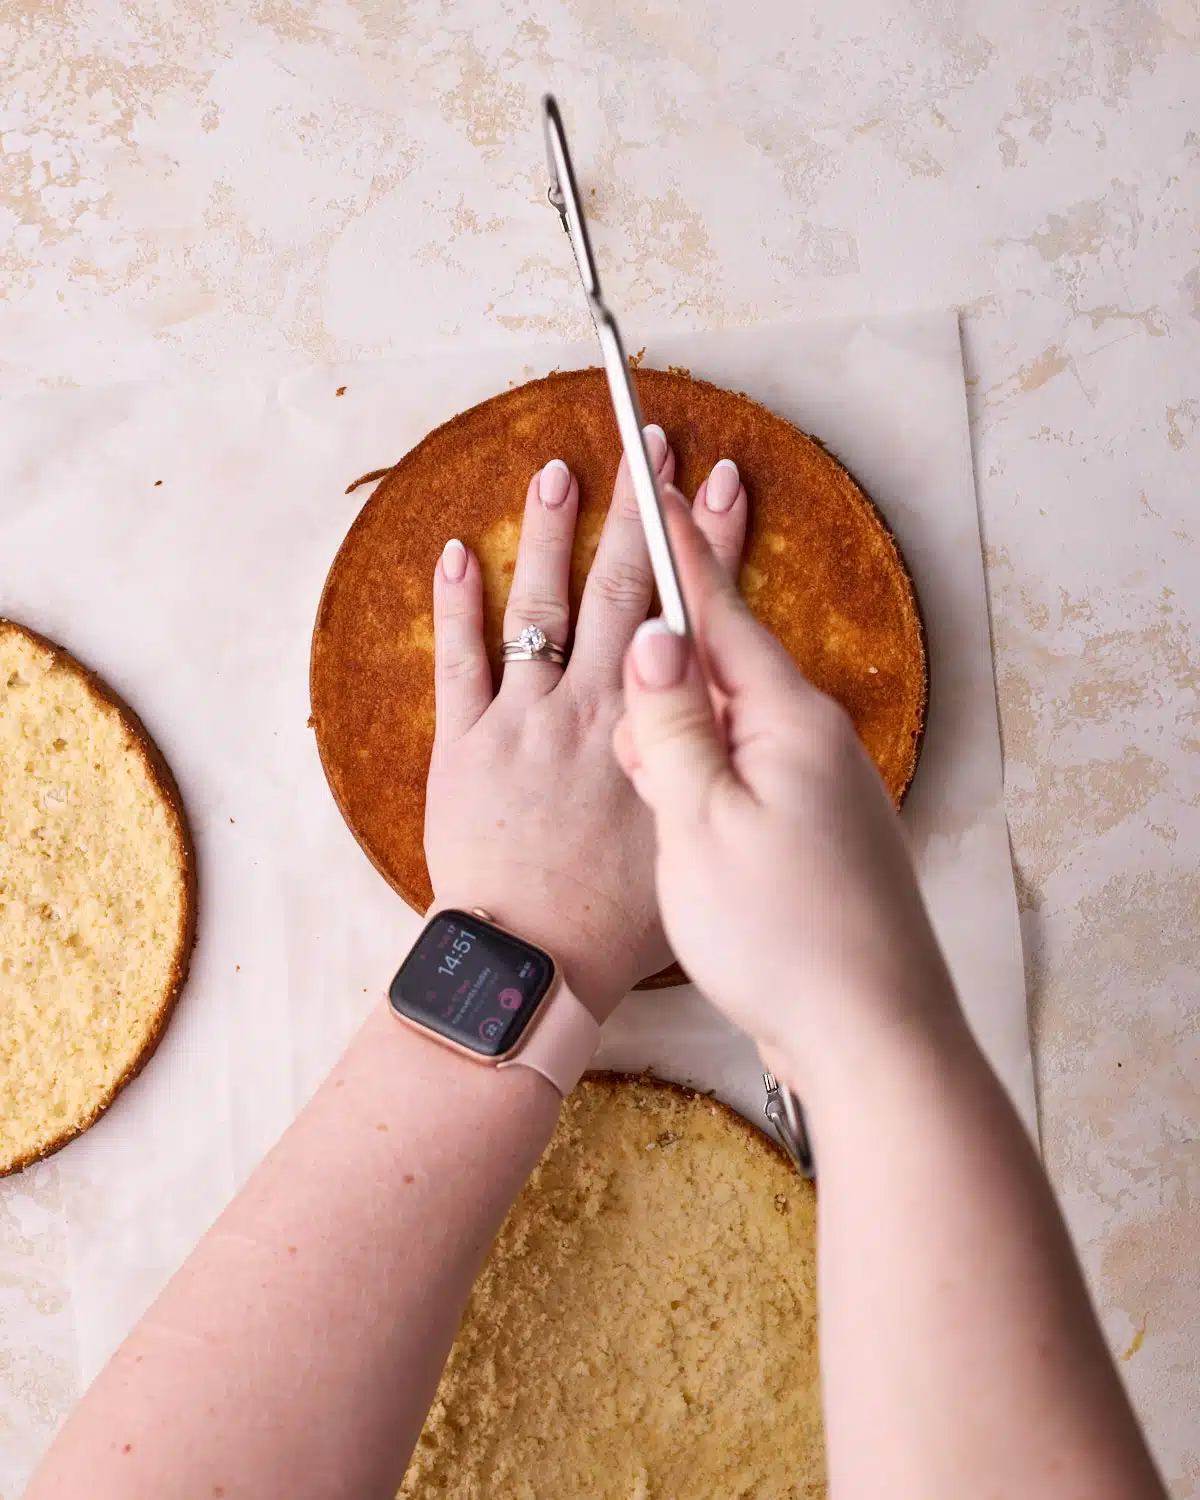
Slice each of the cooled cakes in half with a cake leveler or serrated knife, so you have 4 thin layers of sponge.
Soak the Sponge
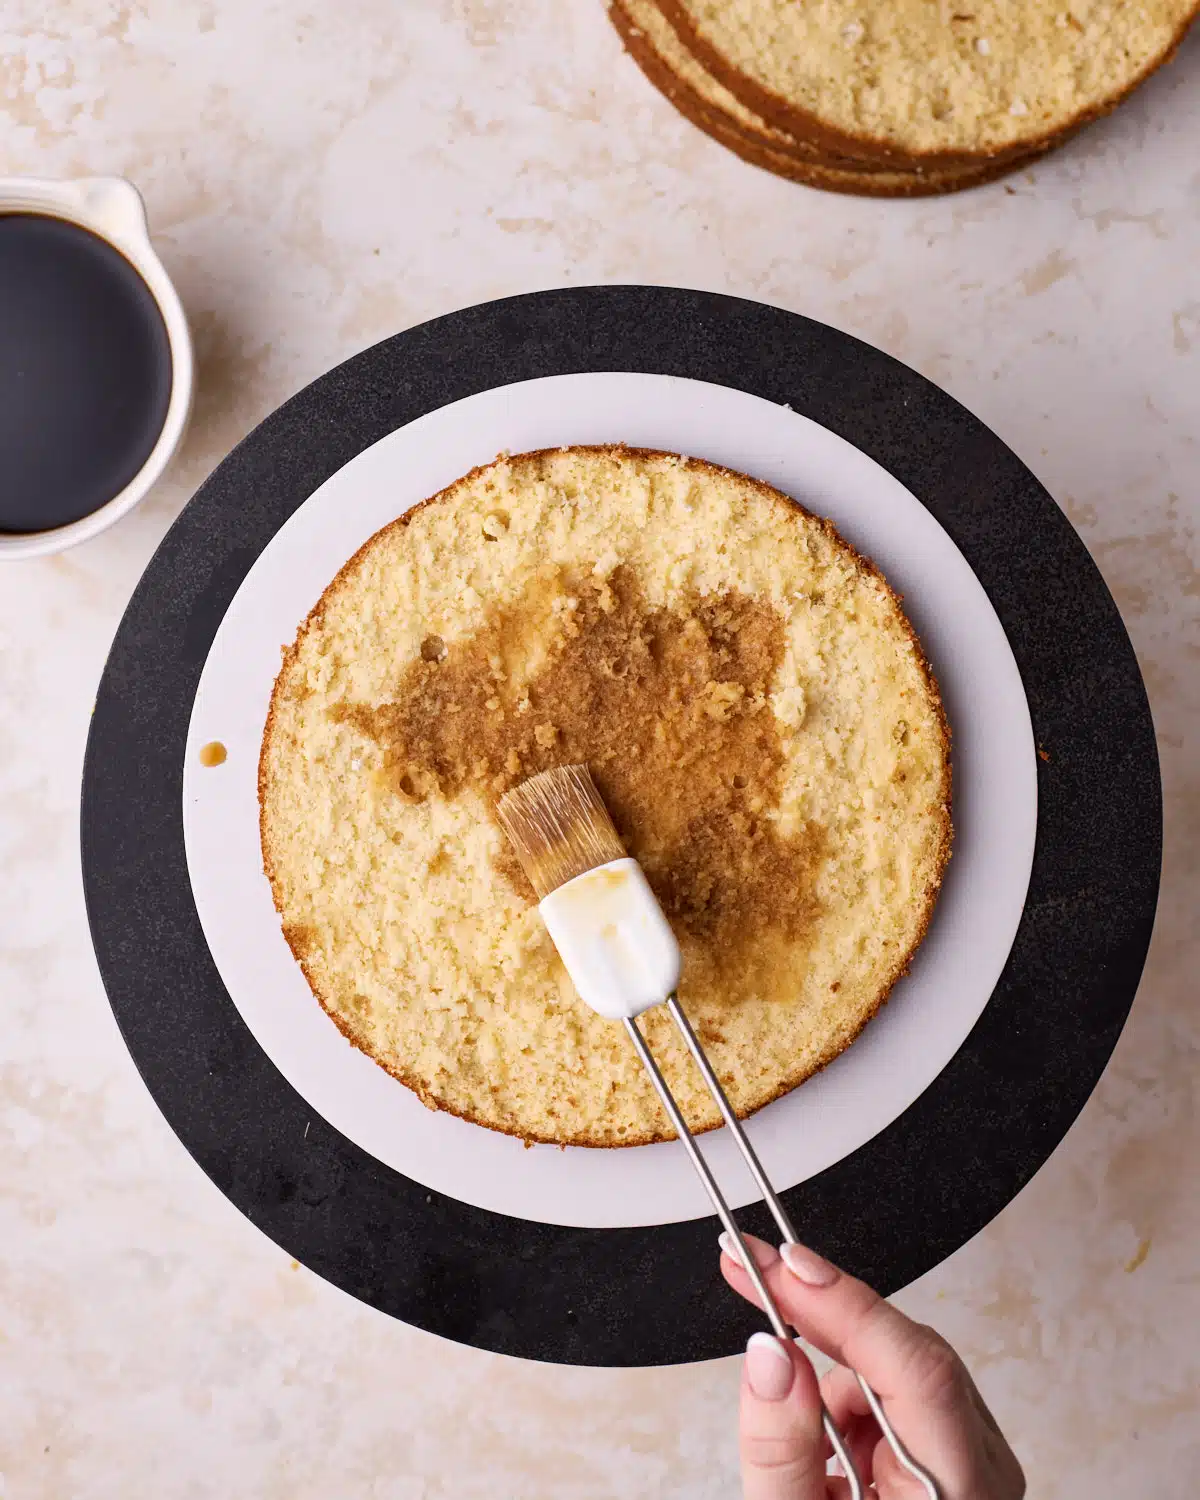
Put one sponge layer onto a cake board or plate and use a pastry brush to generously brush the espresso soak all over it, all the way to the edge of the cake.
You want it well-soaked, but not drowning. The sponge should be soft and squishy but not soggy. If the liquid starts pooling or dripping, you've added too. much.
Stack the Layers
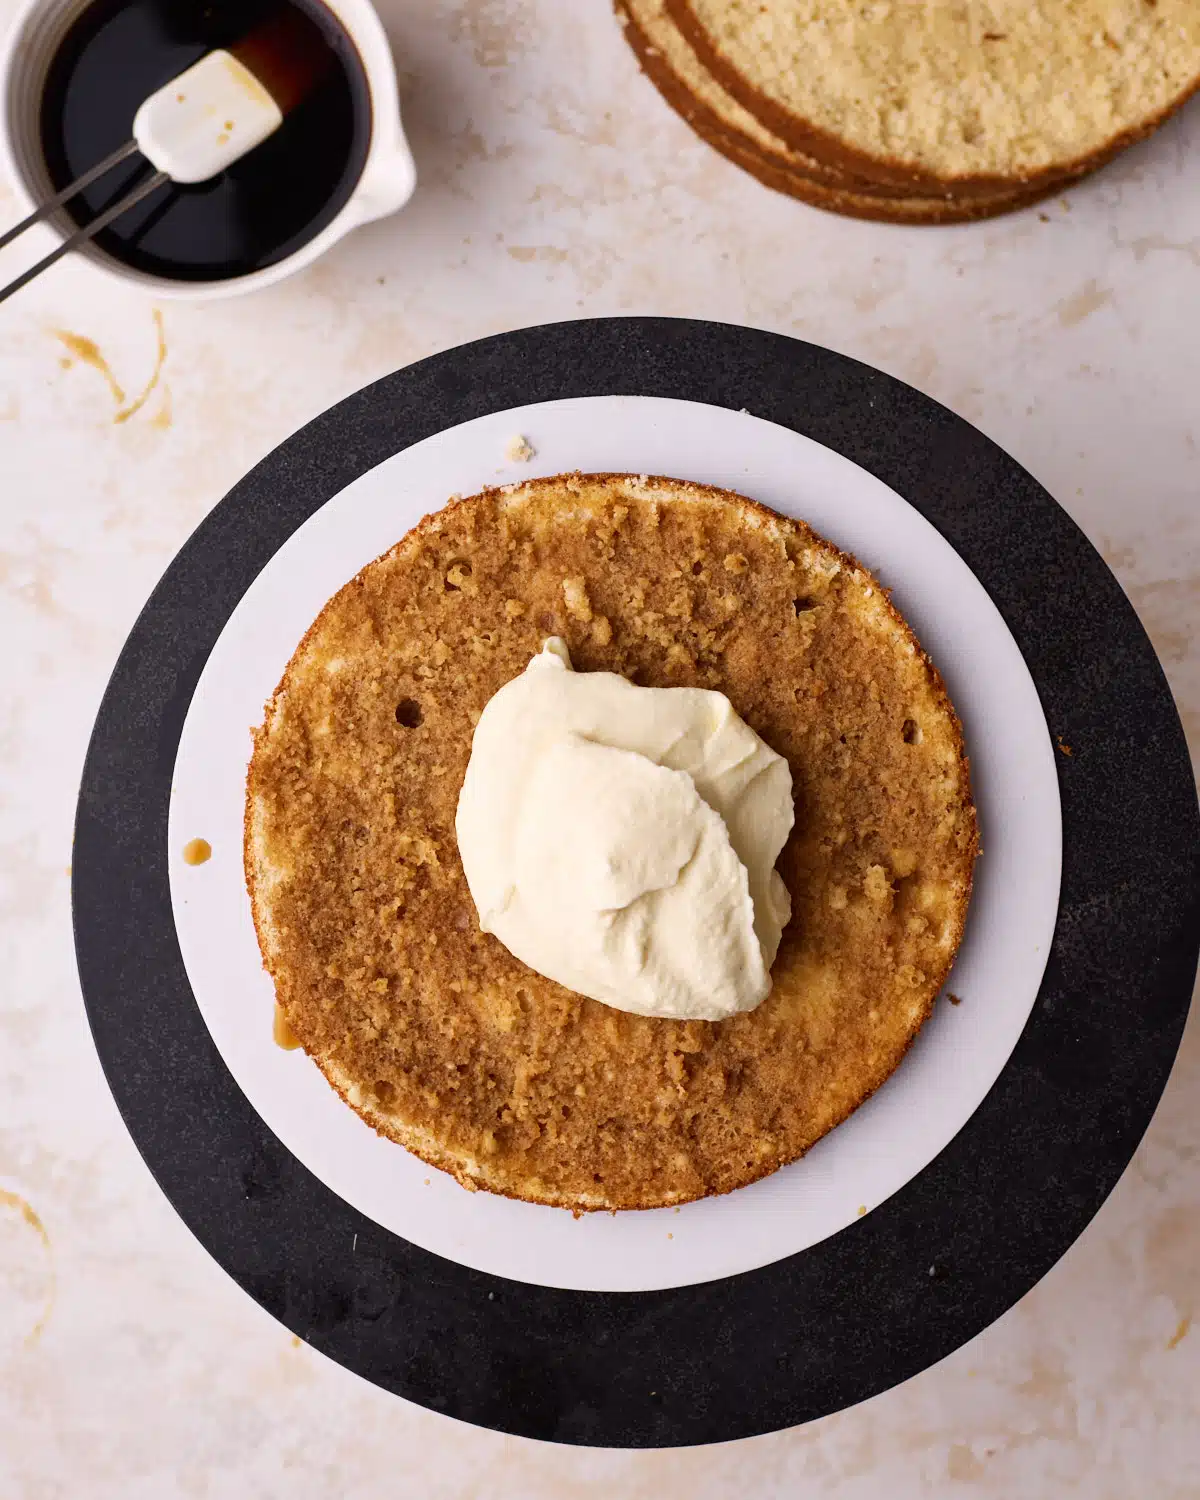
On top of the soaked cake, add a dollop of mascarpone cream and smooth it out with an offset spatula into an even layer.
You want the cream to be roughly the same thickness as the cake layer.
Place the next sponge layer on top and repeat the soaking and filling process with all the layers.
Cover and Chill
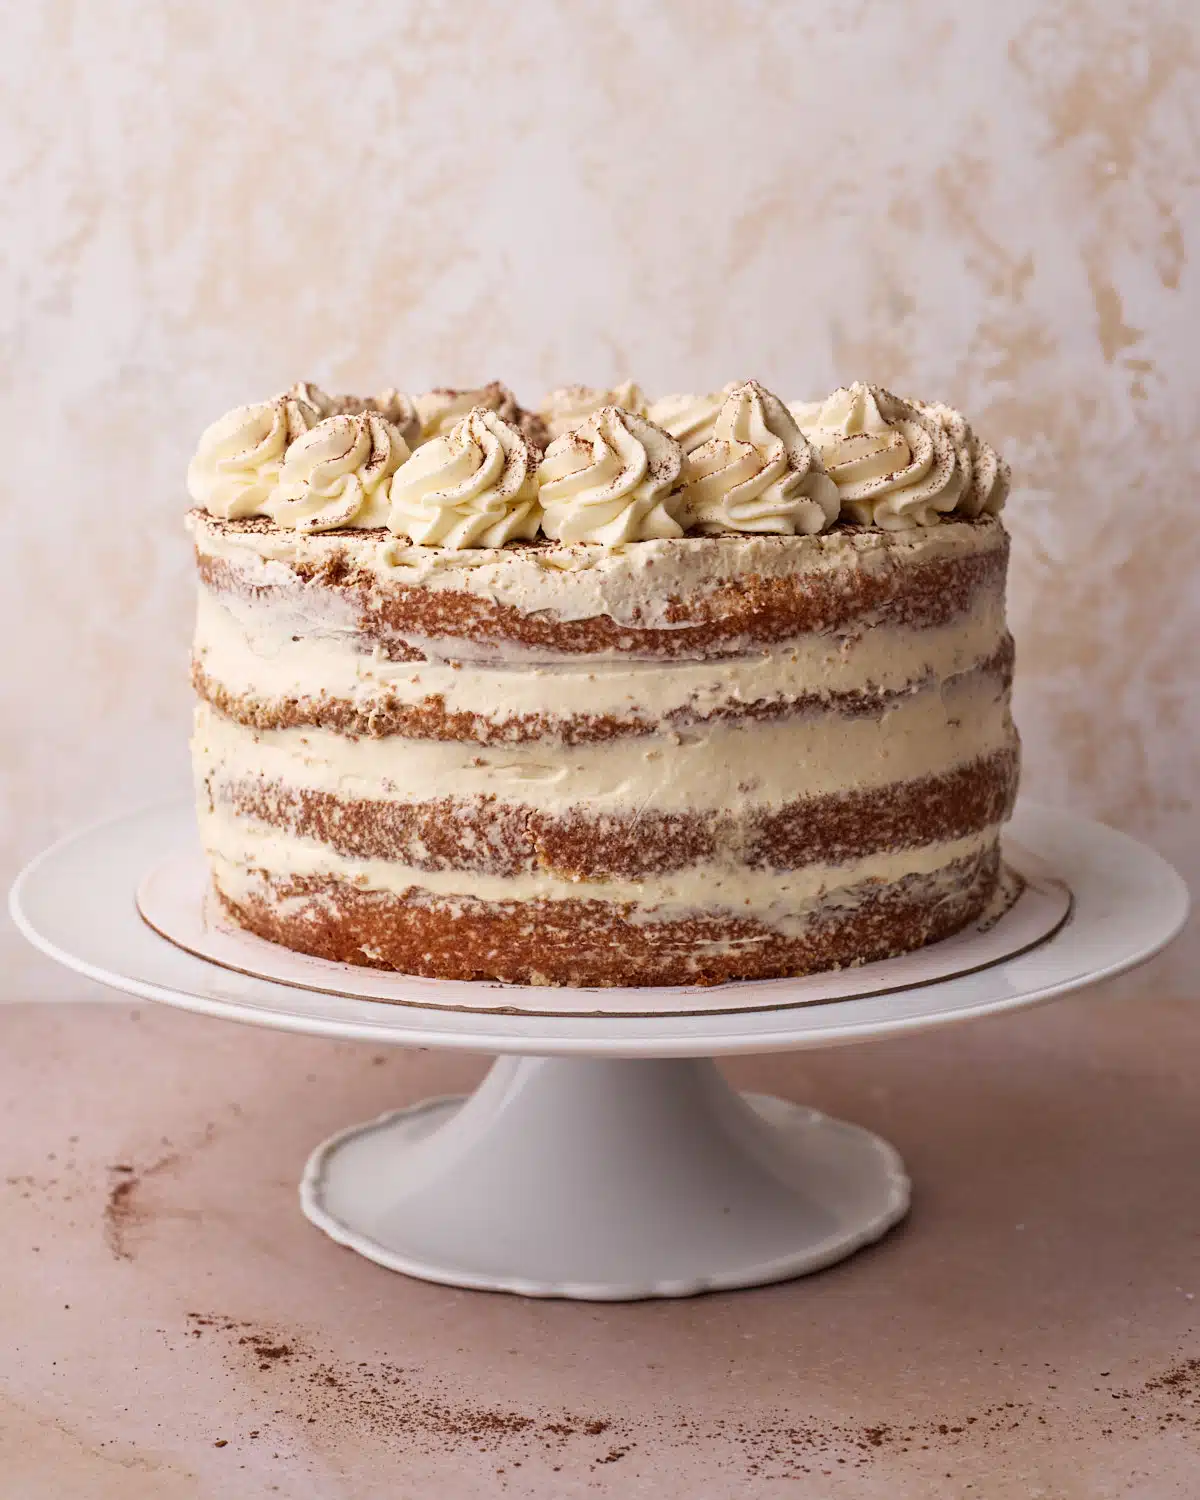
Once your cake is stacked, cover the whole thing in a thin layer of mascarpone cream. (Don't forget to soak the top layer of cake first!) A semi-naked design looks great here.
At this stage, the cake will be soft, so don't worry if it feels delicate. It will firm up as it chills and slice cleanly once set.
Put the whole cake into an airtight container and chill for at least 4 hours, preferably overnight. The longer it sits, the more the flavors will seep in and improve.
Keep the remaining mascarpone cream in the fridge for decorating later.
Decorate
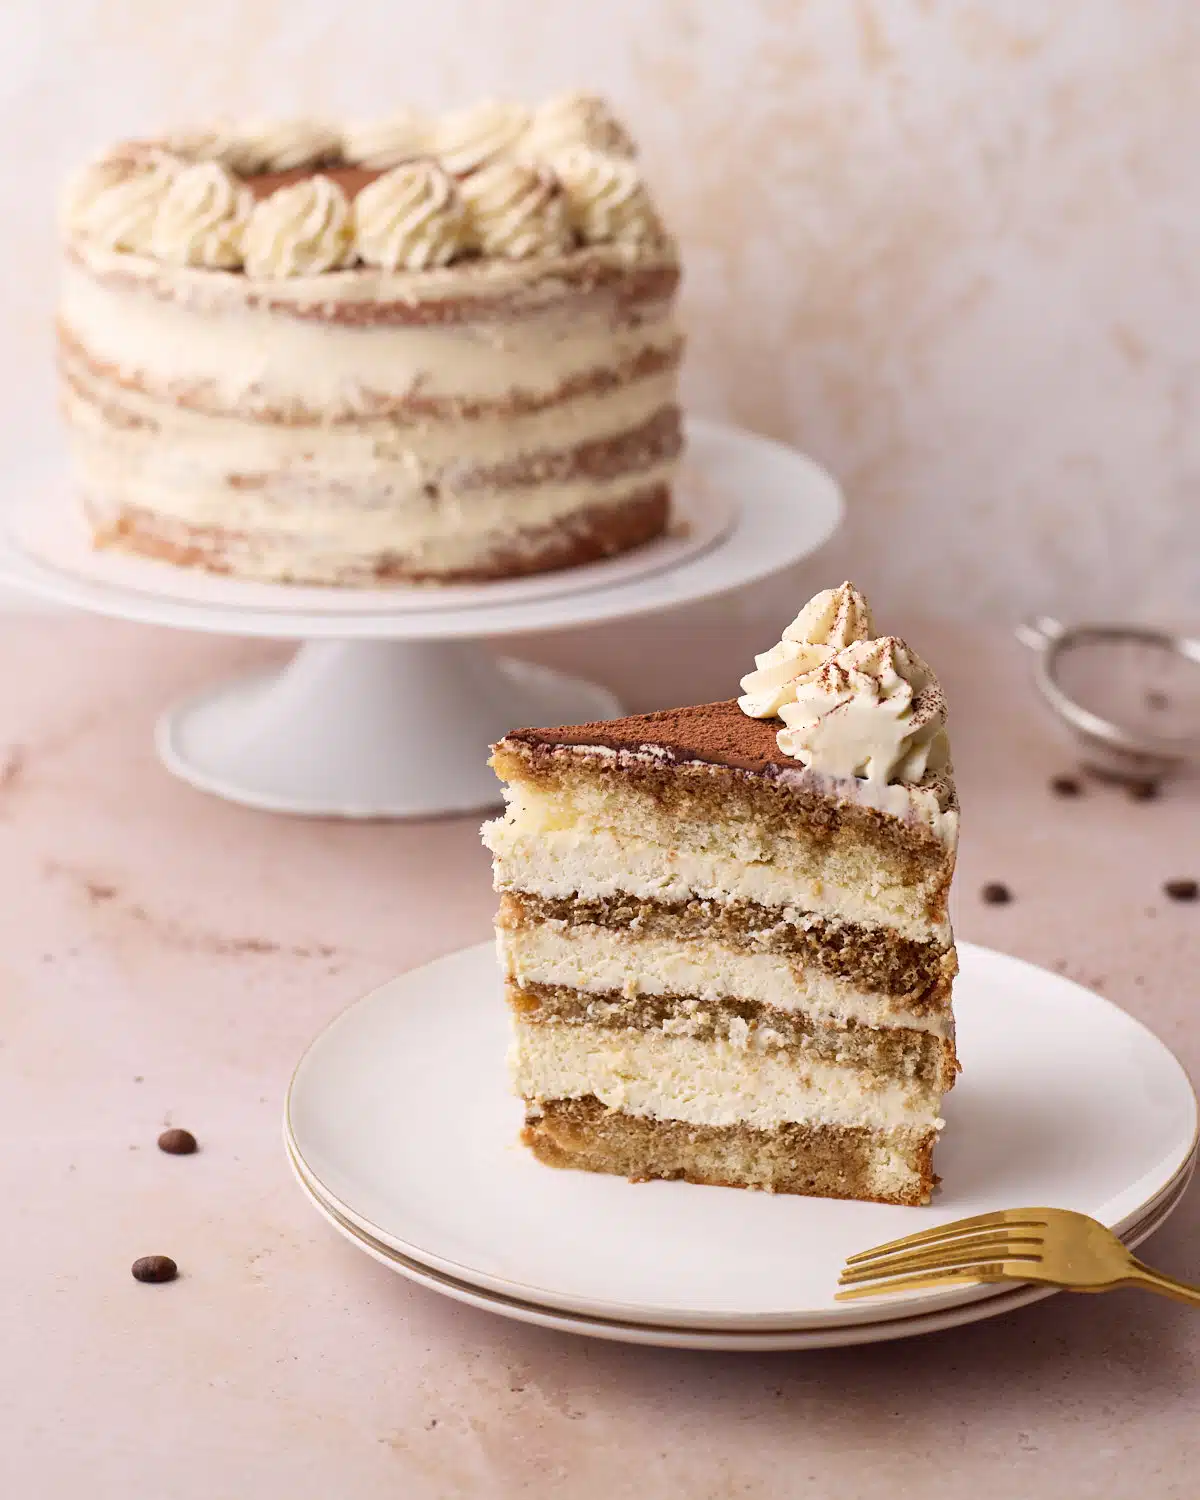
Right before serving, use a fine-mesh sieve to dust the top of the cake with a layer of cocoa powder.
Use the reserved mascarpone cream to pipe rosettes or little blobs on top of the cake, then dust with a little more cocoa powder.
Reader Review:
I made this recipe for my daughter's 24th birthday. She loves tiramisu, and I was excited to try it in a cake form! This recipe was superb!!!! I have already shared the link with 3 friends. Thank you!
⭐⭐⭐⭐⭐ - Sarah
Common Mistakes
These are some of the most common mistakes to avoid when making tiramisu cake:
- Under-whipping the eggs: Genosie gets all its rise and structure from the air whipped into the eggs - don't rush it and use the visual cues.
- Folding aggressively: Sponge batter is delicate, so you need to fold very gently to avoid knocking the air out of it.
- Overmixing the mascarpone: It can split easily - just mix until smooth.
- Overwhipping the cream: If the cream is whipped to stiff peaks, it will not blend smoothly into the mascarpone, and it will be lumpy.
Over-soaking the sponge: Too much coffee will make the cake soggy, and it may collapse. It should be moist, not wet. - Skipping chill time: The filling needs time to set up in the fridge, just like a classic tiramisu does. If you don't chill for long enough, it won't slice cleanly.
Storage + Serving
Keep your Tiramisu cake in the refrigerator in an airtight container. It will be good like this for up to 4 days.
For the cleanest slices, cut immediately after removing from the fridge. Use a sharp, hot knife (run it under hot water and wipe dry between cuts). Let the slices sit at room temp for 10-15 minutes for a softer texture.
Make-ahead Tips:
- The sponge cake can be baked up to 3 days ahead - wrap it tightly and store at room temperature. Genoise can dry out quickly, but the espresso soak will make it lovely and moist again.
- The mascarpone cream is best made fresh, right before filling the cake, as it sets up a little as it chills by design.
FAQ
If you have a question about this recipe that isn't answered here, please write it in the comments section and I'll get back to you asap.
Just like with a classic tiramisu recipe, you can alter the amount of both alcohol and coffee in this cake. If you want to leave out the alcohol entirely then that's totally fine, just replace the volume with more coffee or with simple syrup.
Personally, l love the flavor that amaretto adds - it gives a sweet almond taste, though it's also popular to use Kahlua or dark rum. If you want this flavor without the alcohol, you can actually find amaretto flavored coffee syrup that will do the trick. Just don't use quite as much as it will be super sweet. Dilute it in the coffee and taste test before you soak your cake.
Tiramisu cake aims to be as close to the classic dessert as possible. So the layers consist of genoise sponge (what ladyfingers are made of), espresso soak with amaretto, and amaretto cream which is almost the same as authentic tiramisu, but uses whipped cream instead of raw egg whites.
My original Tiramisu Cake recipe actually used a vanilla pound cake as the cake layer. It was delicious, but quite heavy and didn't soak up the coffee as well.
I recently re-developed this recipe to use genoise sponge cake instead for a few reasons.
Firstly, genoise is very similar to the recipe for lady fingers, which are the base for classic tiramisu. But also, genoise sponge cake soaks up liquids really well, so the coffee and amaretto flavors were better distributed.
Lastly, genoise is super light and airy, which gives a flavor and texture much more like traditional tiramisu.
So yes, you can use a regular vanilla cake recipe (or even a cake mix) to make Tiramisu cake, but the result will be a lot more dense. If you want to use a sponge cake but an easier version, try this Easy Sponge Cake Recipe.
No, the way we prepare this recipe is completely safe to eat.
Authentic tiramisu recipes do use raw eggs in the mascarpone cream. That is why we create a double boiler for the egg yolks, to cook them to a temperature of 165°F, which makes them safe to consume.
Also, I have replaced the raw whipped egg whites in classic tiramisu with whipped cream instead, so there are no raw eggs in the recipe.
If you would like a version without any eggs in the filling at all, you can use my mascarpone whipped cream recipe instead.
Italians might be upset when they see a tiramisu recipe using whipped cream instead of whipped egg whites! While I typically like to keep my recipes as authentic as possible, I chose whipped cream for this Tiramisu Cake for two reasons:
Firstly, it means that the whole recipe contains no raw eggs at all, so it's safe for everyone to eat. This isn't a huge consideration in the UK where all our eggs are safe to consume, but that isn't the case all over the world so I wanted to make sure it could be safe for everyone.
Secondly, the whipped cream means the mascarpone cream stable, almost like a mascarpone cream frosting, so you can 'frost' the cake right away, and even do some decoration on top. Egg whites need to firm up for a few hours which makes them too sloppy to do this right away.
Show Me Your Bakes!
If you tried this recipe, I'd love to know how it turned out in the comments!
Want to share a photo? You can send me a pic or tag @bonni_bakery on Instagram - I love seeing all your creations.
More Coffee Desserts
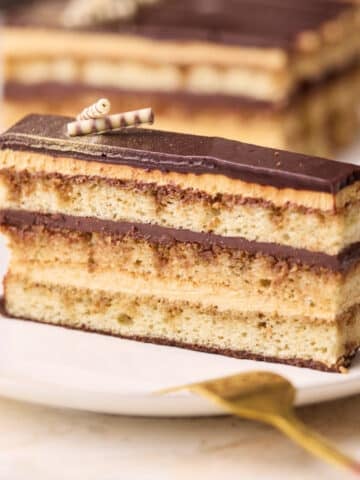
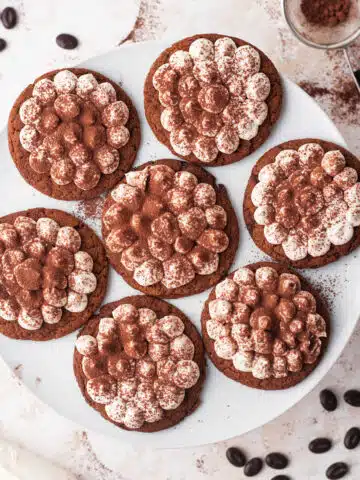
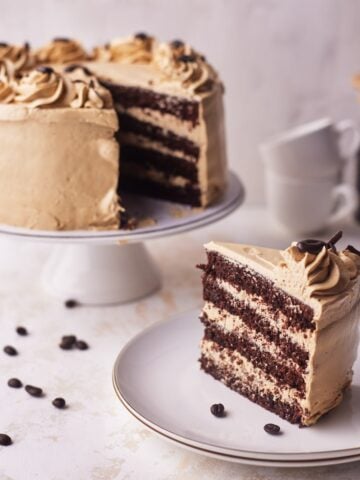
If you love his tiramisu cake, you might like to check out some of my other coffee recipes:
Tiramisu Cake Recipe
Ingredients
- 6 Large Eggs
- 225 g (1⅛ cup) Granulated Sugar (caster sugar in the UK)
- 170 g (1½ cups) Cake Flour
- 60 ml (¼ cup) Vegetable Oil
- 45 ml (3 tablespoon) Whole Milk
- 1 teaspoon Vanilla Extract
- 455 g (16 oz) Mascarpone
- 4 tablespoon (¼ cup) Amaretto
- 4 Egg Yolks
- 50 g (¼ cup) Granulated Sugar (caster sugar in the UK)
- 480 ml (2 cups) Heavy Cream (at least 36% fat)
- 180 ml (6 shots) Espresso *see notes
- 80 ml (⅓ cup) Amaretto
- 2 tablespoon Cocoa Powder
Equipment
- Stand Mixer with whisk attachment
Instructions
- Note: The cake is made from a 1.5x adaptation of my genoise sponge cake recipe. For more in-depth instructions, including step-by-step process shots for the sponge cake, see my genoise sponge recipe post.
- Preheat oven to 350°F or 180°C (160°C fan-assisted) and grease two 8-inch cake pans
- Whisk the eggs and sugar over a double boiler until the sugar dissolves. You can check by rubbing the mixture between your fingers - if it's grainy, it needs longer. The mixture should not get hot at any point, just warm enough to dissolve the sugar, which should only take a few minutes.6 Large Eggs, 225 g (1⅛ cup) Granulated Sugar
- Transfer the mixture to a stand mixer with a whisk attachment. Whip on the highest speed setting for 5 full minutes. Once it's done, it will be very pale and should have doubled in volume. Test if it's ready by drizzling a little of the batter on top of itself - if the pattern stays on the surface for a few seconds then it's good. If it disappears immediately, whip for another minute.
- Turn the mixer down to low speed (the lowest setting) and whip for a further 10 minutes.
- Meanwhile, prepare the other ingredients:Sift the flour twice into a mixing bowl. In a separate bowl, mix together the milk, oil, and vanilla. Set aside.170 g (1½ cups) Cake Flour, 60 ml (¼ cup) Vegetable Oil, 45 ml (3 tablespoon) Whole Milk, 1 tsp Vanilla Extract
- Carefully fold the sifted flour into the whipped egg mixture with a spatula, trying not to knock out any air.
- Take a large dollop of the mixture and put it into a separate bowl. Then add the wet ingredients and mix them together thoroughly. This is called 'sacrificing' the batter - the air will be knocked out of it, but it will help the liquids to incorporate into the rest of the cake batter more easily.
- Pour the 'sacrificed' batter back into the main batter and fold in gently until combined. Keep folding until it reaches the 'ribbon stage'. This means that if you lift your spoon or spatula out of the batter, the batter should run off the spoon steadily in a flowy, ribbon-like motion.
- Pour the cake batter into the prepared cake pans and tap the pans on the counter a few times to release any large air bubbles. Bake for 20-25 minutes or until golden brown and springy to the touch.
- Remove from the oven and bang the cake pan on the counter again to release additional air bubbles and prevent the sponge cake from collapsing while it cools. Put a piece of parchment paper on top of a wire rack and flip the cake upside down on the rack - let it cool like this. Once it's cool enough to touch, remove the cake pan and let the cake cool completely (upside down).
- Add the egg yolks and sugar to a double boiler and whisk vigorously until the sugar dissolves and the mixture is light and thick. This will cook the egg yolks so they are safe to eat. If you want to use a thermometer, it should reach a temperature of 165°F. Remove from the heat and keep whisking until you can drizzle a pattern on top and it stays for 1-2 seconds.4 Egg Yolks, 50 g (¼ cup) Granulated Sugar
- Add the cold mascarpone and amaretto to a bowl and mix gently until smooth and creamy.455 g (16 oz) Mascarpone, 4 tbsp (¼ cup) Amaretto
- Make sure the egg yolk mixture is warm, not hot. Then, with the mixer on low speed (or mixing by hand), slowly pour it into the mascarpone, mixing gently until just combined.Scrape down the sides of the bowl and stop mixing as soon as the mixture is smooth and thick - mascarpone can quickly split and turn grainy if it's overmixed.
- Whip the cream until it reaches medium peaks. I like to get most of the way there with the mixer and finish it off by hand to make sure I don't overwhip. Don't let it get to stiff peaks or it won't incorporate well.480 ml (2 cups) Heavy Cream
- Gently fold the whipped cream into the mascarpone mixture until it is totally incorporated, be careful not to squish out too much air. It's best to make this right before you are going to assemble the tiramisu cake.
- Mix the espresso and amaretto together in a small bowl or jug.180 ml (6 shots) Espresso, 80 ml (⅓ cup) Amaretto
- Slice the cake layers in half horizontally to make 4 thin cake layers.
- Place your first layer of cake onto your cake plate or board and use a pastry brush to generously dab the coffee soak all over the cake.
- Spread a thick, even layer of mascarpone cream all over the cake, then add the next cake layer and repeat until all your cake layers are stacked.
- Once the top layer is on, cover the whole cake in a thin layer of mascarpone cream (don't forget to add the coffee soak first!). Refrigerate for at least 4 hours, but preferably overnight. Keep the remaining mascarpone cream for decorating later.
- Once ready to serve, give the whole cake a light dusting of cocoa powder, then use the reserved mascarpone cream to pipe rosettes around the outside of the cake.2 tbsp Cocoa Powder


Amy Endrizal says
Like many other commenters, I made this as a birthday cake. To be sure, it was a project, but the instructions were spot-on and the result was wonderful and perfect for a summer birthday--light-textured, not too sweet, and delicious. (Behold the magic of eggs!) Since we're a small family of three, I halved the recipe and used 2 6-inch round pans. We had extra filling, which we found makes a really nice fruit dip. Thank you so much for this awesome recipe!
Brianna says
I want to make this as a sheet cake, what size pan should I use?
Gina says
Hi. This looks so good! I am wondering if you have a different recipe for the mascarpone cream? I want to make this, but I don’t like cheese of any kind. Thank you!
Sowmya Adapa says
This the BEST TIRAMISU CAKE EVER! I am a home baker and I made for my friend’s 25th birthday and it was dope!! 5 people ate the entire cake in a go. This will be my new signature dish! Thank you so much!!
Ellie says
This cake was delicious! I followed the directions exactly. One of the vest sponge cakes I have ever made. The only thing was the reserved filling softened a bit too much to pipe the decorations. It was a perfect consistency right after making it. Should I pipe them right away?