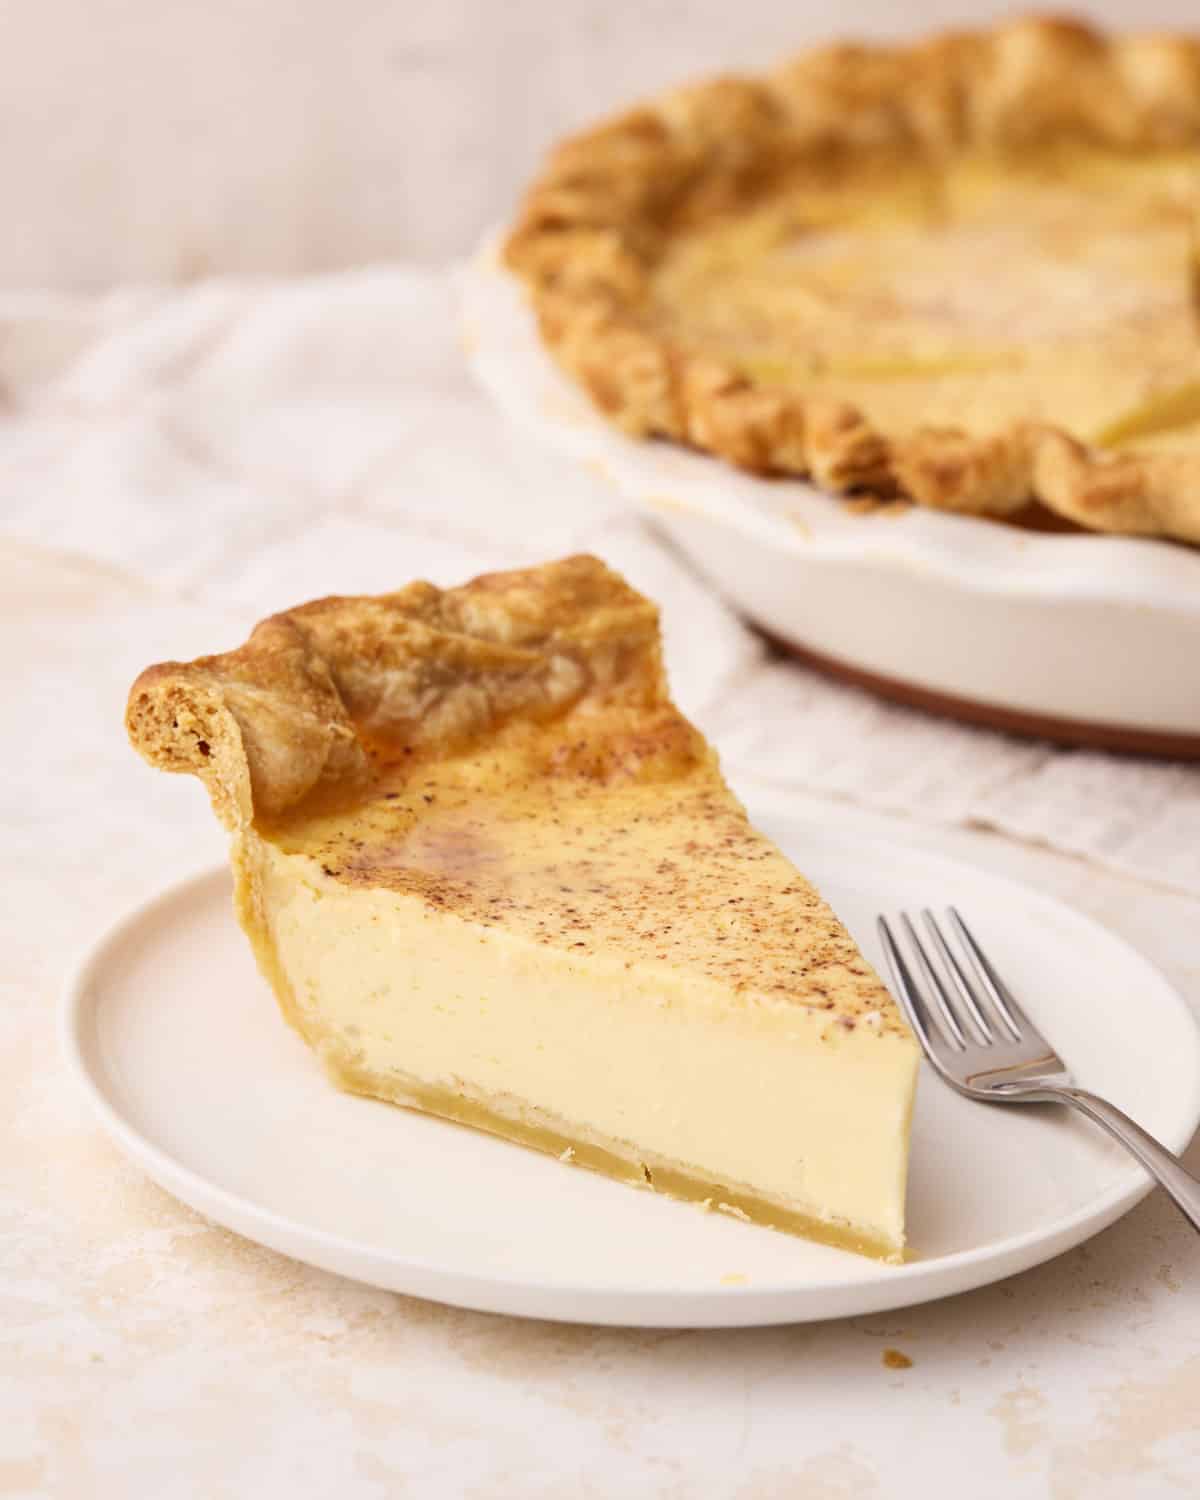
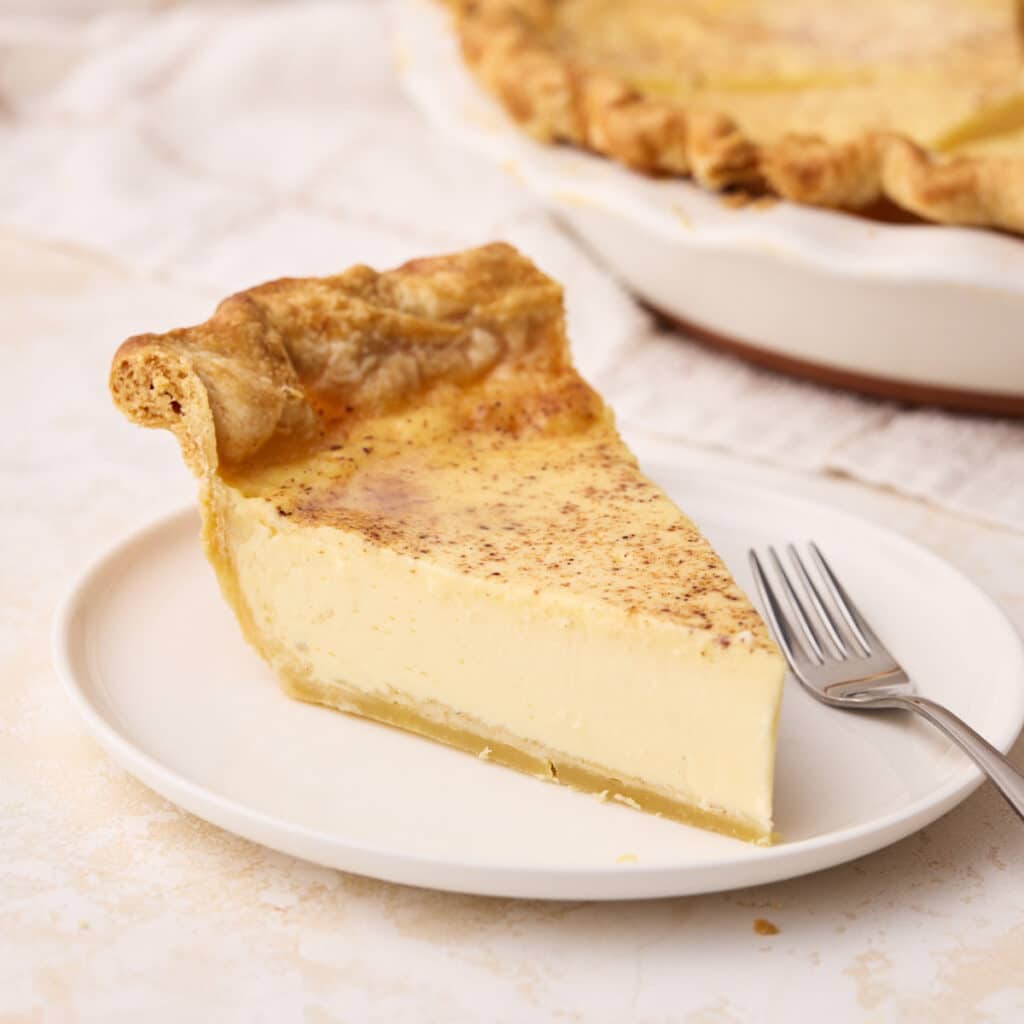
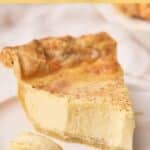
Custard Pie - the most silky, creamy, baked custard inside a flaky crust, topped with ground nutmeg.
Reader Review:
Came out perfect! Amazing recipe, very clear, produces a lovely silky textured custard pie.
⭐⭐⭐⭐⭐ - Eleanor
I spent three days researching the science of custard while developing this recipe. Since there are so many old recipes for classic custard pie out there, I wanted to create a recipe that fully explains why you might choose one method or another, with detailed technical tips for success.
After all my research and a lot of testing, I give you the ultimate custard pie recipe - broken down into easy steps to ensure your pie is absolutely flawless.
Luckily, my husband is a custard fiend (he proposed to me after I made my Custard Cake!), so he happily devoured all of the test pies!
Jump to:
Why You'll Love This Custard Pie Recipe
- The perfect custard pie with an amazingly creamy texture.
- Foolproof instructions to get the very best results.
- Slices beautifully for an impressive dessert for holidays or special occasions.
Ingredients for Custard Pie
Custard Pie requires fairly simple ingredients. After trying multiple variations of the custard ingredients, this is the combination that I found makes the most creamy, flavorful filling.
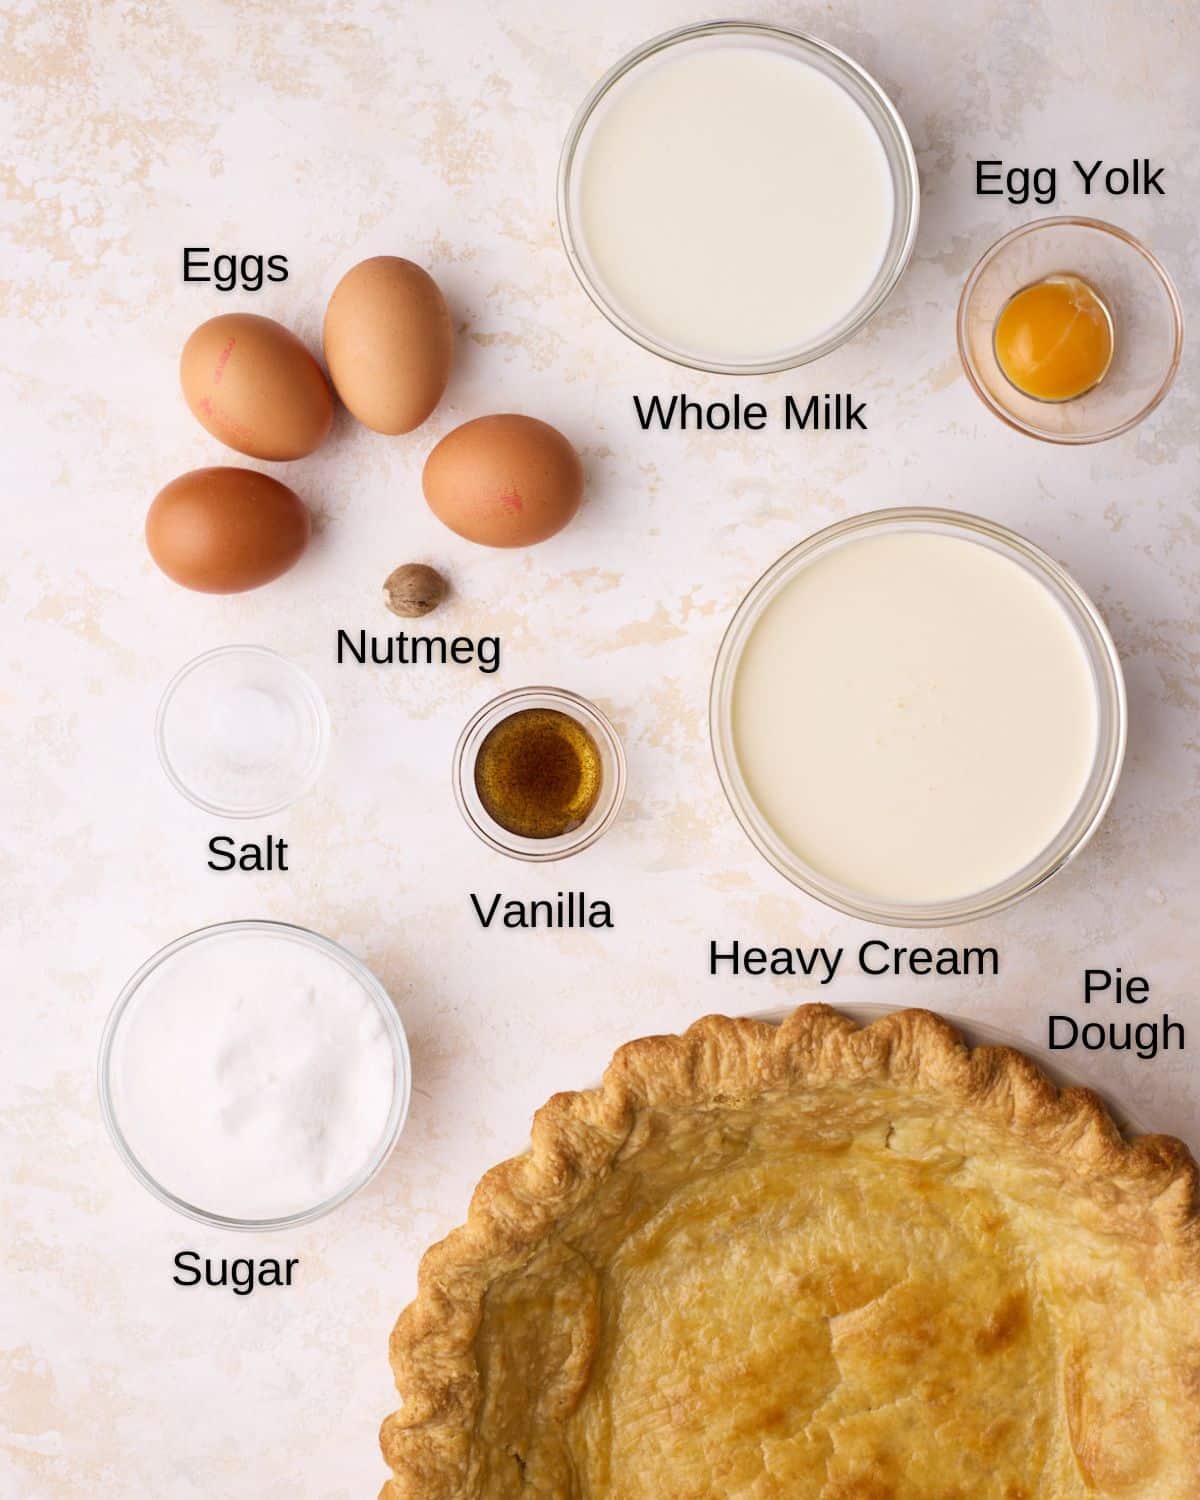
- Eggs - Use large eggs, free-range if possible. We need mostly whole eggs and one egg yolk.
- Milk - For a lovely creamy custard, you should use whole milk. I don't recommend any other kind of milk here.
- Heavy Cream - Use heavy cream, heavy whipping cream, or double cream. Anything with less fat content will not have the right texture.
- Sugar - Regular white sugar, preferably superfine (caster sugar).
- Vanilla - I like to use vanilla bean paste in any custard recipe, but vanilla extract is great too.
- Nutmeg - Freshly grated nutmeg will give the best flavor, but ground nutmeg will still taste great.
- Pie Dough - Use my flaky pie dough recipe, or if you don't feel like making the dough from scratch, you can buy an unbaked pie crust.
See the recipe card for quantities and the full recipe.
Recommended Equipment
- Deep Dish Pie Plate - 9-inches
- Rolling Pin
- Pie Weights - Ceramic baking beans or uncooked rice
- Pastry Brush
- Large Bowl
Homemade Pie Crust
To make this like an old-fashioned custard pie, I used my easy recipe for flaky pie crust, which can be made in the food processor. If you don't want to make your own pie crust, you can use a store-bought crust instead.
Check out my homemade pie dough recipe for detailed instructions on how to make a flaky pie crust and avoid soggy bottoms.
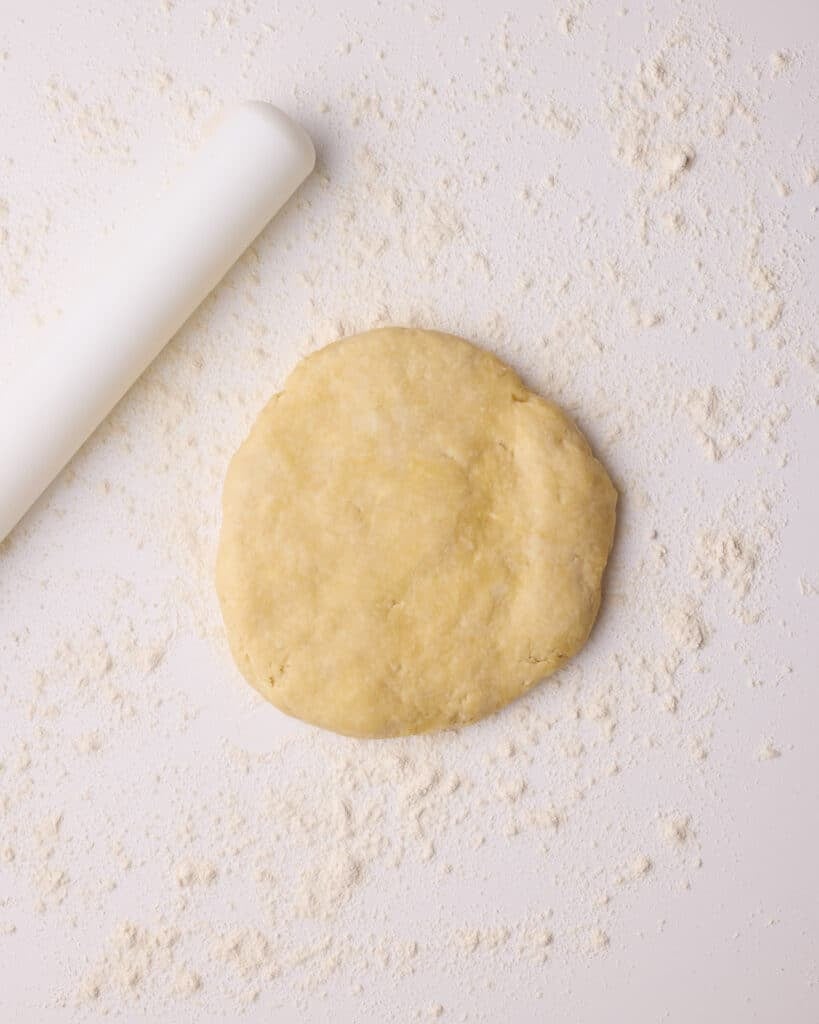
Make Pie Dough
Make the pie dough ahead of time so it can rest for at least 2 hours, preferably overnight.
Use my foolproof flaky pie crust recipe or your favorite pie dough.
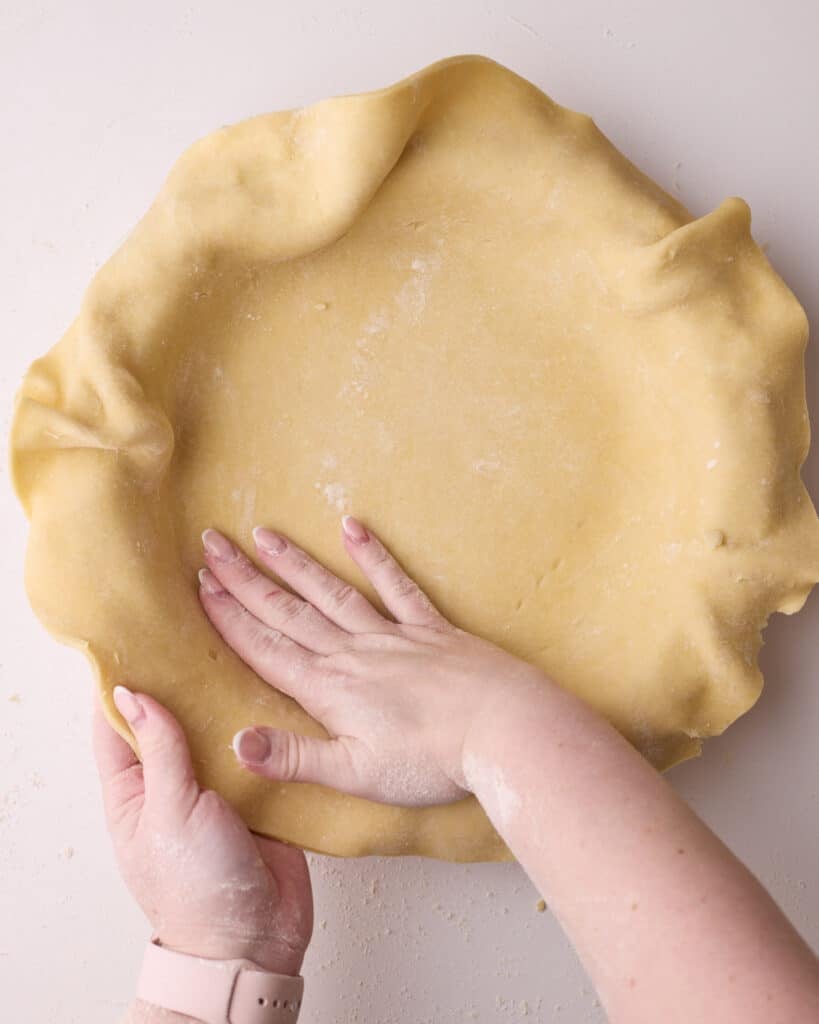
Roll the Dough
Roll the pie dough out on a lightly floured surface until it is about ⅛ inch thick.
Trim the edges to make a circle that is 1-2 inches wider than your pie pan.
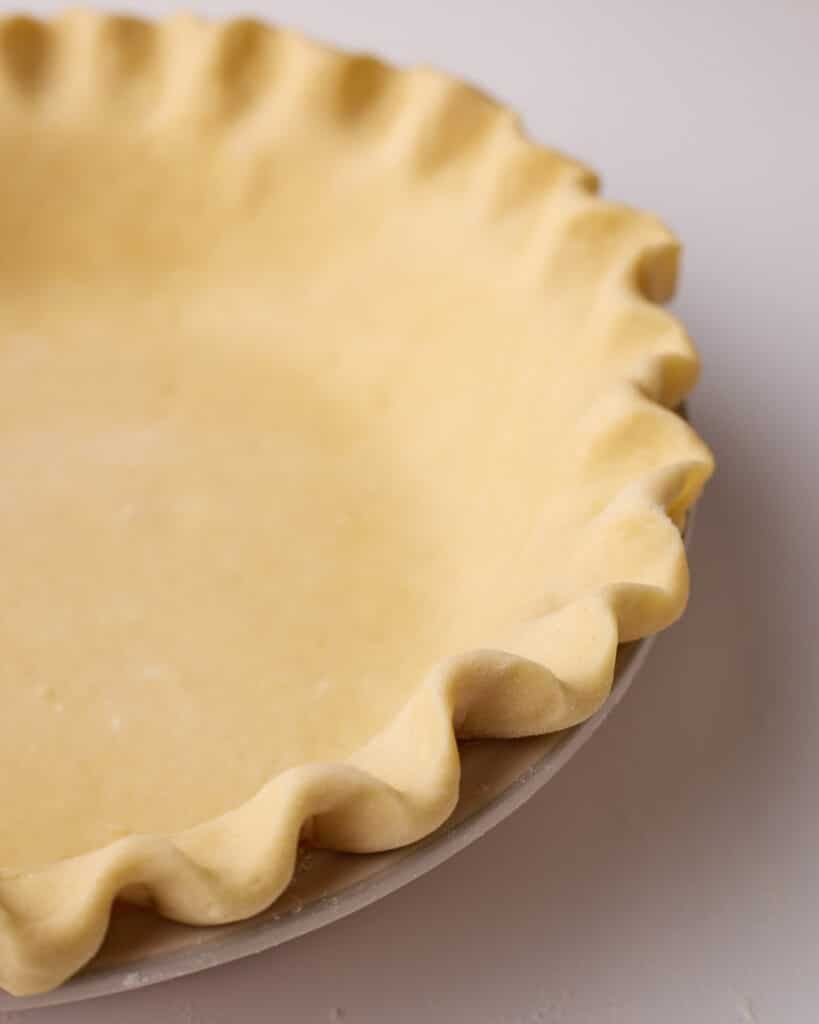
Gently lift your pie dough into a 9-inch pie plate and push it lightly into the edges.
Crimp
Tuck the edges of the dough under and crimp if desired.
Dock the bottom of the pie shell with a fork to stop it from puffing up in the oven.
Chill in the refrigerator for 30 minutes.
Add Pie Weights
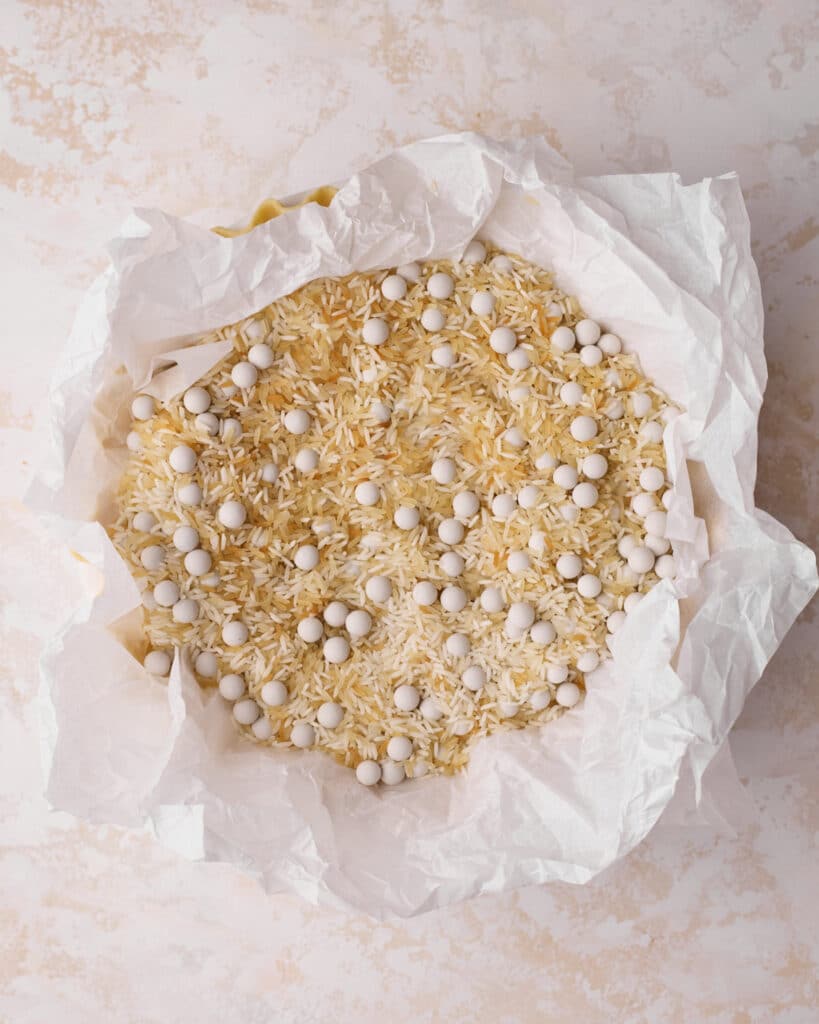
Line the chilled crust with parchment paper and pie weights (or rice), making sure to fill all the way up the sides to prevent shrinking.
Put the pie crust back in the fridge (or freezer if there is space) for 10 minutes while you preheat the oven to 425°F.
Blind Bake
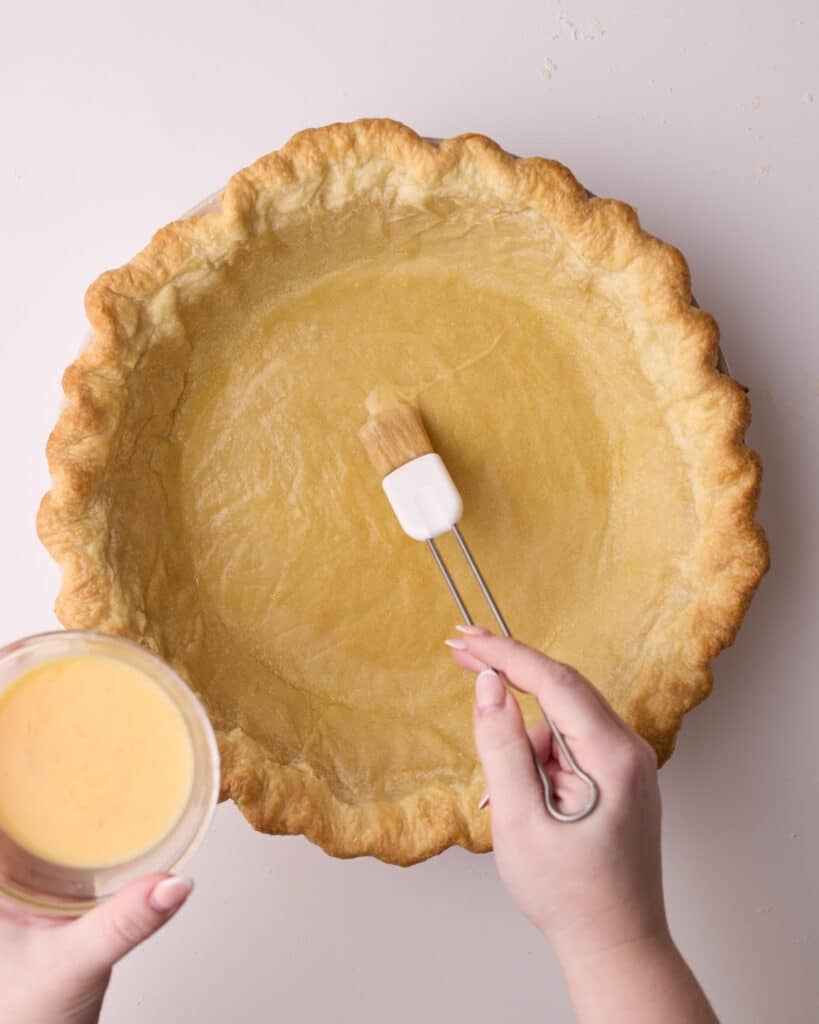
Bake the pie crust for 15-18 minutes or until the edges start to look lightly golden.
Take it out and turn the oven temperature down to 375°F.
Carefully lift out the parchment paper and pie weights and brush the bottom of the pie with egg wash.
Par-Bake
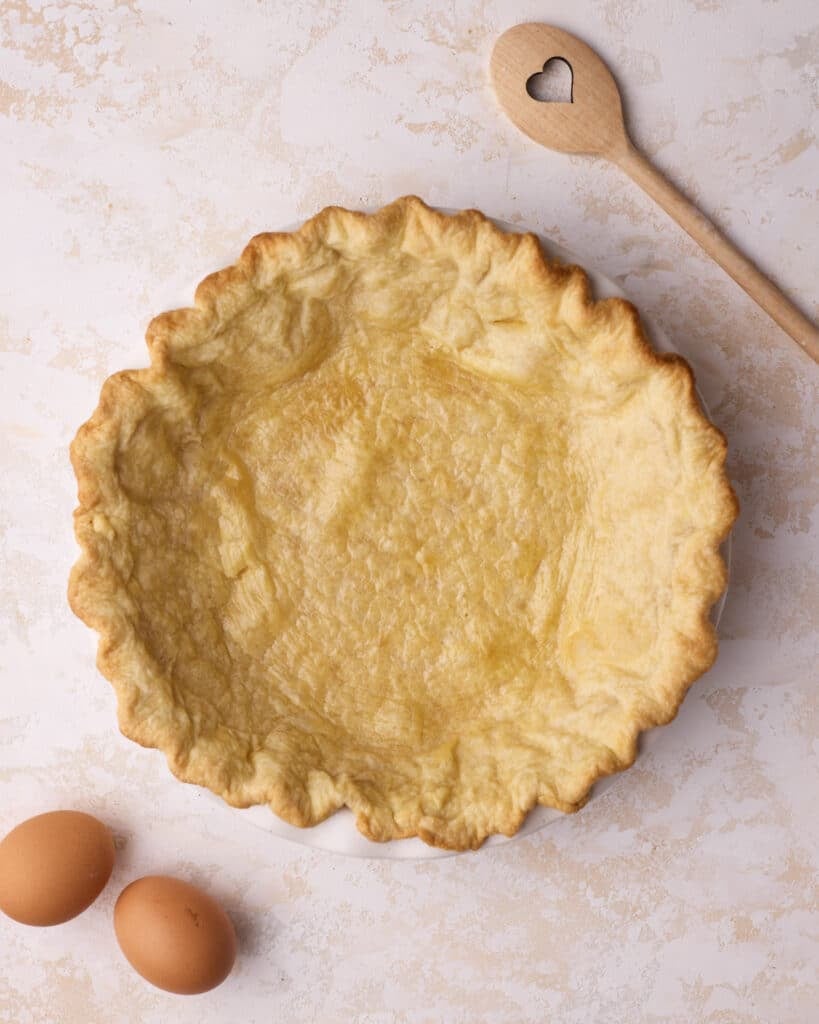
Return the pie crust to the oven for a further 5-7 minutes to par-bake it until the inside looks dry and light golden brown.
Let it cool while you prepare the filling.
Turn the oven temperature down to 325°F if you are making the pie right away.
Reader Review:
Thank you for your recipe for custard pie! It was absolutely the BEST I have ever had! And your instructions are wonderful!
⭐⭐⭐⭐⭐ - Louise
How to Make Custard Pie
Though this is a simple pie, there are a few little things that can take this from a good custard pie to an exceptional one. I recommend following each of these steps for the best results.
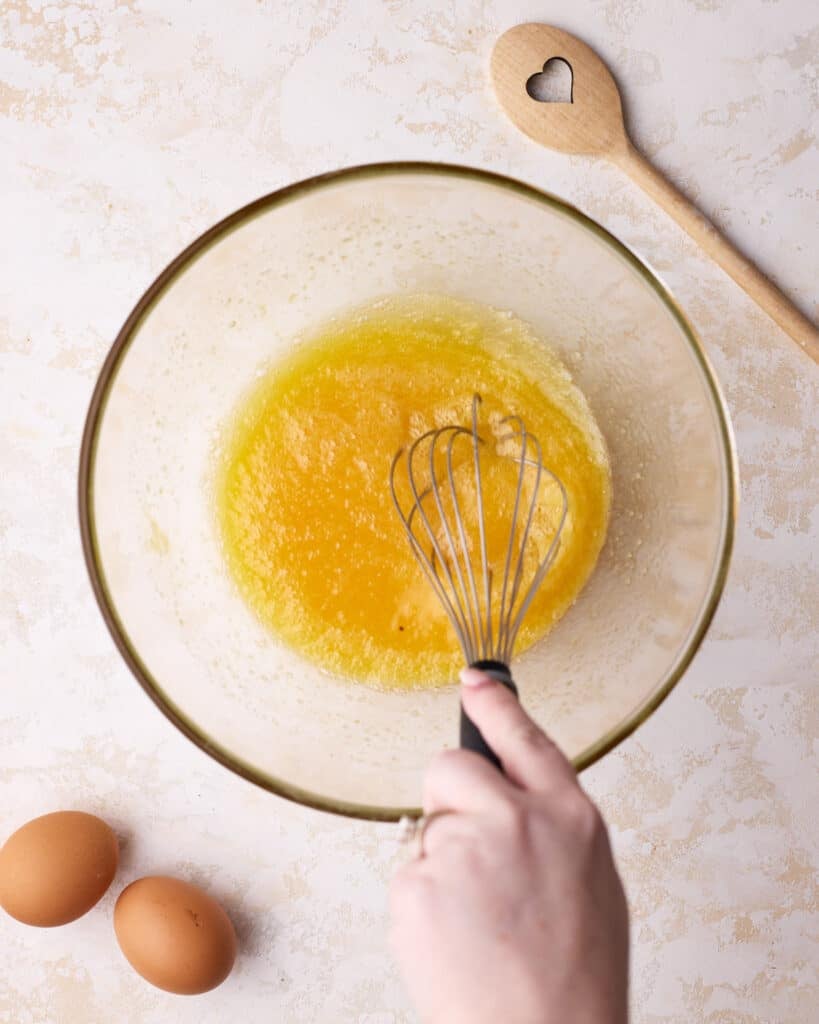
Whisk Eggs and Sugar
In a medium bowl, whisk together the eggs, egg yolk, and sugar until combined. Don't whisk too vigorously, we don't want to incorporate any air into it.
Don't let the eggs and sugar sit without whisking them, as the sugar can actually burn the egg yolks and create coagulated lumps.
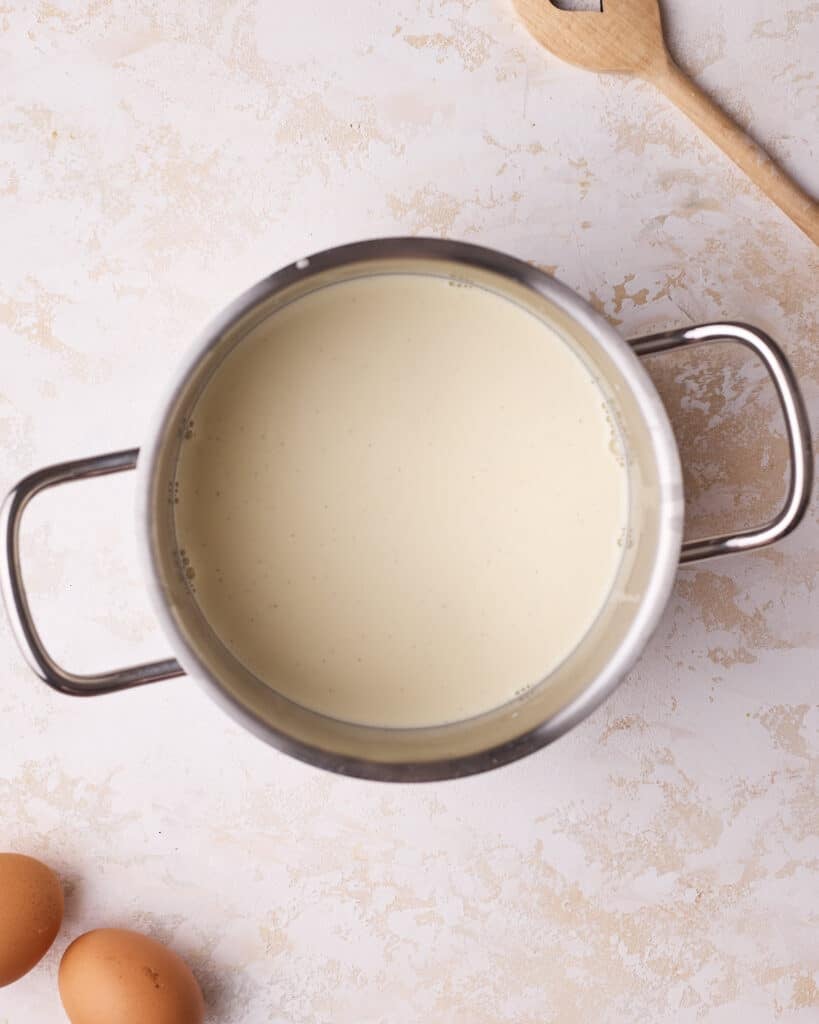
Scald the Milk
Add the milk, heavy cream, and vanilla to a saucepan over medium heat. Whisk slowly until it is 'scalding'. This means that you can see steam rising from it and there are tiny bubbles starting to appear on the surface.
Do not let it boil.
See the section below on why you shouldn't skip scalding the milk.
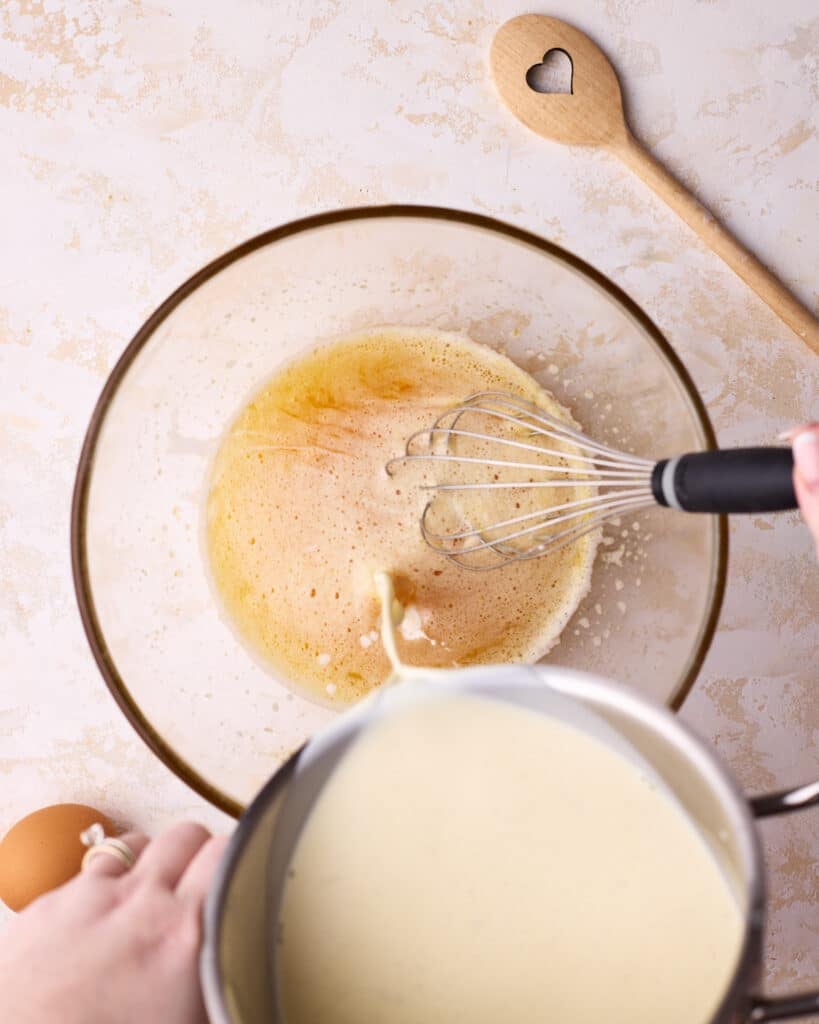
Temper the Eggs
Drizzle a little of the milk mixture into the egg mixture and whisk to incorporate it. Keep doing this, very gradually until all the hot milk is incorporated.
It is vital to do this slowly to avoid scrambling the eggs.
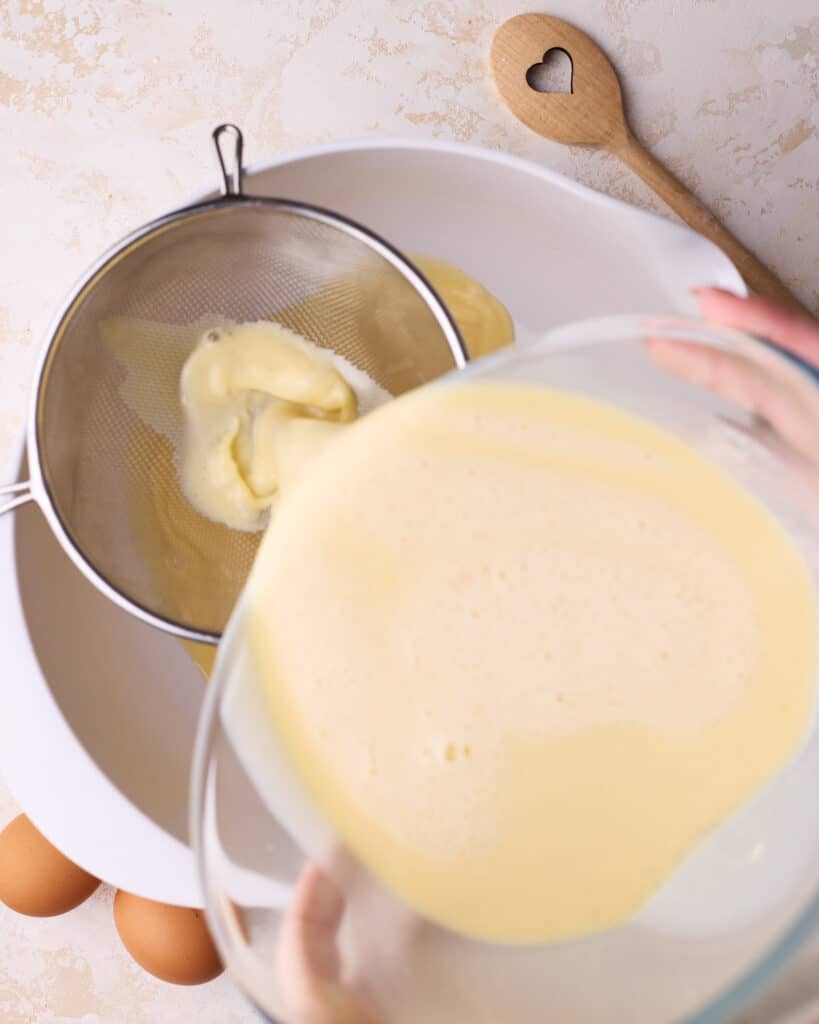
Strain
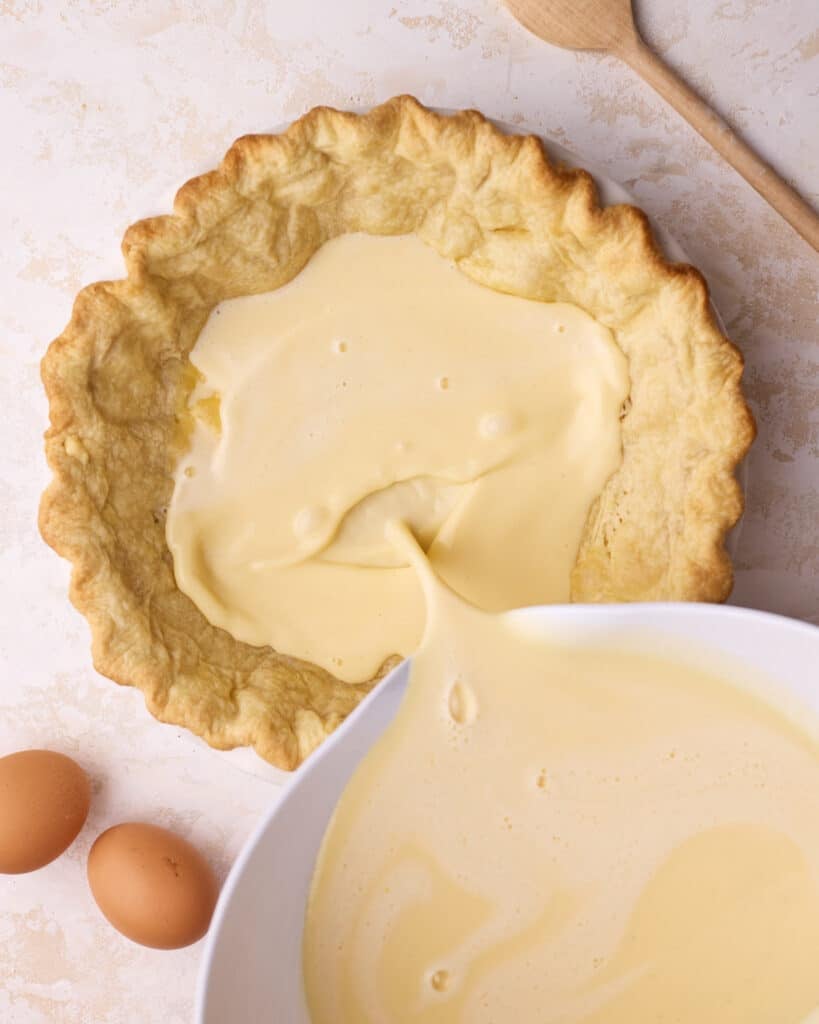
Pour the custard mixture through a fine mesh sieve into a large bowl to remove any lumps of coagulated egg.
If you have a bowl with a spout on it, it makes the next step a lot easier!
Fill the Pie
Pour the custard filling into the par-baked crust.
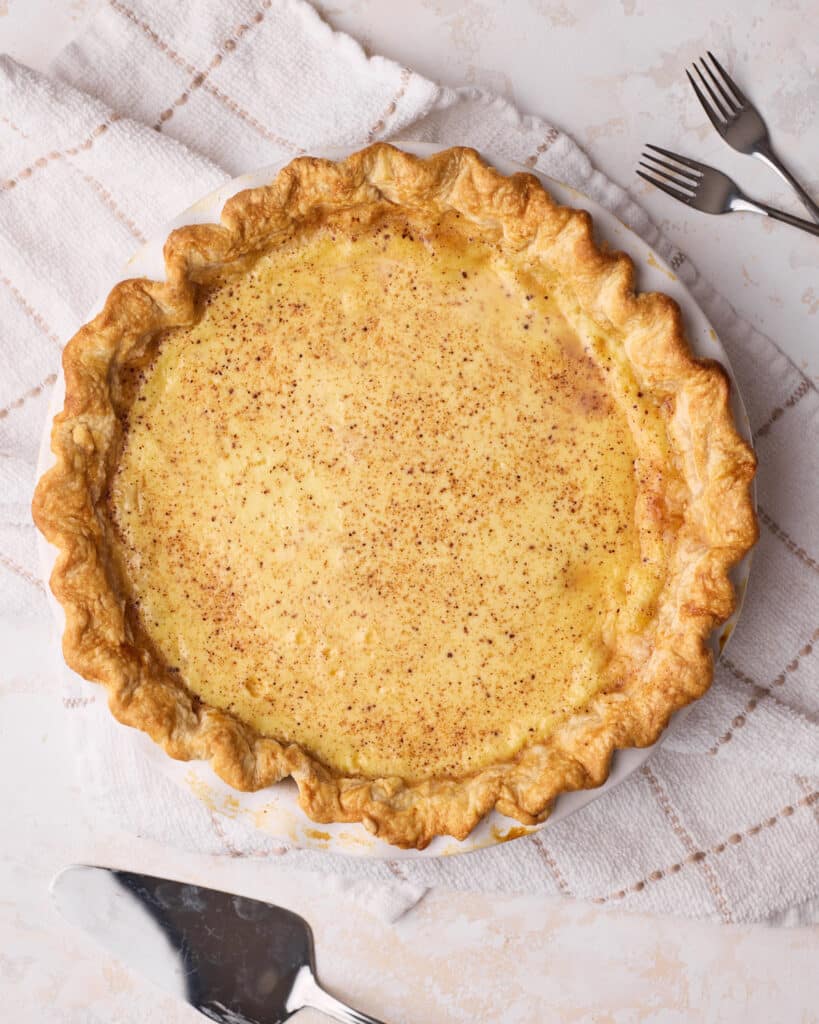
Sprinkle nutmeg all over the top of the pie.
Brush the exposed edges of the crust with a little bit of egg wash.
Bake
Slowly move your custard pie into the oven and bake for 40-50 minutes. It should be set around the outer edge but still quite jiggly in the middle, it will continue to bake as it cools.
Let the custard pie cool to room temperature before covering it with plastic wrap and transferring it to the fridge to chill for at least 4 hours.
How to tell when Custard Pie is Baked
As with any custard-style pie, it is important to know the signs of when the pie is baked. There are so many factors that contribute to the baking time, so it's best to learn the visual cues to know when to take it out, rather than relying on recipe times.
Custard pies are like Goldilocks, you have to get the baking time juuuust right. If you over-bake it the pie will come out rubbery and the custard may curdle. If you under-bake it then it won't set up properly and you won't be able to cut a slice out of it.
The challenge here is that custard continues to bake as the pie cools, so if you wait until it is fully baked to take it out of the oven, you will end up with an over-baked pie.
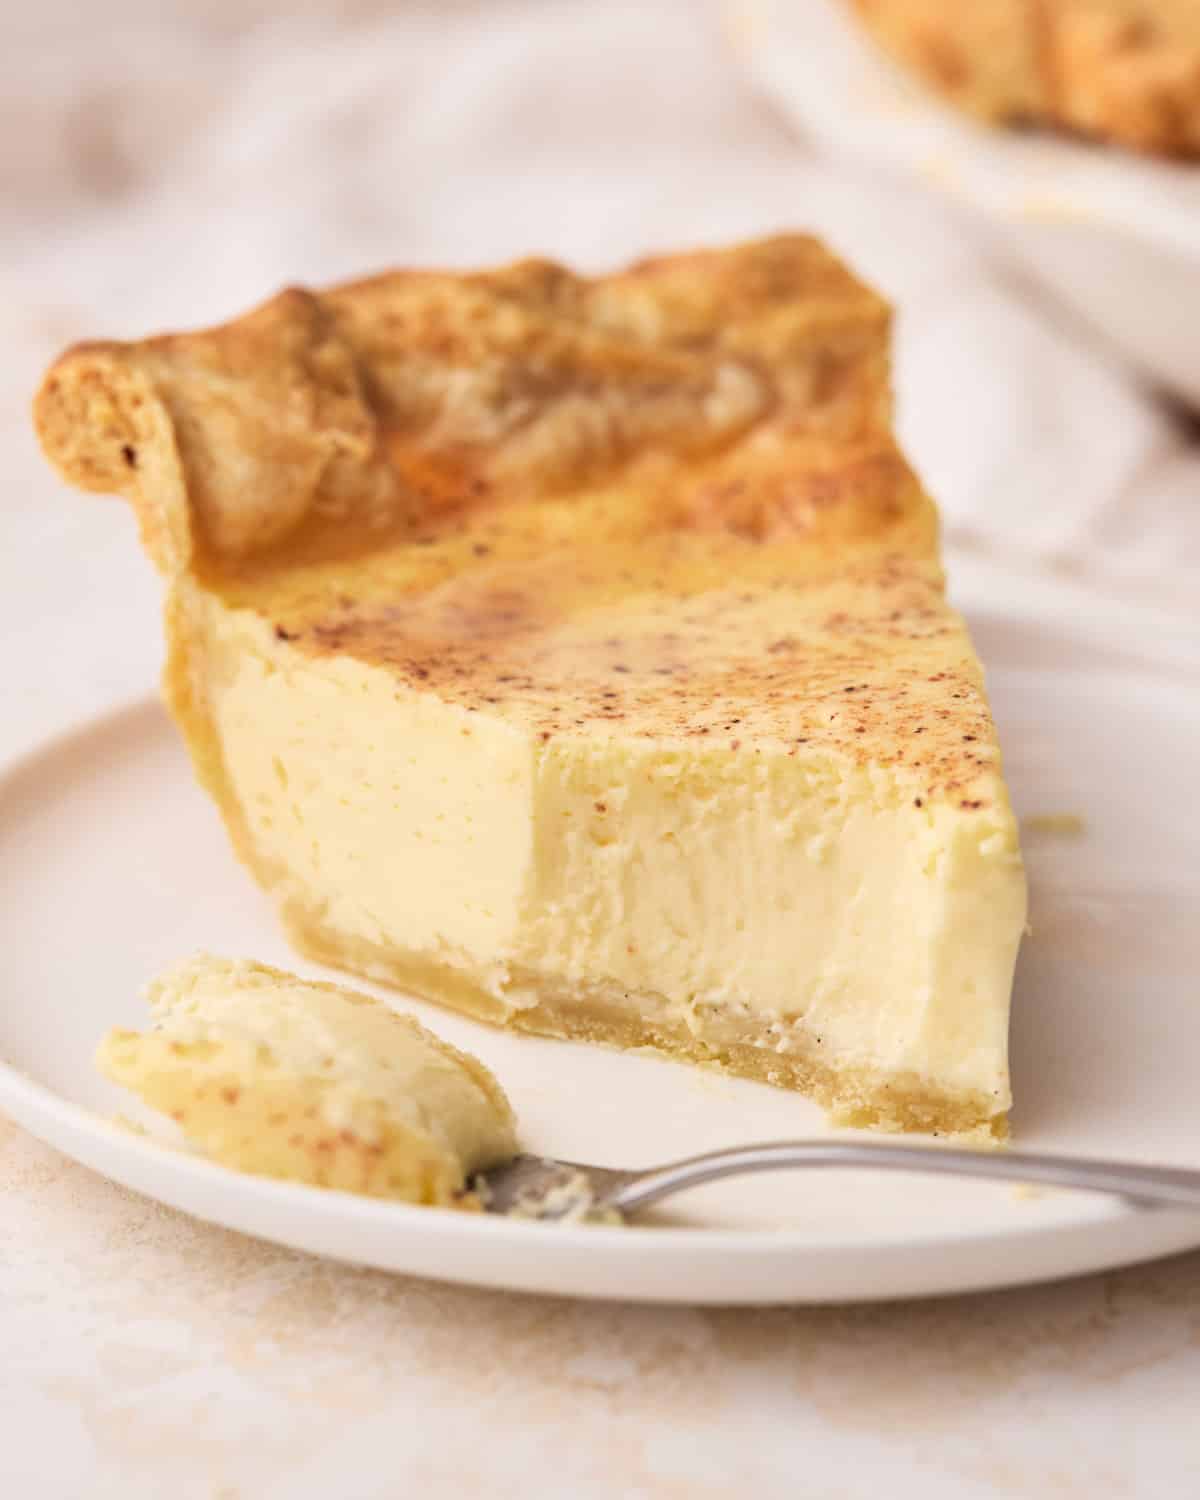
The trick is to take it out when it is just the right level of baked so that when it has cooled it will be perfectly baked with a beautiful silky texture.
The Jiggle Test
5 minutes before the end of the minimum bake time, gently tap the side of the pie plate to check for doneness. Do not take the pie out of the oven to do this.
Needs Longer - If the whole of the filling still looks liquid, the pie isn't ready yet and needs longer to bake.
Just Right - You'll know the custard pie is ready to come out when the outer 1-2 inches are firm and do not move, but the middle of the pie is still very jiggly.
Overbaked - If the whole pie is completely set and doesn't move when you tap it, it has been in for too long and will likely be over-baked.
Troubleshooting Egg Custard Pie
Custard has curdled: If the custard isn't silky smooth and instead feels rubbery or like scrambled eggs, it has been overbaked. Make sure you temper the eggs gradually and see the section above on how to tell when custard pies are done baking.
Filling didn't set: If you slice into the pie and your filling isn't set, it was either underbaked or it wasn't allowed enough time to cool before slicing.
Filling tastes eggy: Obviously, custard contains eggs, so there will be an element of an eggy taste in it. But if your pie tastes very eggy, in an unpleasant way, it is probably overbaked and the eggs have scrambled. Tempering the eggs with scalded milk helps to prevent this.
Custard is cracked: If the top of the pie cracks while it cools, then it was either baked for too long or the oven was too hot. Try checking your oven temperature to make sure it is heating accurately.
The pastry is soggy: If the pastry is soggy, then either it wasn't blind-baked for long enough, or there was a hole in the pastry, and some of the liquid custard filling seeped into it. Make sure to seal any holes in the pastry with egg wash to keep it dry.
Edges are browning: If the edges of your pie crust are browning too much before the pie is ready, you can put a pie shield on top, or just gently wrap the edges in aluminum foil.
Why Scald the Milk?
There are a lot of recipes that tell you to skip this step, let me tell you why you shouldn't.
Originally, old-fashioned custard pie recipes would scald the milk to kill off bacteria and make it safe to consume. These days, our milk is pasteurized so the danger is removed, which is why modern recipes sometimes say you don't have to do it.
From a safety perspective, that is true, but there are multiple other benefits of scalding the milk that will make your custard pie so much better:
- Texture - Using the hot milk to temper the eggs (gradually bringing them up in temperature) stops them from being shocked by the hot oven and prevents curdling (scrambled eggs).
Also, heat denatures the whey protein in the milk which thickens the custard. Both of these things help to create a super silky, smooth texture in the finished pie.
- Flavor - This recipe infuses the vanilla into the custard as it warms, which draws out and deepens the vanilla flavor in the custard.
- Appearance - Because the custard has already started to warm up and thicken before it goes into the oven, it needs less time and a lower temperature to bake, which means that the top of the pie will be smoother and lighter, and the pastry won't brown too much before the custard is baked.
This is why good recipes for pastry cream and creme brulee all use this method.
If you really don't want to do it, you can skip scalding the milk, but for the best custard pie, I highly recommend taking the extra time for this simple step.
Easy Custard Pie Variations
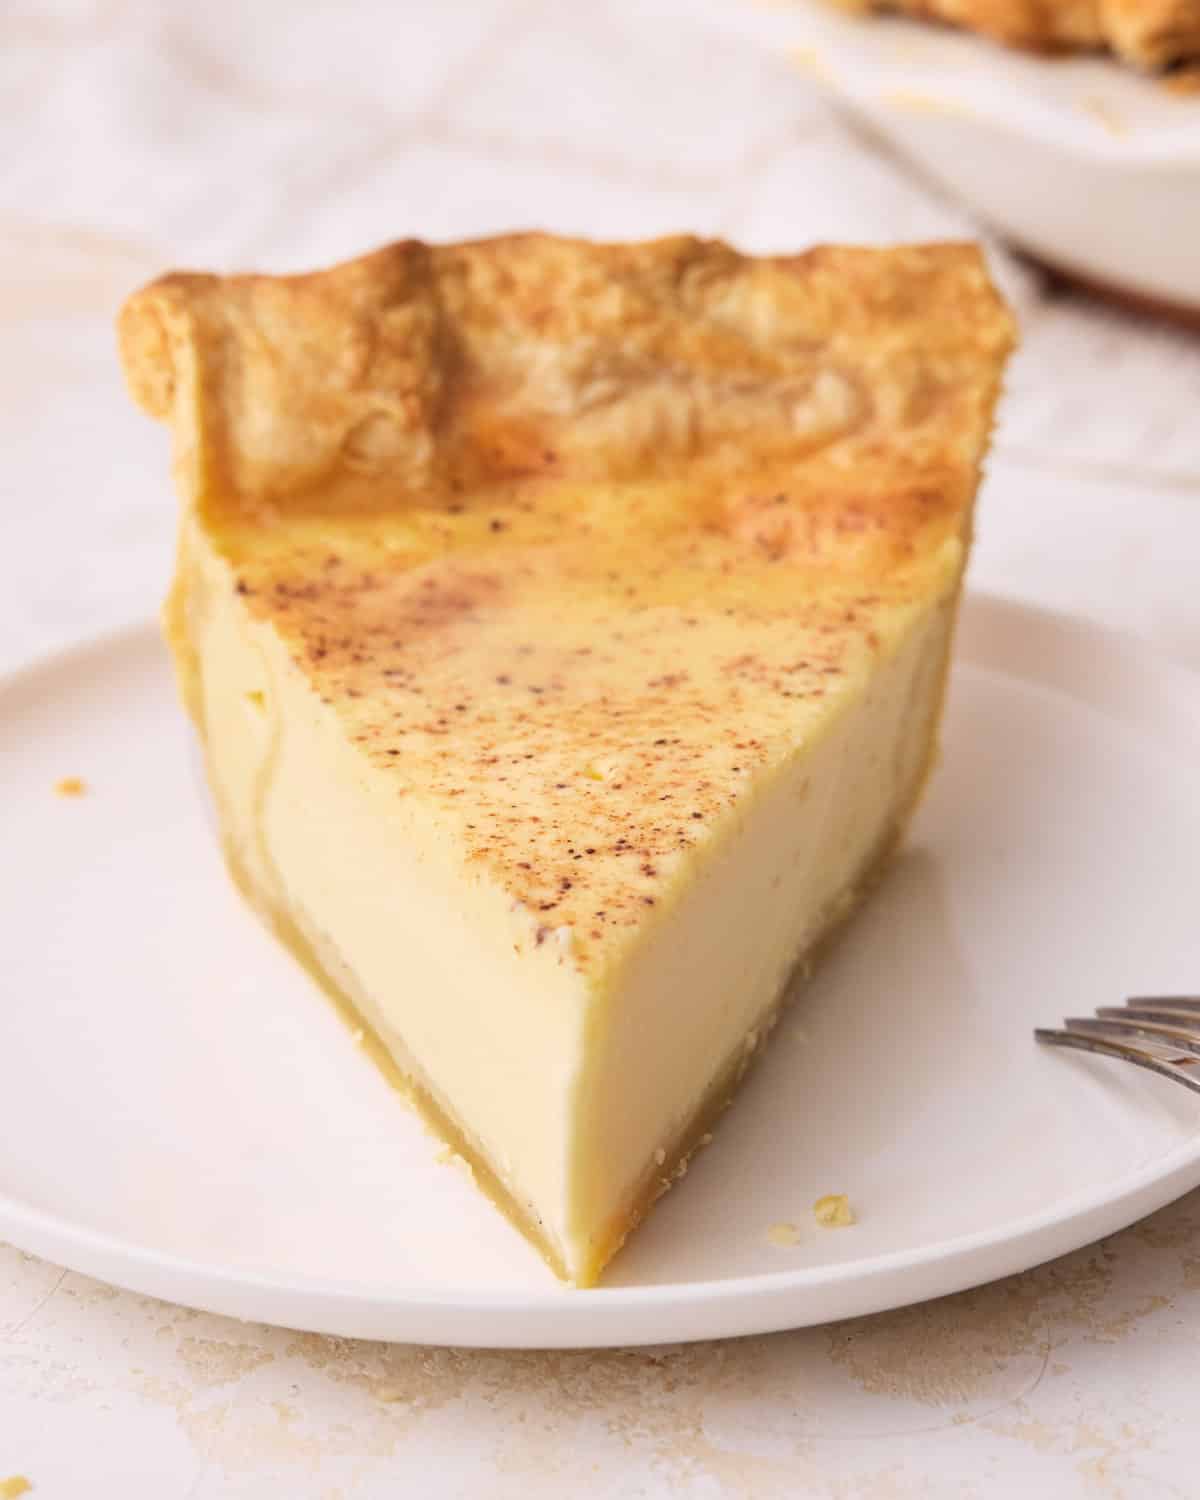
Though classic custard pie may be the perfect dessert to serve after Thanksgiving dinner, here are some ideas for ways to easily change it up.
- Eggnog Pie - To make this into an indulgent Christmas dessert, add a dash of your favorite tipple - the filling tastes just like eggnog!
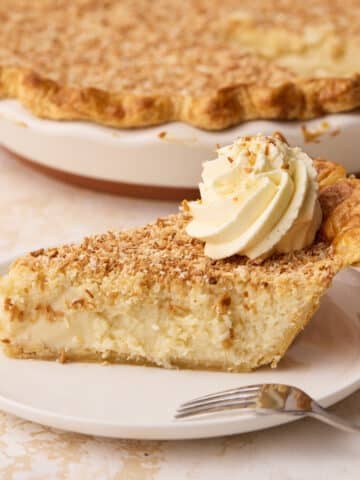
- Coconut Custard Pie - I have had so many people asking me for a coconut version of this egg custard pie! I have finally made one! Check out my coconut custard pie recipe.
- Creme Brulee Pie - For a topping that is more exciting than a dash of nutmeg, sprinkle the cooled pie with a thin layer of sugar and torch it with a kitchen torch for a crackly bruleed finish.
- Chocolate Custard Pie - Feeling decadent? Why not make a chocolate custard pie instead?
- Different Pie Crust - If flaky pie dough is not your thing, try this custard pie with my shortcrust pastry recipe instead.
How To Serve Custard Pie
Custard pie needs to be chilled, but for the best results, take it out of the refrigerator 20-30 minutes before serving - this allows the custard to warm up just enough to release more flavor and be soft and silky on the tongue.
Old-fashioned custard pie is absolutely delicious on its own, but for a little something extra, try serving it with a swirl of homemade whipped cream or a scoop of vanilla ice cream.
Storing Custard Pie
Store your custard pie in the refrigerator, in an airtight container, or covered with plastic wrap, for up to 4 days.
FAQs
If you have a question about this custard pie recipe that isn't answered here, please write it in the comment section, and I will get back to you as soon as I can.
While I always think that homemade pie crusts are better, you can make this custard pie recipe with a store-bought pie crust.
A homemade crust will be more flaky and have better flavor, but a grocery store one will still do the job and the custard filling is really the star of the show here.
Make sure you get a 9-inch, deep dish pie crust. This recipe makes quite a thick pie so you need to make sure the crust is deep enough to hold all the filling.
The best temperature to make custard pie is 325°F / 160°C (140° fan-assisted).
Many recipes will have a hotter oven than this, but for a smooth, creamy baked custard it is best to bake low and slow.
Technically, you don't have to scald the milk, but taking a few minutes for this extra step will improve the texture, flavor, and appearance of your custard pie.
See my section in the post above about why you should scald the milk.
This recipe has the classic flavor of egg custard pie that you know and love, but with a few science-backed tricks to make sure it is the best custard pie it could possibly be.
More Custard Desserts
I have a lot of delicious custard dessert recipes on my site. If you love custard, try some of these recipes:
Recipe
Custard Pie Recipe
Ingredients
- Homemade Pie Dough Use my Flaky Pie Crust recipe or a storebought pie crust*
- Egg wash (1 egg + a splash of milk, lightly beaten)
- 4 Large (4) Large Eggs
- 1 Large Egg Yolk
- 300 ml (1¼ cups) Heavy Cream
- 300 ml (1¼ cups) Whole Milk
- 150 g (¾ cup) Granulated Sugar
- 2 teaspoon Vanilla Bean Paste or vanilla extract
- ¼ teaspoon Salt
- ¼ teaspoon Nutmeg ground or freshly grated
Equipment
- 9-inch Pie Dish deep dish
- Baking Beans or rice
Instructions
- Make the pie dough ahead of time so it has time to rest for at least 2 hours, but ideally overnight, then shape it into the pie dish at least 30 minutes before baking. Full instructions in my Flaky Pie Crust post. Alternatively, you can use a store-bought pie crust.Homemade Pie Dough
- Cover the inside of the pie with parchment paper and fill with baking beans and/or rice. Make sure you fill it all the way up the sides of the pie crust to stop the edges from shrinking.
- Keep the pie crust in the fridge, or if there is space, pop it in the freezer for 10 minutes while you preheat the oven to 425°F / 220°C (200°C fan assisted).
- Put the pie crust into the oven on the middle rack and bake for 15-18 minutes or until the edges are starting to turn golden brown.
- Take the pie out of the oven and turn the temperature down to 375°F / 190°C (170°C fan assisted). Carefully lift out the parchment paper and baking beans.
- Brush a layer of egg wash on the bottom of the pie, it should be a thin layer, but thick enough to seal any docking holes. Return the pie crust to the oven for a further 5-7 minutes, or until the inside looks dry and light golden brown.Egg wash
- Remove from the oven and let the pie crust cool while you make the custard filling.
- Set the oven temperature to 325°F / 160°C (140° fan-assisted).
- In a large bowl, whisk together the eggs, egg yolk, sugar, and salt. Whisk gently just until combined - don't try to incorporate any air into the mixture.4 Large (4) Large Eggs, 1 Large Egg Yolk, 150 g (¾ cup) Granulated Sugar, ¼ teaspoon Salt
- To a saucepan, add the heavy cream, milk, and vanilla, whisk together, and warm over medium-low heat until it is scalding. (This means there is steam coming from it and you can see a few tiny bubbles starting to form on the surface. Don't let it boil.300 ml (1¼ cups) Heavy Cream, 300 ml (1¼ cups) Whole Milk, 2 teaspoon Vanilla Bean Paste
- Slowly drizzle a tiny amount of the scalded milk/cream into the egg mixture and whisk it in. Keep adding it, a little at a time, until it is all incorporated.It is vital to do this gradually to slowly bring up the temperature of the eggs so that they don't scramble.
- Pour the custard mixture through a fine mesh sieve into a large bowl to remove any lumps of coagulated egg. Tip: If you have a bowl with a spout on it, it makes the next step a lot easier!
- Pour the custard filling into your par-baked pie crust and sprinkle with nutmeg. If you would like, brush the edges of the pie crust with a little of the eggwash.¼ teaspoon Nutmeg
- Carefully transfer the custard pie to the middle rack of your oven and bake for 40- 50 minutes. If the pastry starts to brown too much but the pie isn't ready, you can add a pie shield to stop it from browning further.
- Bake time will vary massively depending on a variety of factors, so it's best to know the signs of when it is done. Tap or move the pie dish very slightly. When custard pie is properly baked, the outer 1-2 inches of pie will be set and firm, but the middle will still jiggle. See the post above for more details.
- Remove the custard pie from the oven and let it cool to room temperature before transferring it to the refrigerator to chill for at least 4 hours - preferably overnight.







Julia Griffin
I have to say, this did not work for me. Much too sweet, and too high a temperature for custard.
Jules Grasekamp
Hi Julia,
Sorry to hear you weren't a fan of the custard pie - it's one of the most popular recipes on my site!
You can definitely reduce the sugar or vanilla next time to make it less sweet.
As for the oven temperature, 325°F / 160°C (140° fan-assisted) is a pretty standard temp to bake custard, but the important thing is that you know the signs that it is done so feel free to bake lower if you like.
Jules
Jackie
I’m 81 years old and have been unable to make a custard pie or even custard without burning it so thank you lm dying to try this one out on Sunday and let you know how it goes it’s not that I don’t bake I I’ve always baked from scratch but not custard. By the way congratulations on your new daughter and best wishes for the new year Jackie
Jules Grasekamp
Thank you so much Jackie!
I hope you love the custard pie recipe, I'm looking forward to hearing how it turns out!
Let me know if you have any questions about the process at all.
Enjoy!
Jules
Judy
When do I add the salt? I put it in the milk. I used a nine inch pan and had some filling left. This could have gone in a ten inch pan. It's baking!! Thank you
Jules Grasekamp
Hi Judy,
I hope your custard pie turned out great!
The salt is added to the eggs along with the sugar in step 2 of the custard filling instructions.
Yes it does make quite a deep pie, I use a deep-dish pie dish, but if you aren't using deep-dish then a 10-inch regular dish would definitely work too.
Jules
Louise Villa
Thank you for your recipe for custard pie! It was absolutely the BEST I have ever had! And your instructions are wonderful!
Jules Grasekamp
Thank you so much Louise, you have made my day!
Jules
Rhonda Rasmusson
Heavenly! This was my first time making a custard pie. I usually opt for fruit pies, but wanted a high protein option. Following your very clear, step by step instructions, I used fresh eggs with raw, whole milk and cream. Also, I used my pie crust made with avocado oil, milk, and a combination of all purpose and almond flours. Thank you for sharing this wonderful recipe
Erin
Hi! I’m going to attempt to make this pie today . The only thing is that my husband is lactose intolerant so I bought lactose free whole milk . I just noticed it has heavy cream as well. Will using all milk spoil the texture? Thanks !
Jules Grasekamp
Hi Erin,
I hope I have managed to reply to this on time!
Using all milk will definitely change the texture but it won't necessarily spoil it. The pie may be a little softer and more delicate, and not quite as rich. I'd keep an eye on it and check for doneness as it could also alter the amount of time it takes in the oven.
I'd love to hear how it turns out and hope you both love the custard pie 🙂
Jules
Eleanor
Came out perfect! Amazing recipe, very clear, produces a lovely silky textured custard pie.
Jules Grasekamp
Thank you so much for your kind words Eleanor - I'm so glad you loved the custard pie!
Jules
Joanne
Can you add coconut to this to make it a coconut custard pie? And if so how much would you add?
Misty Evans
I'm thinking about 1 cup of coconut flakes but IDK haven't made one.
Jules Grasekamp
Hi Joanne,
After a lot of requests, I have now made a coconut custard pie recipe as well - you can find it here - https://bonnibakery.com/coconut-custard-pie/ 🙂
Enjoy!
Jules