
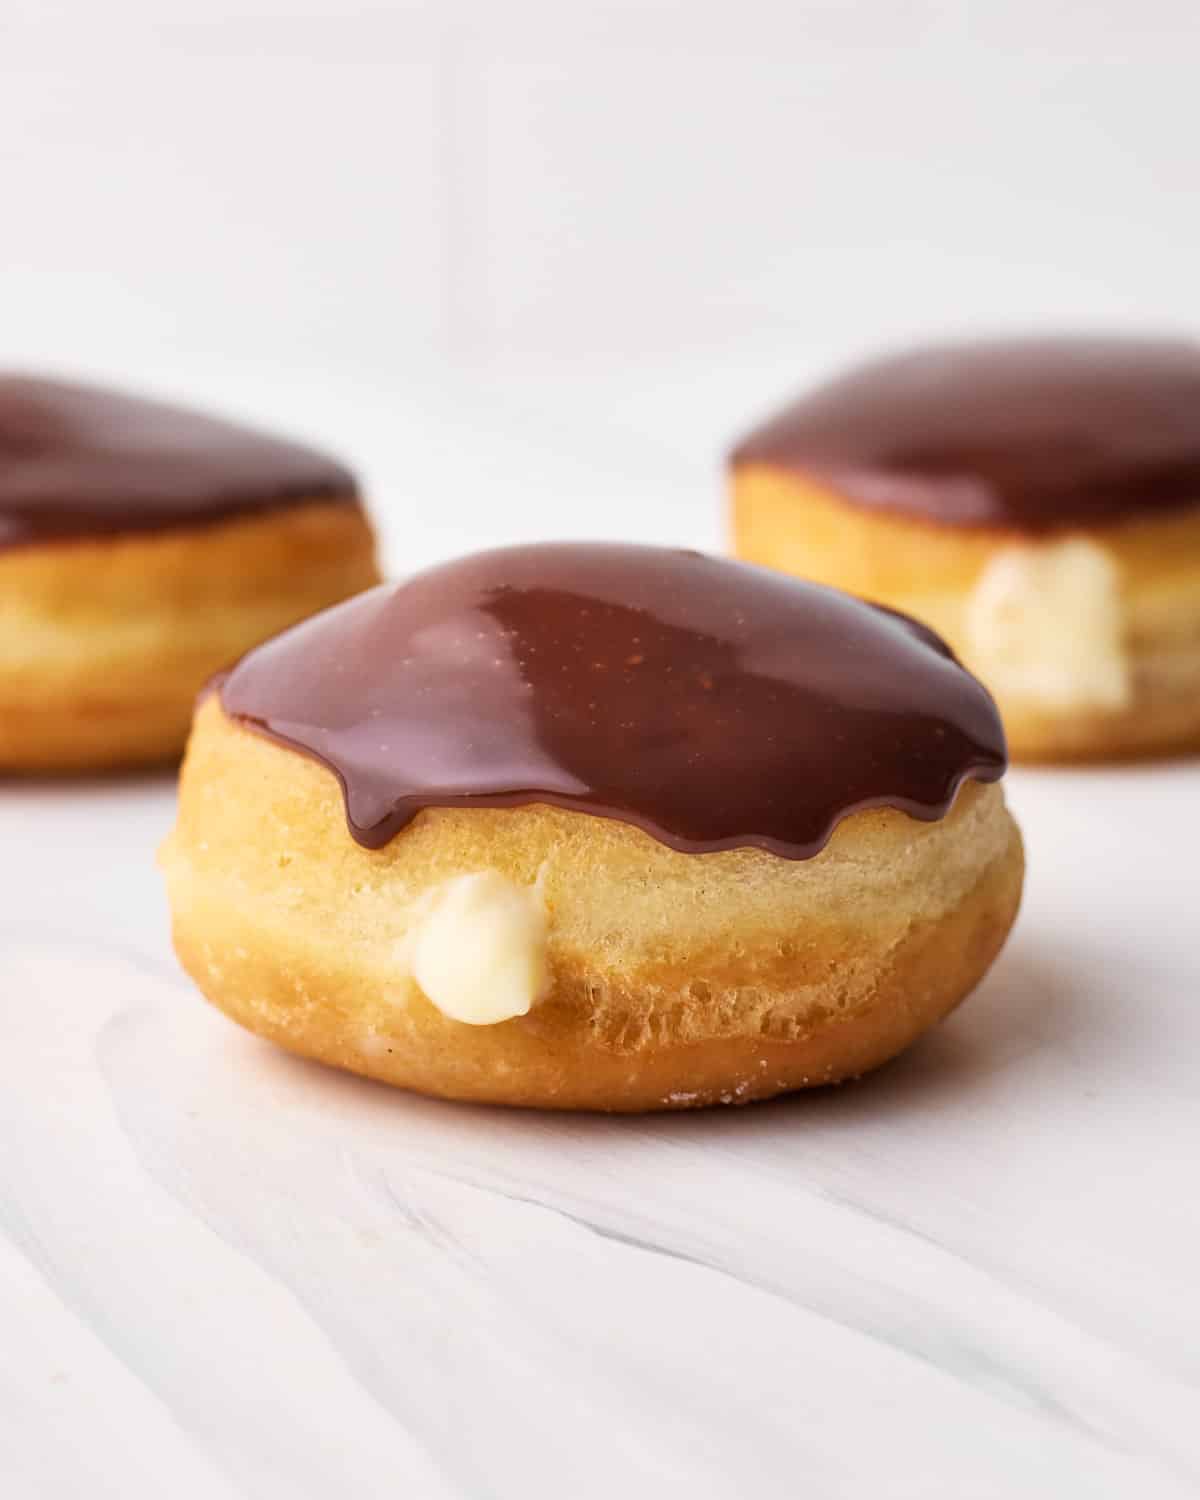
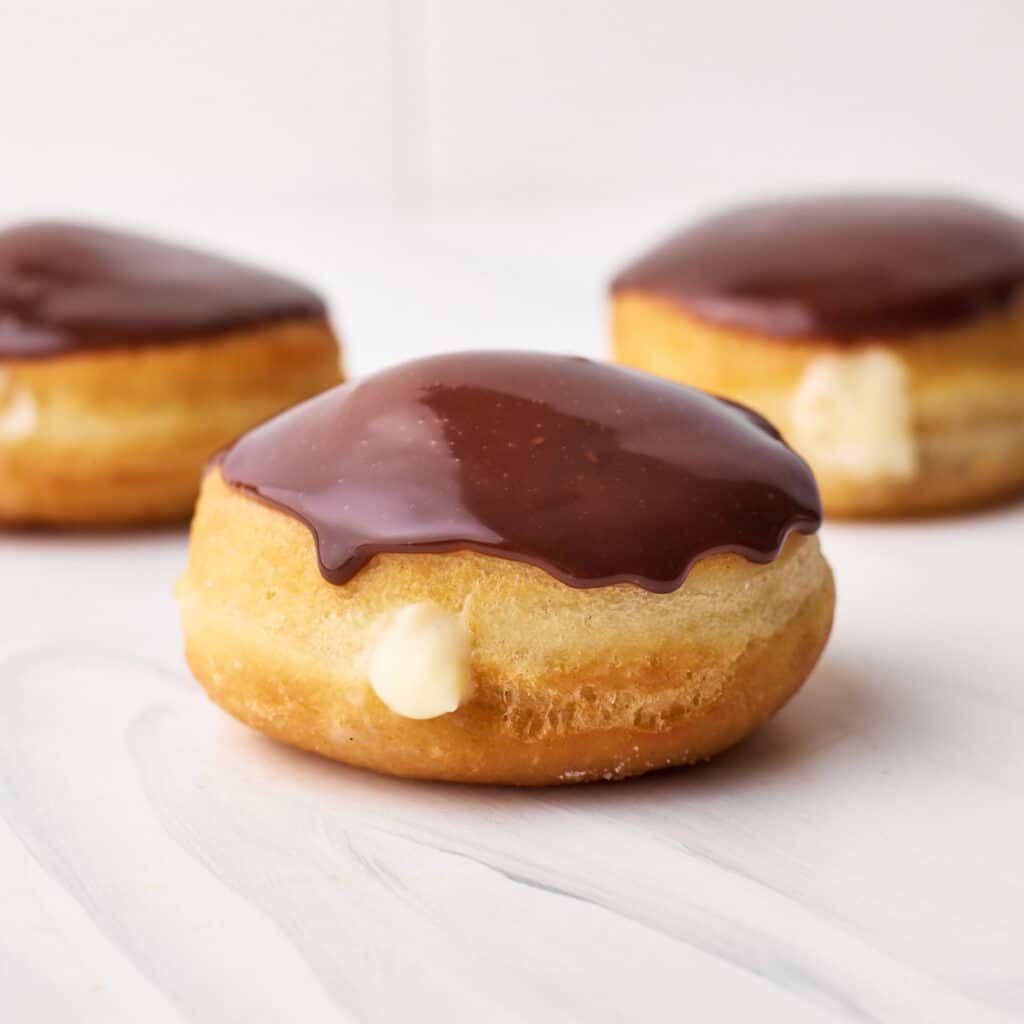
Boston cream donuts have always been my donut of choice, but this homemade version is even better: soft, freshly fried dough, silky vanilla pastry cream, and a rich chocolate ganache topping. That classic custard-and-chocolate combination is pure donut heaven.
Quick Look: Boston Cream Donut Recipe
Fluffy fried donuts filled with vanilla custard (pastry cream) and topped with chocolate glaze.
☆ Why make THIS version? This from-scratch recipe goes beyond timings, showing you what the dough should look and feel like and how to control the frying temperature, so your donuts turn out soft, evenly cooked, and never greasy.
SUMMARIZE AND SAVE THIS POST ON
Homemade donuts are on another level from anything you can buy, especially when you eat them freshly fried and filled. Boston cream donuts have a few components, but none of the individual steps is difficult, and the pastry cream can be made in advance.
The key is knowing what to look for rather than relying only on timings. I'll show you how the dough should look and feel when it's properly kneaded and proofed, how to control the frying temperature and how to fill every donut with plenty of custard.
Jump to:
Key Ingredients
This Boston Cream Donut recipe has almost exactly the same ingredients as my Bavarian Cream Donuts, so I often make a double batch of dough and make both kinds at once!
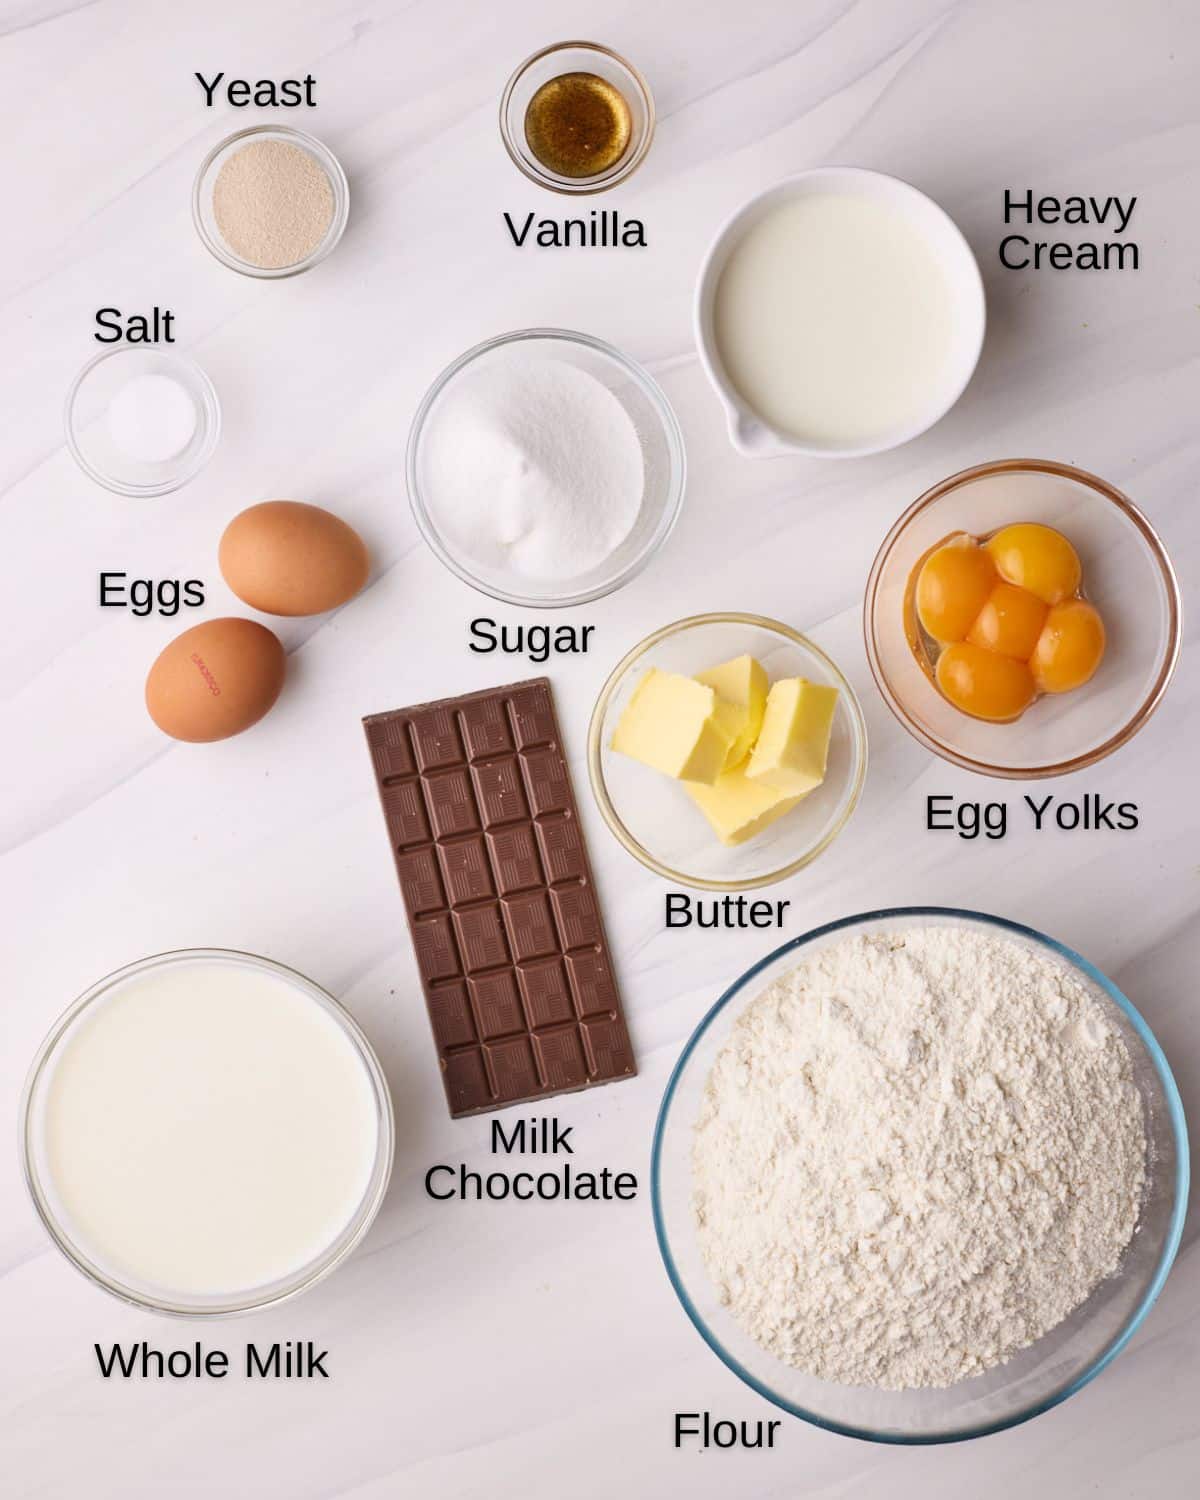
- Eggs - Whole eggs enrich the dough, while egg yolks give the pastry cream its flavour and silky consistency. Use large eggs in the US and medium eggs in the UK.
- Whole milk - Used in both the dough and pastry cream. Full-fat milk gives the filling its rich, creamy texture.
- Cornstarch - This thickens the pastry cream so it can be piped generously into the donuts.
- Vanilla - Vanilla extract or vanilla bean paste. I like the paste because you can see little specs of vanilla in the custard.
- Flour - All-purpose flour.
- Active Dry Yeast - Instant yeast also works in the same quantity and can be added directly without activating it first.
- All-purpose Flour - Plain flour in the UK. Weigh it if possible, as adding too much can make the donuts dense.
- Chocolate - The glaze is a rich chocolate ganache, so use high-quality chocolate, not chocolate chips. Use semi-sweet or milk chocolate.
- Heavy Cream - Use heavy cream, heavy whipping cream, or double cream. Anything else won't have sufficient fat content.
- Frying Oil - I use vegetable oil, but you can use any neutral oil.
See the recipe card for the full recipe and measurements in both cups and grams - though I always recommend weighing your ingredients with a kitchen scale.
How to Make Boston Cream Donuts
These Boston cream donuts have three components: enriched yeast dough, vanilla pastry cream, and chocolate ganache. I'll walk you through making the custard filling, preparing the dough, frying the donuts, and glazing and filling them.
There are a few different phases of this recipe, such as needing to make the pastry cream a few hours in advance so it has time to chill. I have provided a little timing guide to help you plan the recipe.

Plan Your Timing
Allow approximately 4-5 hours from start to finish, although only about one hour is hands-on. These stages overlap, so begin with the pastry cream and make the donut dough while it chills.
- Make the pastry cream: 20 minutes, plus at least 2 hours chilling
- Mix and first-proof the dough: approximately 1½-2½ hours
- Cut and second-proof the donuts: approximately 1 hour
- Fry, fill, and glaze: approximately 45-60 minutes
To break up the work, make the pastry cream the day before and keep it covered in the refrigerator.
Make the Custard Filling
This is my classic vanilla pastry cream. Here is an overview of the steps, but if you'd like a detailed step-by-step and video, see my recipe for pastry cream.
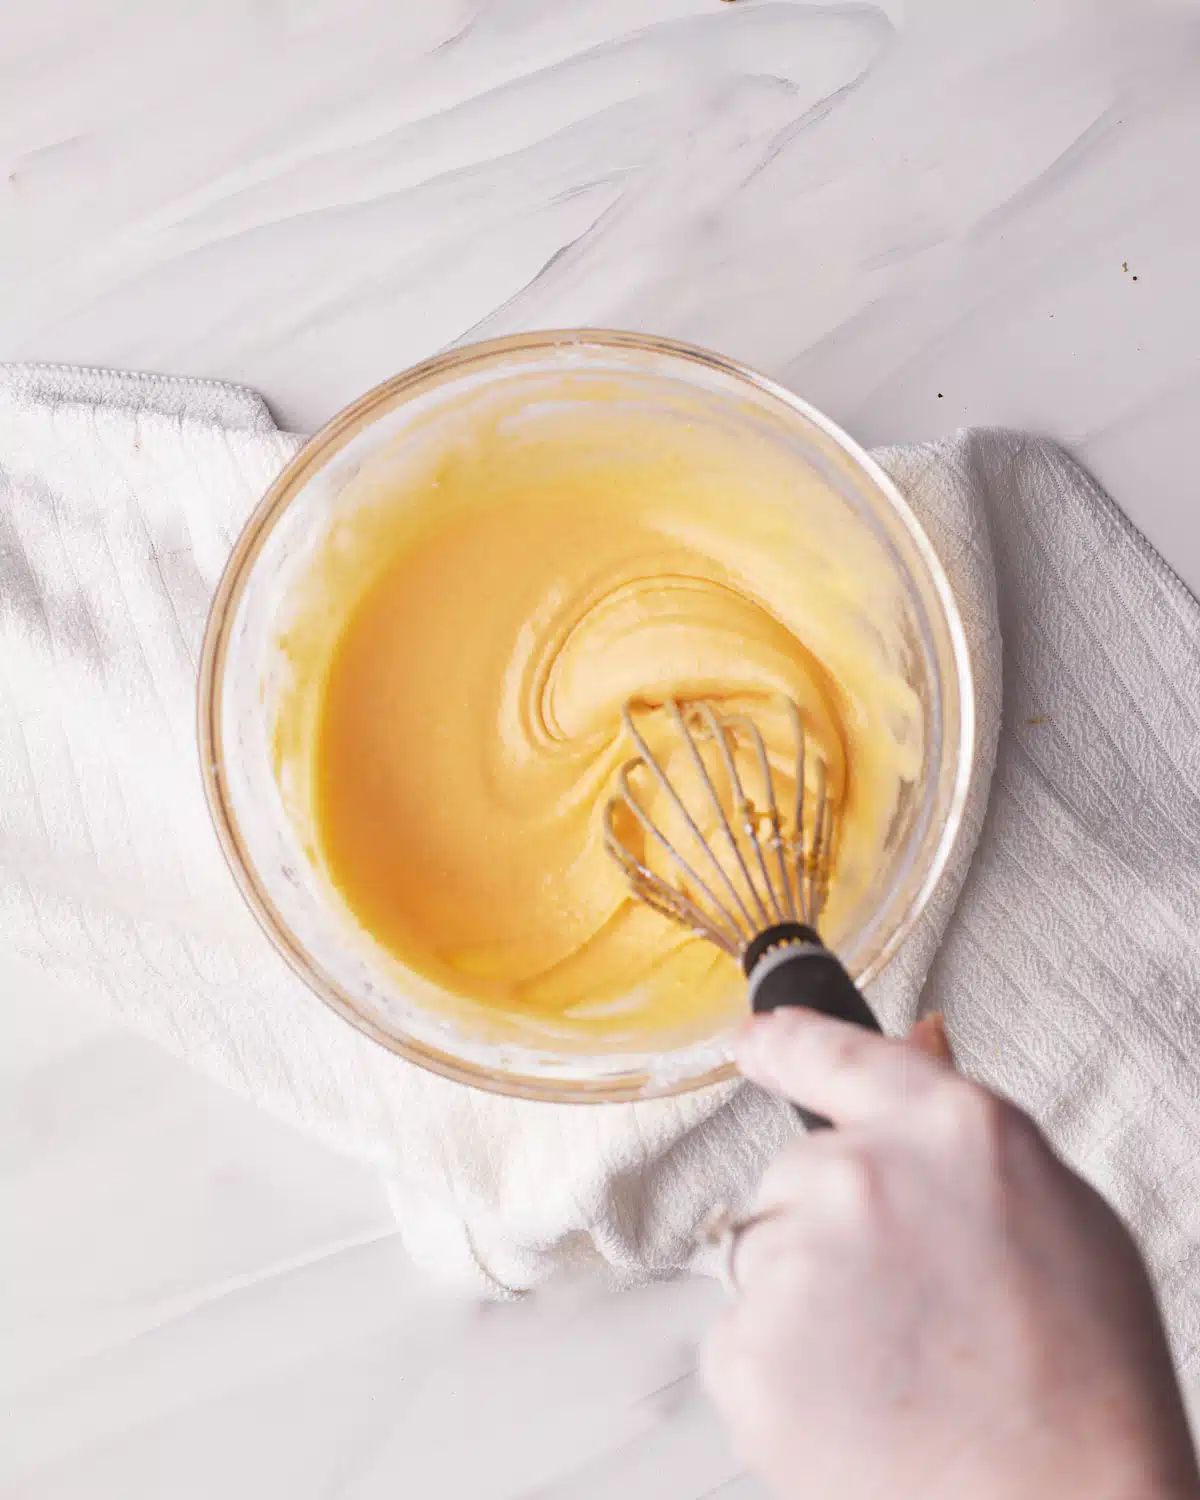
- Whisk the egg yolks, sugar and cornstarch until pale, thick and smooth.
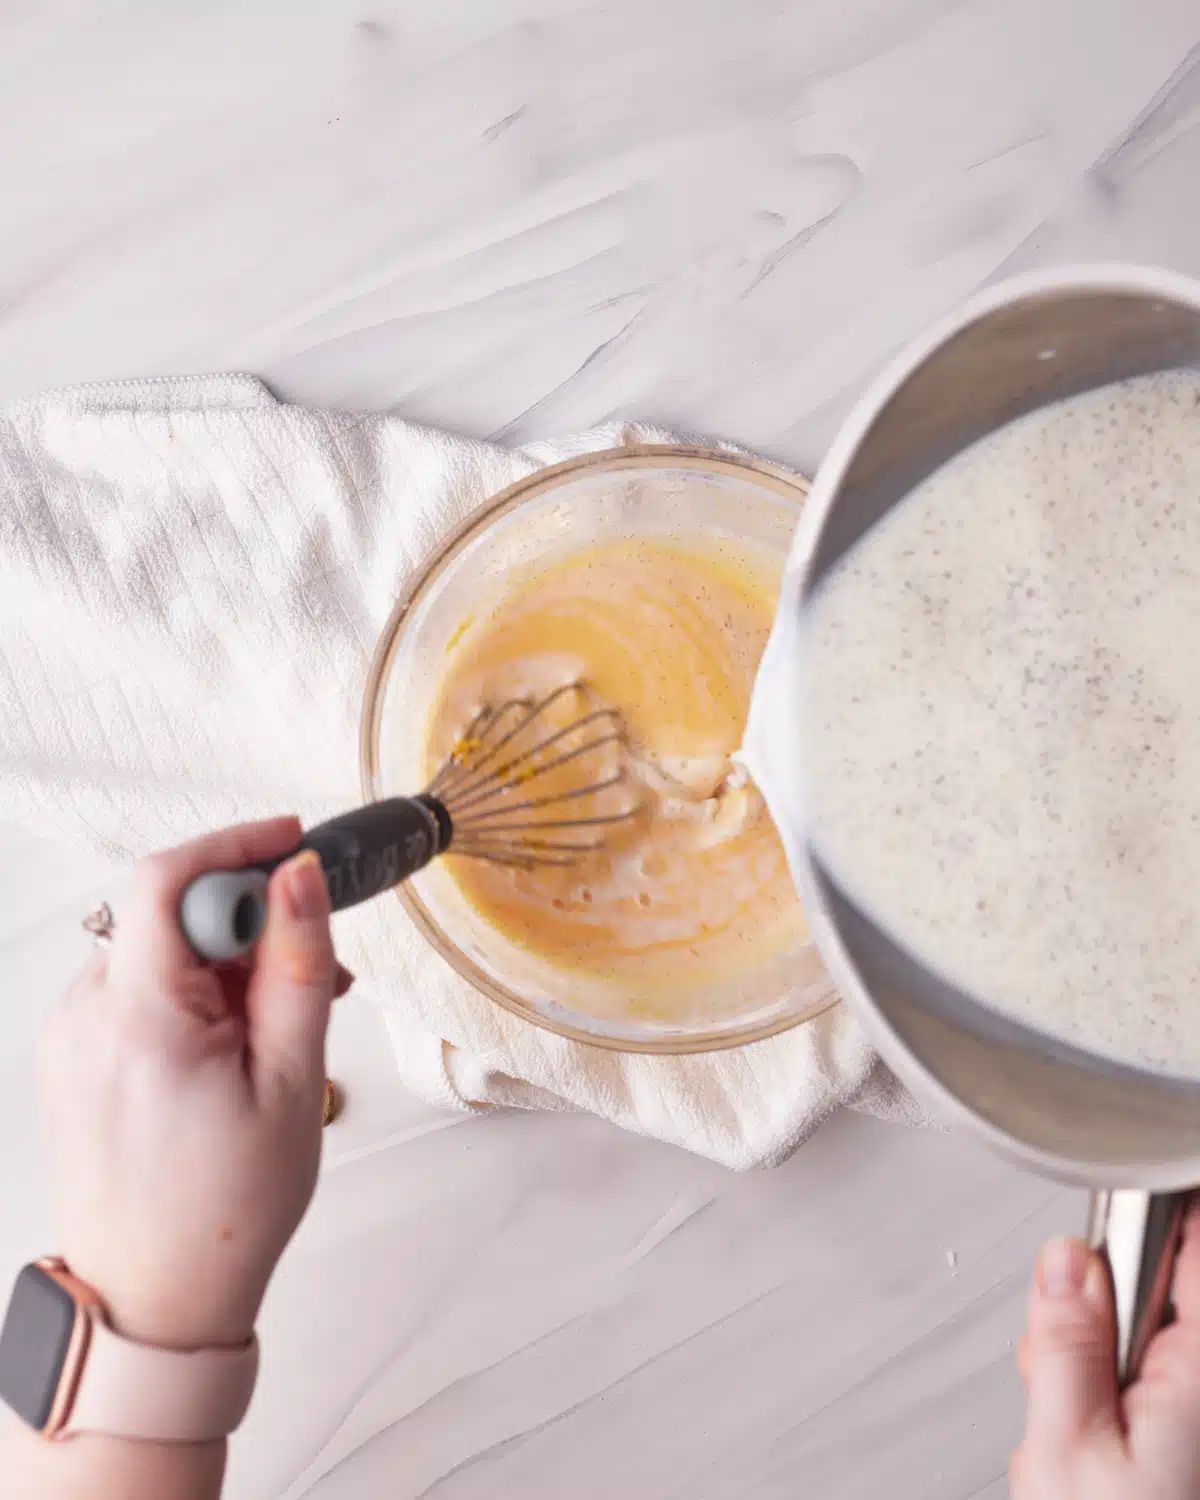
- Heat the milk until scalding, then gradually drizzle it into the egg mixture while whisking constantly.
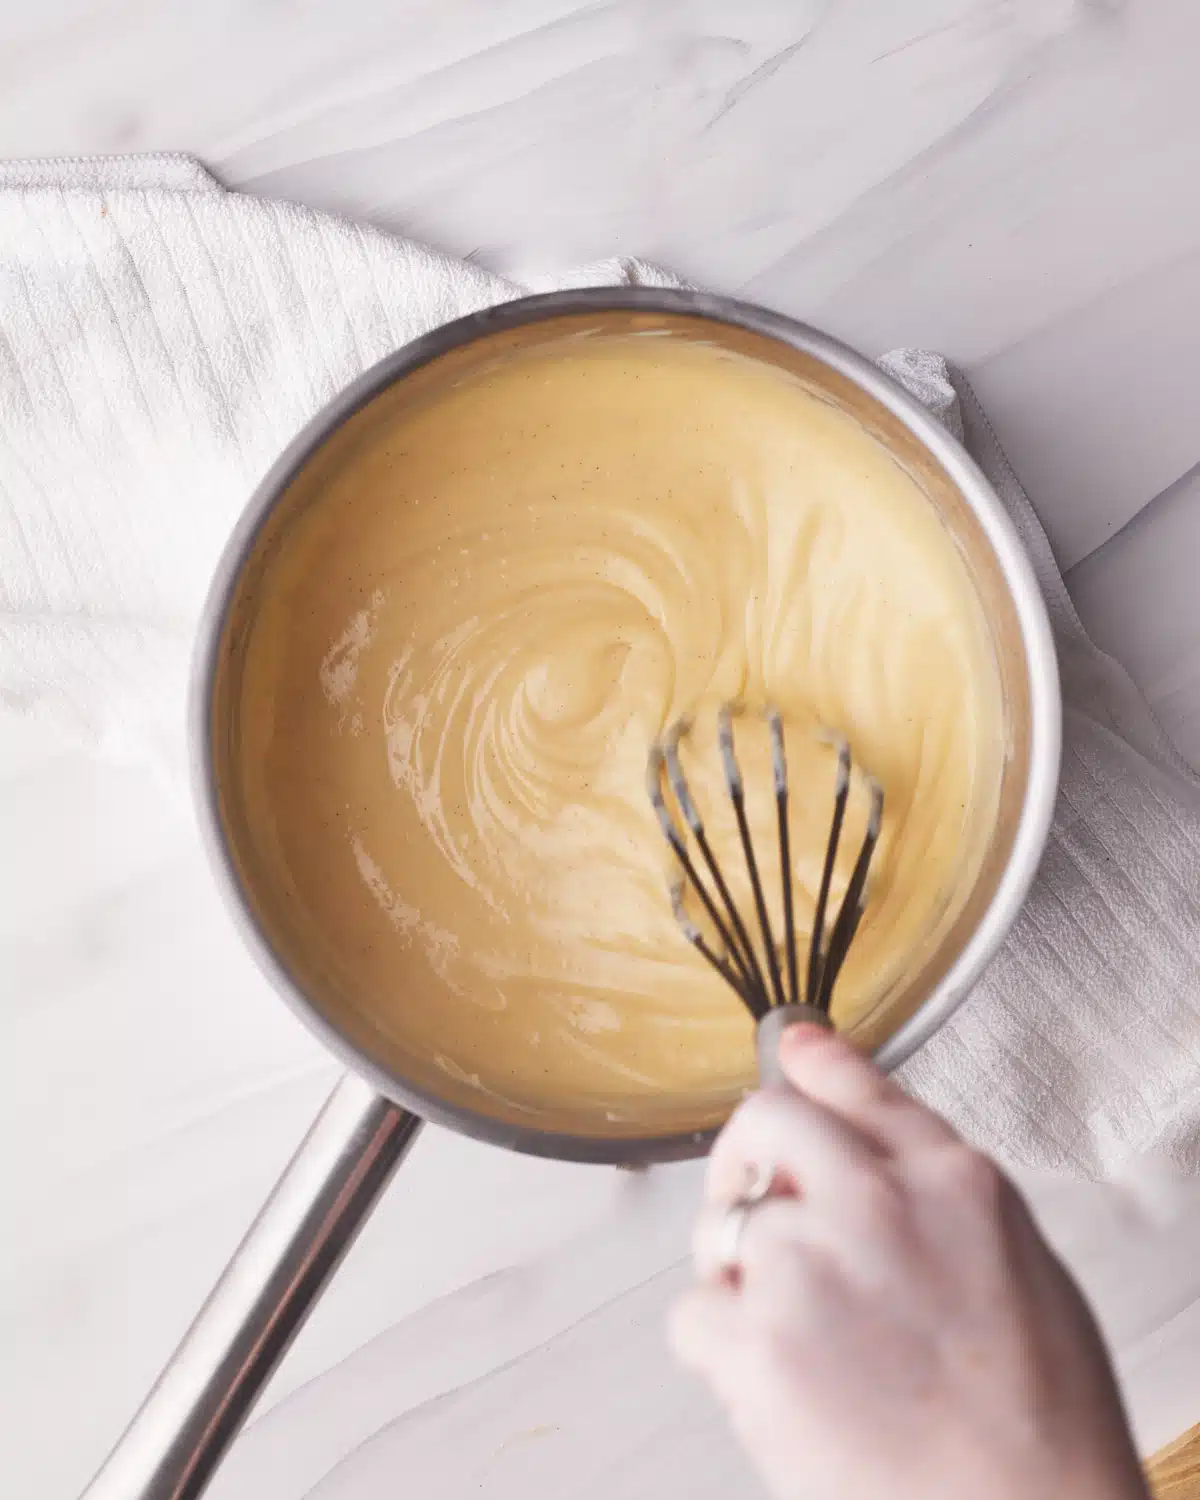
- Return everything to the saucepan and cook over medium-low heat, whisking constantly. It will thicken and begin to boil with thick bubbles on the surface. Let it boil for 1-2 minutes to activate the cornstarch fully.
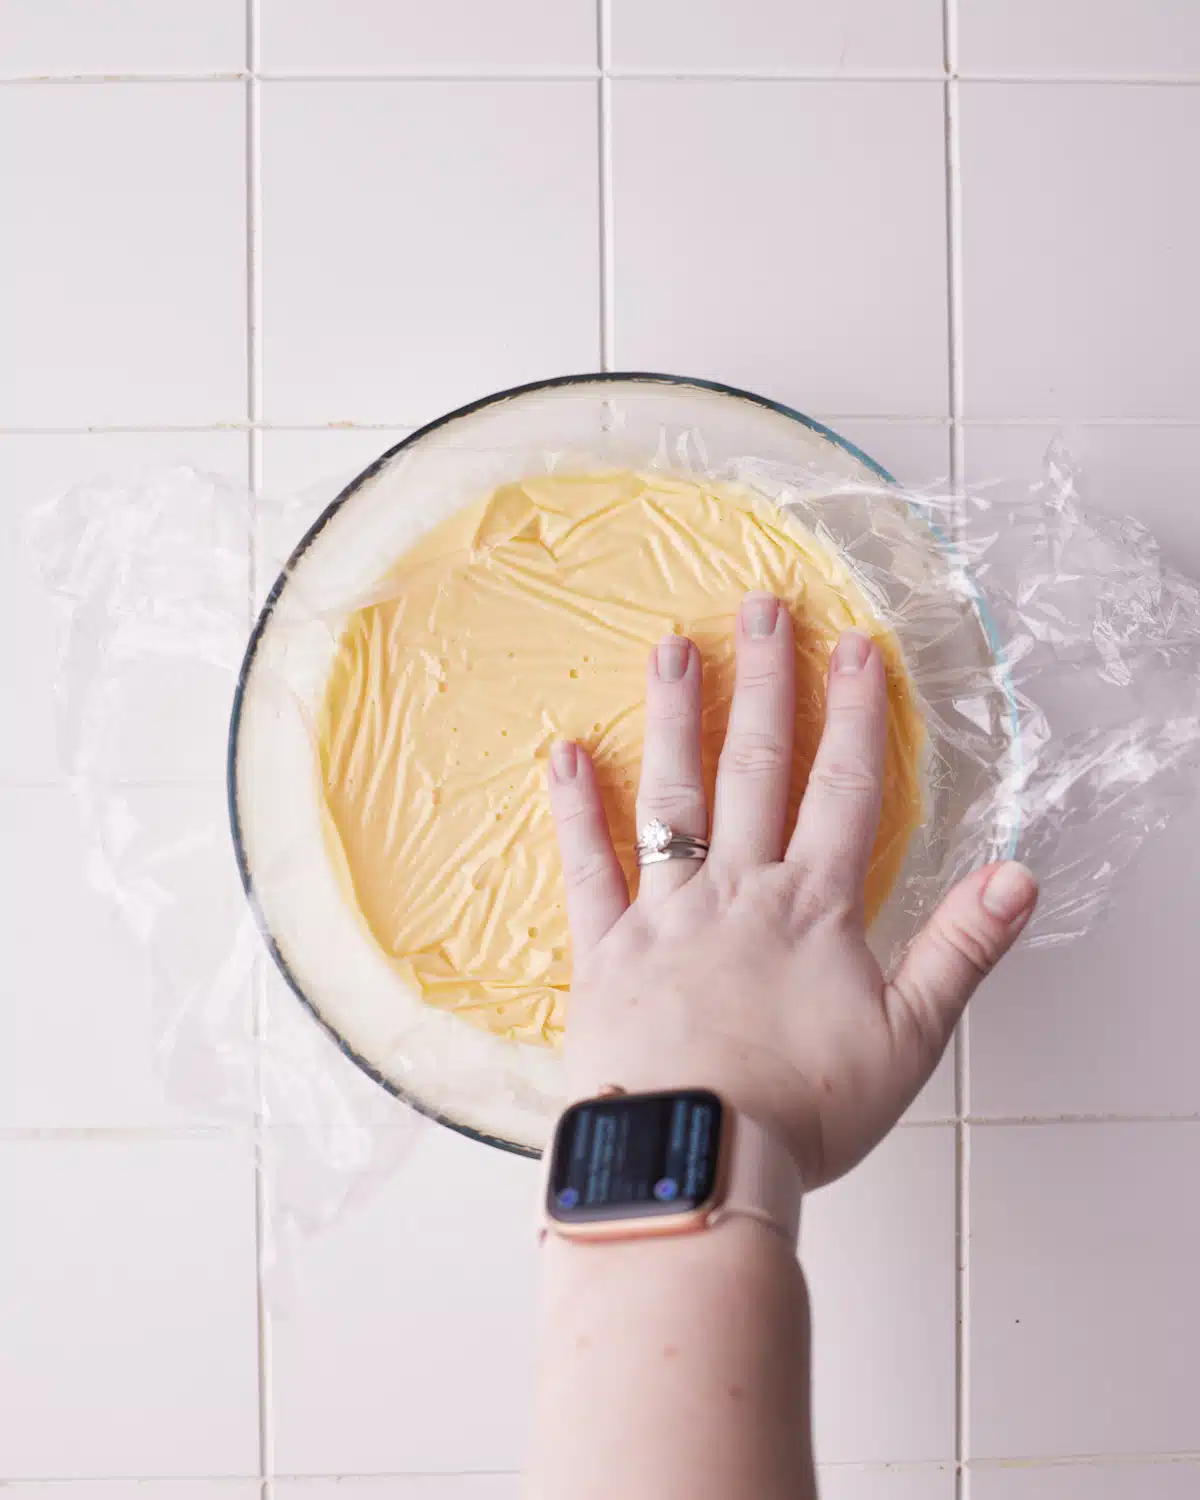
- Remove from the heat and whisk in the vanilla, salt, and butter. Cover with plastic wrap touching the surface of the custard, then chill in the fridge for at least two hours or until ready to use.
Make the Donut Dough
As a yeast donut dough, it needs time to proof (rise) in between steps. It's best to use the visual cues of what the dough should look and feel like when it's ready, rather than relying on times.
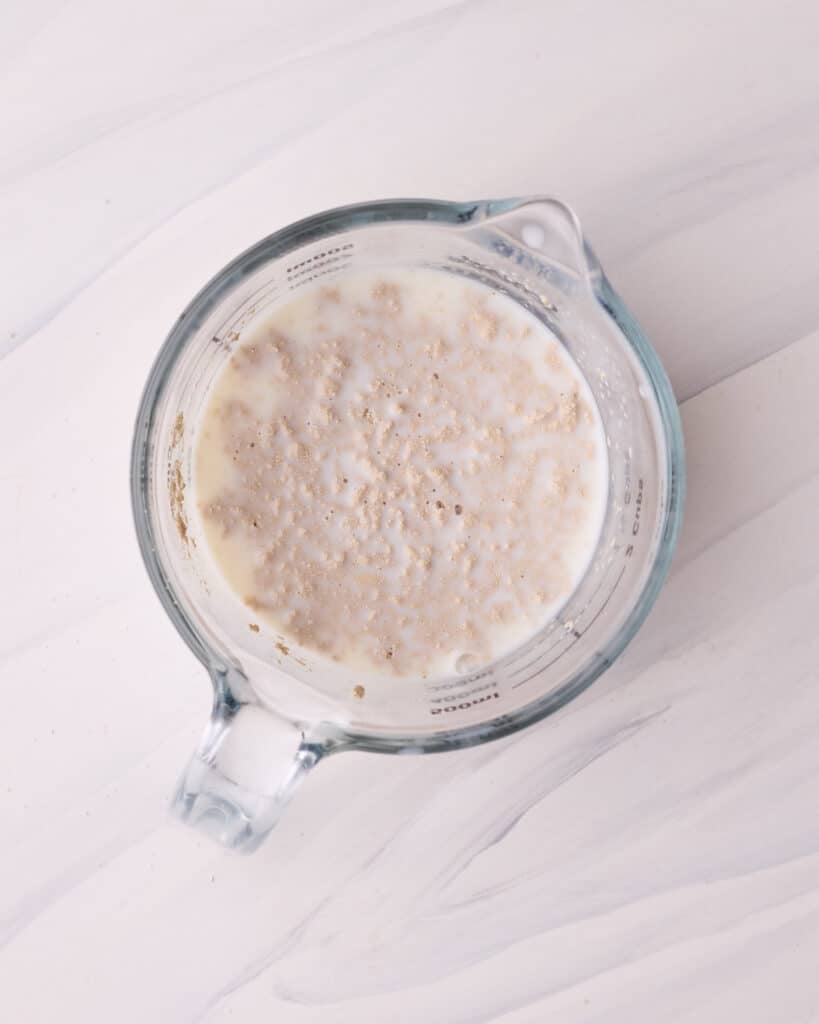
Activate the Yeast
Microwave the milk until it is lukewarm, then mix the dry yeast and a tablespoon of the sugar into the warm milk and let sit for 5-10 minutes until it starts to froth.
If you are using instant dry yeast you can skip this step.
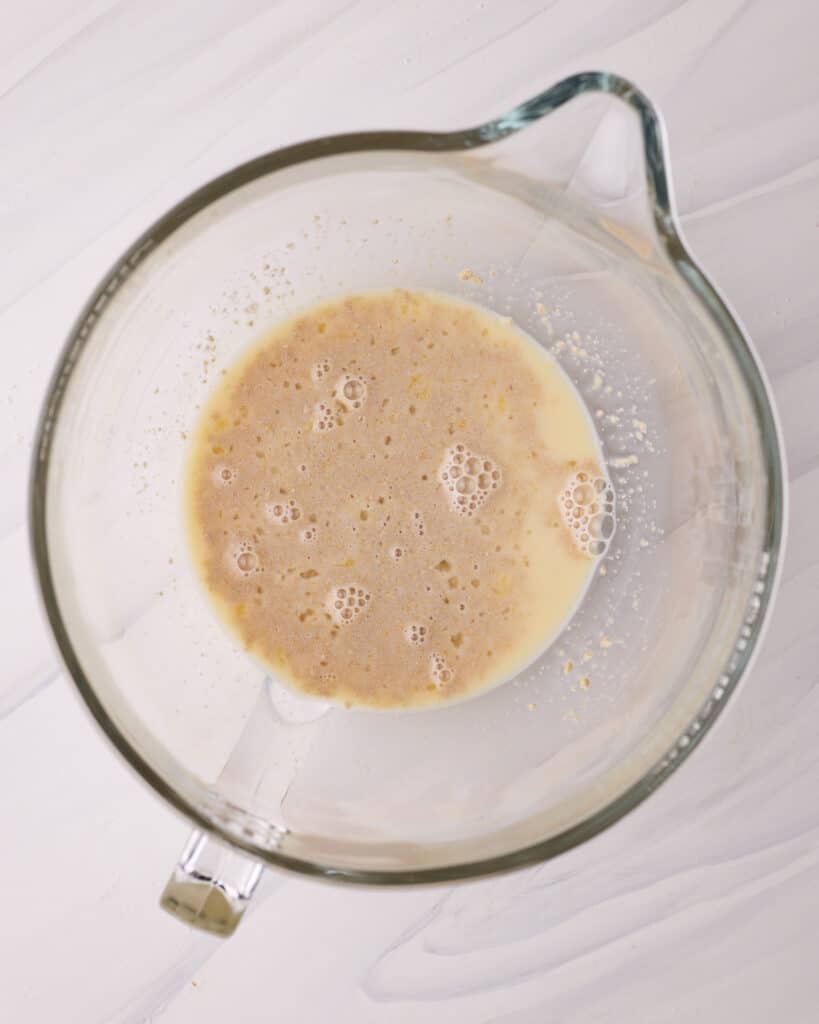
Wet Ingredients
Whisk together the eggs, sugar, and salt in the bowl of a stand mixer, then add the milk/yeast mixture bowl and whisk to combine.
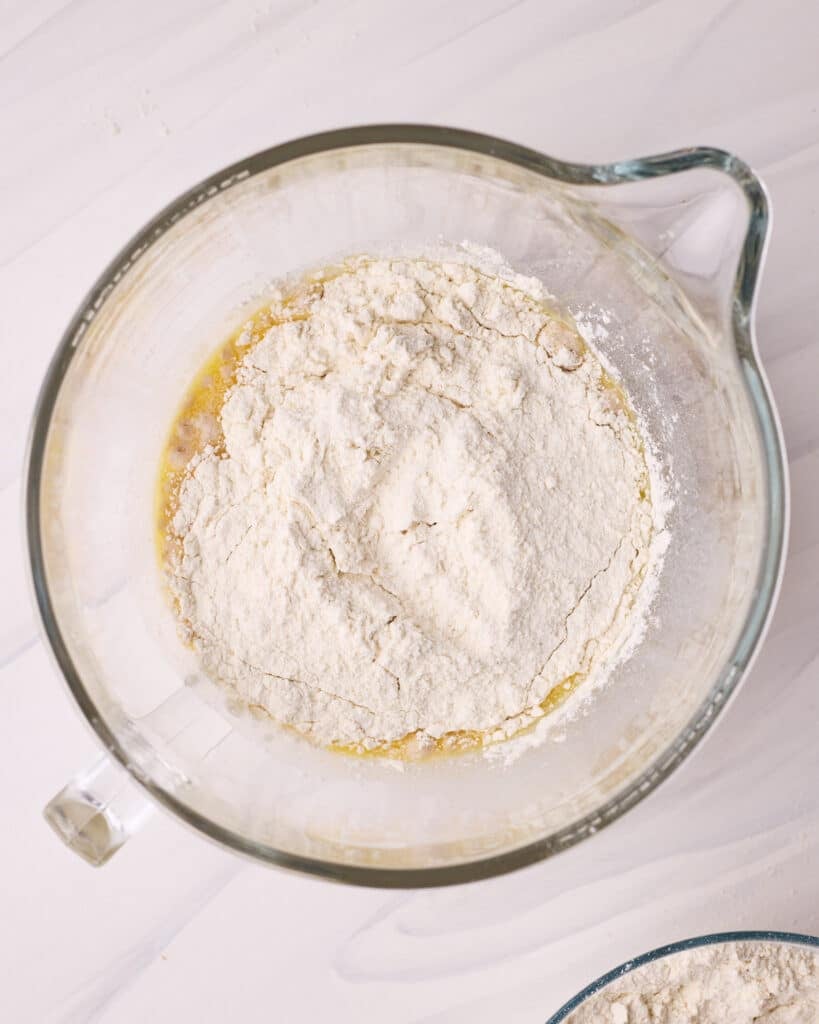
Hydrate the Flour
Add the flour to the bowl and turn the mixer on low speed with the dough hook for 1 minute.
Continue to mix on low and slowly drizzle the melted butter into the bowl.
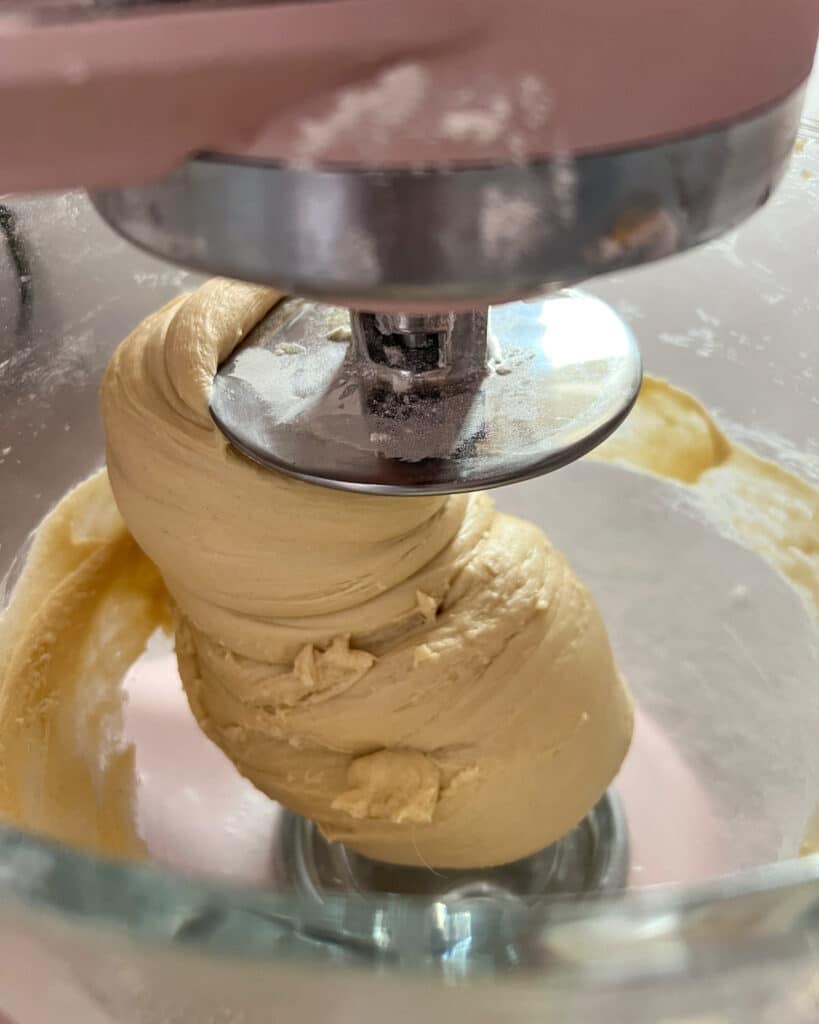
Knead the Dough
Turn the speed up to medium-high for 3-5 minutes or until the dough is no longer sticking to the sides of the bowl.
Tip the dough onto a lightly floured surface and knead by hand until it doesn't feel sticky.
Windowpane Test
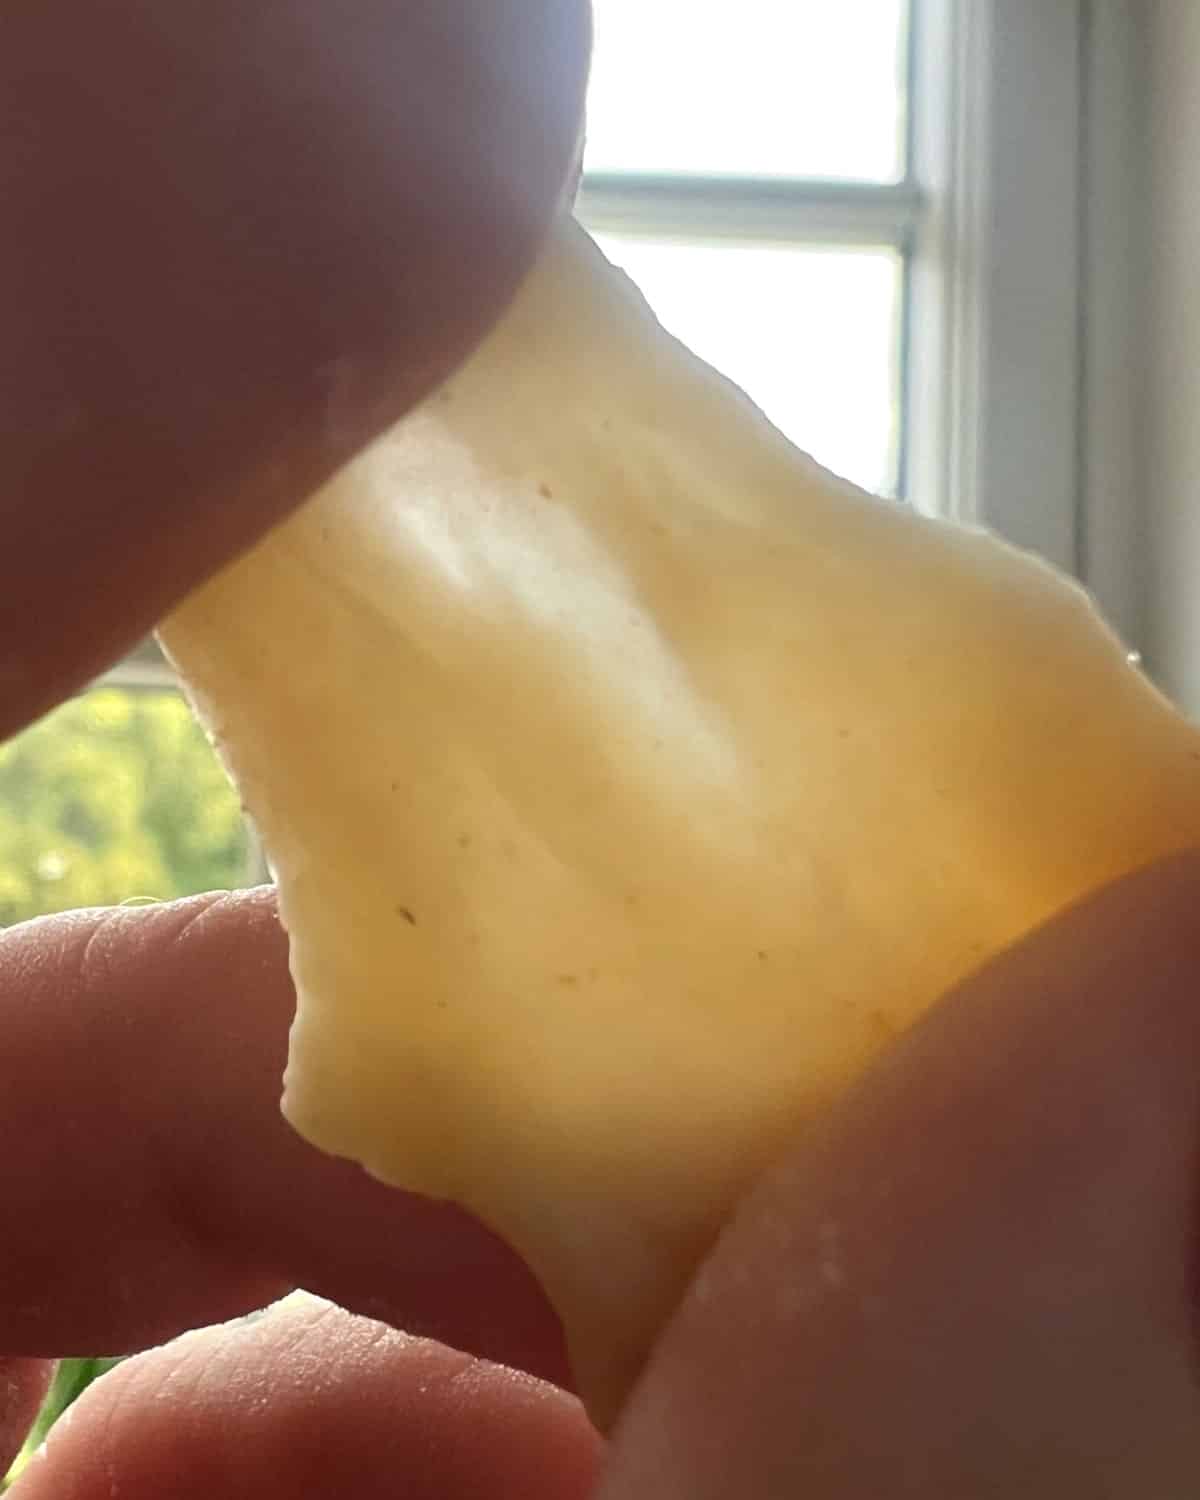
Check if your dough has been kneaded enough by stretching a small piece of it out with your fingers.
If you can stretch it thin enough to see light through it without it tearing, it's ready.
If it tears, knead a little longer.
First Rise
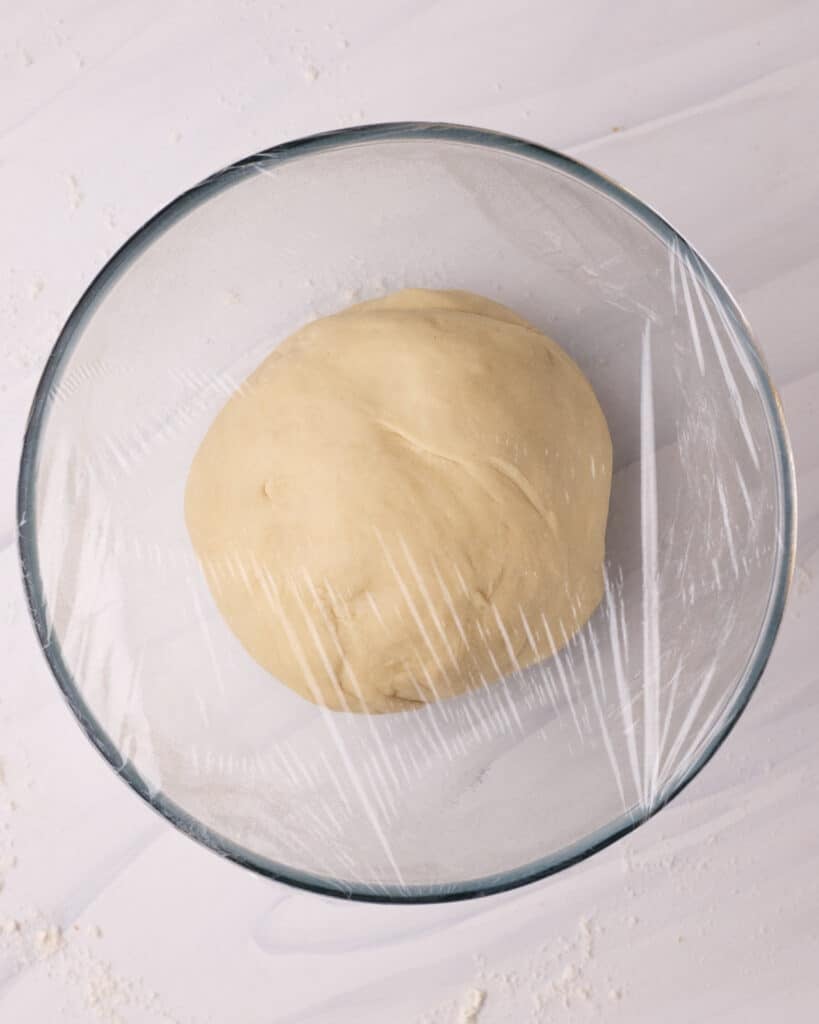
Form the donut dough into a smooth ball and place it in a greased bowl.
Cover with plastic wrap and leave it on the countertop or in a warm place until it has doubled in size.
This should take 1-2 hours depending on the room temperature.
How To Test If Donut Dough is Ready
Once your dough ball has doubled in size, you can test if the dough is done proving by pressing it lightly with your finger.
Underproofed dough will bounce back immediately.
Perfectly Proofed dough will come back slowly, and only about halfway so you'll still see a small indent.
Overproofed dough won't spring back at all and may even deflate a little when you touch it.
Cut out Donuts
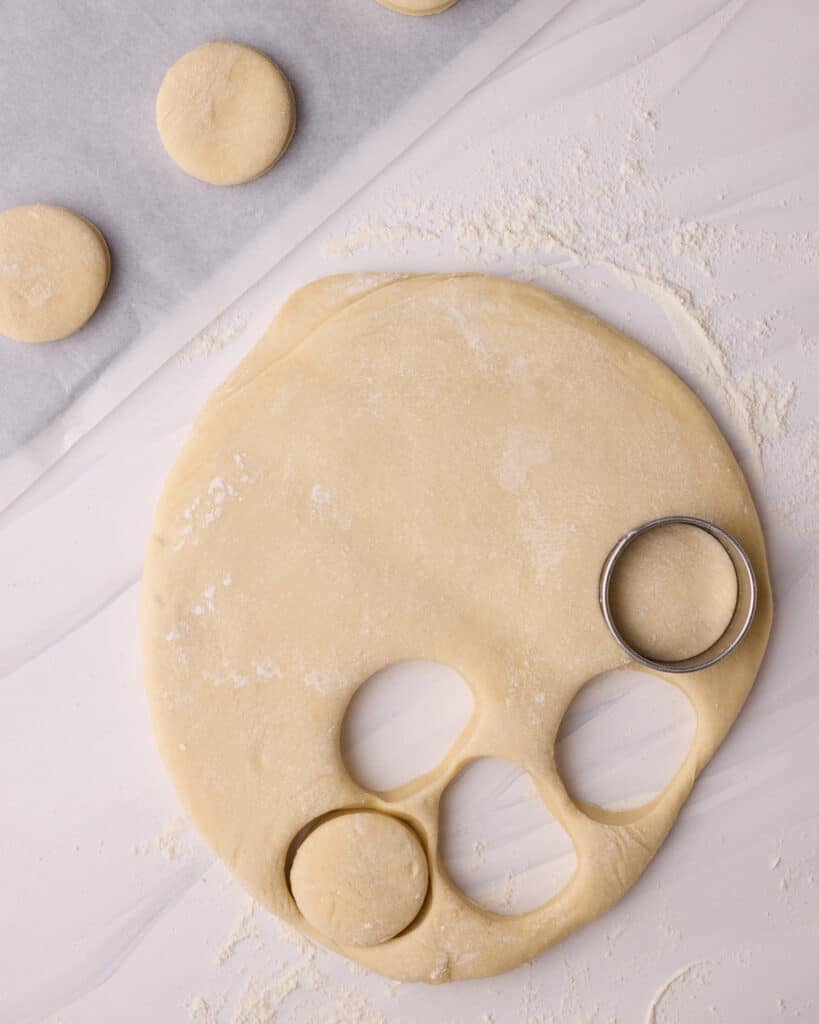
Punch down the dough to release air, then turn it onto a floured surface and roll to ½-inch thick.
Use a 3-inch round cutter to cut out circles, placing them on a parchment paper-lined baking sheet with space between them.
Second Rise
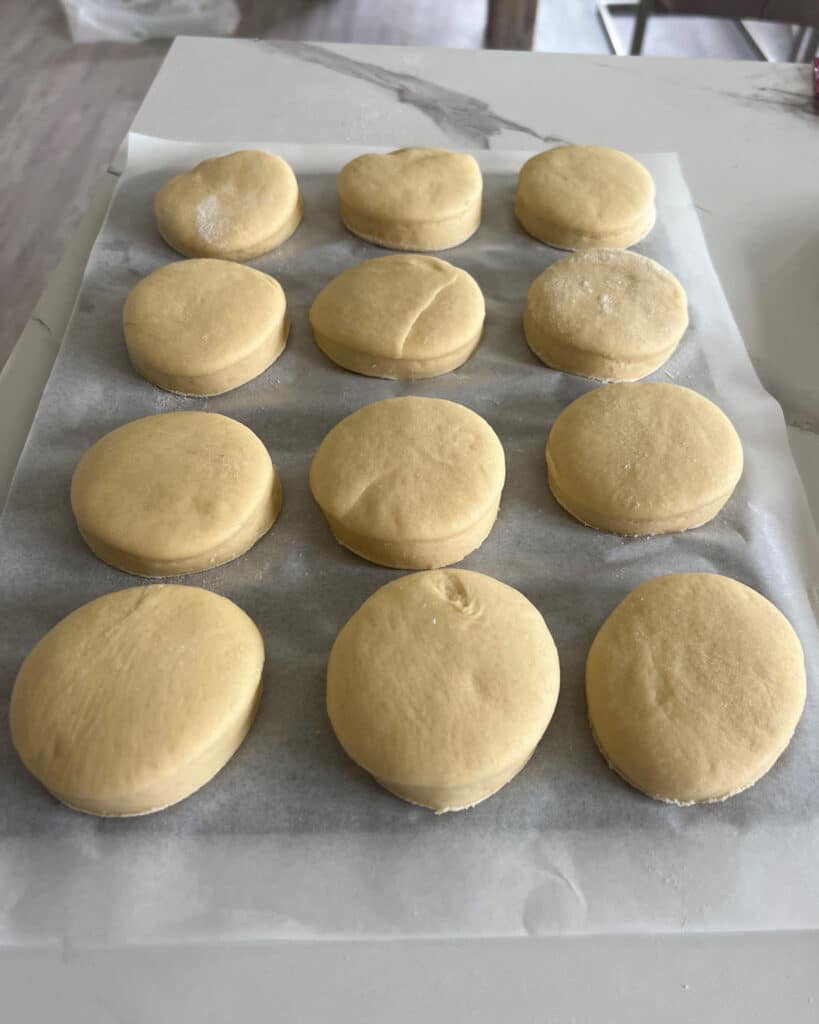
Cover the donuts loosely with plastic wrap or a kitchen towel and let them rise again.
After 45 minutes, check them using the finger test again. If they're not ready, re-cover and check every 10-15 minutes.
Once risen, uncover and begin heating the oil in a large saucepan over medium heat to 340°F (171°C).
Fry the Donuts
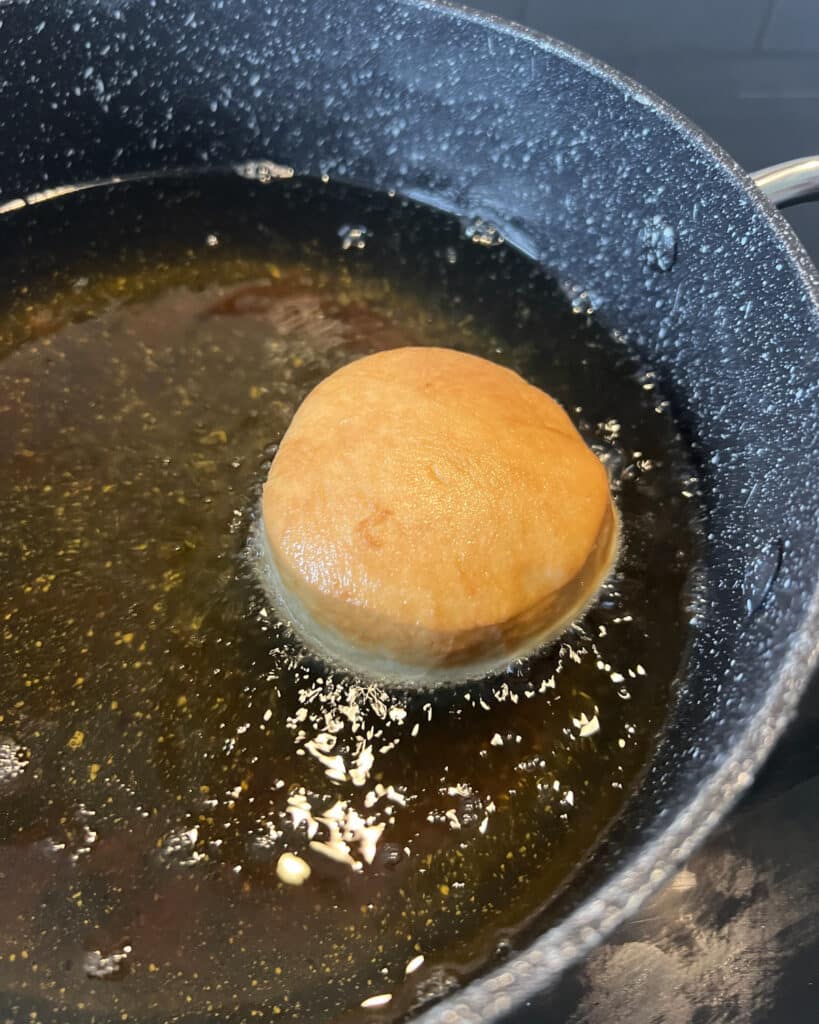
Place a donut in the hot oil and fry until the underside is lightly golden brown.
Flip and fry until the other side is the same color (about 1-2 minutes each side).
Scoop the donut out and lay it on a paper towel-lined wire rack to absorb excess oil.
Fry in batches of 2-3 donuts, allowing the oil to return to temperature between batches.
Tips for Frying Donuts
Whether you're making yeast donuts or pastry donuts like a French cruller, these donut frying tips apply.
Oil Temperature
The temperature of the oil is crucial for perfectly fried donuts. While many donut recipes call for 375°F, my testing shows that a range between 325°F and 340°F works best for this recipe.
If the oil is too hot, the outside browns too quickly, and if it's too cool, the donuts absorb excess oil. Use a thermometer to maintain the right temperature, letting the oil reheat between batches.
Thermometer Placement
For an accurate reading, position the thermometer in the middle of the oil, not touching the bottom of the pan. (Unless you are using a candy thermometer - they are designed with this in mind). If you're using a probe thermometer, hold it in the oil without letting it touch the pan.
Avoid Dents
If your donuts are getting indented when you pick them up, cut the parchment paper beneath each donut into small squares and use these to place them on a spoon. Gently lower the spoon into the oil while holding a corner of the paper, allowing the donut to slide off without being touched.
Prepare in Advance
Working with hot oil is easier if you're organized. While the donuts are on their second rise, set up your frying station with a thermometer, a cooling rack lined with paper towels, and a plate by the stove for resting your spoon between batches.
Knowing When Donuts Are Done
Donuts will bubble a lot when they first hit the hot oil - once the bubbling slows down, check the bottom for a light golden brown color. They will continue to darken slightly after they come out of the oil, so don't brown them too much.
Cooking times vary depending on factors like oil temperature and dough thickness. Mine typically take roughly 80 seconds on the first side and 1 minute on the second. Fry the first few donuts one at a time until you find the right timing.
Fill and Glaze the Donuts
The creamy custard filling and rich chocolate glaze are what make these Boston Cream Donuts. They kind of remind me of giant French profiteroles! Wait until the donuts have cooled completely before trying to fill or glaze them; otherwise your delicious pastry cream will melt.
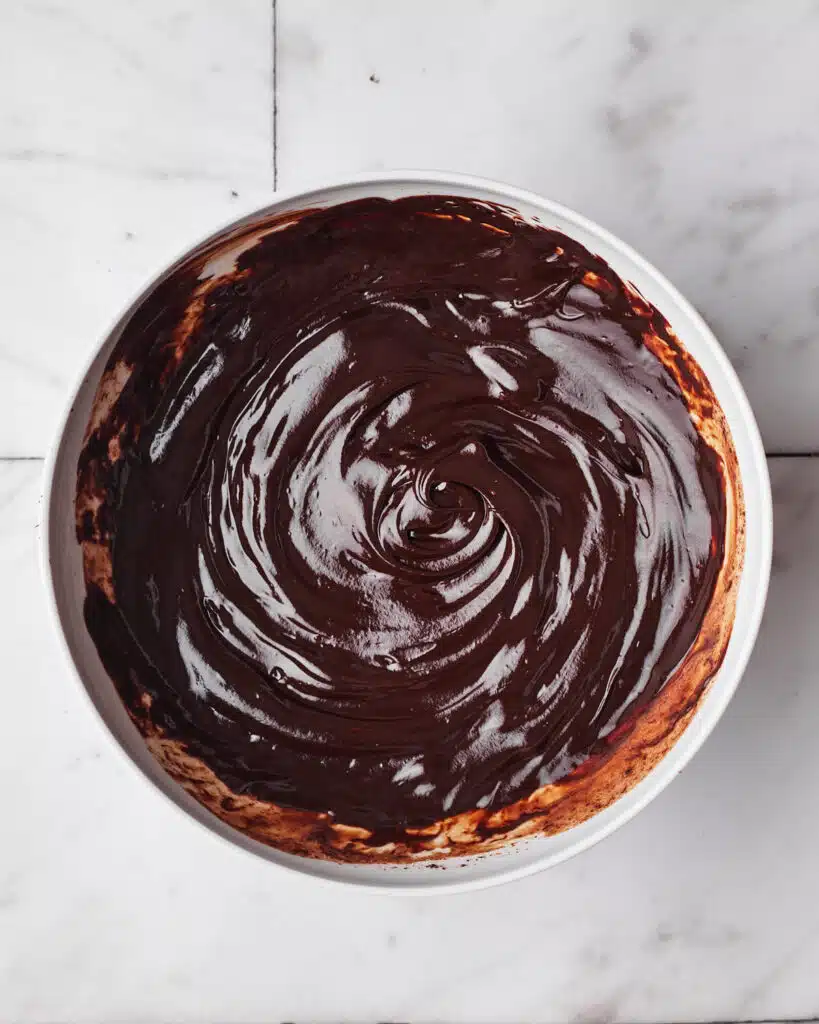
Make the Ganache
Heat the cream until it is scalding hot and then pour it over the chopped chocolate.
Let sit for a minute, then stir until the chocolate is fully melted and you have a smooth chocolate ganache glaze.
Let it cool down slightly while you fill the donuts.
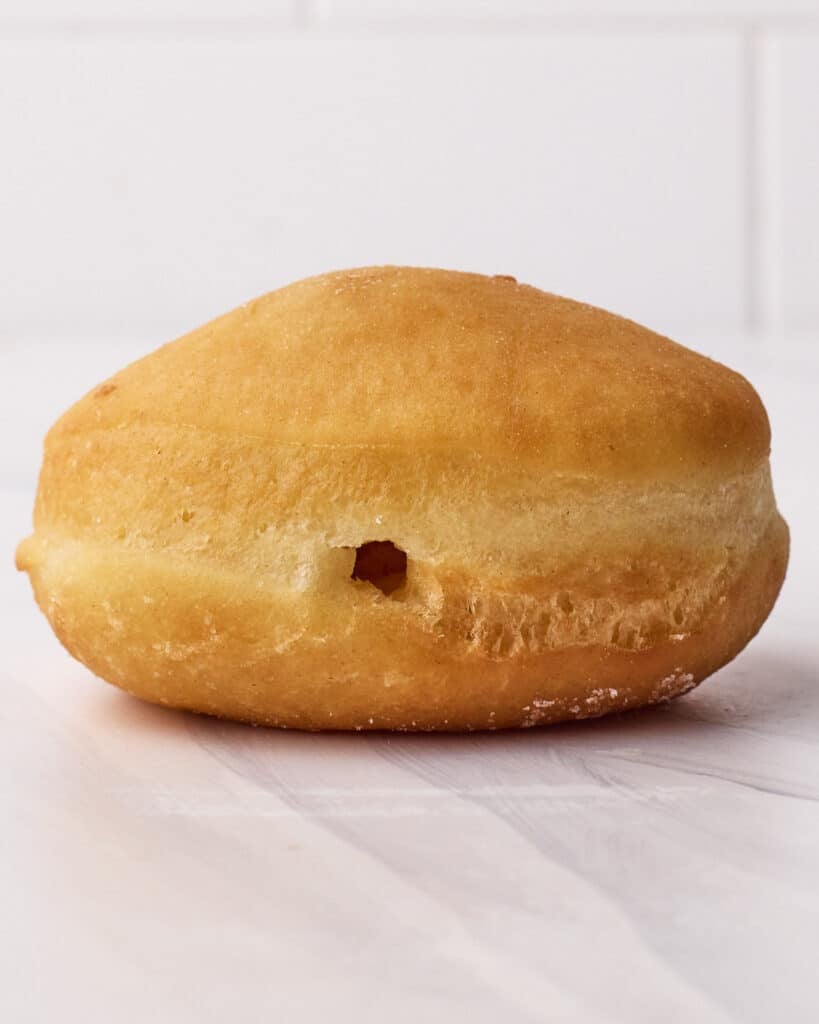
Make Room
Poke a hole in the side of the donut with a thin object like a chopstick or metal straw, and move it around inside to make space for the filling.
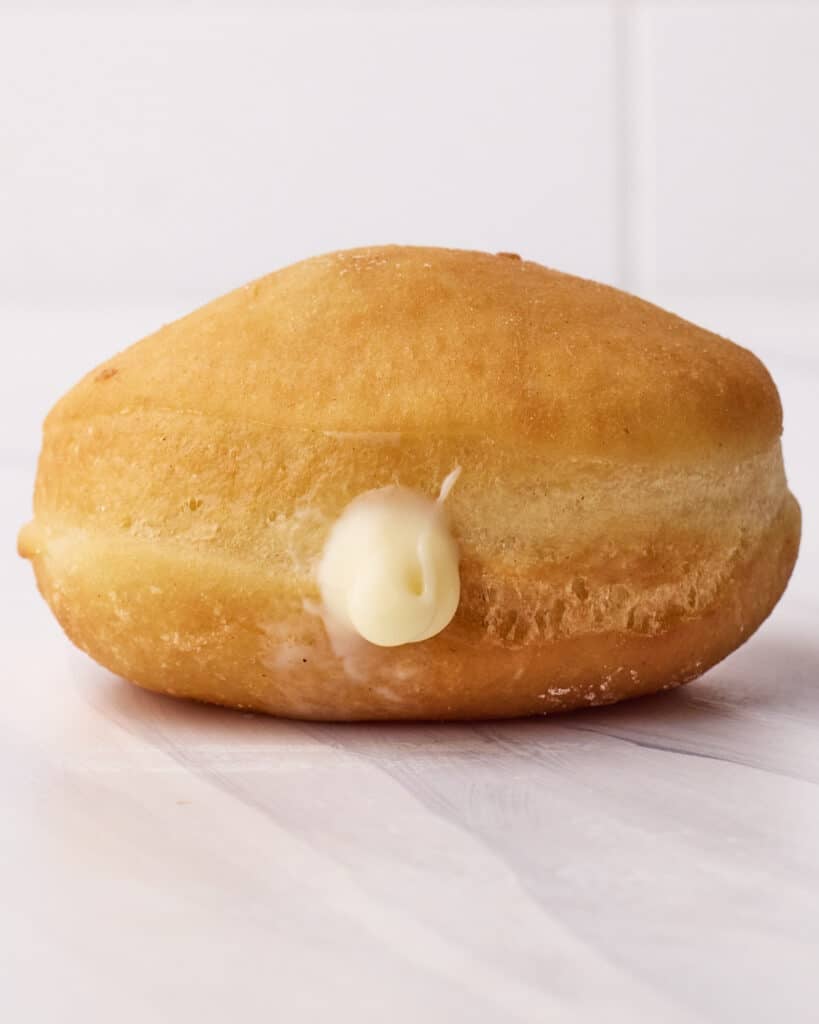
Fill the Donuts
Take the pastry cream out of the fridge and whisk it a little to bring the creamy texture back.
Put it in a piping bag with any kind of tip and gently squeeze the custard into the donut until it starts to feel heavy.
Slowly pull the piping bag out of the donut, leaving a little bit of pastry cream showing.
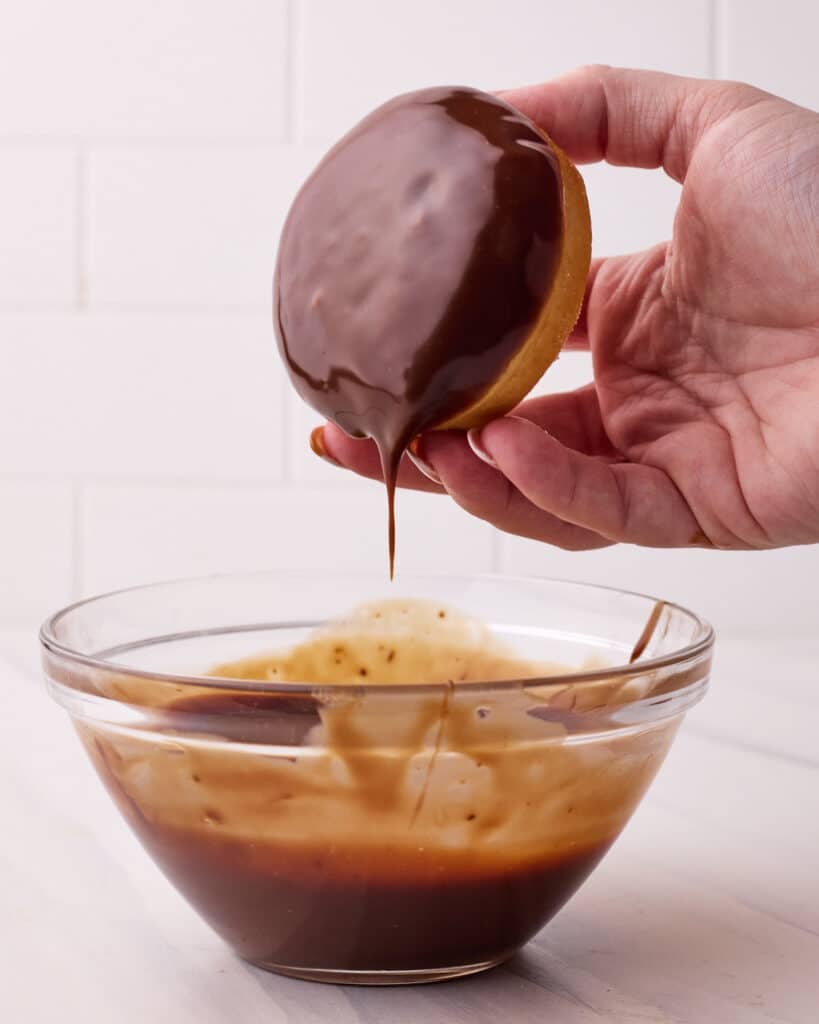
Glaze
Dip the top of a donut into the chocolate ganache, gently shake off any excess glaze, and put it on a baking sheet to set.
If the ganache is too runny, let it cool for 5-10 minutes until it reaches the right consistency.
Repeat with all the donuts.

Troubleshooting
Here are the most common problems when making Boston cream donuts and how to avoid them:
- Yeast not frothing up: If your yeast doesn't foam, it's likely dead and needs replacing.
- Flat donuts: Usually caused by over-proofing. This can happen if the dough rises for too long or is kept in a very warm place. A warm oven can also push it too far. Room temperature is usually ideal unless your kitchen is very cold.
- Raw centres: This usually means the oil was too hot, browning the outside before the inside had time to cook through.
- Dense donuts: Typically caused by under-proofing, meaning the dough didn't have enough time to rise before frying.
- Oily donuts: Oil that isn't hot enough causes the donuts to absorb too much fat while frying.
- Fluctuating oil temperature: Use a deeper pot with more oil to help stabilise the temperature. The temperature will drop when you add donuts, so bring it back up between batches.
Variations
- Flavored Fillings - Classic Boston cream donuts are filled with vanilla pastry cream, but you could try different fillings, like Pistachio Pastry Cream, or Pumpkin Curd.
- Lighter Filling - For a slightly lighter option, fill with crème diplomat (the filling in Bavarian cream-filled donuts.
- Skip the chocolate - For a sugar-coated version filled with the same delicious pastry cream, make my classic custard donuts instead.
- Festive Decoration - Before the ganache sets, top it with some festive sprinkles to make fun holiday donuts.
Storage
Fresh doughnuts are always best enjoyed on the same day you make them, as they tend to go stale quickly (they are not full of additives like the store-bought ones!)
If you do have leftovers, store them in the refrigerator in an airtight container for up to 2 days.
Boston Cream Donut FAQs
If you have a question about this recipe that isn't answered here, please write it in the comment section and I will get back to you as soon as I can.
Boston cream donuts are filled with pastry cream and topped with chocolate glaze.
Bavarian cream donuts have a lighter filling of Bavarian cream (pastry cream folded with whipped cream) and are coated in regular or powdered sugar.
Boston cream donuts are the donut version of Boston Cream Pie, which is a sponge cake with custard filling and a chocolate glaze, invented in Boston in 1856.
No, you don't have to use a stand mixer to knead the dough, I just find it easier and faster.
If you prefer, you can knead the dough by hand; it will just take a lot longer. Just use the visual cues and tests to know when it is ready.
Honestly, fried donuts are usually best enjoyed fresh. They would still be safe to eat the next day but they will have lost some of the lovely fluffy texture and won't taste as good.
However, you can make the filling in advance and use the overnight proofing method for the donut dough (see below).
You can let the dough do the first rise overnight in the fridge.
The cold temperature slows down the fermenting process of the yeast and allows the dough to rise slowly, so you still get a lovely fluffy donut dough but over a longer period of time.
To do this, after you have placed your dough in the oiled bowl and covered it, put it straight in the fridge for 8-10 hours.
When you are ready to shape your donuts the next day, let the bowl sit on the counter for about 40 minutes to warm up before you roll it out.
More Custard Recipes
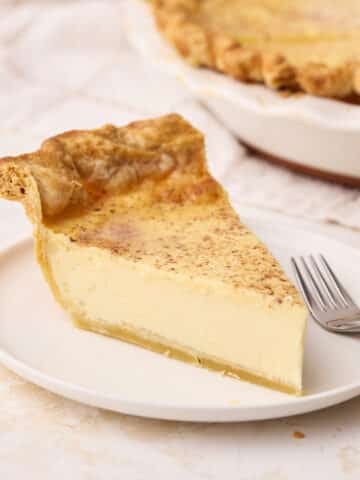
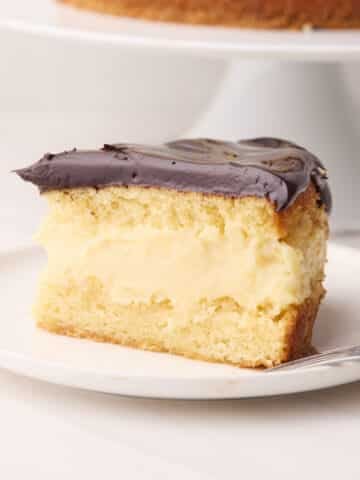
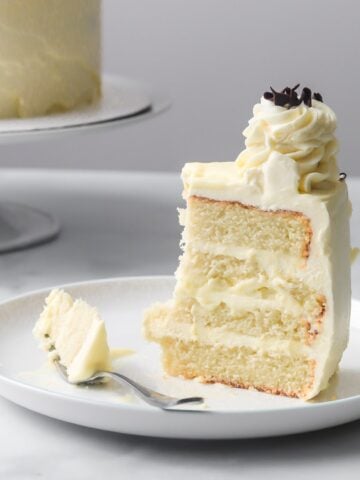
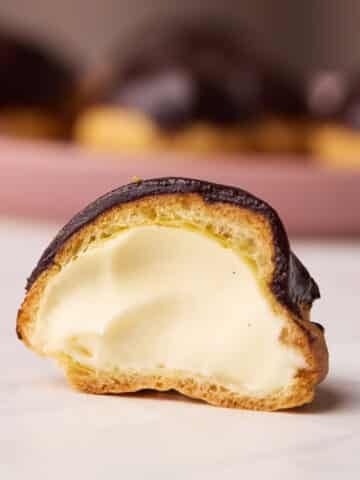
If you're all about the custard filling in these donuts, you might enjoy some of these other custard-based desserts:
Show Me Your Bakes!
If you tried this recipe, I'd love to know how it turned out in the comments!
Want to share a photo? You can send me a pic or tag @bonni_bakery on Instagram - I love seeing all your creations.
Boston Cream Donut Recipe
Ingredients
- 5 (3) Large Egg Yolks
- 100 g (½ cup) Granulated Sugar (Caster sugar)
- 480 ml (2 cups) Whole Milk
- 20 g (2½ tablespoon) Cornstarch
- 2 teaspoon Vanilla Extract
- 30 g (2 tablespoon) Unsalted Butter
- ¼ teaspoon Salt
- 600 g (5 cups) All-purpose Flour (Plain flour)
- 100 g (½ cup) Granulated Sugar (Caster sugar)
- 14 g (4½ teaspoon) Active Dry Yeast two 7g packets
- 240 ml (1 cup) Whole Milk
- 2 Large Eggs
- 75 g (⅔ stick) Unsalted Butter melted and cooled
- 1 teaspoon Salt
- Neutral Frying Oil enough to fill the pan at least 2 inches
- 225 g (8 oz) Semi-sweet Chocolate chopped
- 120 ml (½ cup) Heavy Cream
Equipment
- Stand Mixer with dough hook attachment
- Round Cookie Cutter 2½ - 3 inches wide
Instructions
- Note: Make the pastry cream filling ahead of time, at least two hours before it is needed so it has time to chill. For more in-depth instructions and step-by-step process shots, see my post on how to make pastry cream.
- Whisk the egg yolks together with the cornstarch and sugar until pale and thick.5 (3) Large Egg Yolks, 20 g (2½ tablespoon) Cornstarch, 100 g (½ cup) Granulated Sugar
- Pour the milk into a saucepan and heat over medium heat until scalding hot (this means steam is rising and tiny bubbles are appearing on the surface).480 ml (2 cups) Whole Milk
- Slowly drizzle the hot milk into the whisked egg yolk mixture, whisking as you go. Do this slowly so the temperature of the eggs rises gradually, avoiding scrambling.
- Pour everything back into the pan and cook, whisking constantly, until it thickens and starts to boil. Keep whisking gently and let it boil for 1-2 minutes to fully activate the cornstarch.
- Remove from the heat and pass the pastry cream through a fine mesh sieve to remove any lumps.
- Stir in the vanilla, salt, and butter.2 tsp Vanilla Extract, 30 g (2 tablespoon) Unsalted Butter, ¼ tsp Salt
- Cover with plastic wrap, so the plastic is touching the surface of the pastry cream, and let cool. Then refrigerate until needed (at least 2 hours).
- Warm the milk to lukewarm temperature and mix in the active dry yeast and 1 tablespoon of the sugar. Let it sit for 5-10 minutes or until it starts to froth up.If you are using instant yeast, you can skip this step and add your yeast with the flour later.240 ml (1 cup) Whole Milk, 14 g (4½ teaspoon) Active Dry Yeast
- In the bowl of a stand mixer with a dough hook attachment, add the remaining sugar, salt, and eggs. Pour the activated yeast/milk mixture in and stir everything to combine.100 g (½ cup) Granulated Sugar, 2 Large Eggs, 1 tsp Salt
- Add the flour and turn the mixer on low speed for 1 minute until it incorporates slightly, then slowly drizzle in the melted butter.600 g (5 cups) All-purpose Flour, 75 g (⅔ stick) Unsalted Butter
- Turn the mixer up to medium speed and let it mix for about 5 minutes or until the dough looks smooth and is pulling away from the sides of the bowl.If it seems too wet, you can add an extra tablespoon of flour and knead for a bit longer.
- Tip your dough out onto a floured work surface and knead by hand for a couple of minutes until it is smooth, elastic, and no longer sticking to your hands.Use the windowpane test to check if it has been kneaded enough; take a small piece of dough and stretch it out thinly with your fingers. If you can stretch it out thin enough to see light through it without it tearing, it's ready. (See image in the post above for an example).
- Form a smooth ball with the dough and place it into a lightly greased bowl. Cover with plastic wrap and let proof on the counter until it doubles in size (about 1-2 hours, depending on temperature).
- Once the dough has doubled in size, check if it is ready by pressing on it lightly with your finger. If the indent disappears immediately, it needs longer to prove. If the indent comes back slowly and only about halfway, then it is ready to use.
- Give the dough a satisfying punch in the centre to release the built-up gas. Tip it onto a lightly floured work surface and gently press out any large air pockets, then roll it to approximately ½ inch thick.
- Cut rounds out of the dough with a cookie cutter that is 2½ - 3 inches wide. Press straight down with the cutter, don't twist it - this will help them to rise tall. Place each donut on a little square of parchment paper, on a cookie sheet, with a little space between them.You can re-roll and cut out the scraps, but I don't recommend doing it more than once as it can make the donuts tough.
- Cover the donuts loosely with plastic wrap or a kitchen towel and leave to prove again for roughly 45 minutes. Do the indent test again to see if they are ready. If not, check them again at 15-minute intervals.
- Once the donuts are ready, uncover them and start preheating the oil to 340°F / 175°C.Make sure the oil in your pan is at least 2-3 inches deep.Neutral Frying Oil
- Use the parchment paper squares to gently lower your donuts into the oil, they should start bubbling at the sides. It's best to just fry 2 or 3 donuts at a time.Let the donuts bob around and fry for a minute or two, checking the underside from time to time. Once the underside looks golden brown, flip the donut and fry the other side until the color matches.As there are so many variables (oil temperature, donut size, etc), it is impossible to give you an exact time to fry the donuts for - you really have to do it by eye and see when they look ready.Once both sides are golden brown, scoop the donuts out with a heatproof slotted spoon and lay them on a wire rack lined with paper towels to soak up the excess oil.
- Let the donuts cool completely before filling and glazing.
- Make the ganache glaze right before you fill the donuts so it has time to cool slightly and will be ready to dip the filled donuts into. Heat the cream in a saucepan until it is steaming but not boiling, then pour over the chopped chocolate and let sit for 1 minute.120 ml (½ cup) Heavy Cream, 225 g (8 oz) Semi-sweet Chocolate
- Stir the chocolate and cream until all the chocolate has melted and the ganache is smooth and glossy.
- Take the pastry cream out of the fridge, whisk it a little to bring the texture back, and then transfer it to a piping bag with any kind of tip.
- Use a long, thin object like a chopstick or a metal straw to poke a hole in the side of each donut and move it around to create space in the middle.
- Gently squeeze a generous amount of pastry cream into each donut. Once the donut feels heavy, you will know it is full.
- Dip each filled donut into the chocolate ganache, shake gently to get rid of any excess, and set them down on a baking sheet to set.














Joe says
Can you do the first proof overnight for this recipe? Do you recommend less yeast?
Jules Grasekamp says
Hi Joe,
Yes you can! I have instructions for how to do this in the FAQ section on the post.
I use the same amount of yeast.
Thanks
Jules
Chris Radwanski says
As someone who had never tried a homemade donut until adulthood, I feel like its my duty to tell you all to MAKE THESE! Seriously, I could sit down and eat these for a meal and not feel bad about it. What a mind boggling difference homemade donuts makes. DE-LICIOUS!!