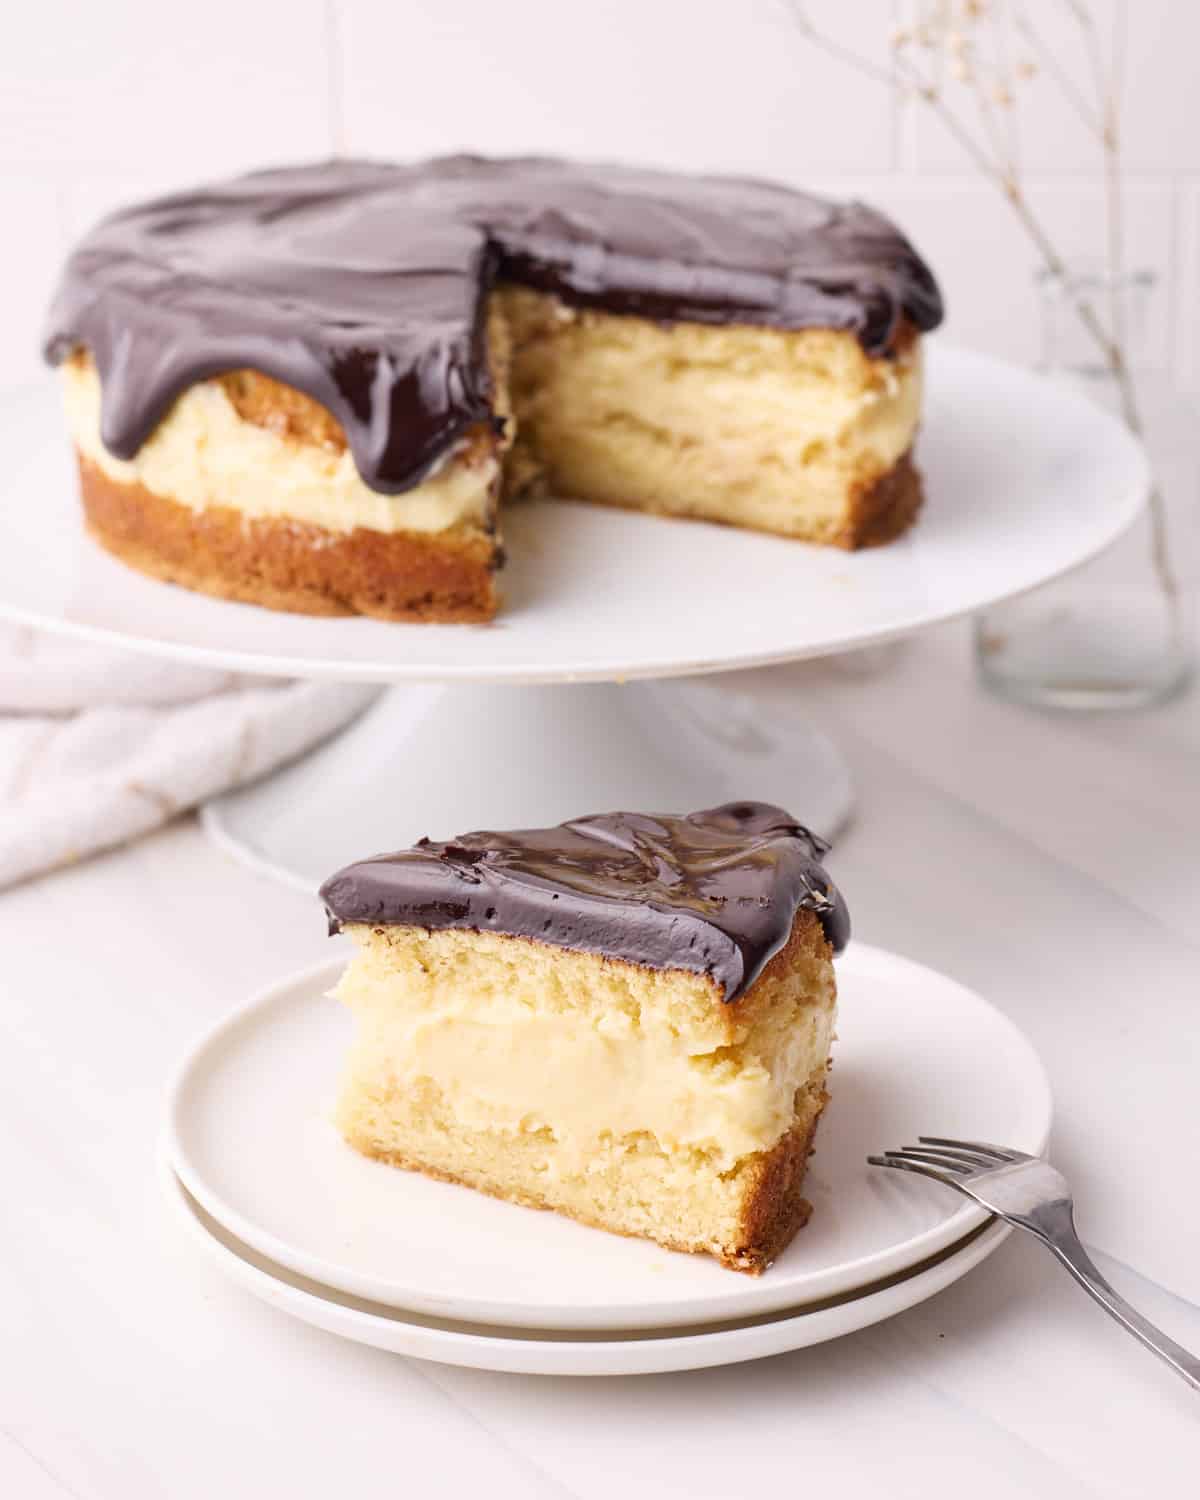
Boston Cream Pie - fluffy vanilla sponge cake with homemade pastry cream filling, smothered in a shiny chocolate ganache - an absolute classic!
TL;DR Recipe Snapshot
What it is: Vanilla sponge cake with a thick layer of creamy custard filling and a shiny chocolate glaze.
Why you'll love it: All the flavor of a classic Boston Cream Pie, made simple with a hot milk sponge, multiple ways to mix, and easy-to-follow tips so it always turns out perfectly.
How to make it: Make pastry cream ahead of time, then bake the sponge, slice it in half, and stack it with the cooled custard. Let it set, then top with chocolate glaze.
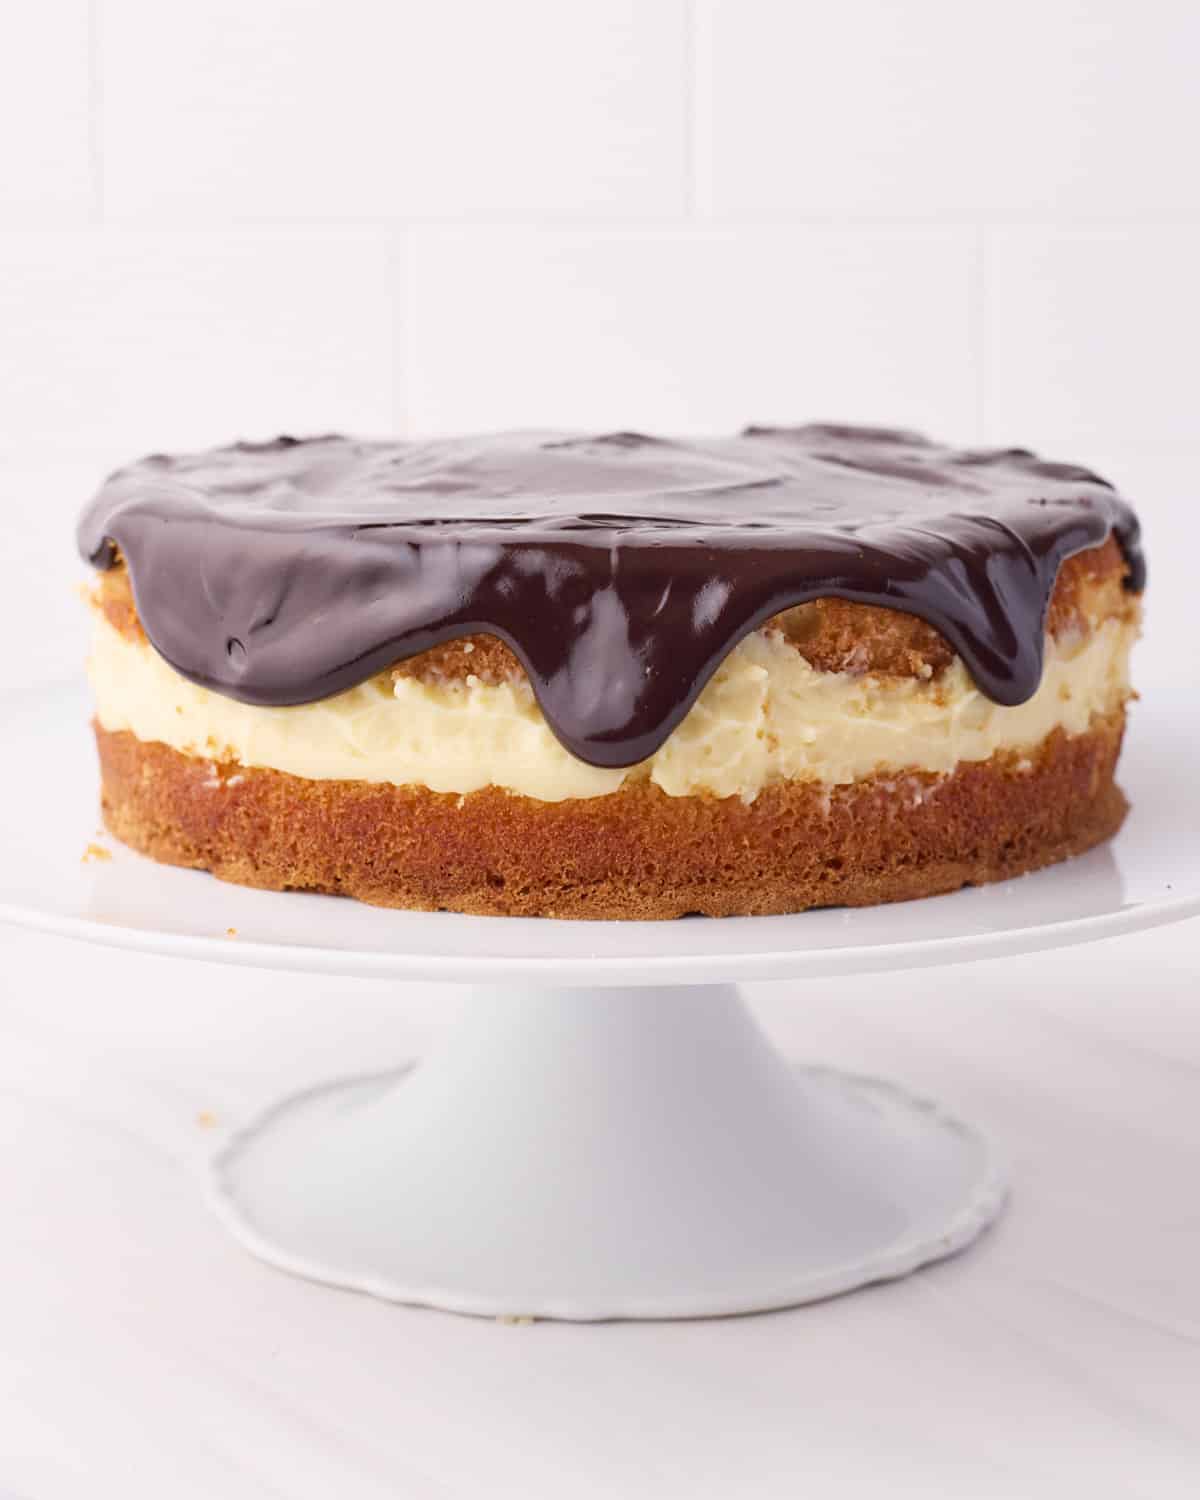
Boston Cream Pie can look overwhelming with cake, pastry cream, and chocolate glaze all in one dessert - but with the right recipe, it's far less complicated than it seems. After extensive research and plenty of testing, I've developed a version that honors the classic dessert while being completely approachable for home bakers. With step-by-step guidance for every element, this recipe is designed to deliver flawless results, even on your first try.
What makes this recipe stand out is its built-in flexibility. At each stage, I give you approachable methods and options so you can work with the tools and techniques that suit you best - without ever compromising the final outcome. And instead of the traditional sponge, I use a hot milk cake base. It's more forgiving, creates a tender, flavorful crumb, and - best of all - stays moist even after chilling in the fridge.
This is the kind of recipe that builds confidence. Once you've made it, you'll see that Boston Cream Pie isn't just achievable - it's a timeless and impressive dessert you'll want to make over and over again.
Jump to:
What Is Boston Cream Pie?
Boston Cream Pie is a classic American dessert, consisting of a soft and tender vanilla sponge cake filled with thick and creamy vanilla pastry cream, topped with a dripping layer of silky chocolate glaze. You may know of Boston creme from Boston Cream Donuts, but this classic dessert actually originates from the 19th century, when everything round was considered a 'pie' if it was made in the same pie tins (don't get me started on pizza pie). This dessert is, in fact, a cake! This delicious dessert can be served all year round, and is guaranteed to be loved by everyone who takes a bite.
Why Use THIS Boston Cream Pie Recipe
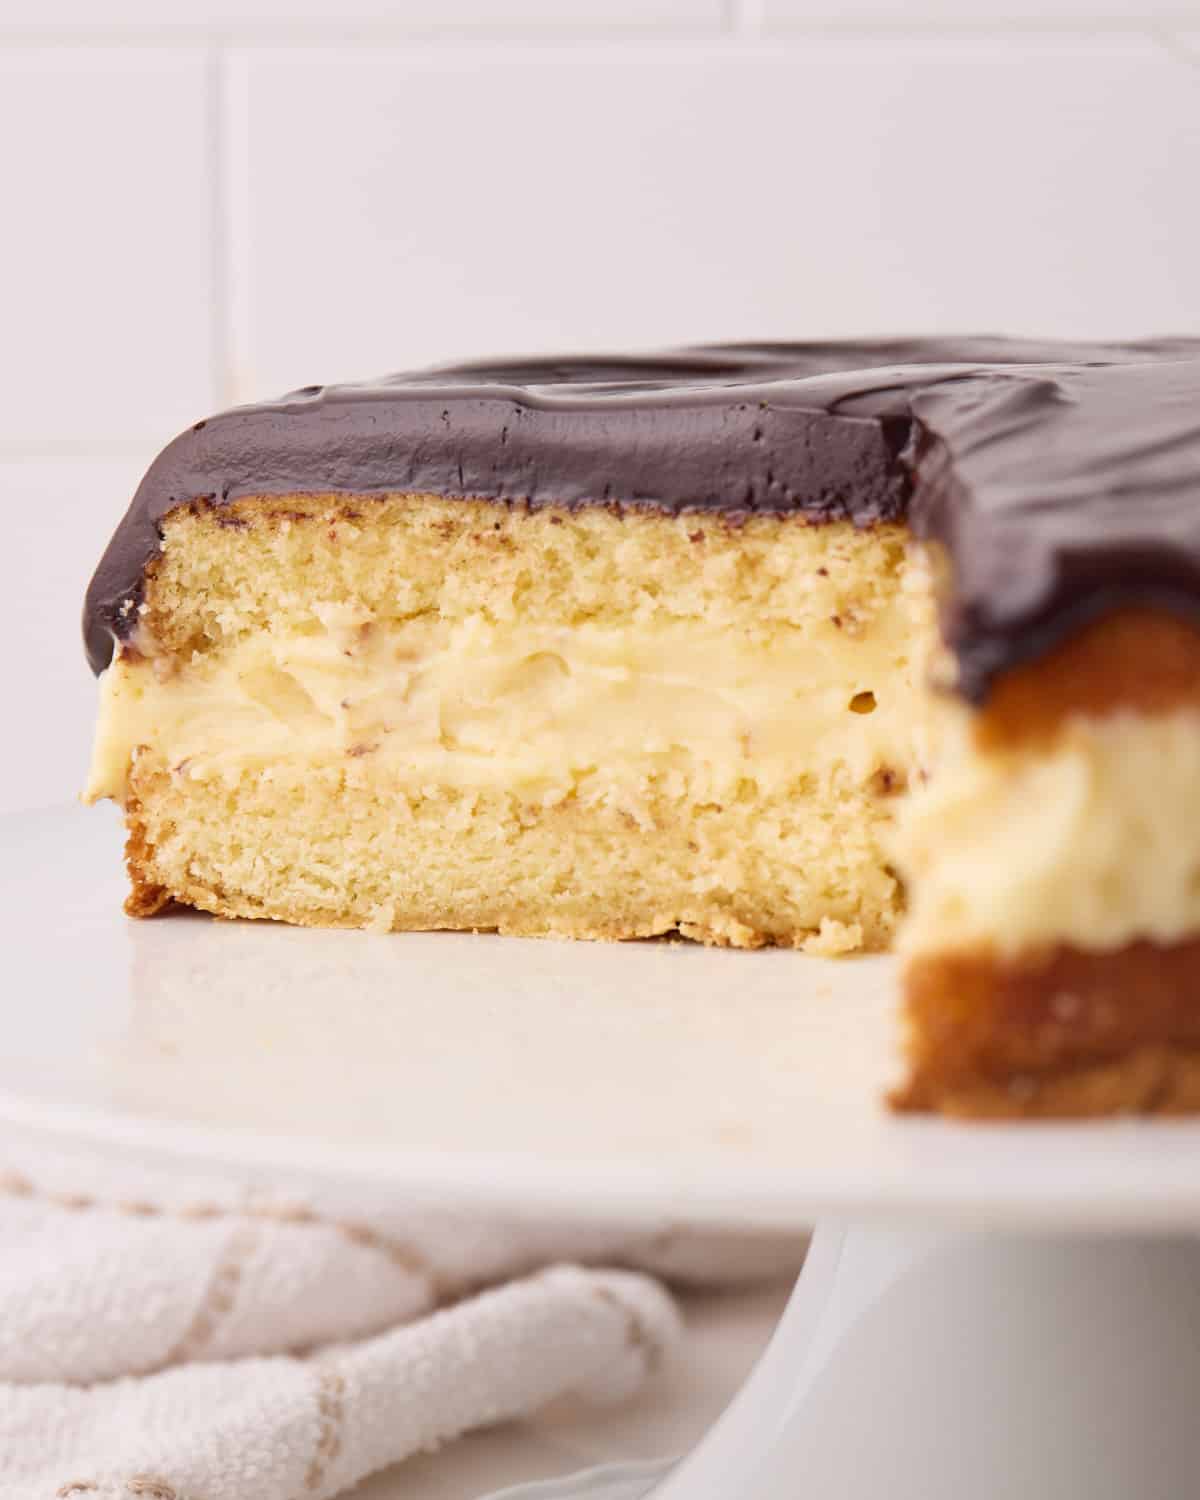
- Uses an easy hot milk sponge that will stay fresh and moist in the fridge.
- Various options for mixing methods and equipment.
- Foolproof step-by-step instructions backed by expert research, for perfect results every time..
Ingredients
These are the best ingredients for an airy sponge cake, a thick and creamy custard filling, and a smooth chocolate ganache. There are a few specifics that make all the difference, so have a good read of the details below.
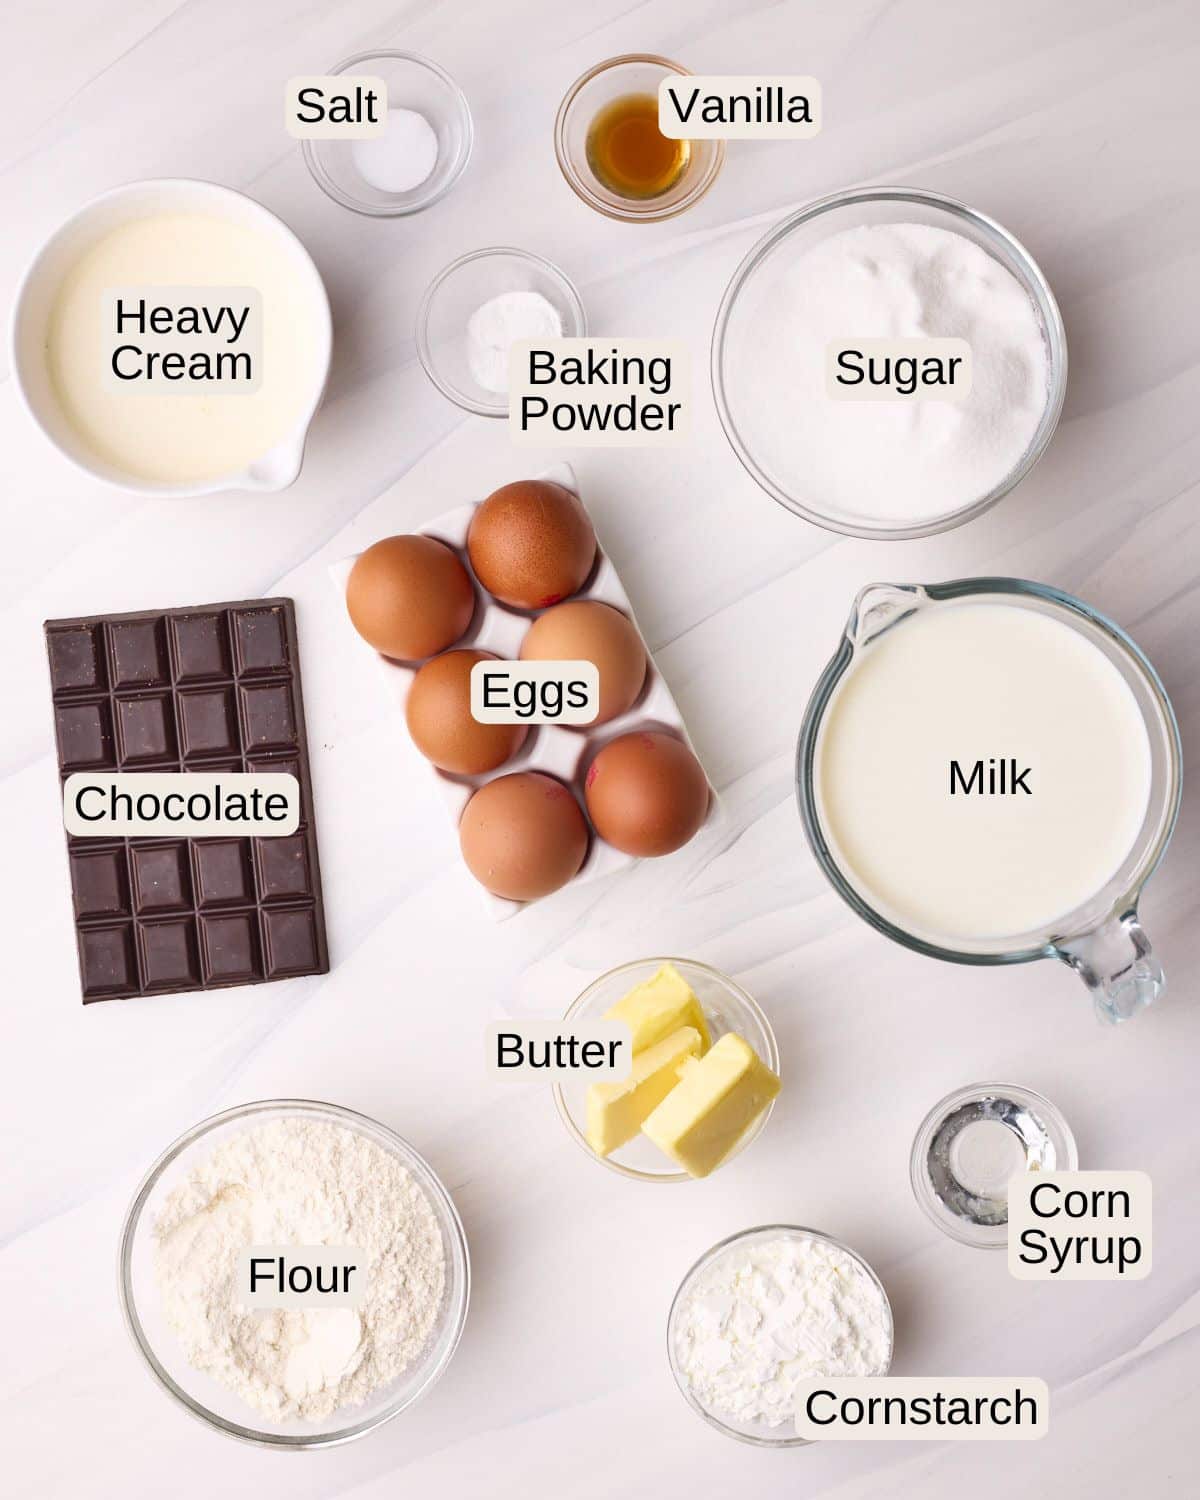
- Milk - Full-fat whole milk will bring a lovely texture and flavor to the pastry cream, as well as the sponge cake.
- Eggs - For the pastry cream, we'll be using egg yolks plus one whole egg to add some extra stability to the filling. The sponge will need whole eggs - use large eggs, free range if possible.
- Cornstarch - This helps to thicken the pastry cream and prevents it from going runny and squishing out of the cake when sliced.
- Sugar - Granulated sugar or superfine sugar is best for this recipe.
- Vanilla - Be sure to find a good-quality vanilla extract or bean paste. It's the star flavor of the rich pastry cream, so you want it to shine!
- Butter - Using unsalted butter allows control over the salt content in the cake. If you are using salted butter, just skip adding the salt later on.
- Flour - Cake flour will give the best results in a sponge cake, as it gives a super tender crumb, but all-purpose flour will also work just fine.
- Heavy Cream - Heavy cream, heavy whipping cream, or double cream - anything with a high fat content of at least 35% is essential for the chocolate ganache to set properly.
- Dark Chocolate - Use real, good-quality chocolate for the rich ganache. Avoid chocolate chips or candy bars as they won't melt properly.
- Corn Syrup - This is optional, but I find it really helps to make the chocolate glaze nice and shiny. If you prefer, you can just leave it out without substituting.
Make sure your eggs are room temperature before beginning.
See the recipe card for quantities and the full recipe.
Measuring Ingredients:
I always recommend weighing your ingredients with a kitchen scale, rather than using measuring cups. It's very difficult to measure accurately with cups, and this can mess up your bakes.
Recommended Equipment
- 8-inch cake pan
- Adjustable Cake Ring - This is the easiest way to fill the cake, but I include other options if you don't have one.
- Mixing bowls
- Saucepan
- Whisk
- Fine mesh sieve
- Stand mixer - with whisk attachment
- Rubber Spatula
- Cake Leveler - or serrated knife
How To Make Boston Cream Pie
There are three components to this Boston Cream Pie recipe: the pastry cream, sponge cake, and chocolate glaze. Make the pastry cream ahead of time so it has the chance to cool. Then make the sponge, cool, and assemble. The chocolate ganache should be made right before you add it to the top of the cake, so it is still warm and spreadable.
Boston Cream Pie Filling
The filling in Boston cream pie cake is a vanilla pastry cream - also known as custard or crème patissière. It's the same luscious filling you'll find in custard donuts, profiteroles, and of course, Boston Cream Donuts.
This Boston cream filling is my classic crème pâtissière recipe, but with a few little tweaks for texture and stability.
My pastry cream recipe post can give you a more detailed walk-through on how to make the perfect pastry cream, but be sure to make the following changes: add in 1 whole egg along with the yolks, and increase the amount of cornstarch.
Both of these extra steps will make the filling set more firmly and give you lovely, clean slices of cake without the custard filling oozing out.
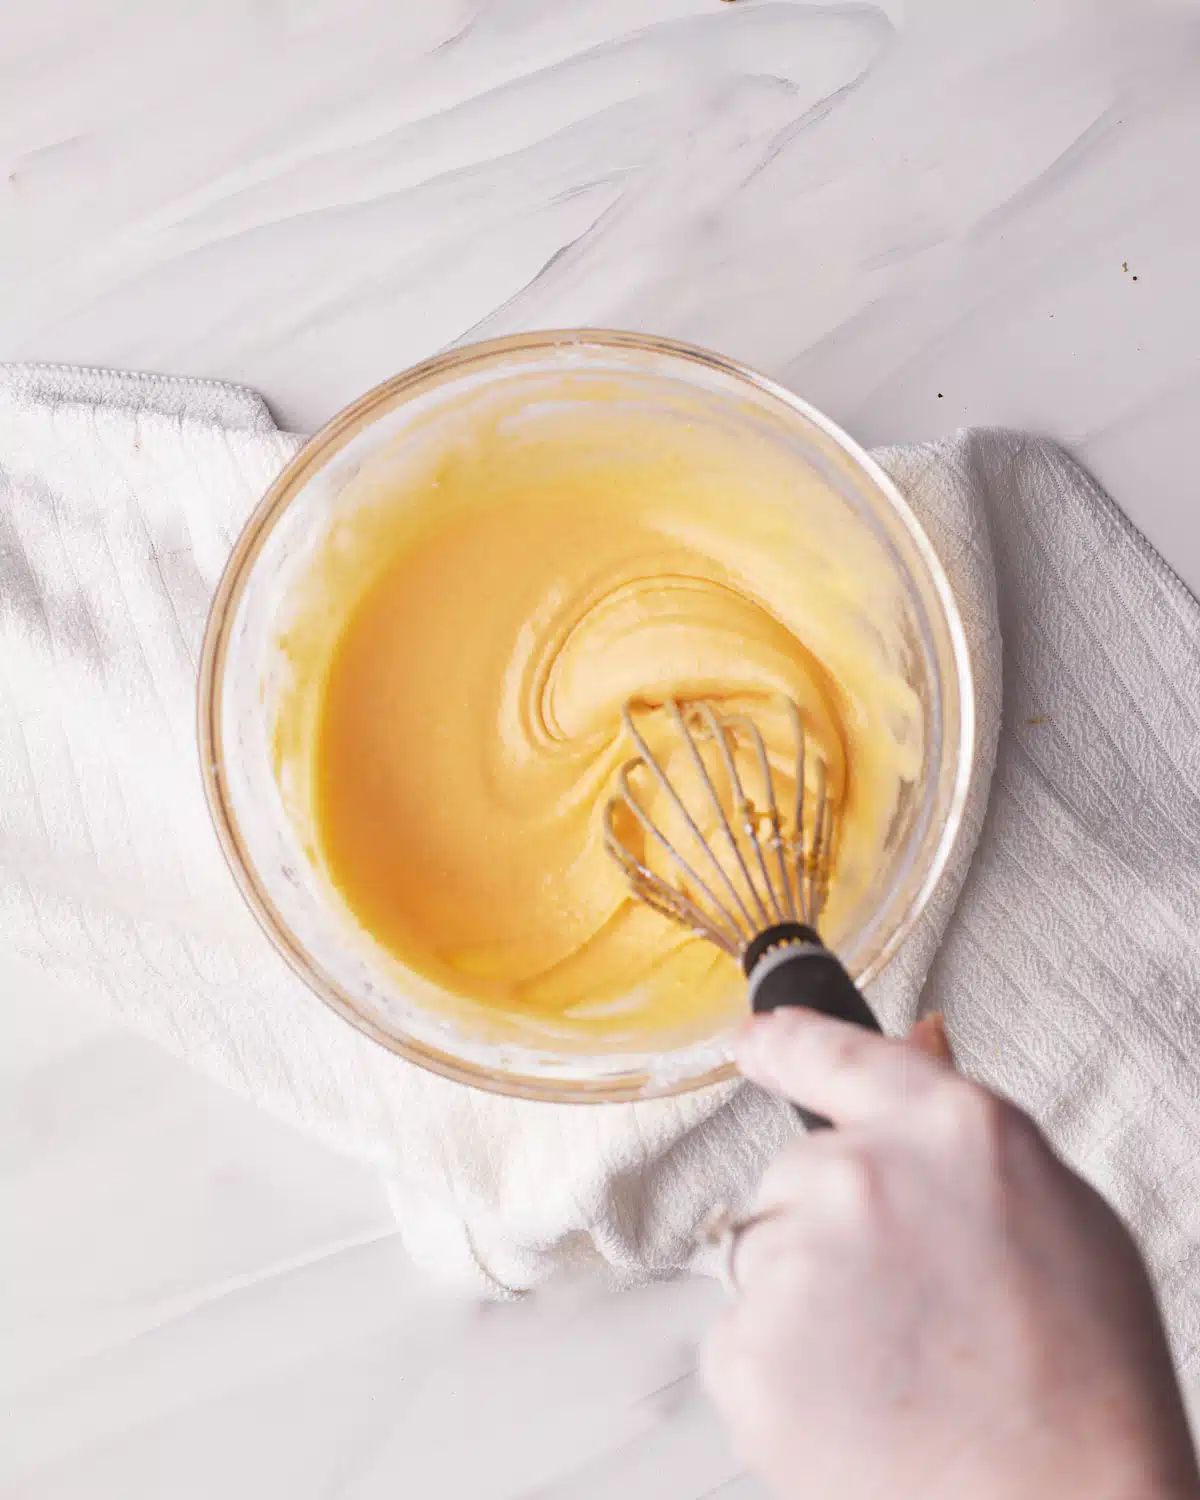
- Whisk the egg yolks and whole egg, sugar, and cornstarch in a large bowl until the mixture becomes pale and thick.
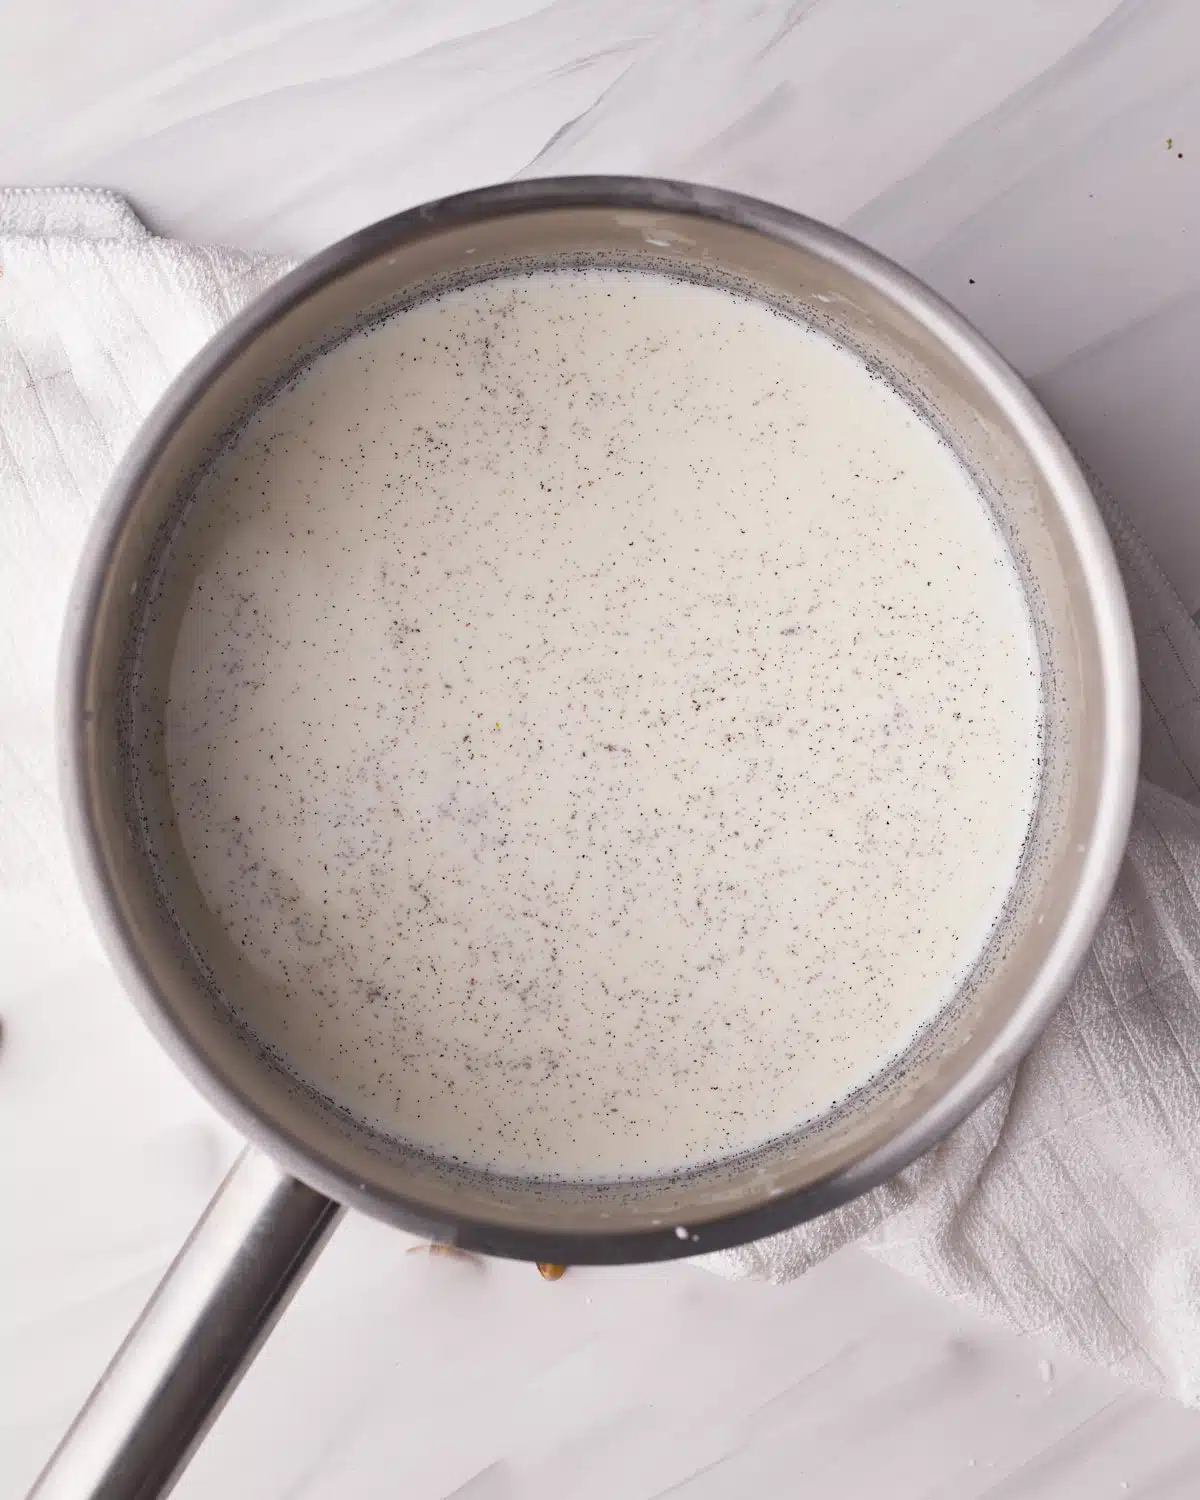
- Add the milk and vanilla to a medium saucepan and heat gently until it is scalding - you'll see little bubbles start to appear on the surface, as well as steam rising from the pan. Don't let it boil.

- Pour a small amount of warm milk into the egg mixture whilst mixing it in. Continue to stir as you add the remaining milk gradually.
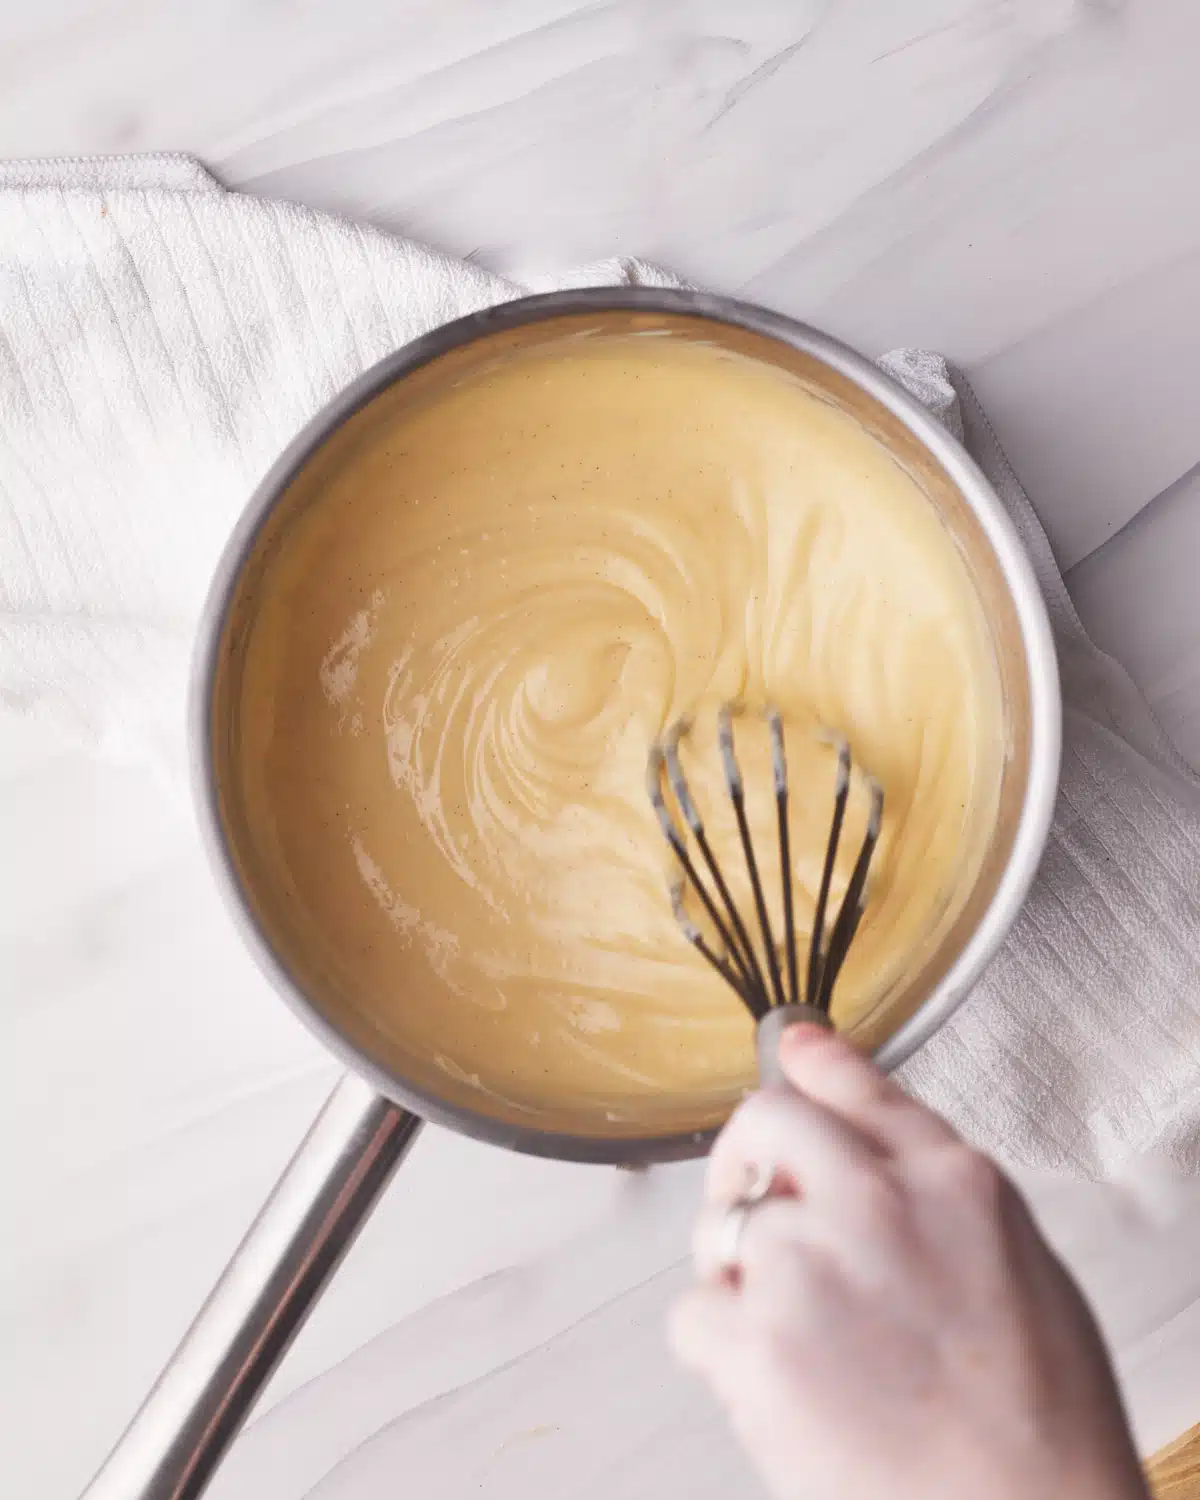
- Add the milk mixture back to the pan, and return it to a medium heat.
Whisk it constantly until it boils, then boil for 1-2 minutes whilst stirring gently. It should now be a thick, custard-like texture.
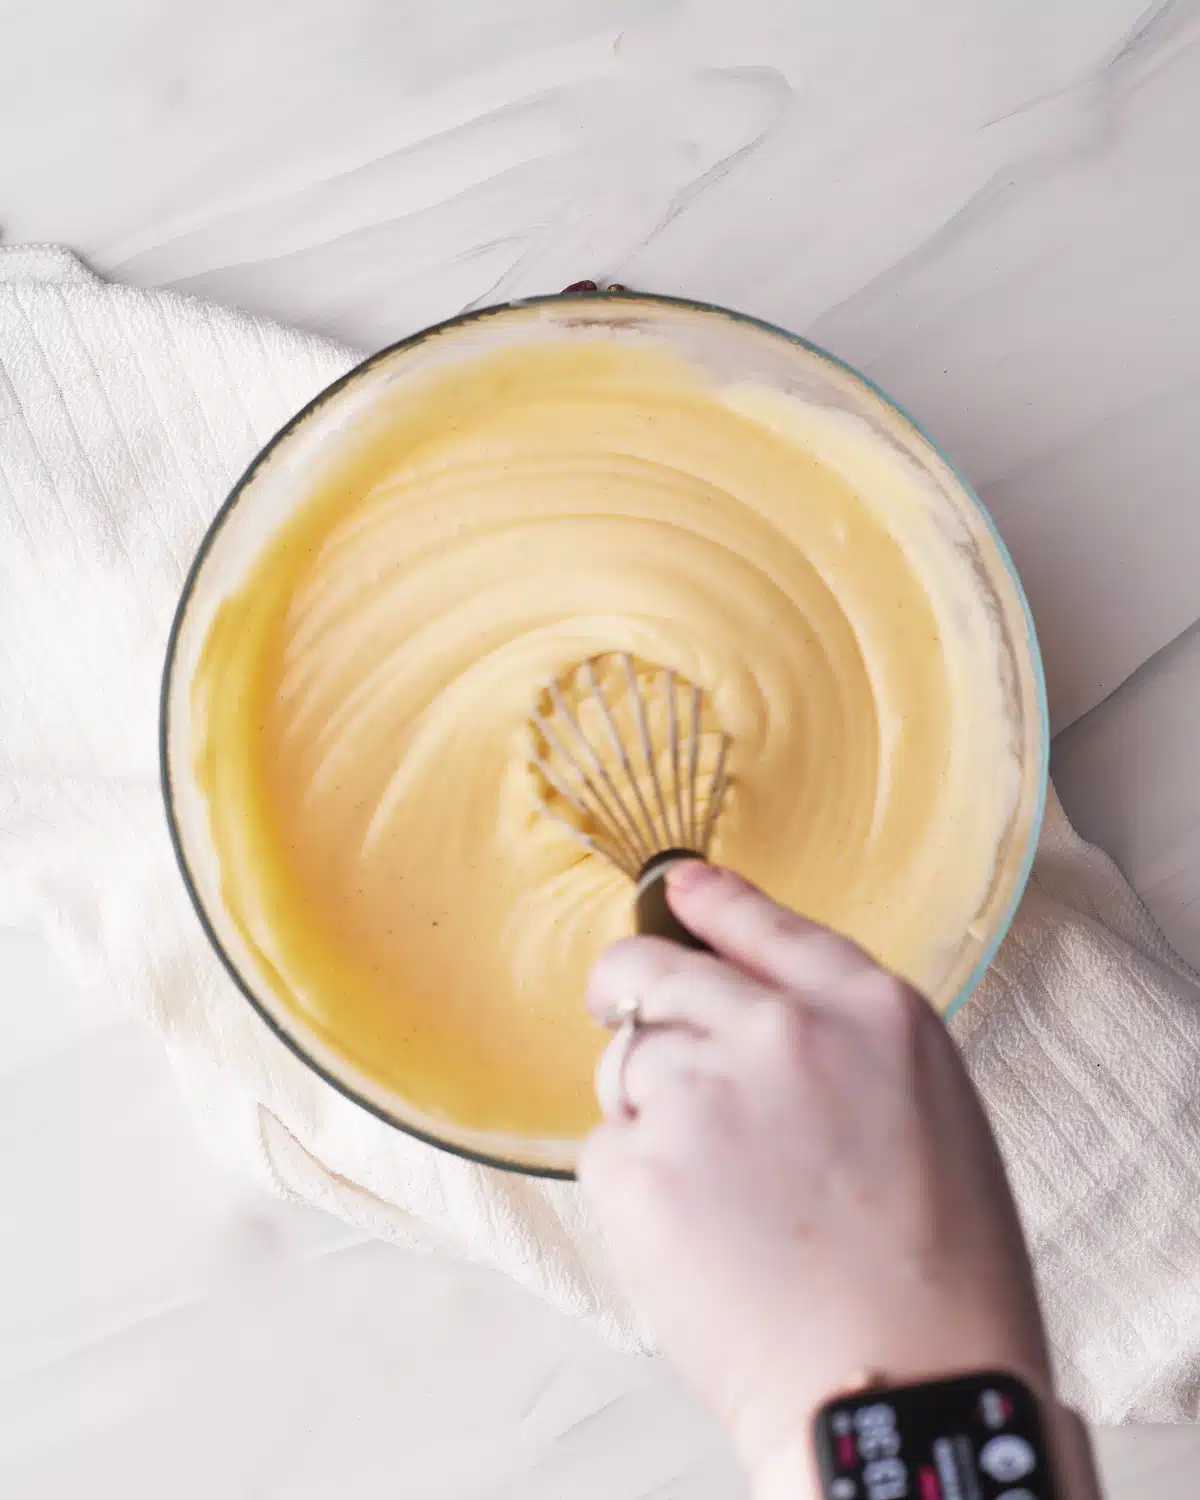
- Remove any lumps by straining the mixture through a fine mesh sieve into a medium bowl.
Now, stir the butter into the hot pastry cream until it has melted.

- Cover the bowl in plastic wrap, and press down gently so that it's touching the surface of the pastry cream. This will prevent a layer of skin from forming on the top.
Leave it to cool down to room temperature, then place it in the fridge to chill for at least 2 hours or up to 48 hours.
Make the Sponge Cake
The sponge cake in this recipe is a hot milk sponge cake - it's an easy alternative to classic sponge cakes like Genoise sponge cake (the sponge cake used in my Tiramisu Cake and Frasier Cake). Hot milk sponge cake is a lot more forgiving than other sponge cake recipes and gives a soft, velvety texture, richer flavor that complements the custard, and is less likely to dry out in the fridge.
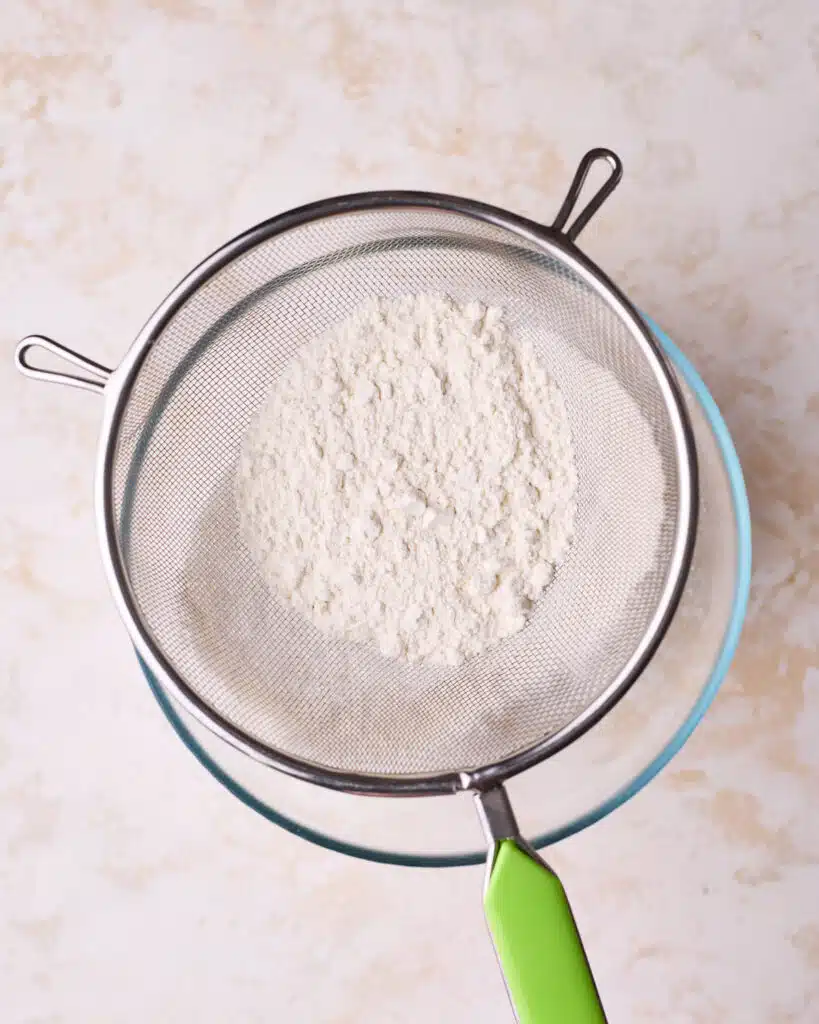
Dry Ingredients
Preheat the oven to 340°F / 170°C (150° fan-assisted) and grease an 8-inch cake pan. I also like to line the bottom with a parchment paper circle.
Sift the flour, baking powder, and salt into a medium bowl, and mix together until combined.
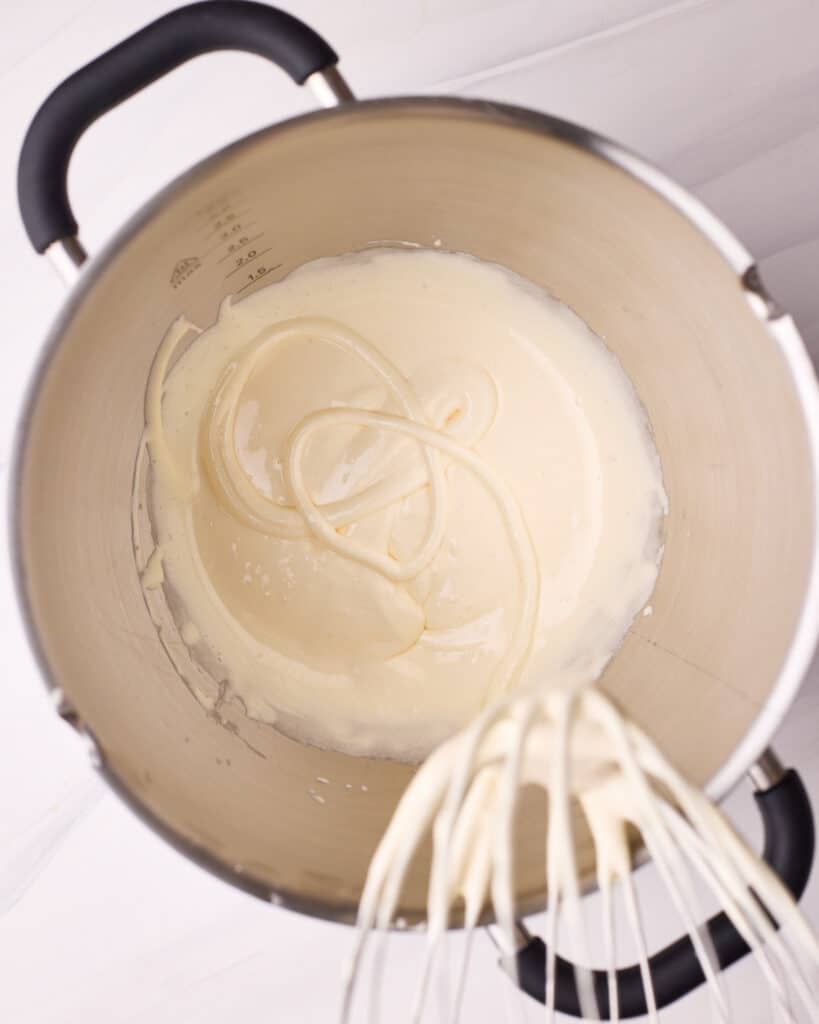
Whip Eggs and Sugar
Place the eggs and sugar into a stand mixer, and whip together on high speed for 5 full minutes until they are thick, pale, and have doubled in volume.
To test for the correct consistency, drizzle the batter on top of itself - it should leave a little trail.
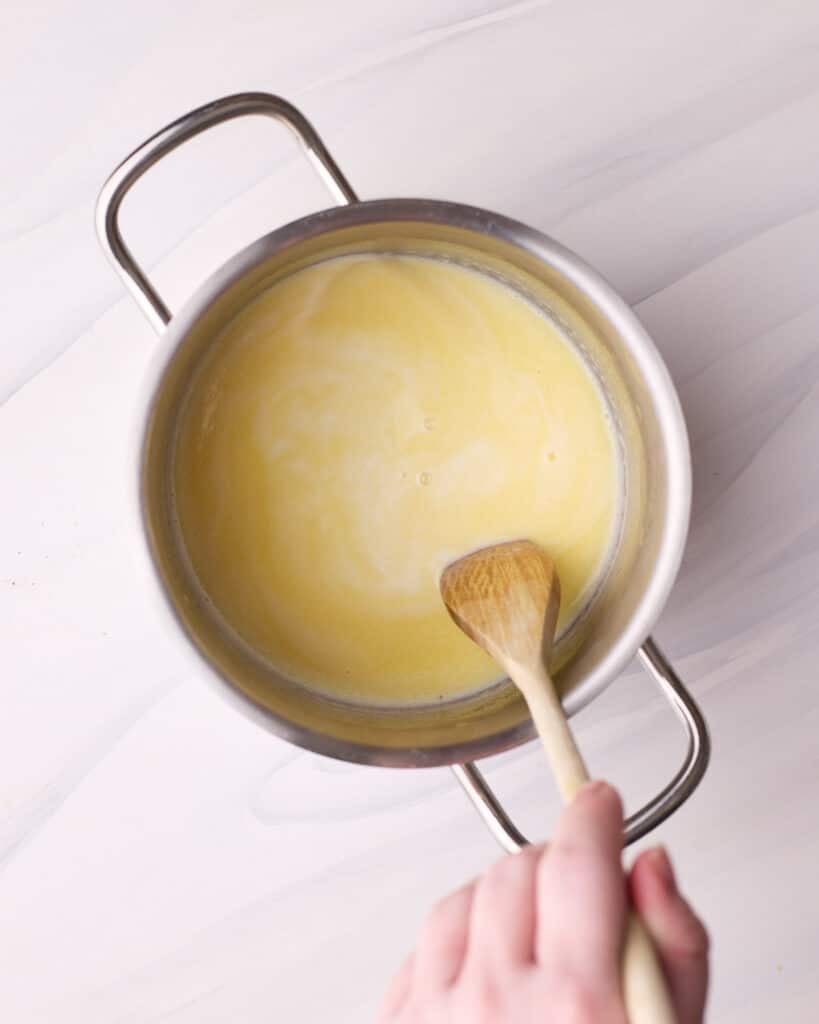
Heat Milk and Butter
Meanwhile, gently heat the butter, milk, and vanilla either in a saucepan over medium heat or in the microwave in 15-second bursts.
It only needs to be hot enough for the butter to melt. Do not let it get too hot.
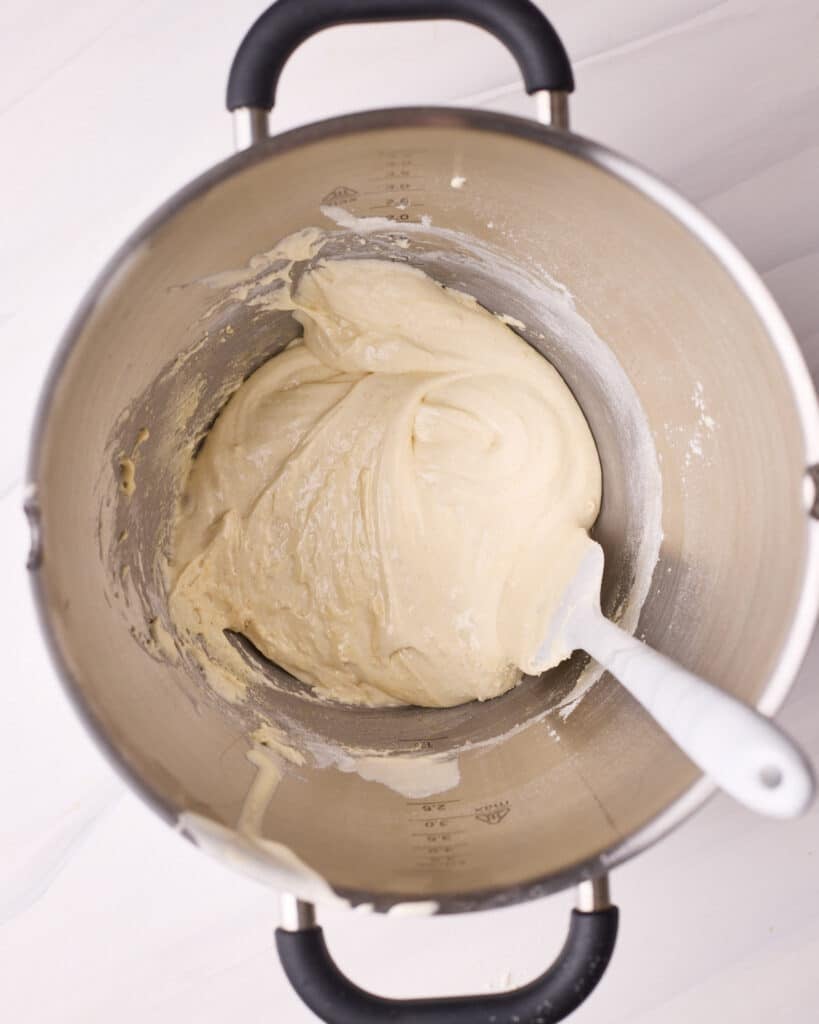
Incorporate Flour Mixture
Carefully sprinkle half of the flour mixture into the whipped eggs. Turn the mixer back onto its lowest speed setting (still with the whisk attachment), just until the two mixtures are combined.
Continue to add the other half of the dry mixture and repeat the same process. Be careful not to knock too much air out of the batter.
Alternatively, you can gently fold the flour in by hand using a rubber spatula - personally, I prefer to do it by hand like this to have better control and avoid deflating the batter.
Add Hot Milk
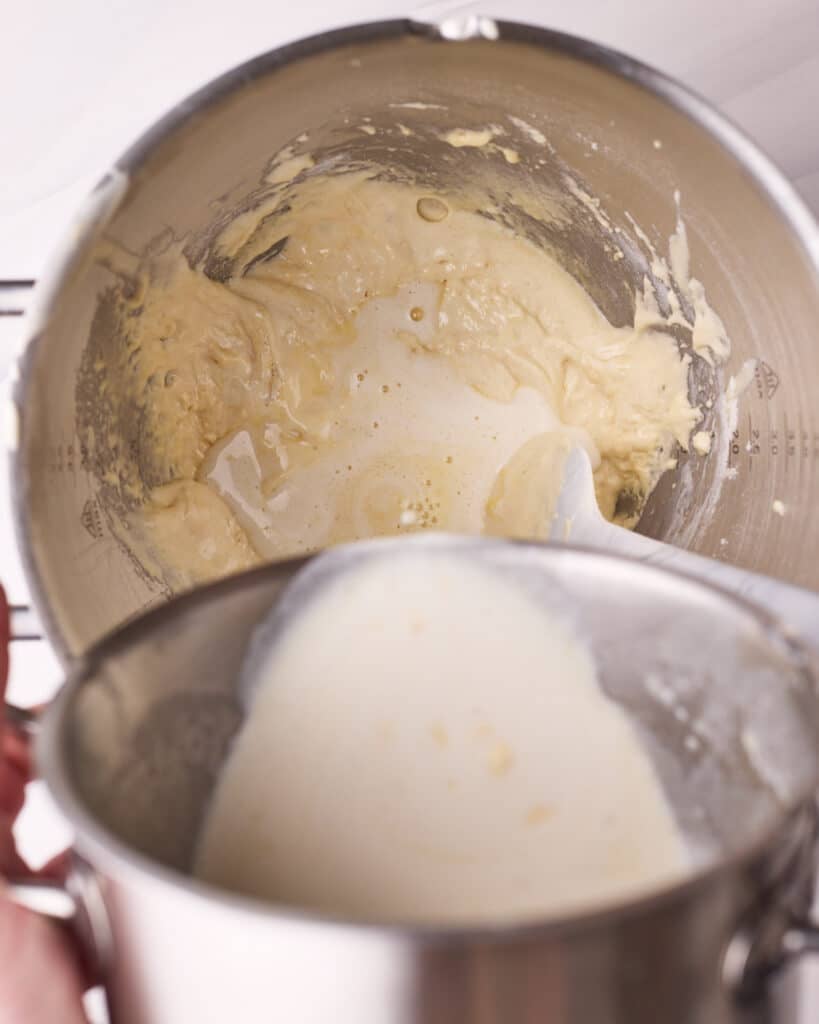
Keep the mixer on a low speed setting, and gradually pour the hot milk mixture into the main cake batter in a slow and steady stream.
This can also be done by hand, adding a little milk at a time and folding it in gently. Be sure to scrape the bottom of the bowl to make sure everything is well incorporated.
Bake
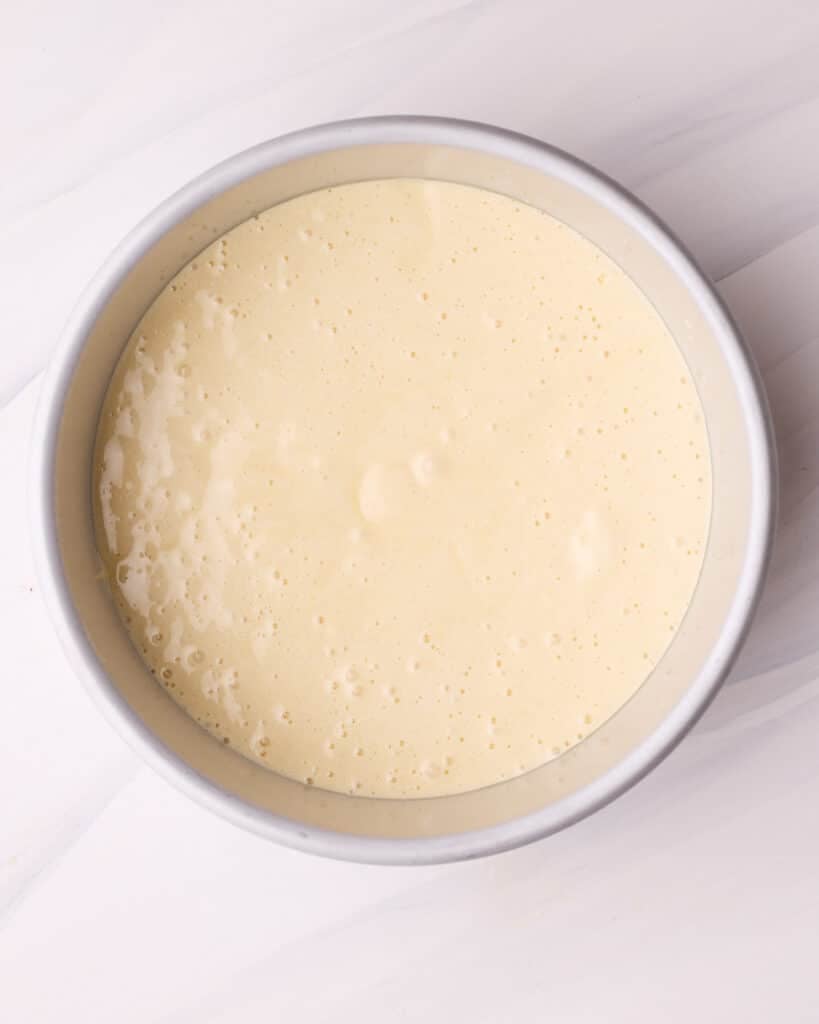
Carefully pour the sponge cake batter into the prepared cake pan and bake for 30-35 minutes, or until the top is golden brown.
You can check the cake is baked by inserting a skewer into the middle of the cake - it is baked when the skewer comes out clean.
Cool Completely
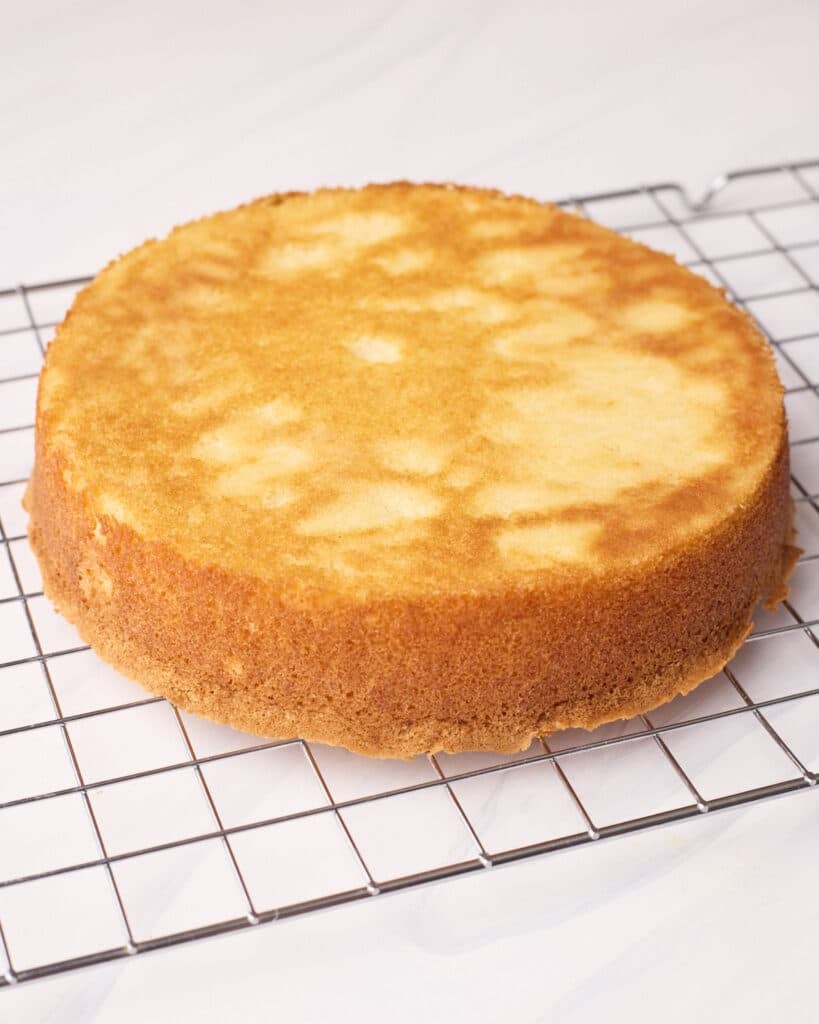
Leave the cake to cool in the pan for 10 minutes before inverting it onto a wire rack to cool completely.
Assembling Boston Cream Pie
Now, to build your baking masterpiece! Make sure the sponge and pastry cream are completely chilled before assembling.
Torte the Sponge
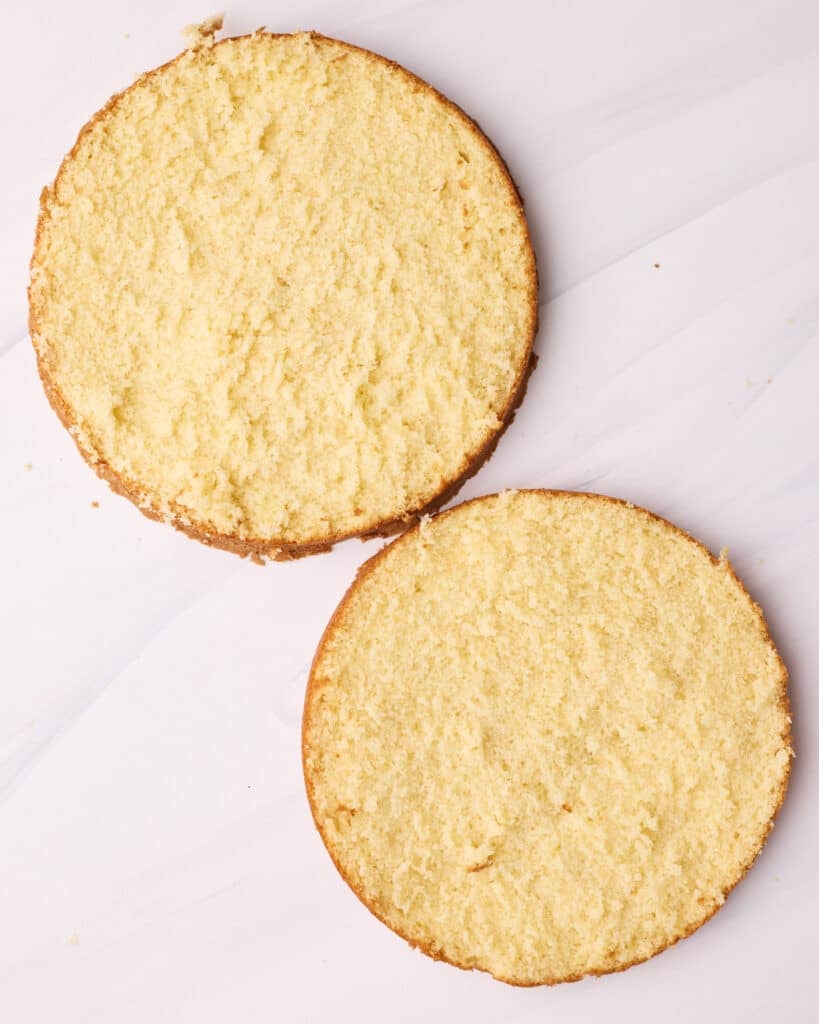
Once the sponge cake has cooled, slice it in half using a serrated knife or a cake leveler to make two even layers.
Mix the Custard
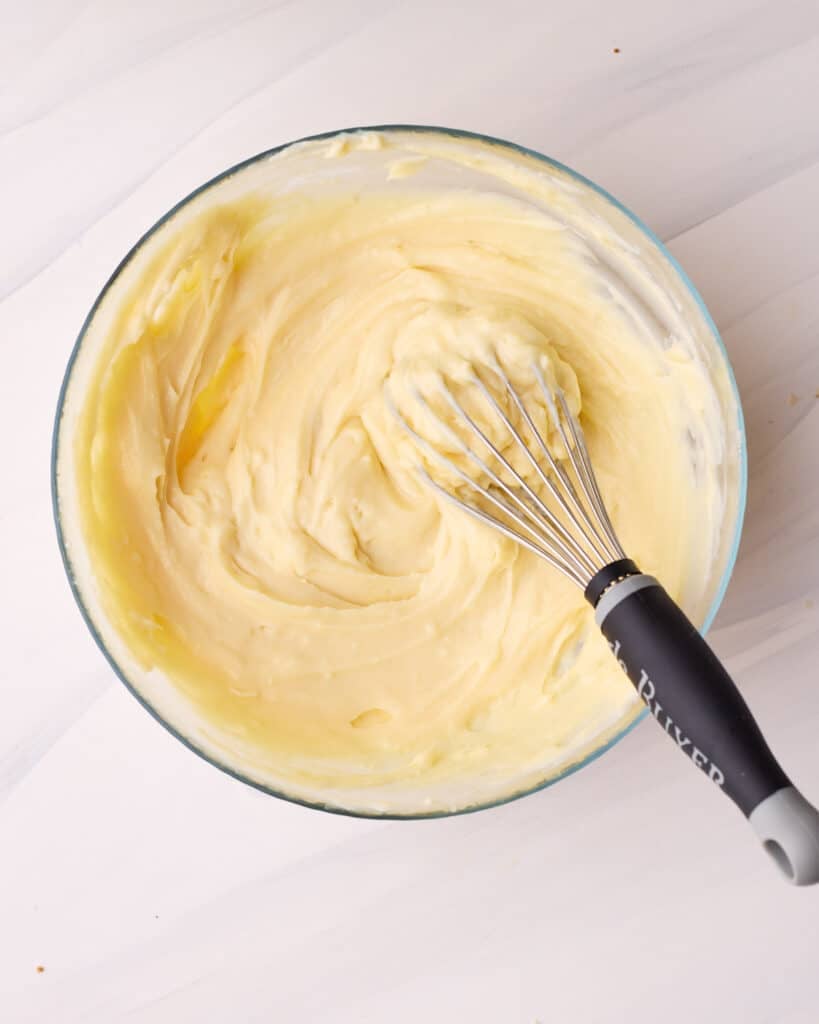
Remove the chilled pastry cream from the fridge and whisk it gently just until it is smooth and creamy again.
Don't mix it too much, or you could undo the gelatinising of the starches and make it runny.
Fill the Cake
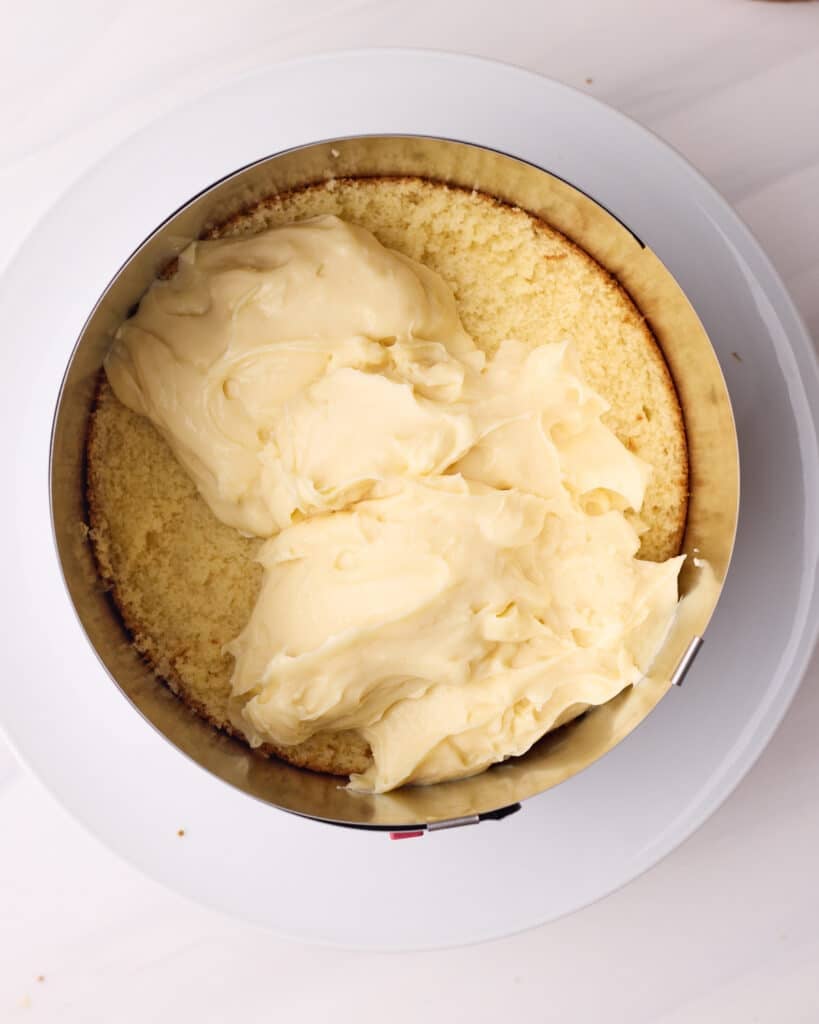
Place one of the cake layers into an adjustable cake ring, on top of a cake board or serving plate, then pour the pastry cream on the center of the cake layer.
If you don't have an adjustable cake ring, see the section below for alternative ways to fill your cake. Smooth the custard out into an even layer.
Top and Chill
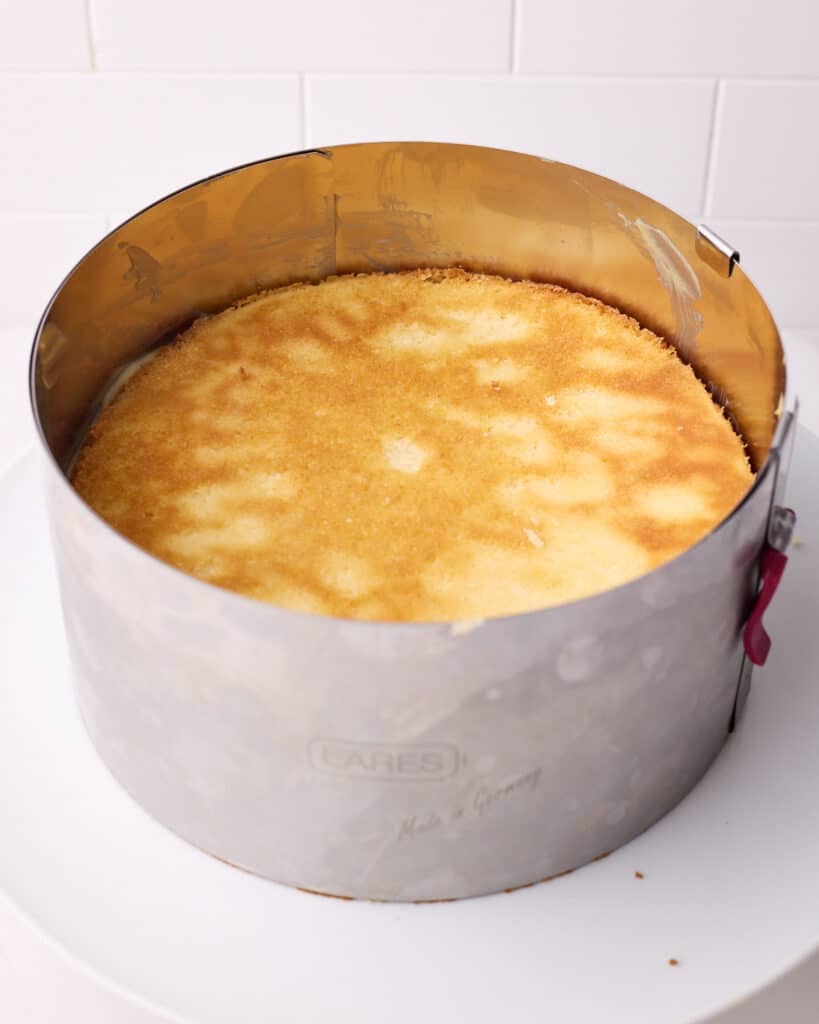
Delicately place the second cake layer on top of the custard, and press down very gently, just enough that it will stick to the cream.
Put the whole cake in the refrigerator to chill for at least 2 hours - preferably overnight, to allow the pastry cream to set.
Make sure you cover the top of the cake with plastic wrap to stop it from drying out in the fridge.
Ways to Fill a Boston Cream Pie
There are a few different ways you can stack your Boston Cream Pie, depending on what equipment you have. As everyone has different tools at home, I wanted to give you a couple of options: I have personally tried them all, and so have listed them in order of my favorite methods (the best at the top).
Adjustable Cake Ring - For me, the most effective and reliable method is to use an adjustable cake ring. It gives a sturdy structure to build your cake within, which can adapt to the exact size of the cake. Better yet, it comes off very easily without making any mess, so your cake will stay perfect!
Lined Cake Pan - If you don't have an adjustable cake ring, you can use the cake pan you baked the cake in with some acetate or parchment paper lining the inside, creating a 'wall' to stack your cake inside. This works best with a loose-bottomed or springform cake pan so you can easily get the cake out once it's been decorated. The downside to this method is that it is a bit more fiddly and not quite as sturdy.
Piping - Alternatively, you can simply pipe the pastry cream straight onto the cake and stack the other half on top like a regular layer cake. This is a little trickier and less likely to hold a nice thick layer of custard in the middle. If you use this method, it is crucial that your pastry cream is well set beforehand, or it will just ooze out of the cake. I recommend piping a 'dam' of pastry cream around the outside of the cake first, then filling in the middle.
Chocolate Glaze
This chocolate glaze is a classic dark chocolate ganache with some corn syrup mixed in for extra shine. The corn syrup is optional, so you can leave it out if you like. Make the glaze right before you remove the cake from the fridge so it is still warm enough to spread easily.
Make the Ganache
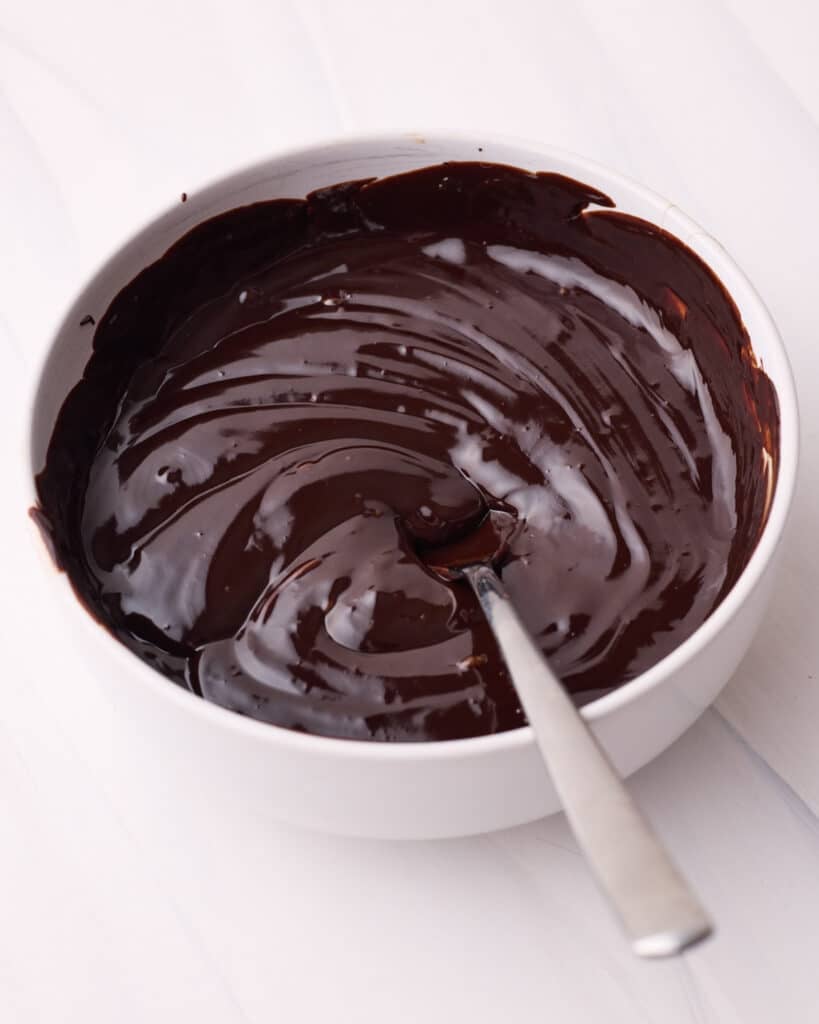
Pour the heavy cream into a small saucepan, and heat until it is scalding hot. Pour the hot cream over the chopped chocolate and mix until all of the chocolate has melted and you have a glossy ganache.
Lastly, stir in the corn syrup (if you're using it) to add a nice sheen to the ganache.
Set aside for a minute or two to cool and thicken while you prep the cake.
Glaze the Cake
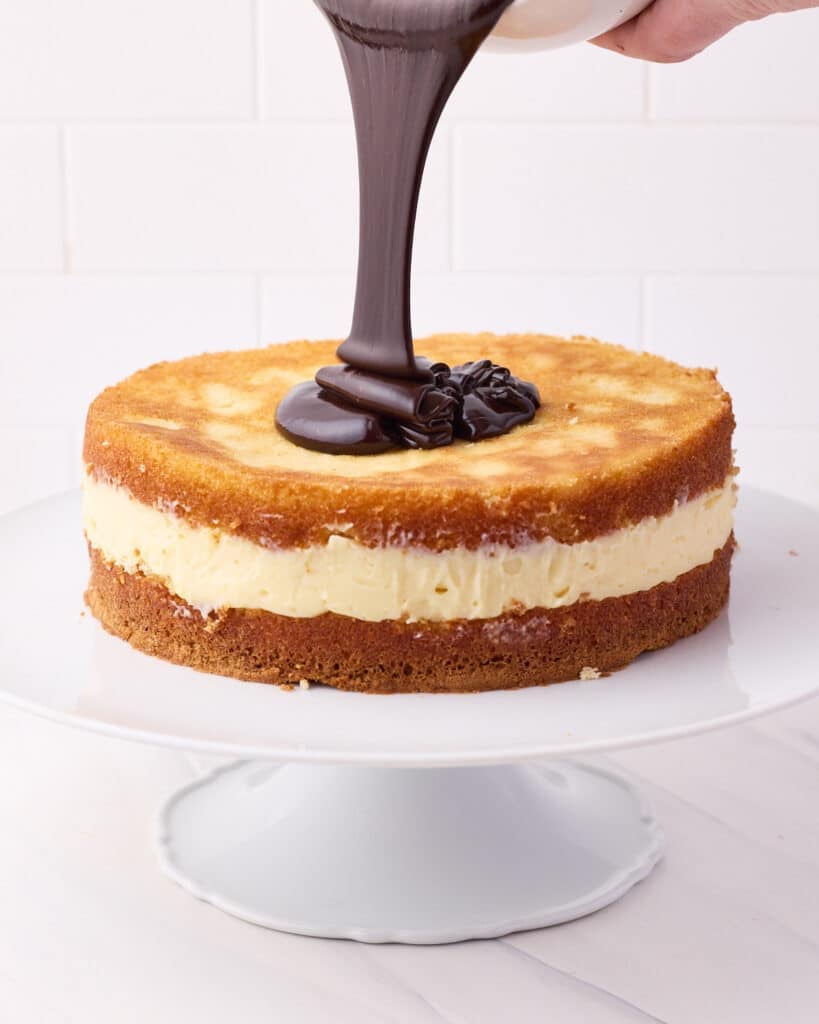
Take the cake out of the cake ring or pan, and pour the ganache all over the top.
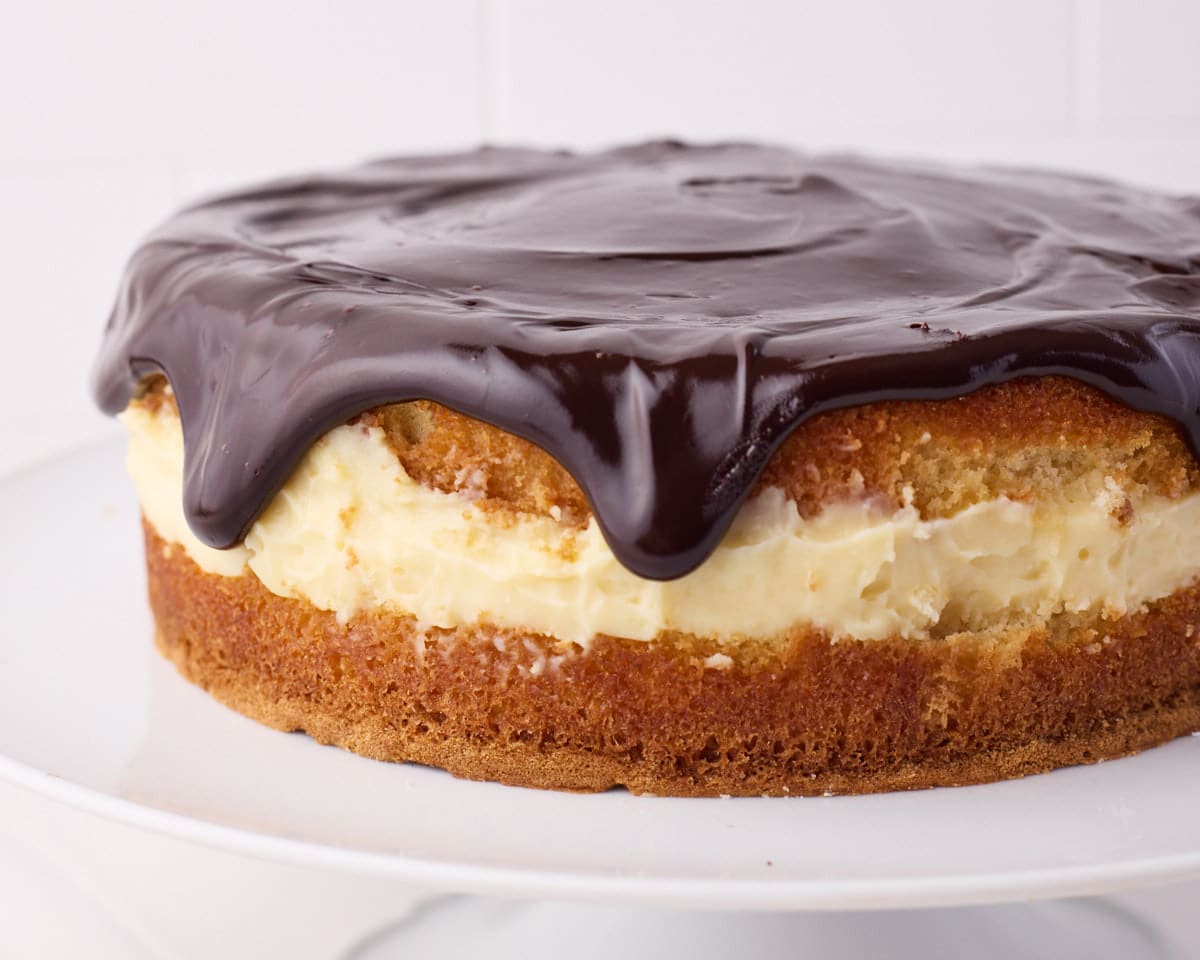
Use an offset spatula to smooth it out over the top surface, taking the glaze right to the edges. If you like, you can let it drip down the sides a little, but this is totally up to personal preference.
Place the whole cake back in the fridge to set the ganache for 30 minutes or until it is ready to be served.
How To Serve Boston Cream Pie
Boston Cream Pie is best served chilled to keep all the elements nice and fresh, but not fridge-cold. For the best texture and flavor, take your Boston cream cake out of the fridge 20-30 minutes before you plan on serving. This gives it a chance to warm up just slightly, and the flavor will be better at this temperature.
How to Slice Boston Cream Pie
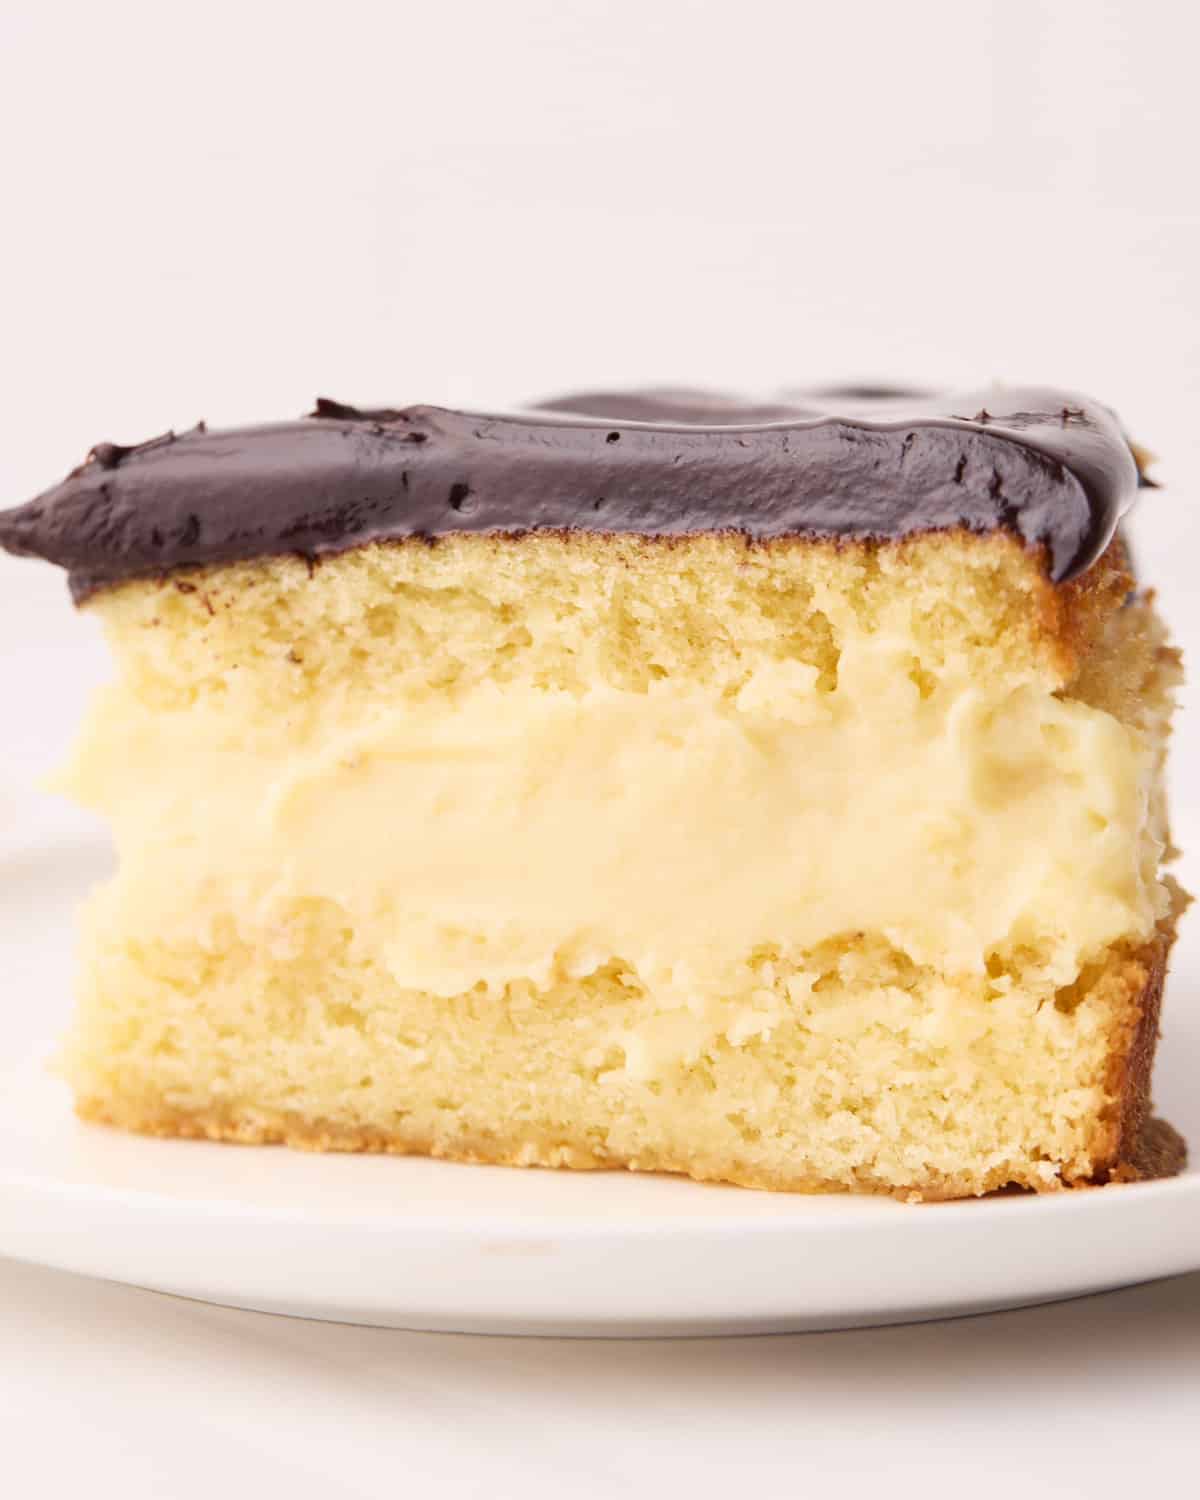
After all the time and effort that went into making your gorgeous cake, you want it to still look pretty when it's sliced. To get nice, clean cuts, make sure the cake has had enough time to chill in the fridge to ensure the pastry cream and chocolate ganache are completely set.
Additionally, it's really helpful to use a warm knife to cut the slices. Warm a knife in hot water, dry it off with a clean paper towel, and watch as it glides through the cake with ease. Repeat this process between each slice for the professional-looking results.
Baker's Notes
Follow these tips and tricks so that your cake turns out just right:
Chill the custard - It's super important that the pastry cream has had enough time to chill in the fridge before spreading it over your cake. This is not just about temperature; the starches need time to properly gelatinize. Gelatinization is what gives the custard its structure - without it, the cream would be too soft and runny.
If you spread it on the sponge too soon, it will ooze out when you assemble the cake or slice it. Let the custard chill for at least 2 hours before putting it into your Boston cream pie.
Don't overmix - Be very careful not to overmix the sponge cake batter; otherwise, it could become quite dense rather than light and fluffy. Sponge cakes rely heavily on the air that's whipped into the eggs to help them rise, so it's essential to incorporate the flour mixture on a low and slow speed to keep the airy texture.
Even though this version uses a more forgiving sponge cake recipe (as well as some baking powder for backup), it's still important not to knock the air out, or your cake may deflate. I have found the lightest sponge cakes come from folding the flour and milk in by hand with a rubber spatula, but the mixer method will still work when done carefully.
Don't underbake - Sponge cakes tend to look quite brown on top once they are baked. Don't let this fool you into thinking it is overbaked! When the sponge cake is ready, a skewer inserted into the middle will come out clean. If you take the cake out of the oven too soon, the structure will collapse as it cools - trust the process. It will be beautifully pale and fluffy on the inside.
See my post about why cakes sink for more helpful tips and common mistakes to avoid.
Storage Instructions
Store your delicious Boston cream cake in an airtight container in the fridge. It will stay fresh for about 3 days.
Remove it from the fridge 20-30 minutes before serving to let it warm up slightly for the best flavor and texture.
Boston Cream Pie FAQ
If you have a question about this recipe that isn't answered here, please write it in the comment section, and I will get back to you as soon as I can.
Yes, you can make Boston Cream Pie ahead of time; it can be made up to 3 days in advance, fully assembled, as long as it is in an airtight container in the fridge. Sponge cakes are notorious for drying out so if you plan to make it in advance, you may want to add a simple syrup to your cake before assembling for extra moistness.
If you want to make the individual elements ahead of time, you can make the pastry cream up to 48 hours in advance and store it covered in the fridge, and you can make the sponge cake 2 days in advance and store it well wrapped in an airtight container at room temperature - again, you may want to add a simple syrup when assembling. The chocolate glaze is best prepared right before pouring - it only takes a few minutes to make.
Original Boston cream pie recipes use a classic sponge cake. However, these days many recipes use an easier version of sponge cake, like this hot milk sponge cake that is more failproof than something like a Genoise sponge cake, and gives guaranteed moistness, flavor, and freshness in your buttery yellow cake.
I have altered my classic vanilla pastry cream recipe slightly to stay nice and thick for the Boston cream filling. By adding 1 whole egg as well as some extra cornstarch to the custard, it is a little thicker and sturdier than regular pastry cream.
As Boston cream pie is actually a cake, some people are confused by its name. The reason is that it's a very old, traditional recipe from back when anything baked in a round pan was often referred to as a pie. The name has stuck, and it continues to be called Boston cream pie today.
More Custard Desserts
If a custard filling is your idea of heaven, try some of these other custard dessert recipes:
Recipe
Boston Cream Pie Recipe
Ingredients
- 5 Large Egg Yolks (room temperature)
- 1 Large Egg (room temperature)
- ½ cup Granulated Sugar 100g
- ⅓ cup Cornstarch 40g
- 2 cups Milk 480ml
- 2 teaspoon Vanilla Extract
- 1 tablespoon Butter 14g
- 2 Large Eggs (room temperature)
- 1 cup Granulated Sugar 200g
- ½ cup Milk 120ml
- ½ stick Butter 57g
- 1 cup Cake Flour 113g
- 1 teaspoon Baking Powder
- ½ teaspoon Salt
- 1 teaspoon Vanilla Extract
- ½ cup Heavy Cream 120ml
- 4.5 oz Dark Chocolate 130g (chopped)
- 2 teaspoon Corn Syrup (optional)
Equipment
- Adjustable Cake Ring optinal - see post for alternatives
- Stand Mixer with whisk attachment
Instructions
- You need to make the pastry cream ahead of time so it has a chance to chill. I recommend making at least 2 hours in advance, but it's even better if you can leave it overnight. This is my classic crème pâtissière recipe made with a few small tweaks to help the custard layer to hold its shape and give nice, clean slices.
- Whisk the egg, egg yolks, sugar, and cornstarch together in a large bowl until they are pale and thick.5 Large Egg Yolks, 1 Large Egg, ½ cup (100 g) Granulated Sugar, ⅓ cup (40 g) Cornstarch
- Add the milk and vanilla to a saucepan over medium heat, stirring occasionally until the milk is scalding hot. This means that there is steam rising from it and you can see tiny bubbles appearing on the surface. Do not let it boil.2 cups (480 ml) Milk, 2 teaspoon Vanilla Extract
- Slowly drizzle the hot milk into the egg mixture a little at a time, whisking as you go. It's very important to do this gradually to temper the eggs - this means bringing the temperature up slowly so that the eggs don't scramble.
- Once all the milk has been added to the eggs, pour the whole mixture back into the saucepan and continue to heat, whisking gently but constantly until the custard begins to thicken and you can see thick, slow bubbles bursting on the surface.
- Let the pastry cream boil for 1-2 minutes, it should be noticeably thicker.
- Remove from the heat and pass the pastry cream through a sieve into a bowl, just in case there are any lumps.
- Add the butter and mix it in until combined.1 tablespoon Butter
- Cover the pastry cream with plastic wrap with the plastic touching the surface of the custard. Let cool, then put in the refrigerator for at least 2 hours.
- Preheat the oven to 340°F / 170°C (150° fan-assisted) and grease an 8-inch cake pan.
- Sift the dry ingredients into a bowl, including the flour, baking powder, and salt. Mix together and set aside.1 cup (113 g) Cake Flour, 1 teaspoon Baking Powder, ½ teaspoon (½ tsp) Salt
- In a stand mixer with the whisk attachment fitted, whip the eggs and sugar together on high speed for 5 full minutes until they are thick, pale, and doubled in volume. If you drizzle the batter on top of itself, it should leave a little trail.2 Large Eggs, 1 cup (200 g) Granulated Sugar
- Meanwhile, warm the butter, milk, and vanilla either in a saucepan over medium heat or in the microwave in 15-second bursts. It should be just hot enough that the butter melts - do not let it boil.½ cup (120 ml) Milk, ½ stick (57 g) Butter, 1 teaspoon Vanilla Extract
- Add half of the flour mixture to the egg/sugar mixture and fold it in gently. You can either do this by hand with a rubber spatula or continue to use the whisk attachment on the stand mixer with the lowest speed setting.Then add the other half of the flour mixture and repeat. Be very careful not to knock too much air out of the batter.
- Gradually pour the hot milk mixture into the cake batter. If you are folding by hand, add a little milk at a time and fold gently. If you are using a stand mixer, keep it on the lowest speed setting while you slowly drizzle the milk in. Again, be very careful not to overmix or knock too much air out of the batter.
- Scrape down the bottom of the bowl to make sure everything is incorporated.
- Pour the sponge cake batter into the prepared cake pan and bake for 30-35 minutes or until a skewer inserted in the middle comes out clean.
- Let cool in the pan for 10 minutes, then invert onto a wire rack to cool completely.
- Once your cakes have completely cooled, slice them in half so you have two thinner layers.
- There are a few ways to stack and fill your Boston Cream Pie. I find best way is with an adjustable cake ring, but there are other options if you don't have one. See the post above for alternatives to a cake ring and pros and cons of each option - including using a cake pan and acetate, and simply piping the pastry cream into the cake.
- Place one layer of your sponge cake inside the adjustable cake ring on top of a cake board or serving plate (see post above for alternatives if you don't ahve one).
- Take the pastry cream out of the fridge and whisk it gently to bring it back to a smooth consistency, then pour it on top of the cake and smooth it out into an even layer.
- Place the other half of the cake on top and press it down very gently, just so it adheres to the custard.
- Chill the cake for at least 2 hours to allow the pastry cream to set again. It's best to put some plastic wrap over the top of the cake to stop it from drying out in the fridge.
- To make the glaze, heat the cream until scalding hot - either in a saucepan or in the microwave.½ cup (120 ml) Heavy Cream
- Pour the hot cream over the chopped chocolate and stir together until the chocolate has completely melted and you have a glossy ganache.4.5 oz (130 g) Dark Chocolate
- If you are adding the corn syrup, add it in now and stir into the glaze. This is optional, but it will make your glaze nice and shiny. Let the glaze sit for a few minutes to thicken up before pouring onto the cake.2 teaspoon Corn Syrup
- If you want a neat layer of chocolate glaze that doesn't drip down the sides of the cake, you can pour the glaze on top while your cake is still in the cake ring/pan. However, I like the look of it dripping down the sides slightly, so I remove my cake from the ring first (once it has had time to completely set).
- Pour the chocolate glaze on top of the cake and smooth it out to the edges. If you want drips down the side, you can gently encourage it to go over the edge.
- Put the glazed Boston Cream Pie back into the fridge for at least 30 minutes so the glaze can set, or until you are ready to serve.










Edith
I just made this and I had to write a review. It turned out beautifully! I love that I can make a Boston cream flavored cake now! Thank you so much for sharing this!