
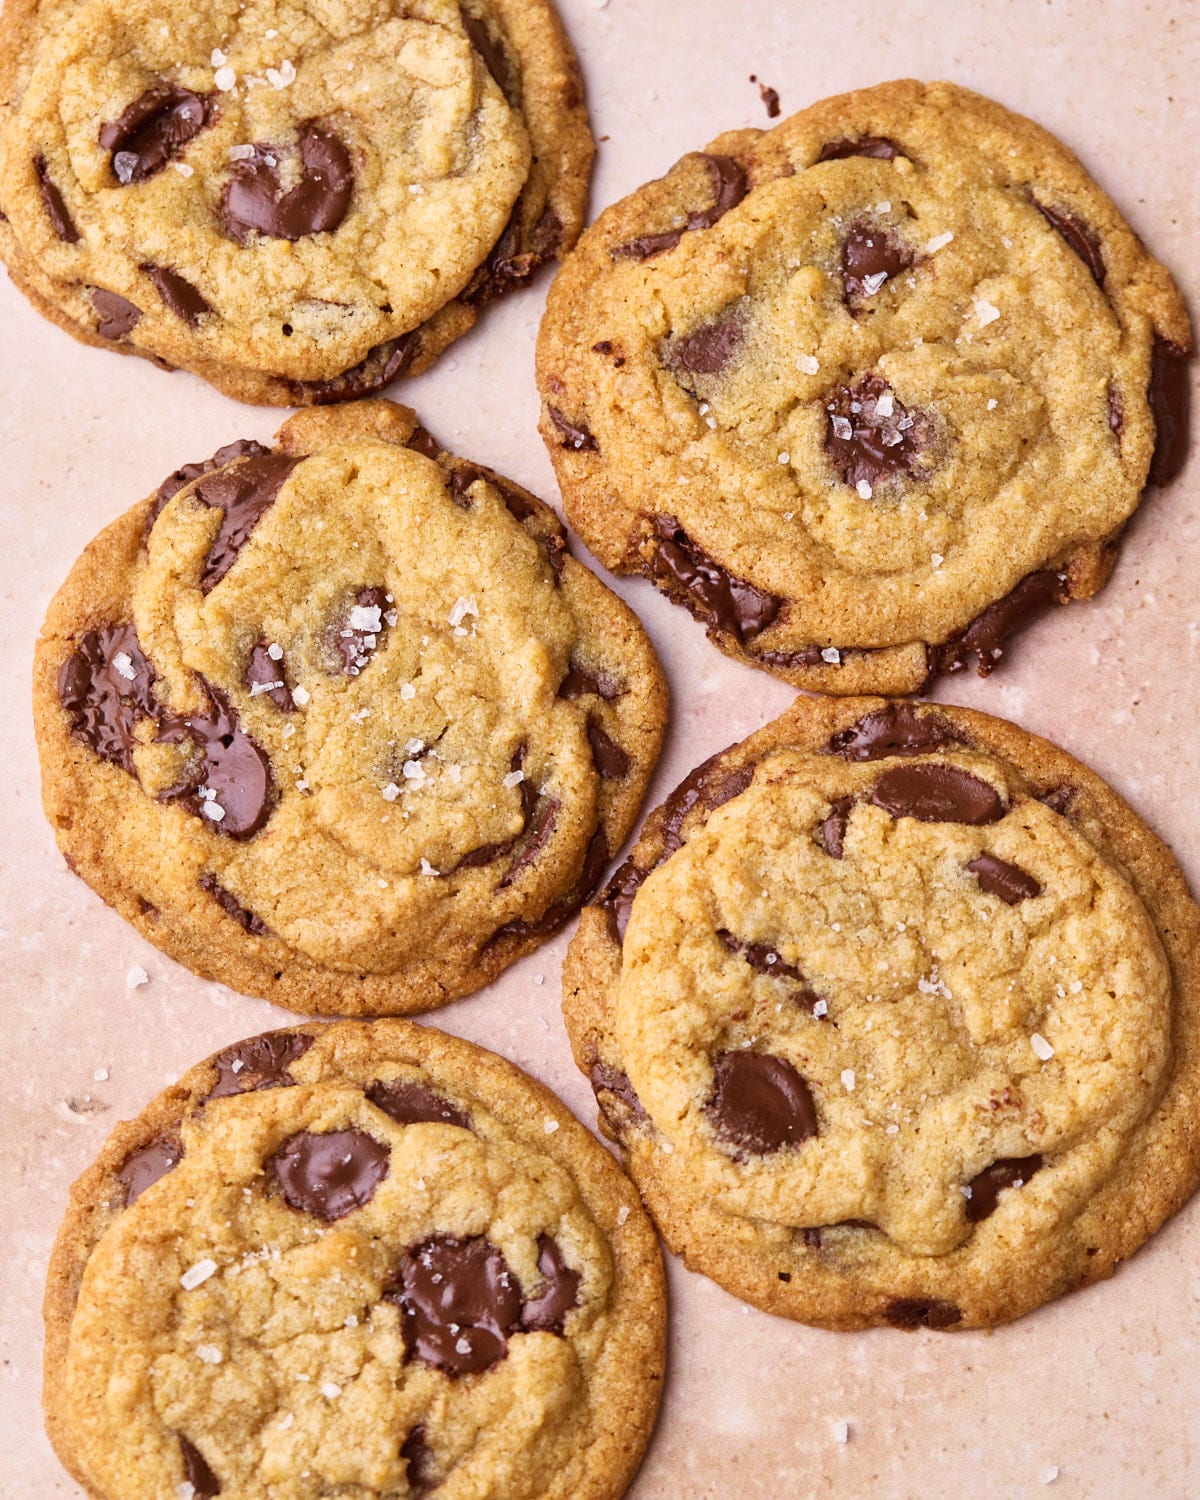
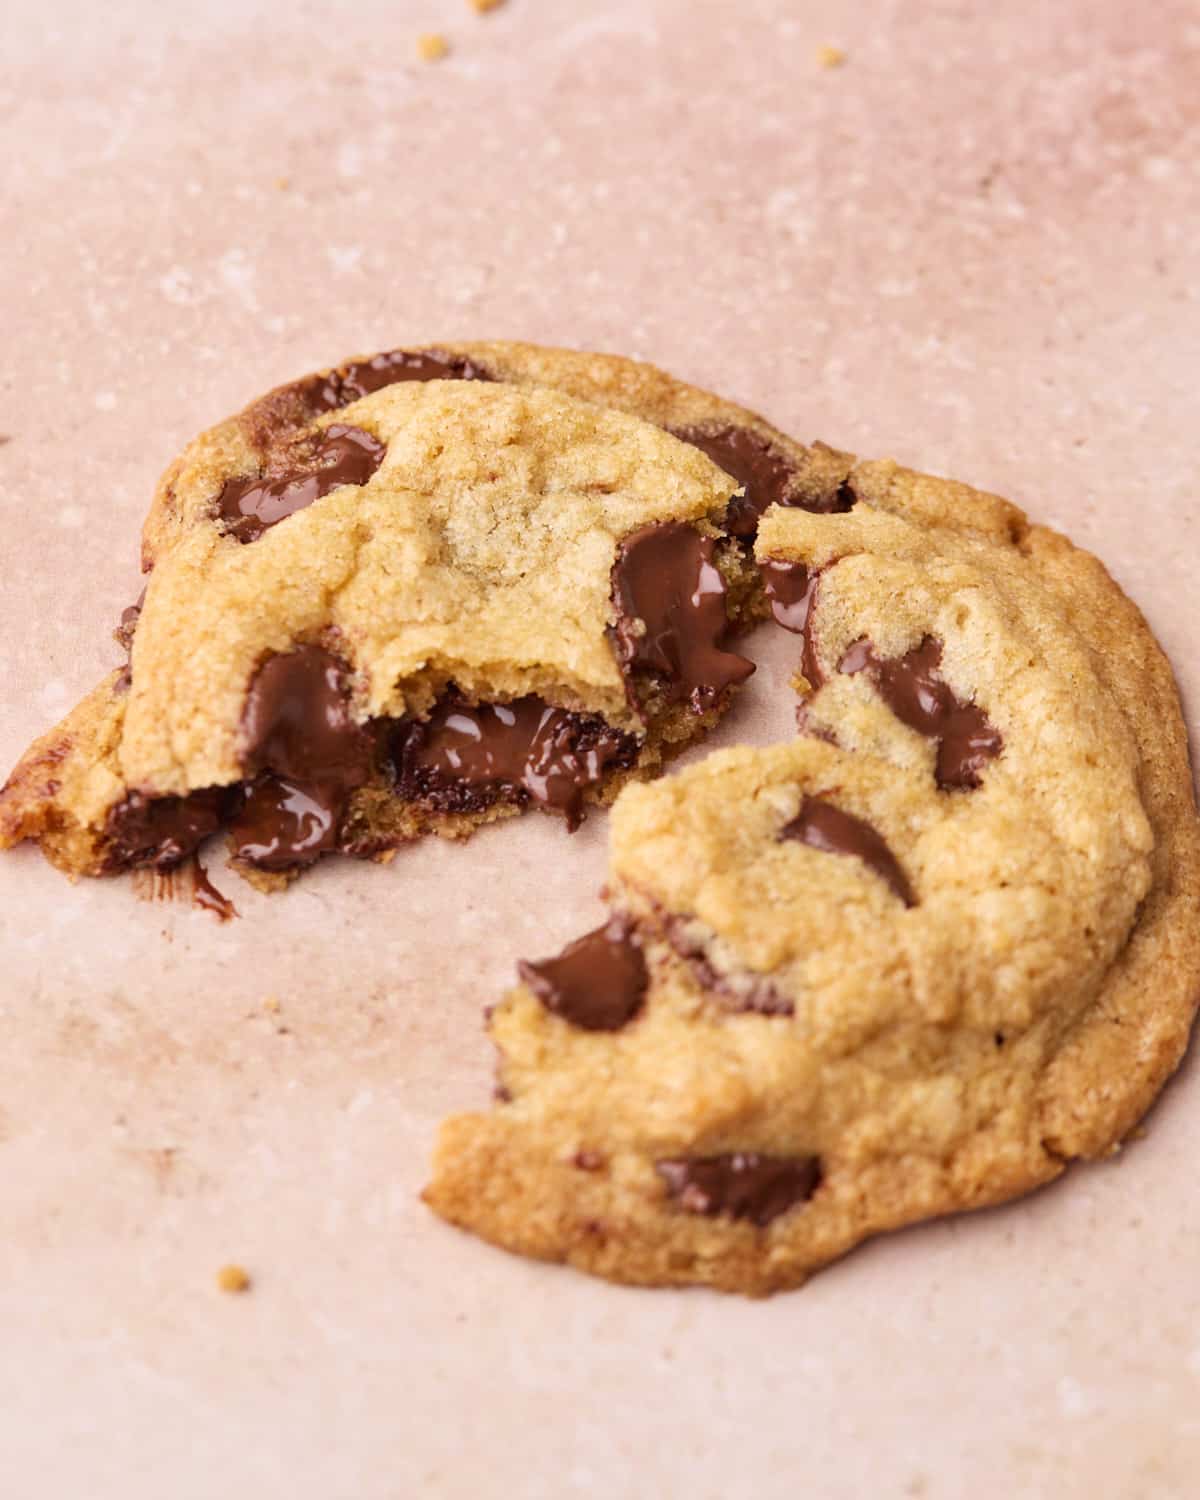
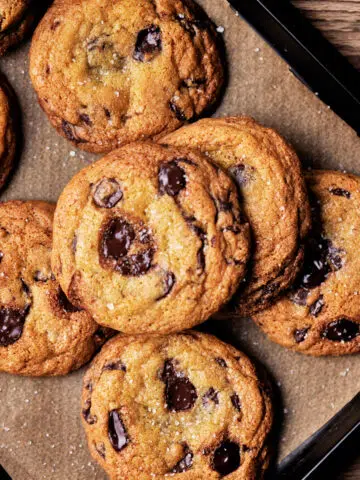
The ultimate Chocolate Chip Cookie recipe with soft centers, crispy edges, and incredible flavor.

Chocolate Chip Cookies Recipe Snapshot
What it is: Classic chocolate chip cookies with soft, chewy middles and crispy edges.
Why you'll love it: The recipe has been meticulously tested to be completely foolproof. It also uses the melted butter method and can be baked ahead and frozen.
How to make it: Melt the butter, then mix it into the sugars, stir in the eggs, followed by the dry ingredients. Roll into balls, chill, and bake.
I spent months testing and tweaking this chocolate chip cookie recipe - 36 iterations of it to be precise - until I made it absolutely perfect. I knew that if I was going to share a chocolate chip cookie recipe, it couldn't just be another one - it had to be THE one. After all, chocolate chip cookies are the most iconic bake of all time, and with thousands of versions out there, I knew mine needed to stand out for flavor, texture, and reliability.
This recipe uses melted butter (not softened) to create a cookie that's soft and gooey in the middle with golden, crisp edges. Every detail has been carefully balanced, from the ratio of brown sugar to white sugar for the ideal chew, to the exact amount of chocolate for melty pockets in every bite. I tested it so you don't have to - and now you can be the person on the block that makes the best chocolate chip cookies that everybody raves about!
Reader Review:
I made these yesterday and they came out perfect. Thanks for sharing!
⭐⭐⭐⭐⭐ - Karen
Jump to:
Ingredients
I have tested so many iterations of this chocolate chip cookie recipe, tweaking each of these ingredients for the perfect texture and flavor. The ingredients are simple, but the way they are combined creates the magic. I have listed the ingredients in both US and UK baking terminology.
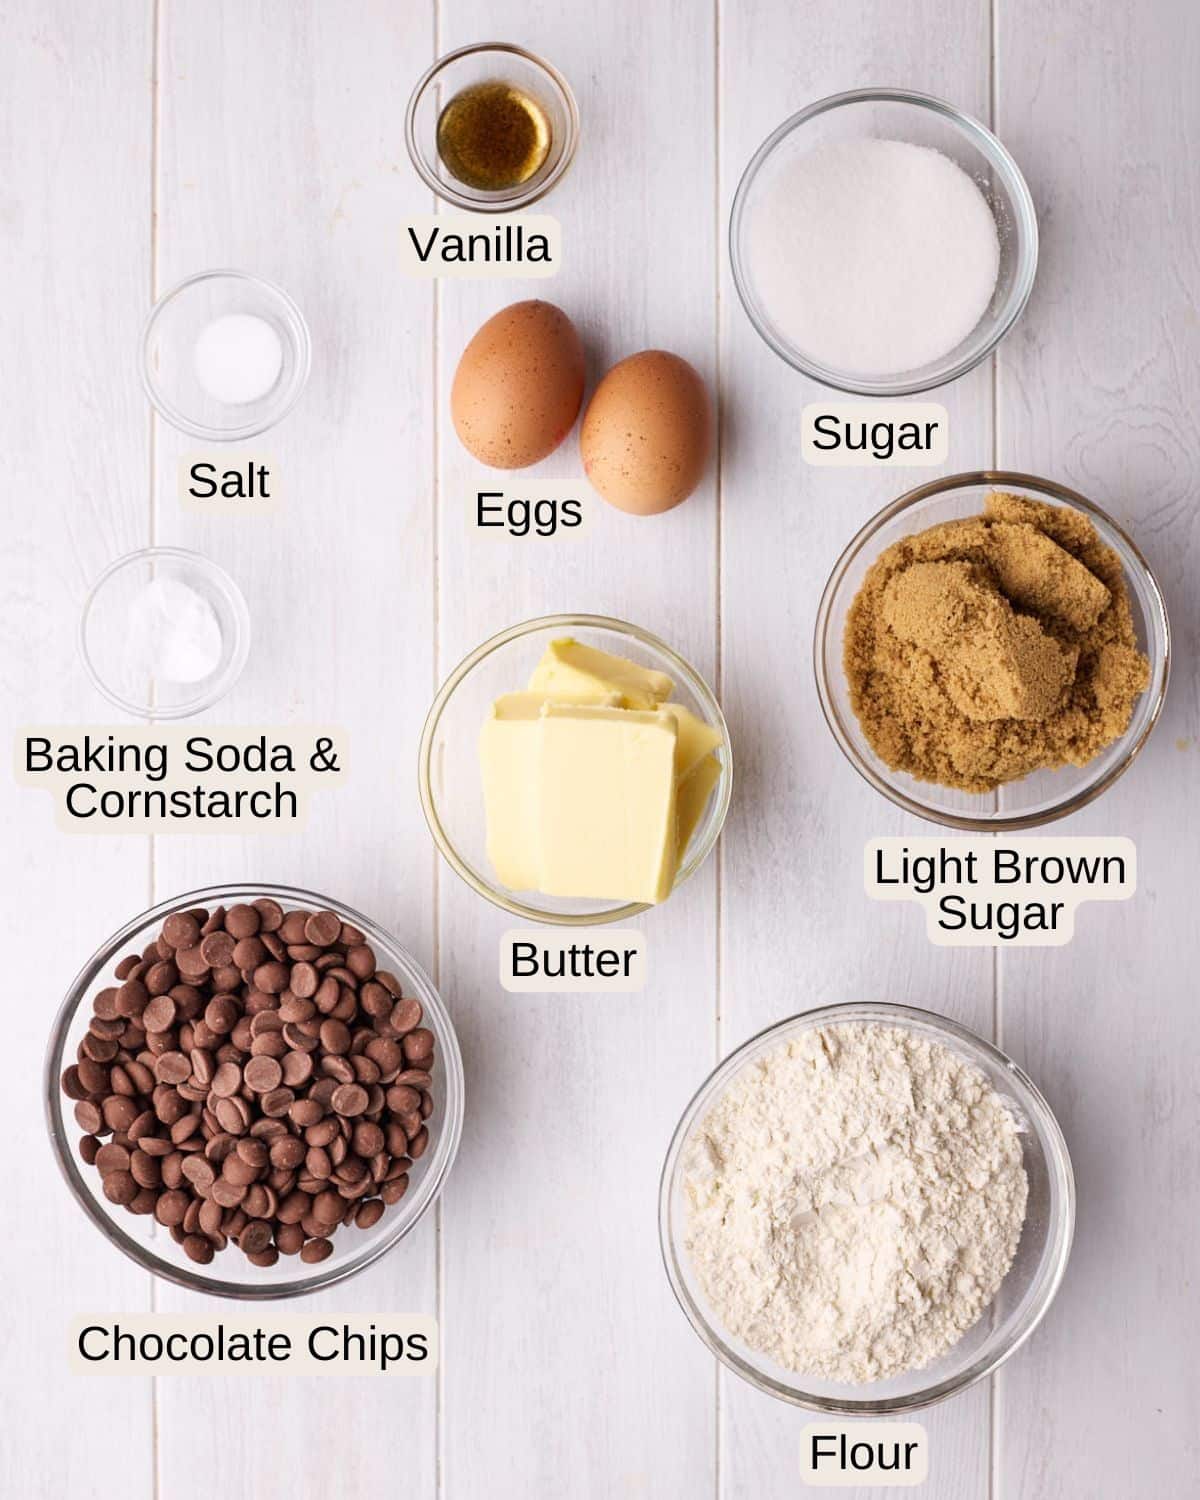
- Butter - These are melted butter chocolate chip cookies, which is the secret to a soft, chewy cookie. Use unsalted butter so you can control the salt level in the cookies.
- White Sugar - Granulated Sugar (Caster sugar in the UK) is what gives the cookies their crispy edges.
- Light Brown Sugar - Soft brown sugar makes the cookies softer as it has a higher moisture content, and it also adds a deeper, caramel flavor. It also helps the cookies to spread in the oven. You can sub for dark brown sugar if you like, but I don't recommend leaving out the brown sugar.
- Eggs - We'll be using 1 whole egg and 1 egg yolk to give a rich flavor and fudgy texture. It's best to use large eggs - free-range if you can.
- Vanilla - Using a high-quality vanilla extract or vanilla bean paste will round out the flavor profile of the cookies.
- Flour - All-purpose flour (Plain flour) works the best for chewy cookies.
- Cornstarch - (Cornflour in the UK) helps create soft chocolate chip cookies with chewy centers.
- Chocolate Chips - The key ingredient! Any kind of chocolate chips or chocolate chunks will do. I like to use dark chocolate, but you can use whatever type of chocolate you'd like, such as milk chocolate or white chocolate.
See the recipe card for measurements in both grams and cups (though I always recommend using a kitchen scale for the best results).
What You'll Need
- Large bowl
- Whisk
- Wooden spoon or rubber spatula
- Cookie scoop
- Cookie lifter
- Large baking sheets
How To Make Chocolate Chip Cookies
Cookies may seem simple, but there are a hundred ways that you can change the way they turn out through the process of putting the ingredients together! Follow my step-by-step instructions to make the perfect chocolate chip cookie every single time.
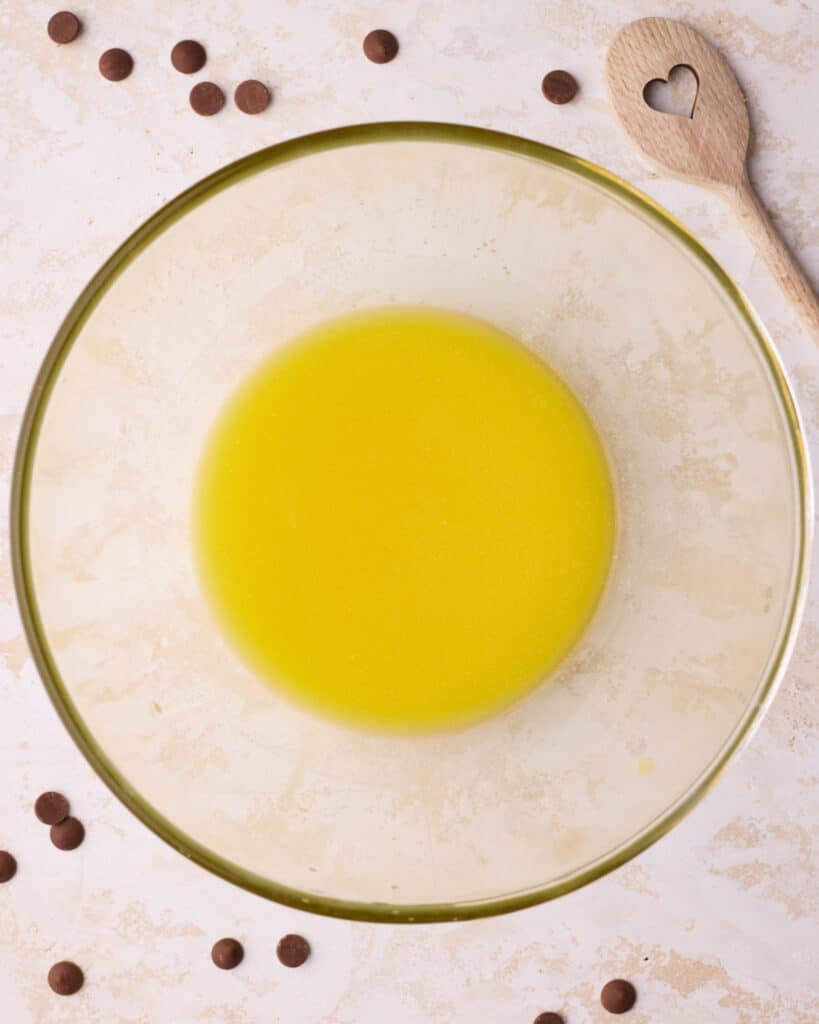
Melt Butter
Place the butter in a heatproof bowl, and microwave it in 30-second bursts until melted. Pour the melted butter into a large bowl and let it cool for 5 minutes until it is warm, but not hot.
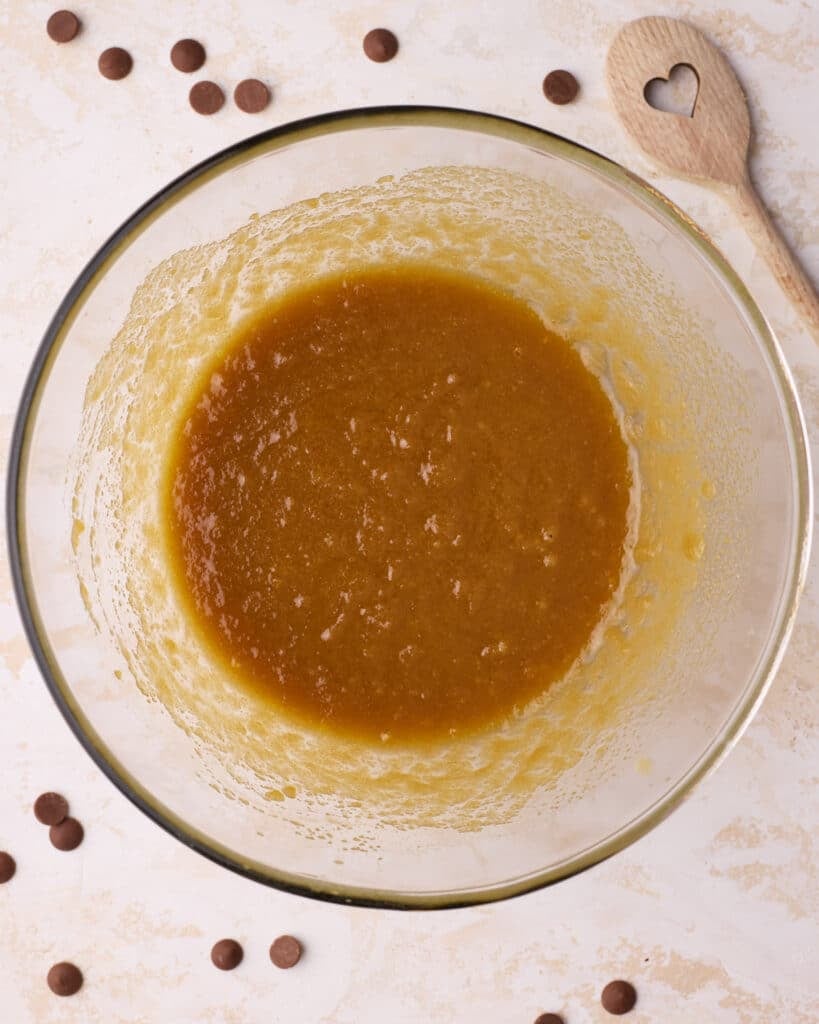
Add Sugar
Add the white and brown sugar to the bowl, and whisk it into the butter until it's incorporated. Don't try to incorporate air here, just whisk slowly until everything comes together.
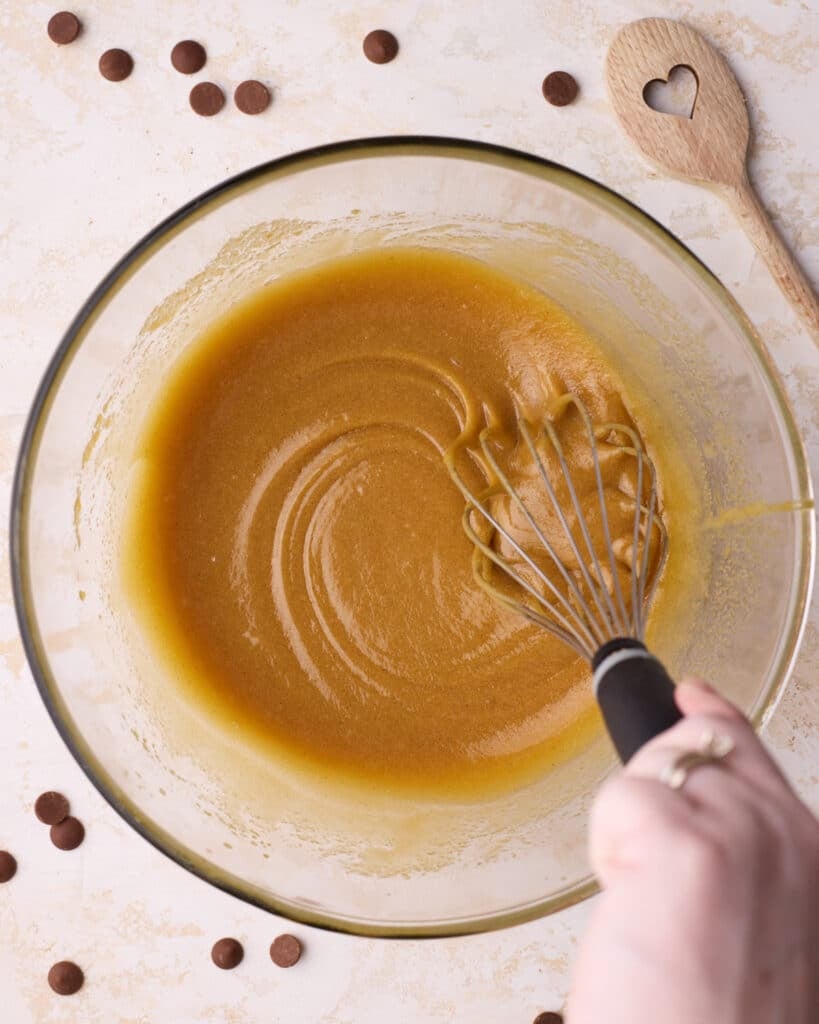
Wet Ingredients
Add the egg, egg yolk, and vanilla into the bowl, and whisk the mixture until smooth. Do not whip or whisk vigorously, just mix until combined.

Dry Ingredients
Sift in the dry ingredients, including flour, cornstarch, baking soda, and salt. Stir in the dry ingredients with a wooden spoon or rubber spatula until a soft dough forms - be careful not to overmix the cookie dough.

Add Chocolate
Pour the chocolate chips into the cookie dough and mix until they are evenly dispersed. If you want to add any other mix-ins, add them in now.
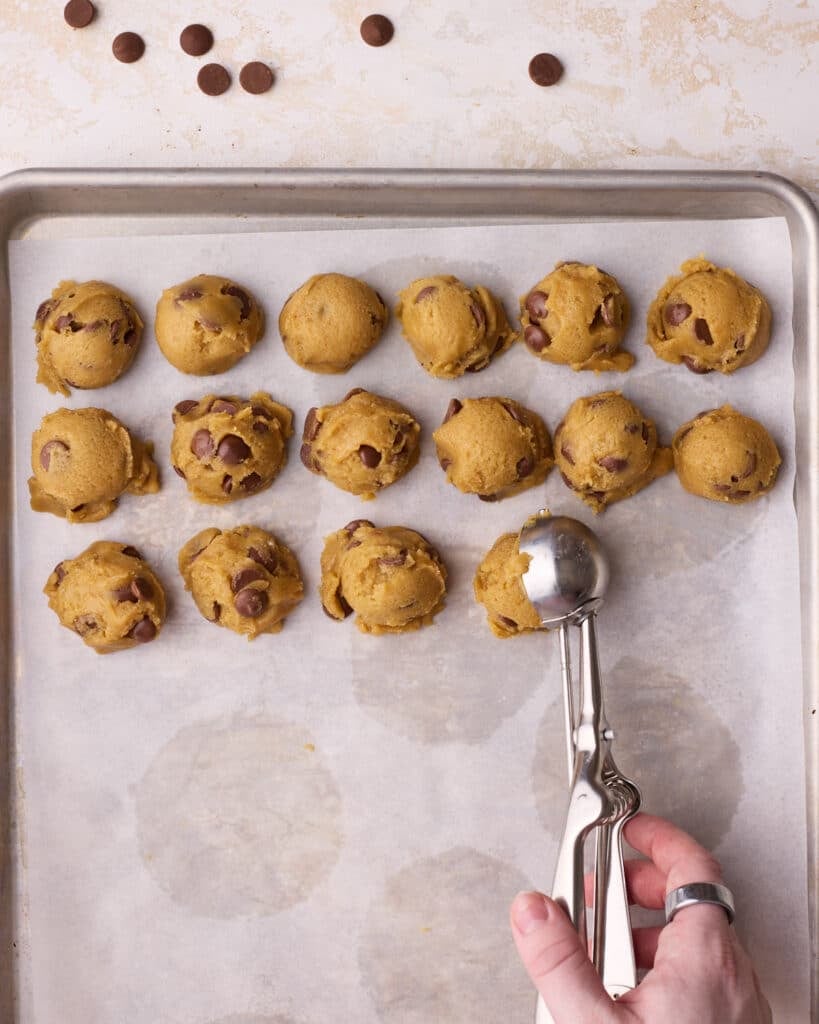
Form Cookies
Form the cookie dough into little balls (about 2 inches in diameter) using a small cookie scoop or spoon. Place them on a cookie sheet, cover with plastic wrap, and chill them in the fridge for at least 1 hour (even better if you can chill overnight for an enhanced flavor and texture).
At this stage, the cookie dough balls don't need to be spaced out on the sheet to save some fridge space.
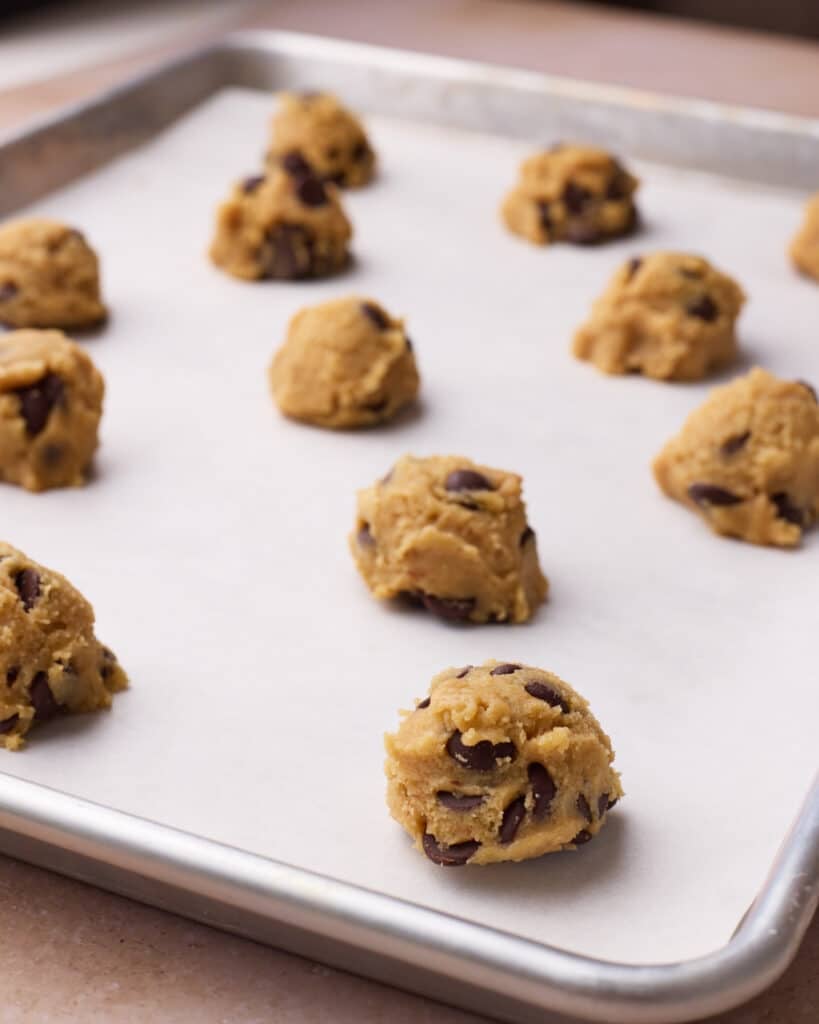
Prepare for Baking
Once the dough has chilled, preheat the oven to 350°F / 180°C (160° fan-assisted) and line another baking sheet with parchment paper.
Place some of the chilled dough balls on the sheet, with enough room to spread. Do not flatten or change the shape of the chilled cookie dough - the balls will spread out into flat cookies as they bake.
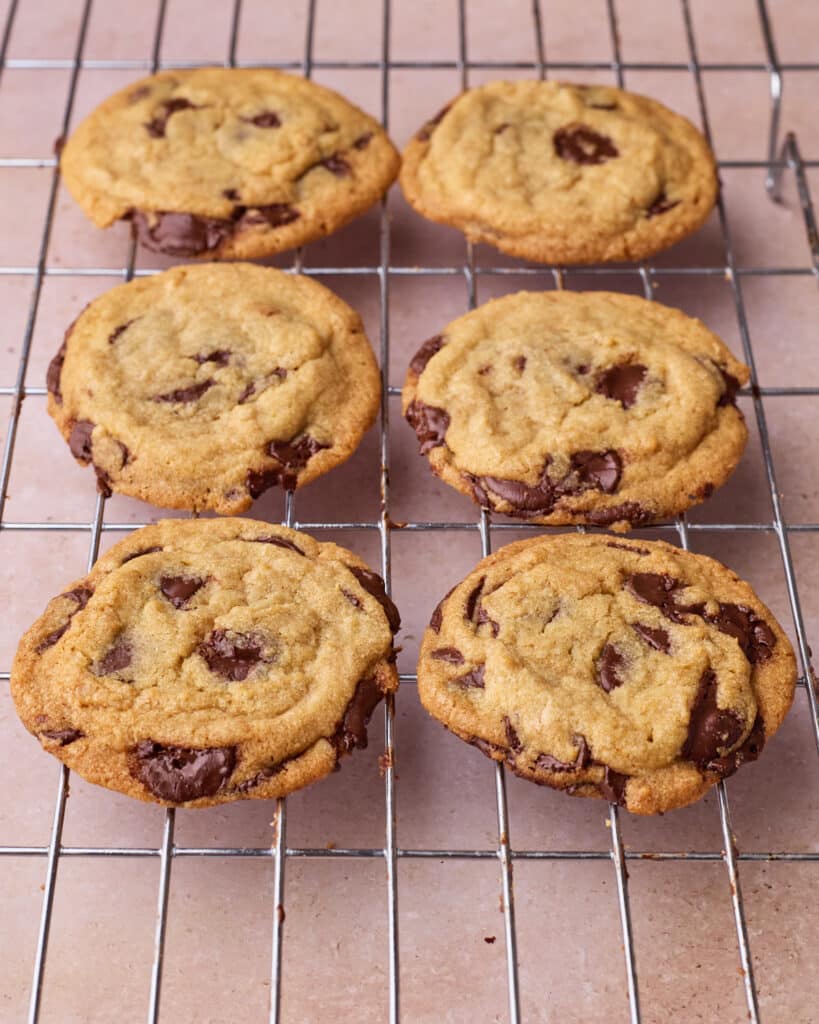
Bake
Bake the cookies for 10-12 minutes, or until the edges of the cookies are just starting to turn a nice golden brown color. The centers may still look pale, but they will continue to bake after coming out of the oven.
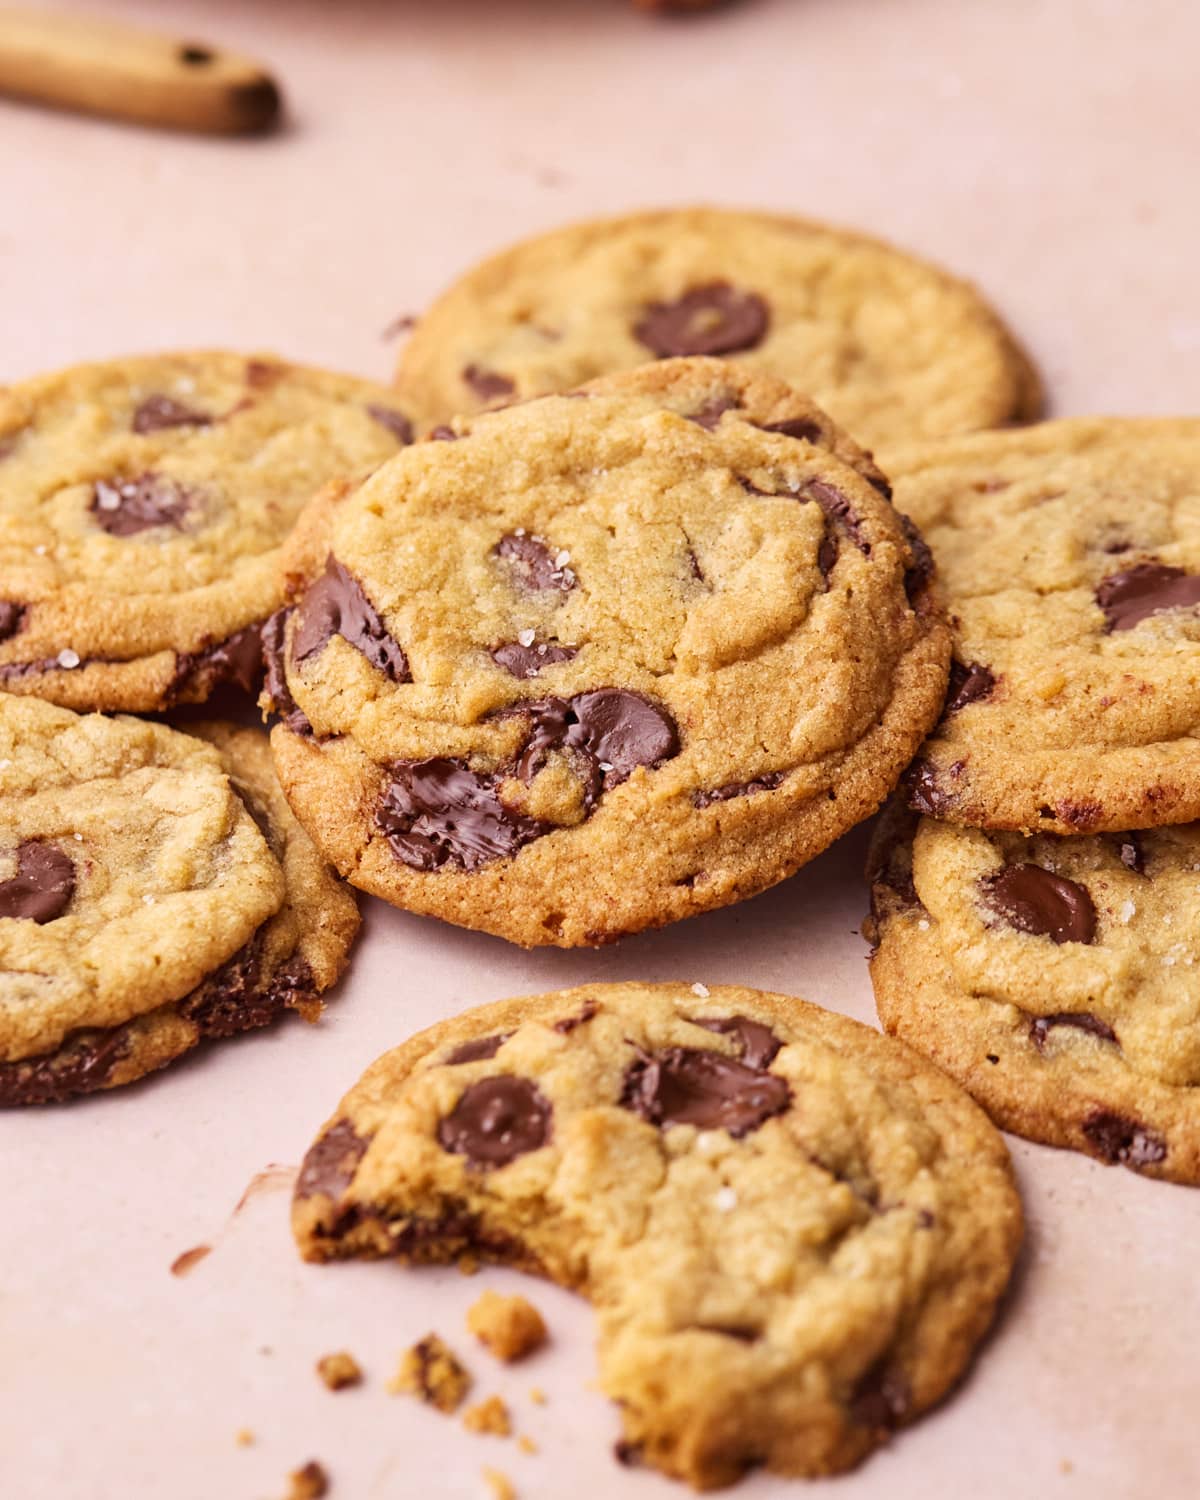
Let the cookies cool on the baking sheet for 10 minutes, then use a cookie lifter to transfer them onto a wire rack. They may look slightly risen and puffy on coming out of the oven, but they will settle down as they cool and flatten into that gorgeous 'crinkly' look.
Why You Should Chill Cookie Dough
Chilling the cookie dough is an essential part of the process. I like to think of chilling the dough as a form of baking magic. As the dough chills, it transforms in the best ways: the butter solidifies, the flour hydrates, and the flavors have time to meld together and deepen.
The result is a much better cookie, both in texture and taste. Leaving the cookies to chill for 24 hours will create the best results, but chilling them for just an hour will make a noticeable difference. This is especially important in this case as these chewy chocolate chip cookies use melted butter - if you bake them right away, they will spread too flat and thin as they bake.
Tips For The Best Chocolate Chip Cookies
My best expert tips for making truly great chocolate chip cookies:
- Don't skip the chill time - Chilling the cookies is probably the most essential step in this recipe! The cookie dough needs time to let the butter firm up and hydrate the flour, leaving you with soft, chewy cookies. If you skip this step, they will likely spread too much in the oven and turn into a puddle of melted cookie dough - not so cute.
- Use a cookie scoop - Using a cookie scoop (or an ice cream scoop) will keep the size and shape consistent across all of your cookies. I like to use a small/medium cookie scoop, about 2 inches wide.
- Baking time - The key to the fudgiest cookie texture is all in the bake time. Take the cookies out of the oven when they are just starting to turn golden brown around the edges, but still look a little pale in the middle. They will continue to bake slightly as they sit on the baking sheet, resulting in perfectly baked chocolate chip cookies with crisp edges and gooey centers - just how they should be!
- Picture-perfect cookies - This is a little extra step I love to add! Pressing a few extra chocolate chips onto the tops of the cookie dough balls before baking ensures the gooey chocolate chips stay visible as the cookies spread - giving you an irresistible, melty chocolate finish.
- The cookie scoot - The secret to perfectly round cookies! If you're using a cookie scoop, your cookies will already be fairly well-shaped - but sometimes the edges can spread a little unevenly. That's where the 'cookie scoot' trick comes in! As soon as the cookies come out of the oven, use a round cookie cutter (just slightly larger than the cookie) to gently swirl around the edges and nudge them into a flawless circle.
Cookie Troubleshooting
I'm pretty sure I figured out from firsthand experience everything that could possibly go wrong when making chocolate chip cookies - but here are some of the most common issues I see people make and what to do about them.
- Cookies spread too much - If your cookies turn out flat, it's usually too much butter or not enough flour. Make sure to measure carefully - using a kitchen scale helps a lot. Warm butter, extra baking soda, or dough that hasn't chilled can also make cookies spread more than you want. See my guide about why cookies spread for more info.
- Cookies didn't spread enough - Thick, round cookies usually mean too much flour, too little (or old) baking soda, or skipping brown sugar, which activates the baking soda.
- Cookies are too crispy - If they're crunchier than you like, you probably left them in the oven a bit too long. Pull them when the edges are golden but the centers are still soft - they'll keep baking on the pan. Using more white sugar than brown can also make cookies crispier.
- Cookies look lumpy on top - Craggy, uneven tops often come from butter that's too warm, overmixing sugar and butter, or mixing too much once the dry ingredients are added. Follow the mixing steps carefully for smooth, even cookies.
Flavor Variations And Mix-in Ideas
It's hard to improve on the very best chocolate chip cookies - but here are some ideas for ways you can mix them up a bit:
- Brown Butter Chocolate Chip Cookies - For deeper flavor, try browning your butter to make brown butter chocolate chip cookies! It's an extra step that is totally worth the few minutes it takes.
- Mix-ins - You can really add whatever mix-ins you like into these cookies. Try to keep the total volume of mix-ins the same as the base recipe, but you can substitute some or all of the chocolate chips with other things like pistachios, walnuts, or fudge pieces.
- Types of Chocolate - You can mix up the kind of chocolate chips, like white chocolate chip cookies. Or even use chocolate chunks or pieces of a chocolate bar cut up into pieces.
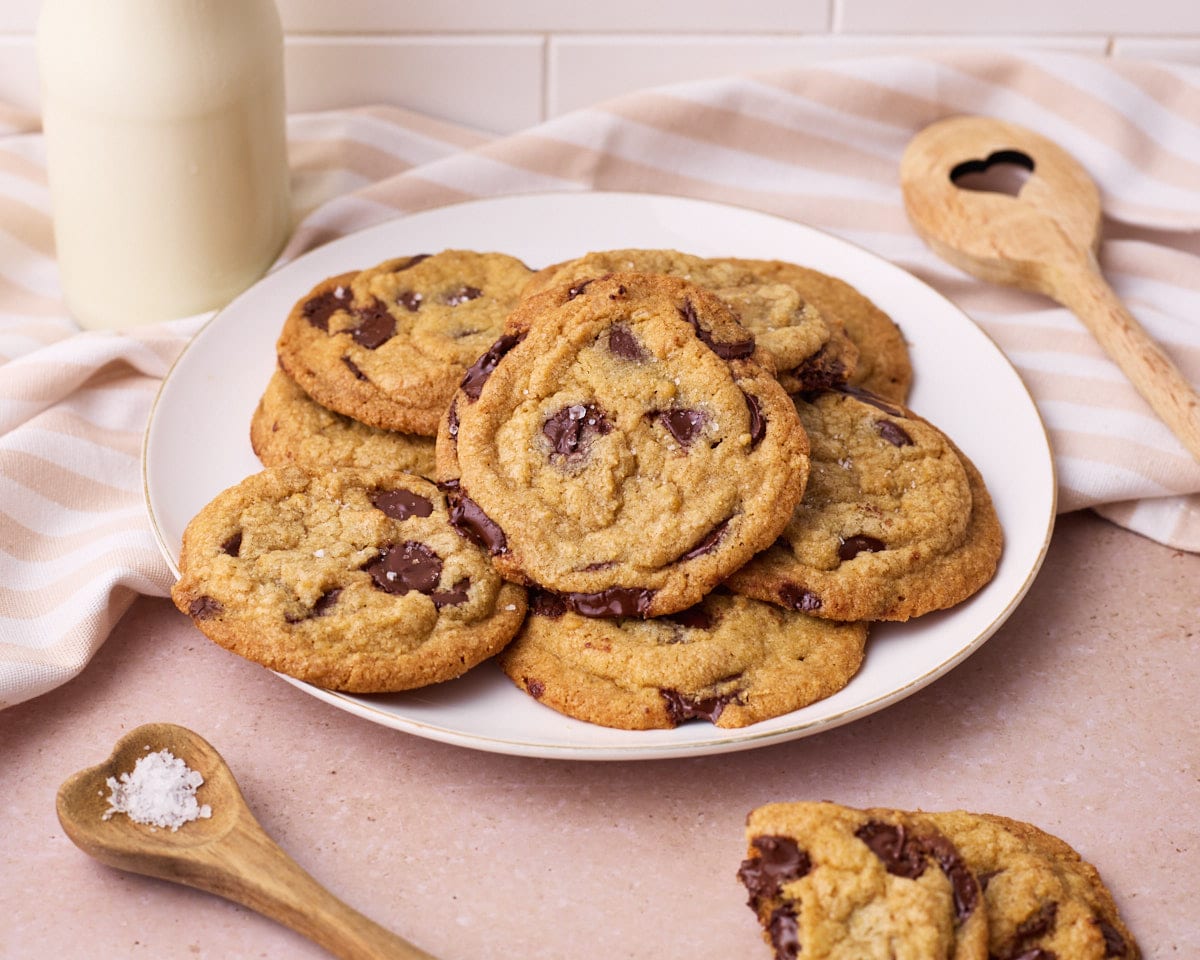
- Sea Salt - For extra interest, sprinkle your cookies with a little flaky sea salt when they come out of the oven - I love the contrast of sweet and salty!
Hot Cookie Dough Dessert
When we want a decadent dessert with minimal effort, I take a few of these cookie dough balls out of the freezer and bake them in ramekins for about 8 minutes until they are hot but not fully baked. Then, top with a scoop of vanilla ice cream and drizzle with melted chocolate or caramel sauce. It is so indulgent and effortless!
Storage
The baked chocolate chip cookies can be kept in an airtight container at room temperature for up to 5 days.
Make Ahead:
The best part about these cookies is that you can pre-scoop your cookie dough balls and keep them in the fridge or freezer until you are ready to enjoy them!
Raw cookie dough can be stored in the fridge for up to 3 days. You can store the dough in a bowl or as pre-scooped cookie dough balls. It's definitely easier to scoop the dough before it has chilled, but either way is good.
You can also freeze the cookie dough and store for up to 3 months.
Cookie Freezer Stash
My favorite thing about this cookie recipe is that by freezing the cookie dough balls, I constantly have a way to have freshly baked chocolate chip cookies ready to go with a moment's notice. Whenever we have unexpected guests coming over, I can just pop a few in the oven and have warm cookies to serve with no effort at all.
Sometimes, we will also just put a few in the oven at night for a treat after my daughter has gone to bed!
FAQ
If you have a question about this recipe that isn't answered here, feel free to write it in the comment section, and I will get back to you as soon as I can.
Both room temp butter and melted butter chocolate chip cookies are delicious, but the temperature of the butter makes a big difference to the texture of the cookie. Softened butter recipes cream butter with the sugar to create air and make lighter, more cakey cookies. Melted butter on the other hand, will give a fudgier, chewier cookie. I also prefer this method because it means you don't have to wait for your butter to come up to room temperature!
Since this chocolate chip cookie recipe makes so many cookies, I always make a full batch and freeze some. That way, I have dough on hand for unexpected guests or whenever the cookie craving strikes. They will stay good in the freezer for up to 3 months. See my guide on how to freeze cookie dough.
I guess it's really up to personal preference, but I believe best cookies have a fudgy, gooey texture that melts in your mouth. The trick to this is melting the butter, chilling the cookies before they're baked, and baking them just until the edges turn golden brown and no more.
Both the white sugar and light brown sugar play very different roles in these chocolate chip cookies. The white sugar adds sweetness and makes the edges of the cookie nice and crispy. The light brown sugar has a higher moisture content and so helps the cookies to spread as well as creating a lovely chewy texture and deeper flavor.
I have tested many iterations of the white to brown sugar ratio in these cookies and I think this split is the best way to make the perfect cookie texture - but you can experiment with the ratios on your own if you like. I don't recommend eliminating one of the sugars entirely as they are both important. Also, the light brown sugar is acidic and is what activates the baking soda; if you skip it, the baking soda will not work and the cookies won't spread at all.
Show Me Your Bakes!
If you make this recipe, please tag @bonni_bakery on Instagram or send me a photo - I love seeing all your creations.
Want your bake featured on the blog? You can also upload a photo here.
More Chocolate Chip Cookies
Still got a craving for MORE chocolate chip cookies? Check these recipes out:
Recipe

Chocolate Chip Cookie Recipe
Ingredients
- 227 g (2 sticks) Unsalted Butter
- 220 g (1 cup) Light Brown Sugar
- 100 g (½ cup) Granulated Sugar (caster sugar in the UK)
- 1 Large Egg
- 1 Egg Yolk
- 1 teaspoon Vanilla Extract
- 300 g (2 ½ cups) All-Purpose Flour (plain flour)
- 1 tablespoon Cornstarch (cornflour)
- ½ teaspoon Baking Soda (bicarbonate of soda)
- 1 teaspoon Salt
- 255 g (1 ½ cups) Chocolate Chips
Equipment
- Large Mixing Bowl
- 1 Whisk
Instructions
- Melt the butter in the microwave in 30-second bursts until just melted, then pour it into the mixing bowl and let it cool for approximately 5 minutes. It should be warm but not hot.227 g (2 sticks) Unsalted Butter
- Add the white and brown sugars to the bowl with the butter, and whisk gently just until combined.220 g (1 cup) Light Brown Sugar, 100 g (½ cup) Granulated Sugar
- Add the egg, egg yolk, and vanilla, and whisk just until smooth and combined. Don't try to incorporate any air or mix too vigorously.1 Large Egg, 1 Egg Yolk, 1 teaspoon Vanilla Extract
- Sift the dry ingredients, including flour, cornstarch, baking soda, and salt. Switch to a wooden spoon or rubber spatula and mix just until combined into a soft dough. Be careful not to overmix.300 g (2 ½ cups) All-Purpose Flour, ½ teaspoon Baking Soda, 1 teaspoon Salt, 1 tablespoon Cornstarch
- Add the chocolate chips and mix until evenly dispersed.255 g (1 ½ cups) Chocolate Chips
- Use a small cookie scoop or spoon to portion out balls of cookie dough, approximately 2 inches in diameter. Place them on a cookie sheet - there is no need to space them out right now as we will move them to another cookie sheet for baking. Cover with plastic wrap, then place them into the fridge to chill for at least an hour. For even better flavor and texture, let them chill overnight.
- When you are ready to bake, preheat the oven to 350℉ / 180℃ (160℃ fan-assisted) and line another baking sheet with parchment paper. Lay some of the cookie dough balls out on the sheet, with enough room to spread.
- Bake for 12 minutes, or until the edges of the cookie turn golden brown and the tops of the cookies are dry. The centers may still look pale and underbaked, but they will continue to bake on the pan as they cool.
- Remove the cookies from the oven, and let them sit on the baking sheet for 10 minutes before using a cookie lifter to transfer them to a wire rack to cool. They may look slightly risen and puffy while coming out of the oven, but they will settle down as they cool and flatten out into that gorgeous "crinkly" look.


Wanda
What is the purpose of the cornstarch? I have never used it in my chocolate chip cookie recipes.
Alice
Thank you very much for amazing recipe. My coworkers were thrilled when they had cookies with their morning coffee 🙂
Chris
I made these last weekend and HOLY MOLY are they ever delicious! I have to say, it was the best cookie I have ever tasted! Don't tell my grandmother I said that. I did leave it to chill in the fridge overnight, so maybe that made a difference? Wonderful recipe, thanks for sharing!
karen
I made these yesterday and they came out perfect. Thanks for sharing!
Jules Grasekamp
I'm so happy to hear your chocolate chip cookies turned out perfectly Karen! Thank you so much for trying my recipe and for taking the time to let me know 🙂
Jules
Hinda Reva
Hi. I’m new to your website and everything looks spectacular.
I want to know if I can substitute butter flavored coconut oil and potato starch as a that is all I have now and because I should avoid dairy.
Thank you.
Jules Grasekamp
Hi Hinda,
Thank you for your kind words, I'm so glad you like my recipes!
To be honest with you I have not tested a dairy free version of these cookies, so I wouldn't want to give you a definite answer in case it doesn't turn out well. I can't see a reason why it wouldn't work, but just want to be transparent that I haven't tested this and don't know for sure!
If you do try it, I'd love to know how they turn out!
Sorry I can't be more helpful.
Jules