
These heart-shaped sugar cookies are made with a simple shortbread-style dough with just three ingredients and are designed to hold their shape perfectly in the oven.

Recipe Snapshot
What it is: Simple heart-shaped sugar cookies.
Why you'll love it: Only 3 ingredients, and they don't spread in the oven.
How to make it: Combine butter and sugar, then mix in the flour and bring it together into a dough. Roll out and cut heart shapes, then chill and bake.

If you're looking for heart-shaped sugar cookies that hold their shape, this is the recipe you want. These cookies are based on a shortbread dough and use just three simple ingredients, making them perfect for some easy Valentine's Day baking. They bake up buttery and tender with clean edges and no spreading.
I used to have a lot of trouble with cut-out cookies spreading in the oven, so I tested and tweaked my simple sugar cookie recipe specifically to prevent that from happening.
Whether you're making Valentine's Day cookies, baking for a Galentine's party, or just love an excuse to bake something heart-shaped (like me), this recipe is simple, reliable, and very forgiving.
Jump to:
Ingredients
There are only three simple ingredients to make these heart cookies. The simple dough is based on shortbread cookies, so they don't require any eggs or extra ingredients.
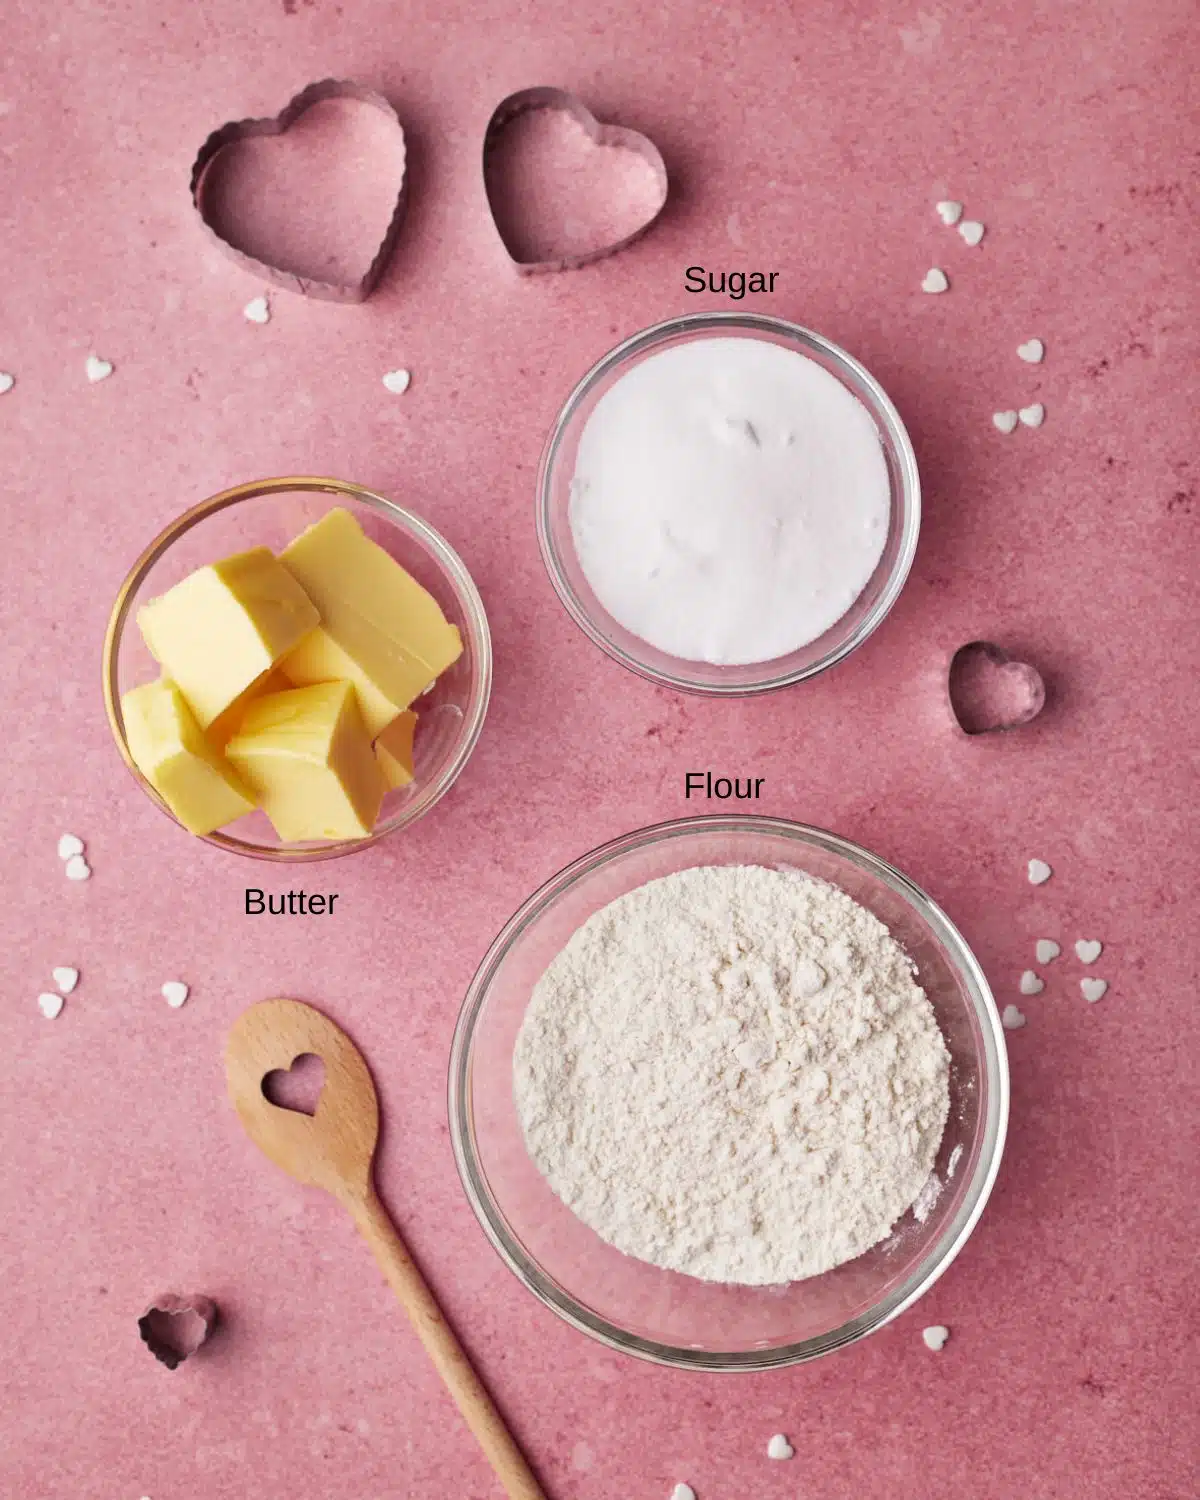
- Sugar - Regular white sugar is best for these cookies.
- Butter - Use salted butter or add a pinch of salt along with the flour if using unsalted butter.
- Flour - All-purpose flour (plain flour) creates the best texture for these cookies.
See recipe card for quantities.
Things You'll Need
How to Make Heart Cookies
This recipe uses the creaming method with room temperature butter, so there is no need for a food processor or pastry cutter to cut in cold butter.
- Line a cookie sheet with parchment paper and set aside.
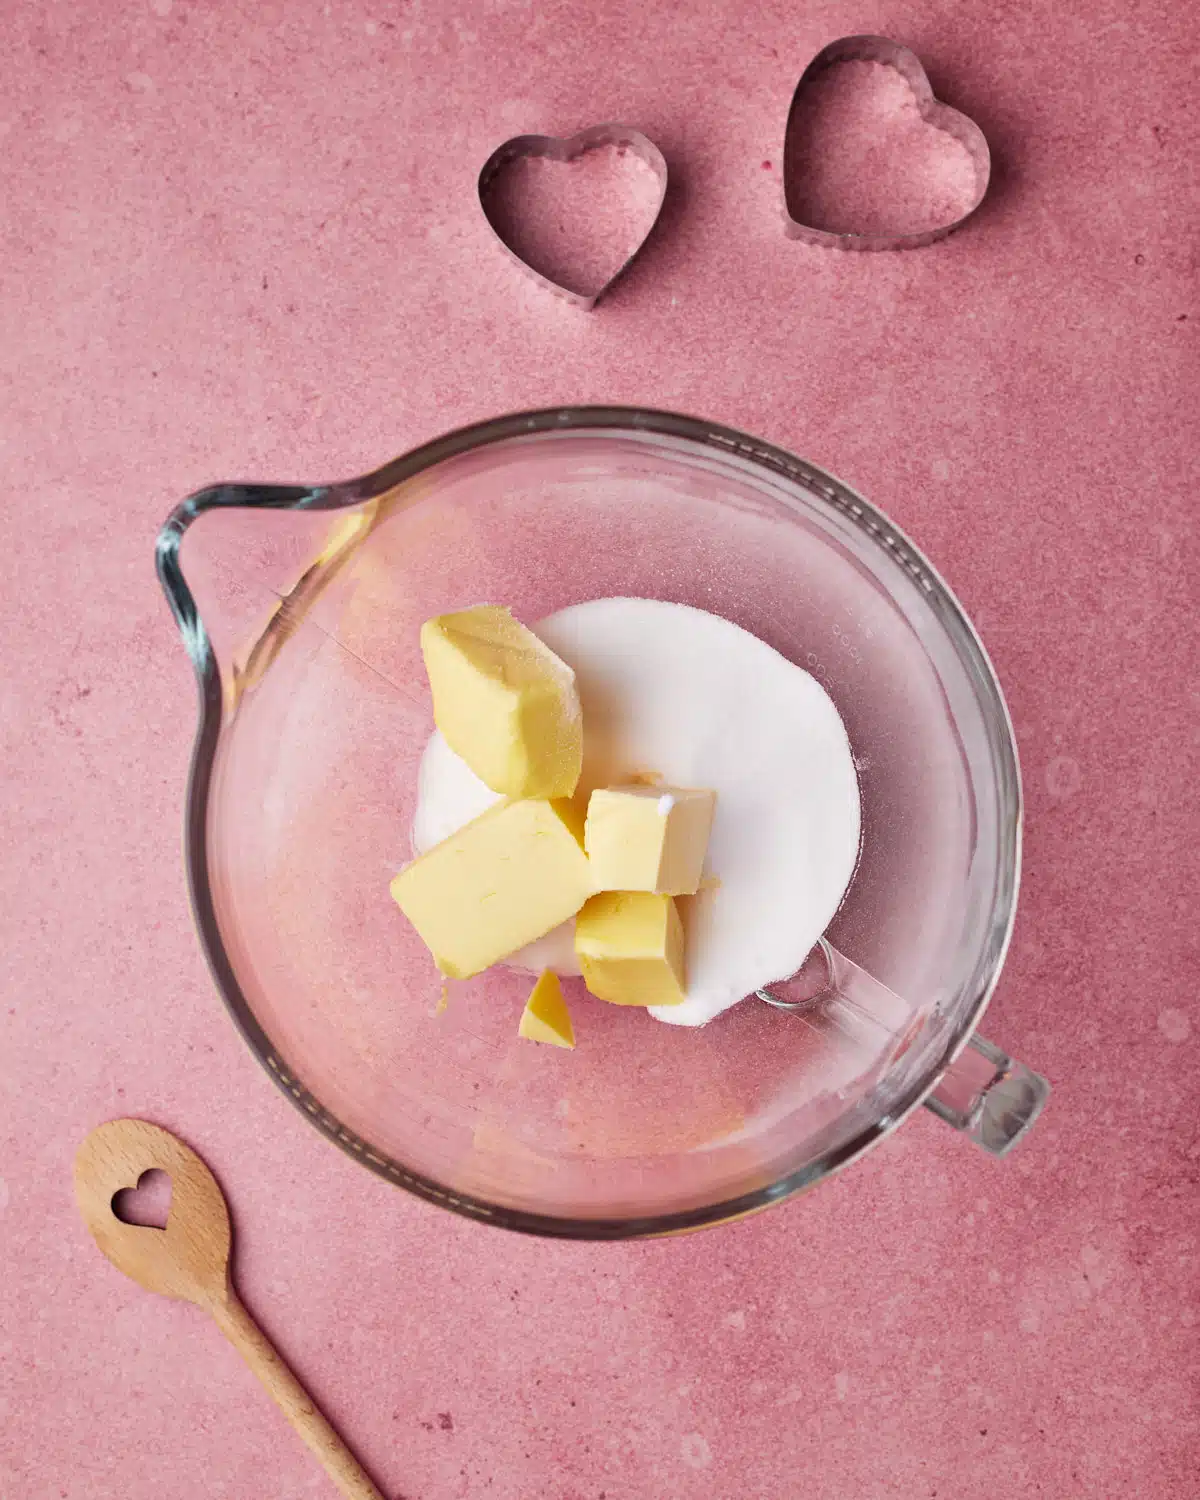
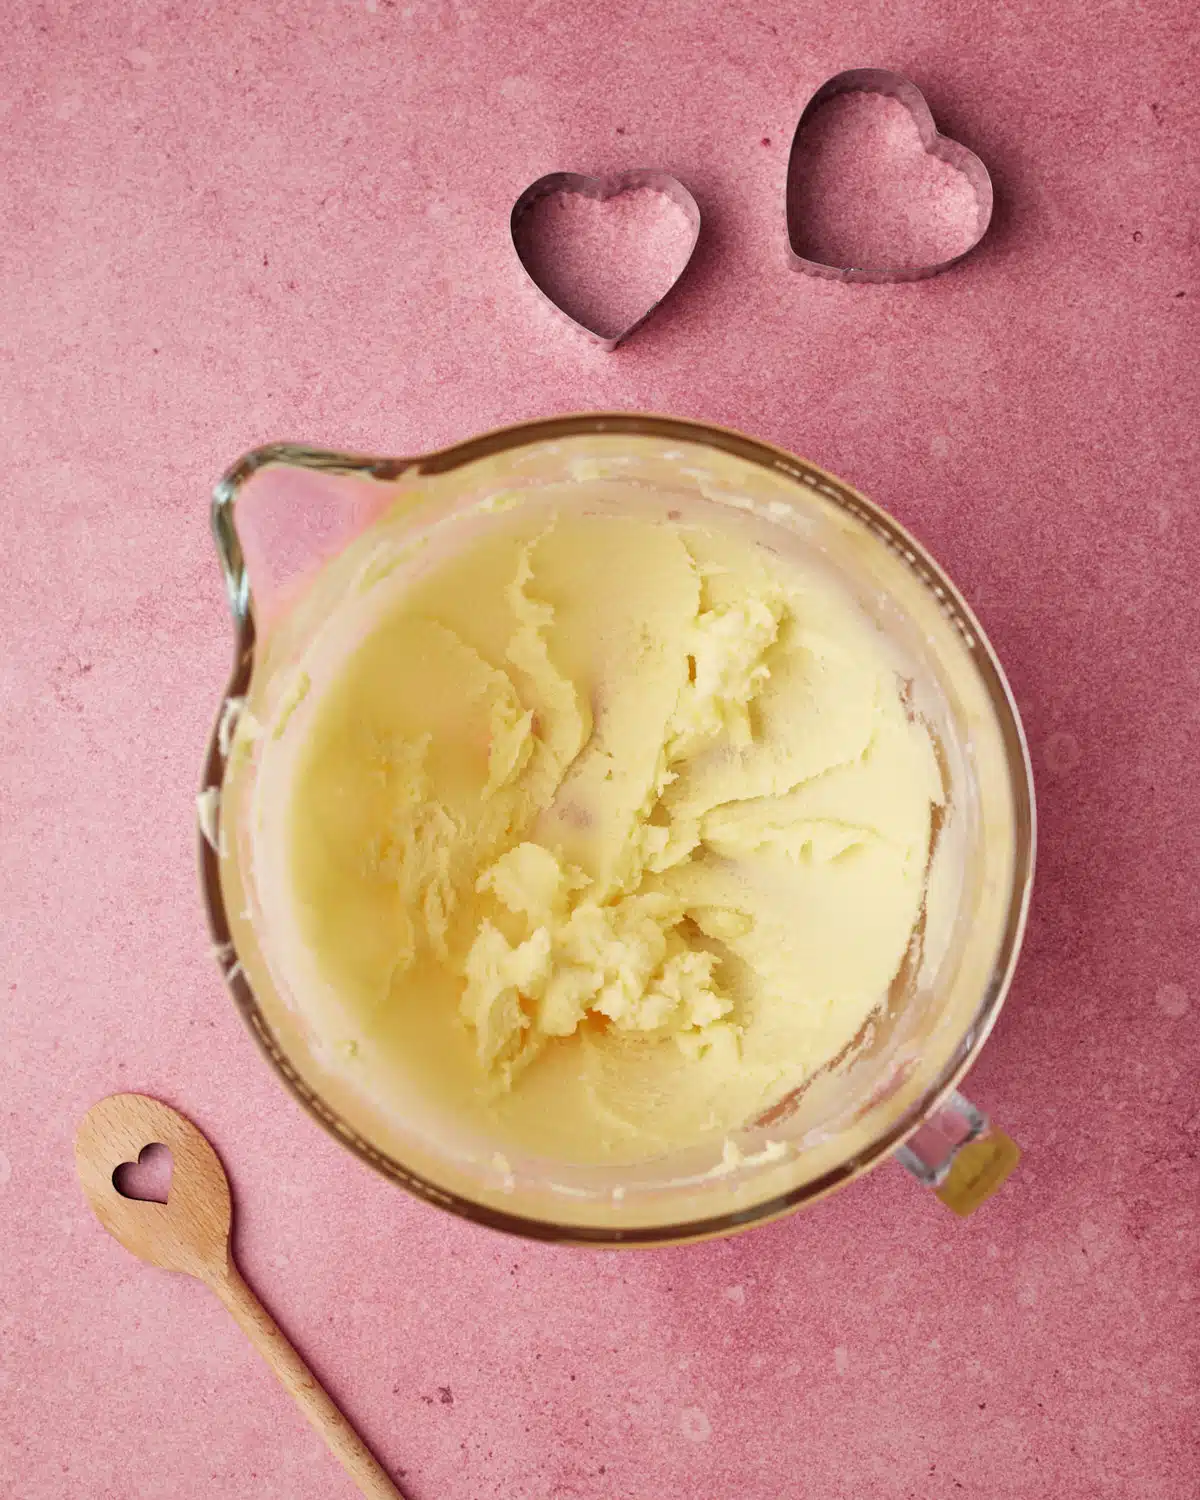
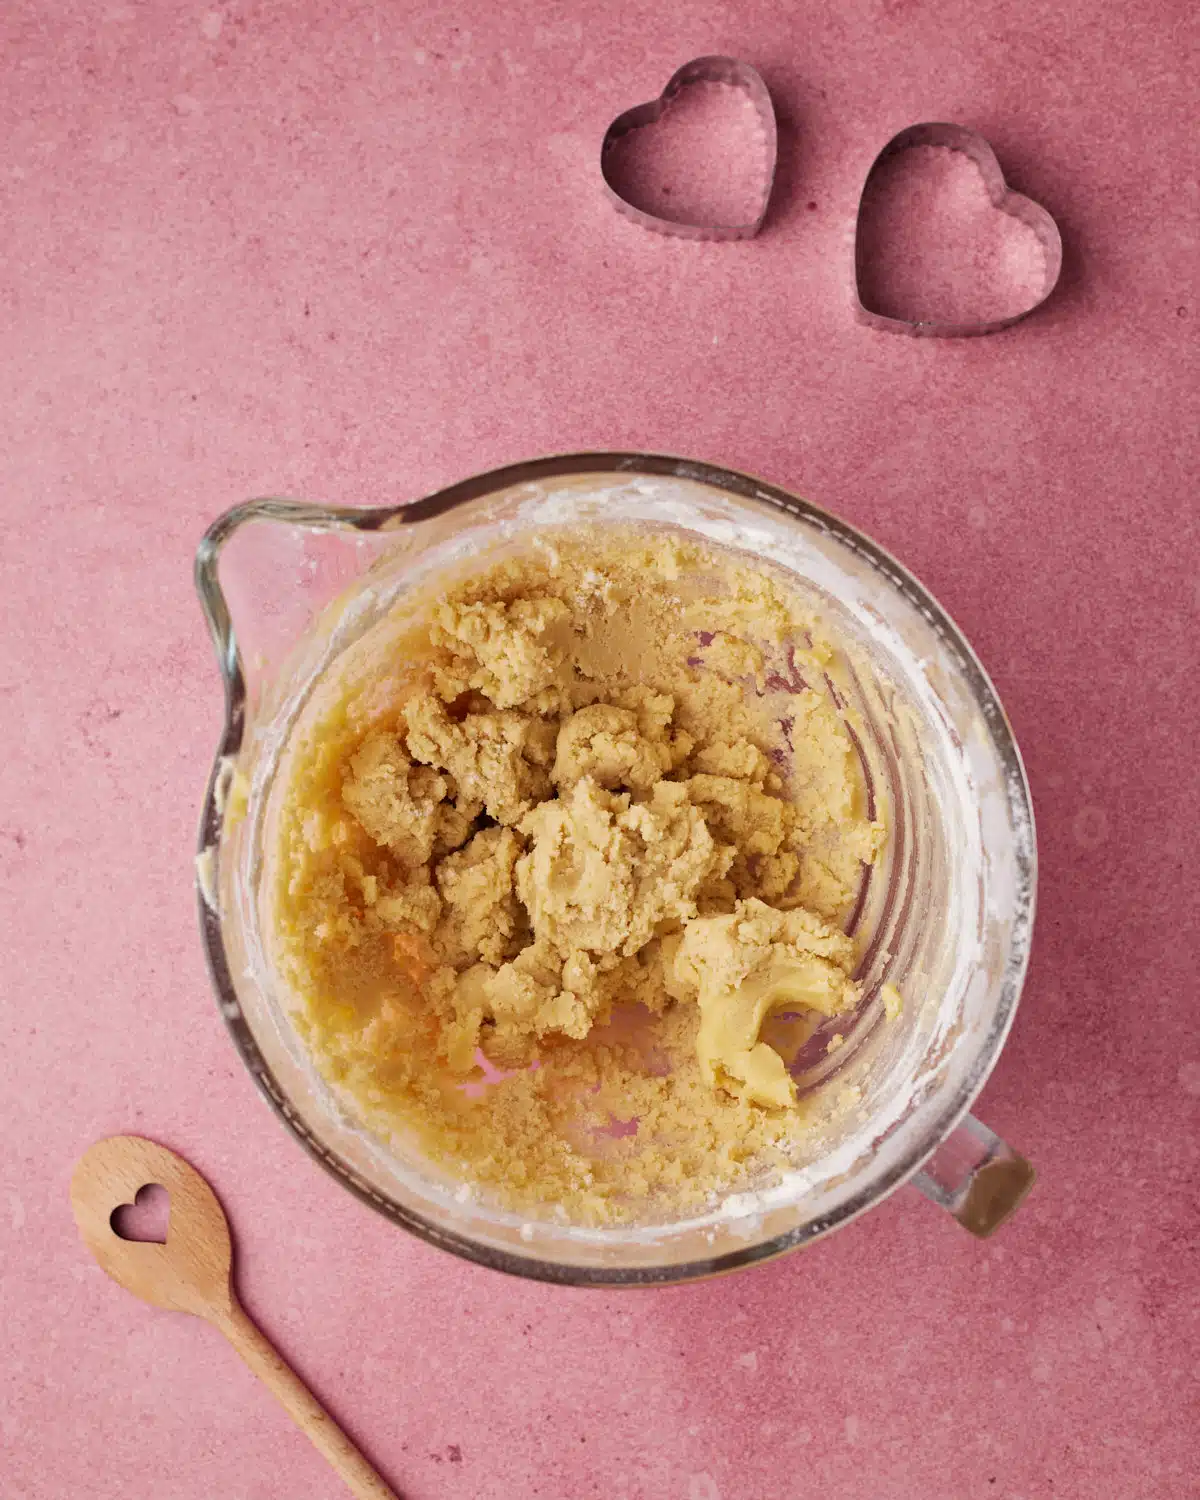
- Cream butter and sugar together in a large bowl until light and fluffy. You can use a stand mixer with a paddle attachment or an electric mixer, or you can just do it by hand.
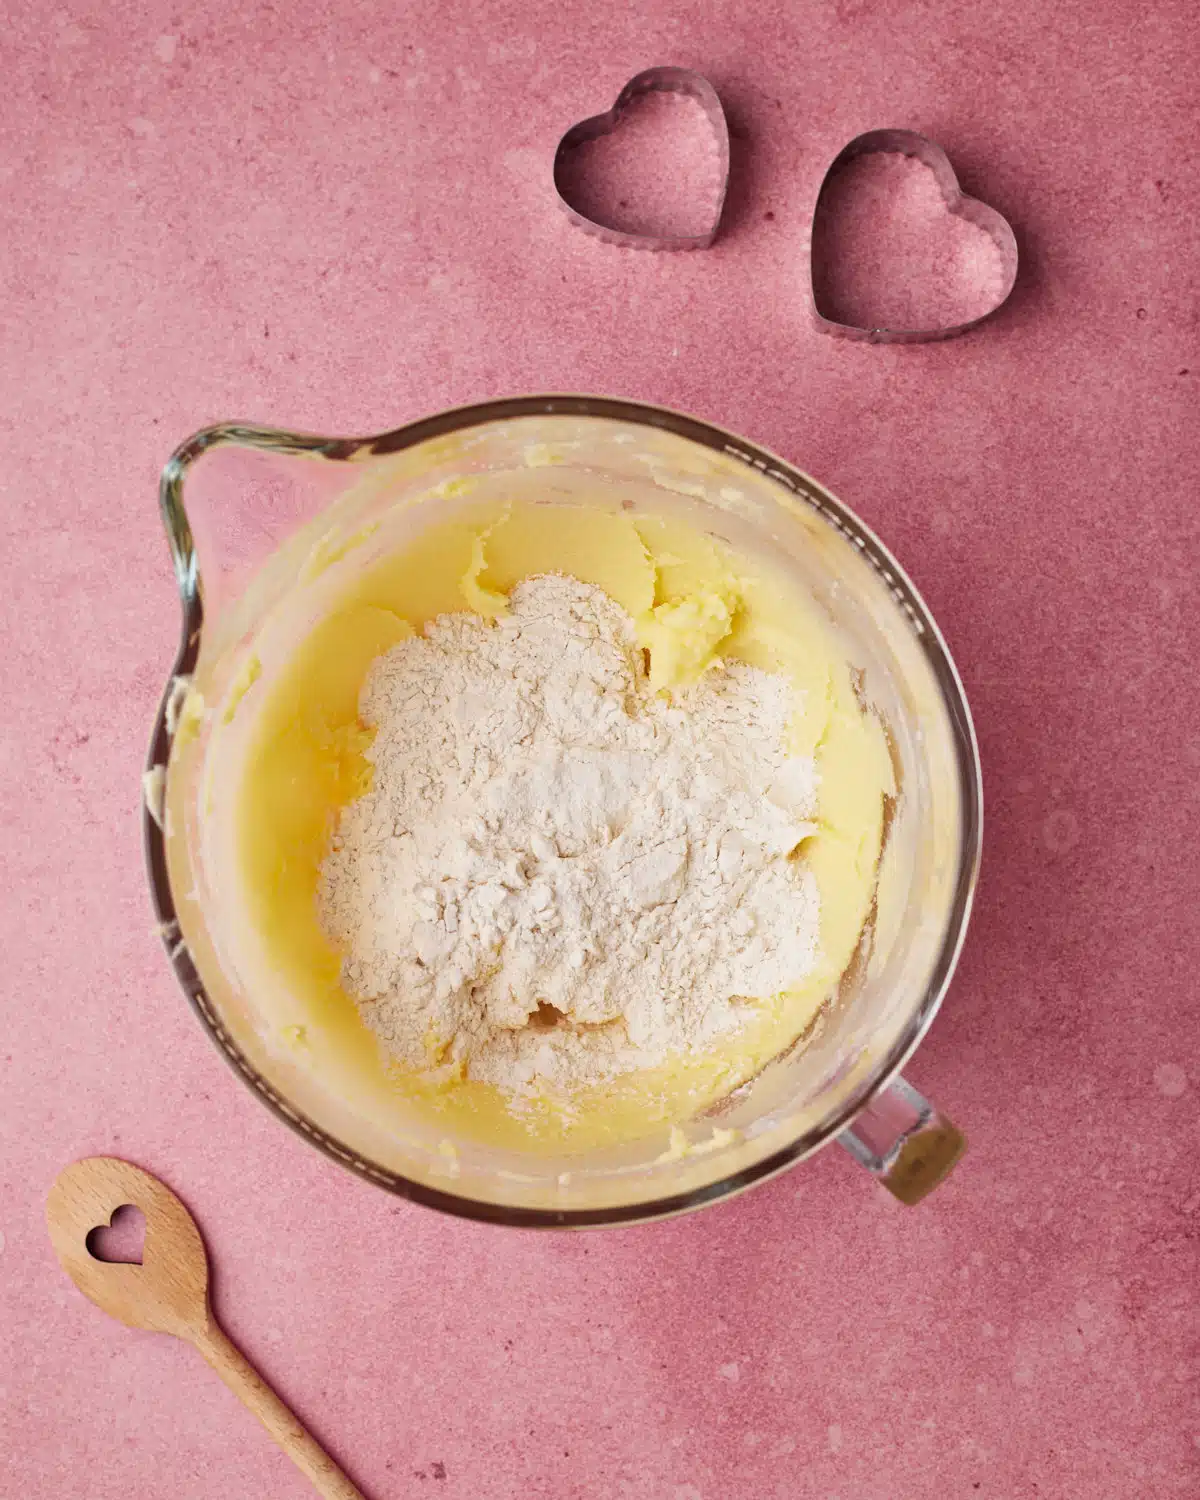
- Scrape down the sides of the bowl and then add the flour. Mix it in until the mixture starts to clump together. If the mixture looks too dry and won't clump together, you can add a small splash of milk to help it along.
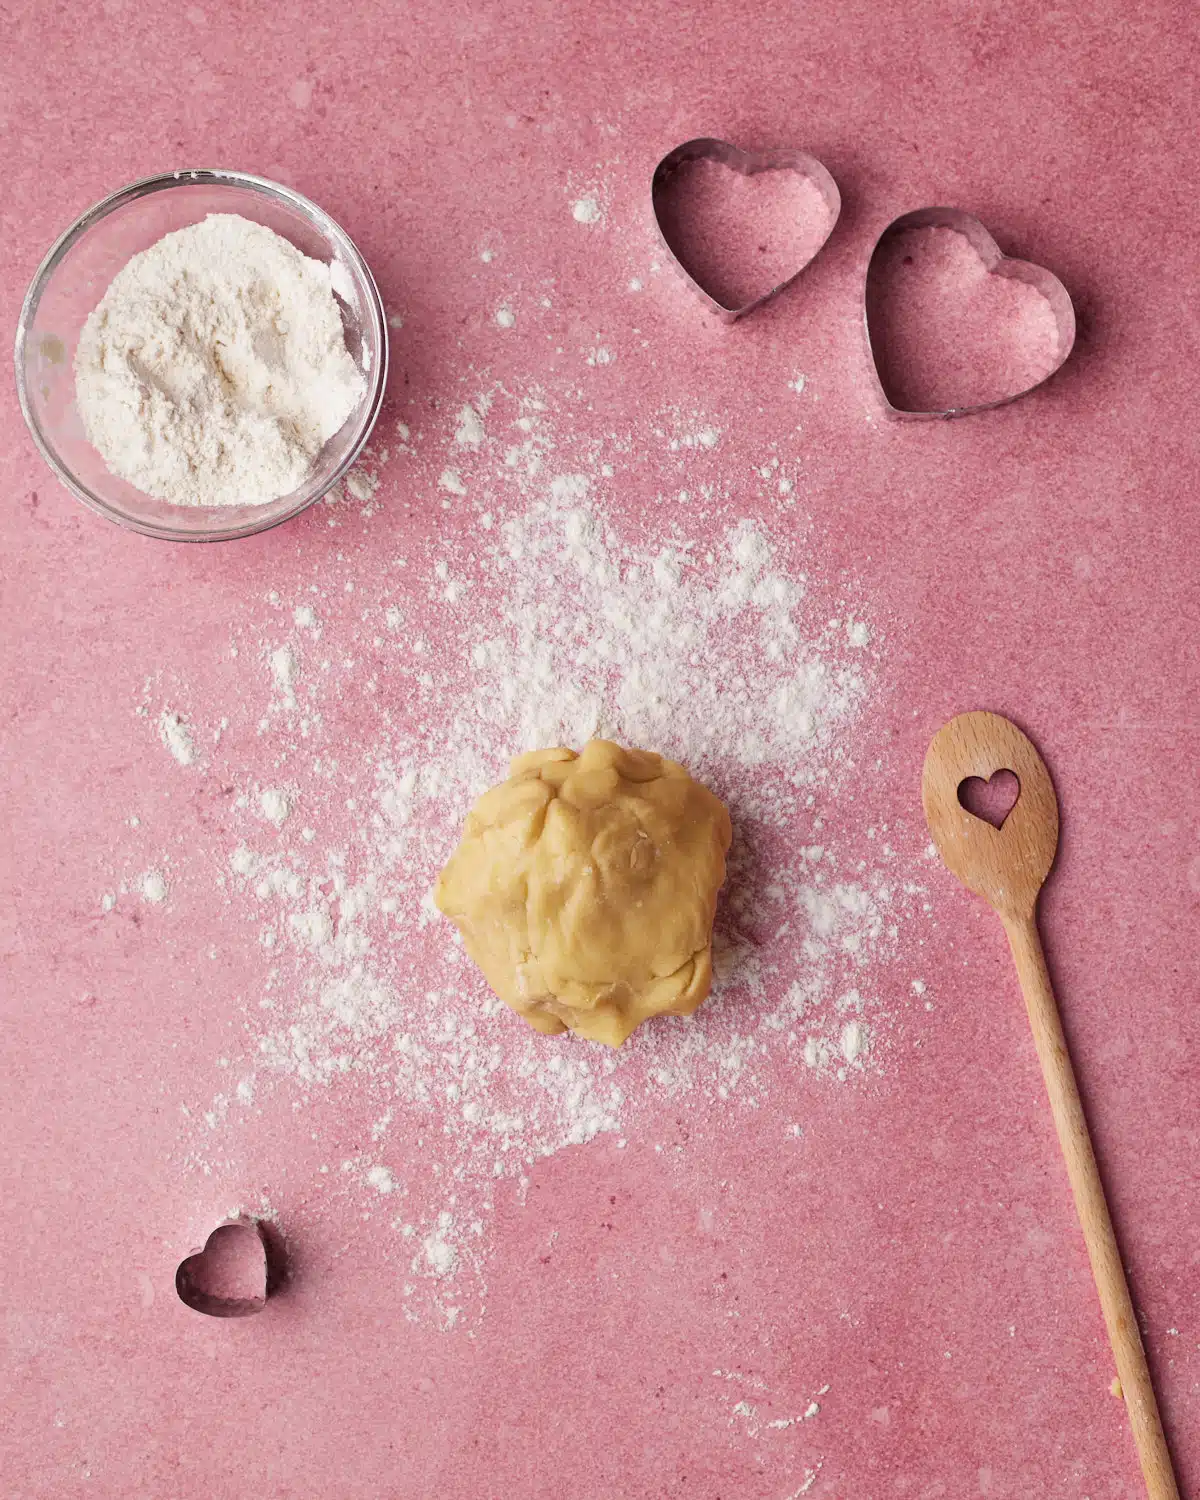
- Use your hands to bring the mixture together to form a big ball of dough. Knead gently until the dough is nice and smooth, but be careful not to overwork it.
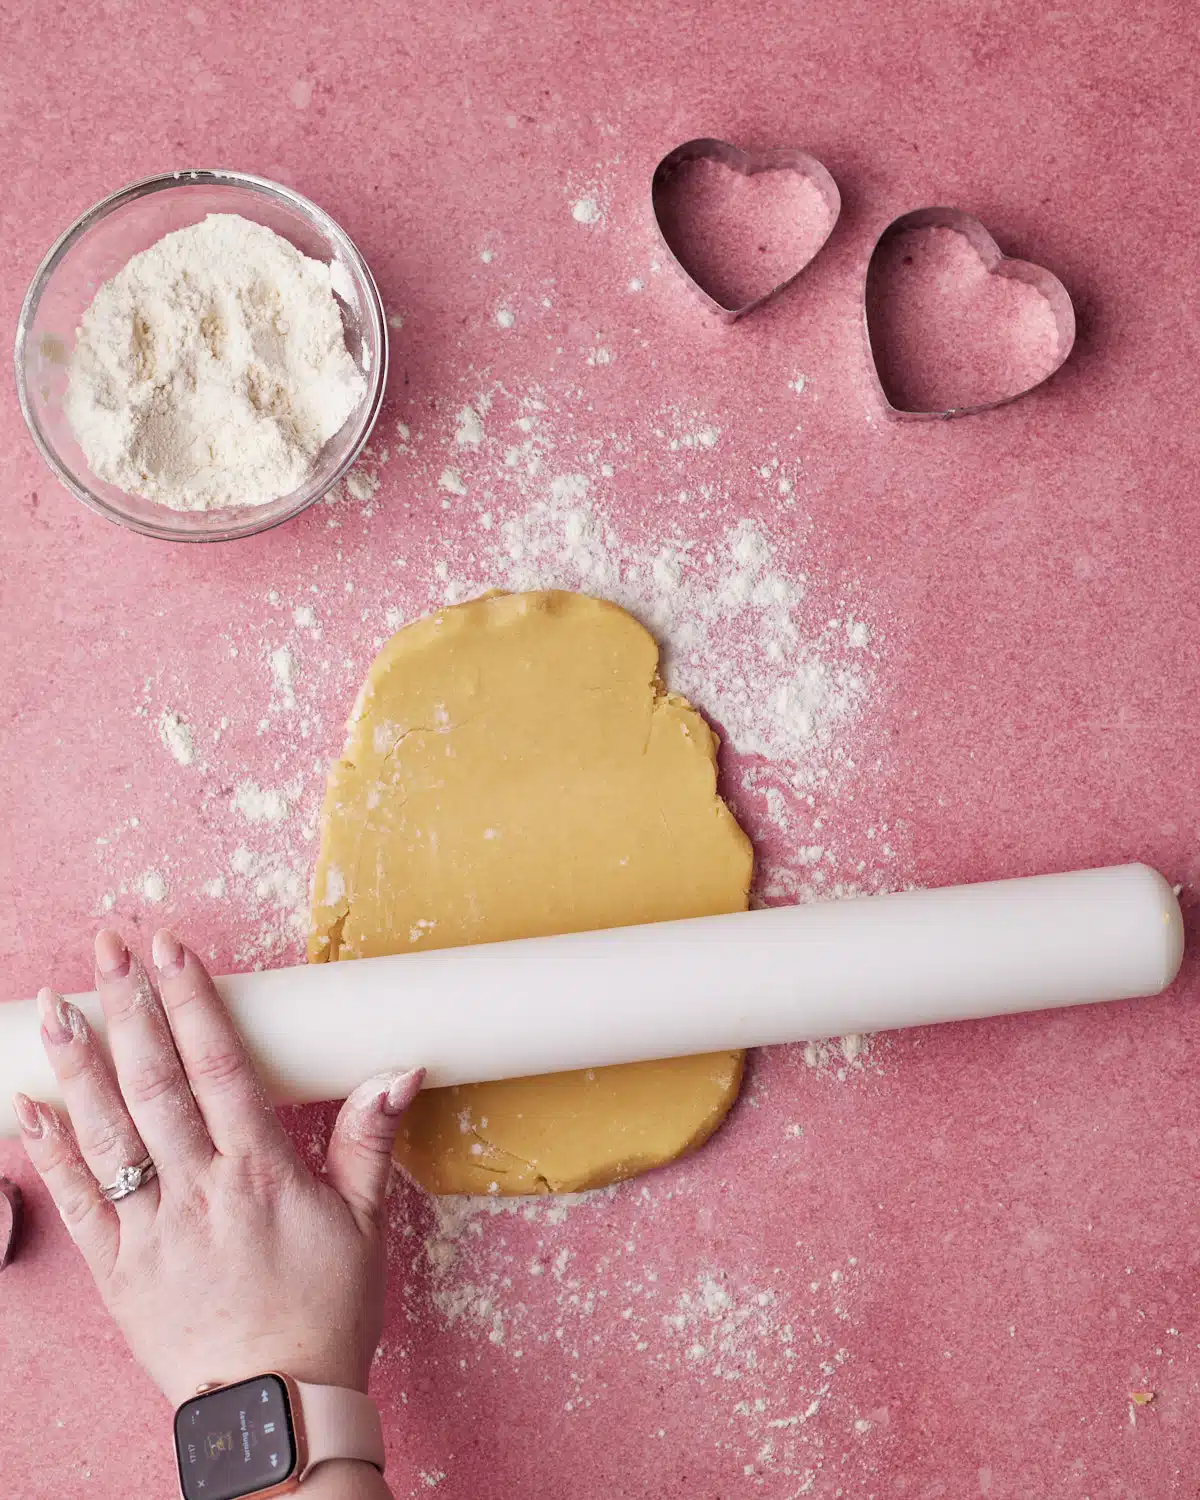
- Turn the cookie dough ball out onto a lightly floured surface and use your hands to form it into a round disc, then use a rolling pin to roll it out to roughly ¼ inch thickness
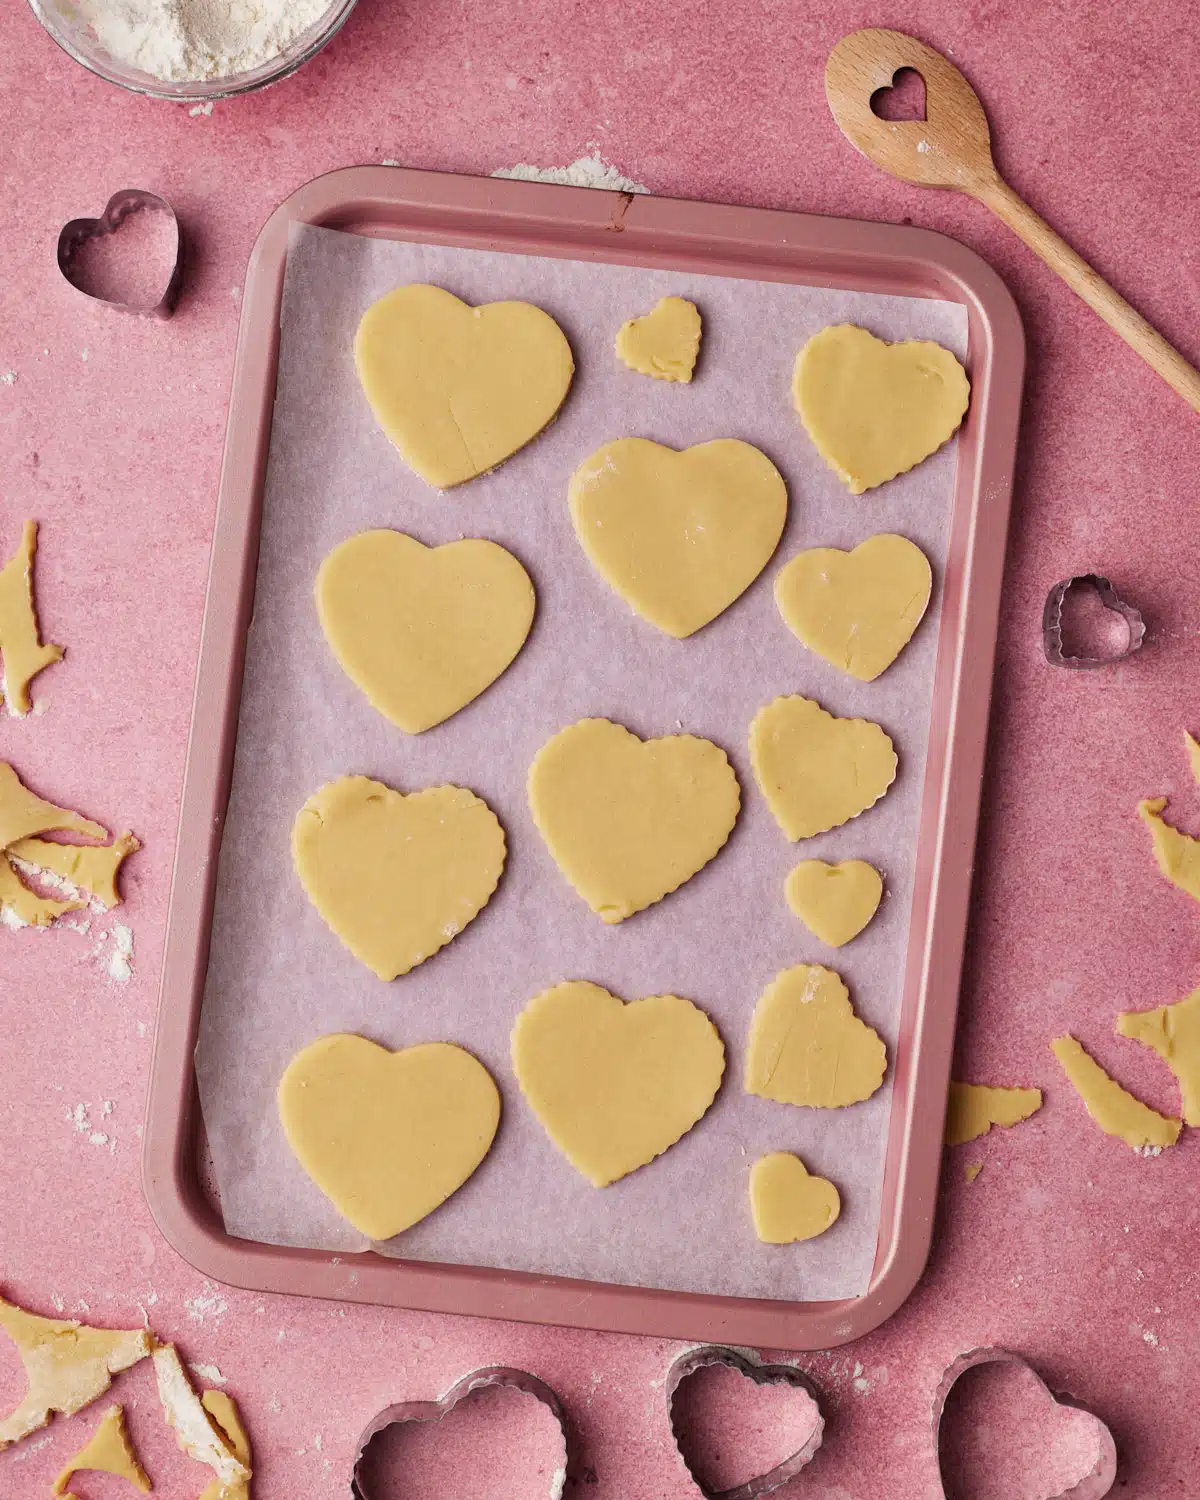
- Use a heart-shaped cookie cutter to cut out your heart cookies out of the rolled-out dough and place them on the prepared baking sheet. I find the best way to move my unbaked cookies around is with a cookie lifter.
- Once you have cut out all your shapes, you can scoop together the remaining dough and roll it out again to make more cookies. I don't recommend doing this more than twice, though as the dough will start to dry out.

- Chill the heart cookies in the fridge for 1 hour. This step is important to stop the cookies from spreading in the oven, so they will keep their pretty heart shape.
- Once the chill time is almost up, preheat your oven to 325°F / 160°C. Bake cookies for 12-15 minutes. The bake time can vary from oven to oven, so watch the cookies and take them out when the very edge starts to turn golden brown.
- Let the heart cookies sit on the baking sheet for 5 minutes before transferring them to a wire rack to cool - this allows them to bake a little longer to be the perfect texture.
Tips To Stop Cut-out Cookies From Spreading
- Chill the cookies after cutting them out and before baking so that they hold a sharp edge as they bake.
- Measure ingredients with a scale rather than cups for accuracy.
- Preheat the oven fully to make sure it is hot enough before the cookies go in.
See my post about why cookies spread for more tips on how to prevent it.

How to Decorate Heart Cookies
These heart-shaped cookies can be enjoyed plain, or there are a few options for icing and decorating.
Powdered Sugar Icing - For the easiest, simplest icing mix 2 cups of powdered sugar in a medium bowl with 2 tablespoons of water and 1 teaspoon vanilla extract or vanilla bean paste. This makes a sweet and simple icing that will be dry to the touch but won't set hard like royal icing would. You can also add a few drops of food coloring to it. For a richer version of this, try my vanilla glaze recipe to dip the cookies in.
Royal Icing - If you want your icing to set hard so you can stack them, or you'd like to decorate your cookies with intricate designs, I recommend royal icing. Do this by beating together 2 egg whites with 2 cups of powdered sugar. Add a splash of water if you'd like a more runny consistency.
Chocolate - You can't go wrong with chocolate, especially not when it comes to Valentine's Day! You can drizzle your heart cookies with chocolate or dip them in. You could also pour the melted chocolate over them while they are on the cooling rack. I especially like this with dark chocolate but you can use any kind you like. This works best with tempered chocolate.
Sprinkles - You can't go wrong with sprinkles! You can put sprinkles on top of any of the options above, or even just bake them into the top of the cookie.

Variations
Different flavors - As this cookie recipe is so simple, it takes on other flavors very well. Try adding some almond extract or some lemon zest to switch up the flavor.
Thumbprint Cookies - Use your pinky finger to make a small indent in the centers of the cookies, then fill them with sweet raspberry jam before baking.
Heart Sandwich Cookies - You can use this same dough to make jam heart cookies. Just cut a smaller heart out of half of the cookies and then sandwich them together with strawberry jam once baked.

How To Store Heart Sugar Cookies
Store your heart sugar cookies in an airtight container at room temperature. If they don't have any icing on them, they will stay good like this for up to ten days. If they are iced, they will still be safe to eat, but the icing may make the cookies go a little soft after 4 or 5 days (unless it's royal icing).
For best results, line the bottom of your airtight container with paper towels to absorb any moisture. If moisture gets into the container, the cookies will go soggy.

More Valentine's Day Desserts
Need more inspiration for what to bake for your sweetheart? Try some of these Valentine's Day desserts.


Show Me Your Bakes!
If you make this recipe, please tag @bonni_bakery on Instagram or send me a photo - I love seeing all your creations.
Want your bake featured on the blog? You can also upload a photo here.

Heart Shaped Sugar Cookies
Ingredients
- 227 g (2 sticks) Unsalted Butter 227g (room temperature)
- 100 g (½ cup) Granulated Sugar 100g
- 270 g (2 ¼ cups) All-purpose Flour 270g
Instructions
- Line a cookie sheet with parchment paper.
- Cream the butter and sugar together until light and fluffy.227 g (2 sticks) Unsalted Butter, 100 g (½ cup) Granulated Sugar
- Add the flour and beat until dough-like clumps start to form.270 g (2 ¼ cups) All-purpose Flour
- Tip the mixture out onto a floured work surface and use your hands to gently knead it together into a smooth ball of dough - this shouldn't take long, only 30 seconds or less.
- Use a large rolling pin to roll the dough out to ¼ inch thick, use cookie cutters to cut out shapes, and transfer them to the prepared cookie sheet.
- Chill the cut-out cookies for 1 hour. This is to help them keep their shape in the oven. If you aren't worried about a little spreading, then you can skip this step and put them straight in the oven.
- When the chill time is almost up, preheat the oven to 325°F / 160°C.
- Bake the cookies for 13-16 minutes, bake time will vary according to thickness, so it's best to look for visual cues when they are ready. As soon as the very edge of any of the cookies starts to turn golden brown, remove them from the oven. They should still look very pale in the middle.
- Leave the cookies on the pan for 5 minutes, then transfer to a wire rack to cool.
- Decorate with icing of choice - see notes for icing recipe ideas.


Hi, I'm Jules!
I'm a Scottish ex-bakery owner sharing my tried and true dessert recipes and expert tips to help you whip up impressive desserts at home.
Check out my baking blog and try a few recipes.
Or just lick the screen a little...
Happy Baking!