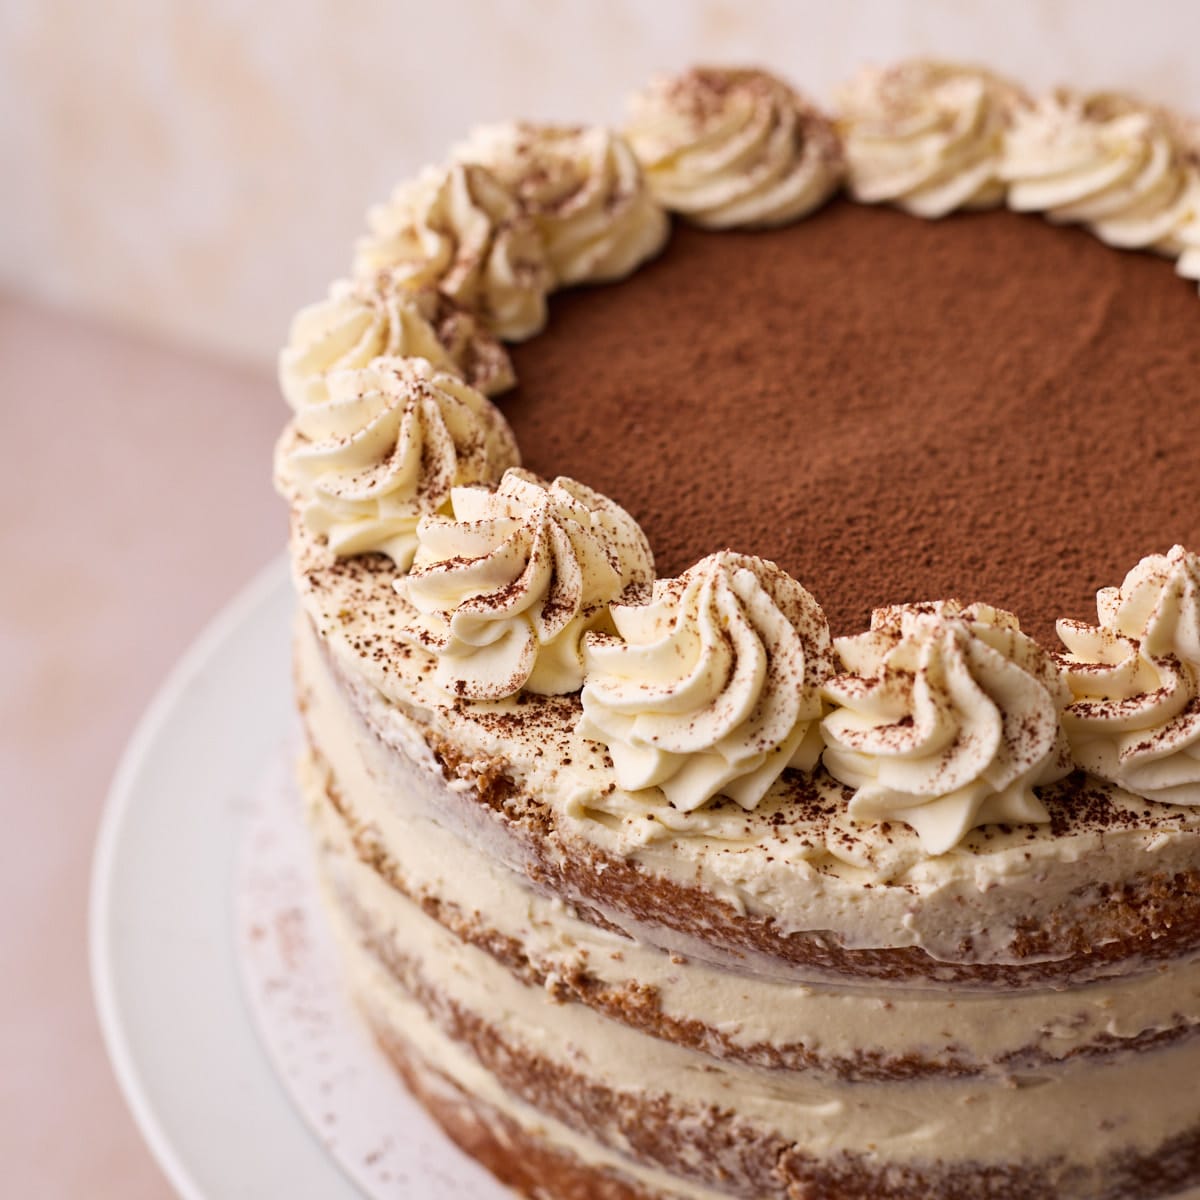

Tiramisu Cake
Layers of fluffy vanilla sponge cake soaked in fresh espresso and amaretto with lashings of mascarpone cream and a dusting of cocoa powder
Servings: 12 slices
Ingredients
For the Genoise Sponge Cake
- 6 Large Eggs
- 1 ⅛ cup Granulated Sugar 225g
- 1 ½ cups Cake Flour 171g
- ¼ cup Vegetable Oil 45g
- 3 tablespoon Whole Milk 36g
- 1 teaspoon Vanilla Extract
For the Mascarpone Cream
- 16 oz Mascarpone 455g
- ¼ cup Amaretto
- 4 Large Egg Yolks
- ¼ cup Granulated Sugar 50g
- 2 cups Heavy Cream 476g
For the Coffee Soak
- 6 shots Espresso 180ml *see notes
- ⅓ cup Amaretto
Decoration
- 2 tablespoon Cocoa Powder
Instructions
Make the Sponge Cake
- Note: The cake is made from a 1.5x adaptation of my genoise sponge cake recipe. For more in-depth instructions, including step-by-step process shots for the sponge cake, see my genoise sponge recipe post.
- Preheat oven to 350°F or 180°C and grease two 8-inch cake pans
- Whisk the eggs and sugar over a double boiler until the sugar dissolves. You can check by rubbing the mixture between your fingers - if it's grainy, it needs longer. The mixture should not get hot at any point, just warm enough to dissolve the sugar, which should only take a few minutes.
- Transfer the mixture to a stand mixer with a whisk attachment. Whip on the highest speed setting for 5 full minutes. Once it's done, it will be very pale and should have doubled in volume. Test if it's ready by drizzling a little of the batter on top of itself - if the pattern stays on the surface for a few seconds then it's good. If it disappears immediately, whip for another minute.
- Turn the mixer down to low speed (the lowest setting) and whip for a further 10 minutes.
- Meanwhile, prepare the other ingredients:Sift the flour twice into a mixing bowl. In a separate bowl, mix together the milk, oil, and vanilla. Set aside.
- Carefully fold the sifted flour into the whipped egg mixture with a spatula, trying not to knock out any air.
- Take a large dollop of the mixture and put it into a separate bowl. Then add the wet ingredients and mix them together thoroughly. This is called 'sacrificing' the batter - the air will be knocked out of it, but it will help the liquids to incorporate into the rest of the cake batter more easily.
- Pour the 'sacrificed' batter back into the main batter and fold in gently until combined. Keep folding until it reaches the 'ribbon stage'. This means that if you lift your spoon or spatula out of the batter, the batter should run off the spoon steadily in a flowy, ribbon-like motion.
- Pour the cake batter into the prepared cake pans and tap the pans on the counter a few times to release any large air bubbles. Bake for 20-25 minutes or until golden brown and springy to the touch.
- Remove from the oven and bang the cake pan on the counter again to release additional air bubbles and prevent the sponge cake from collapsing while it cools. Put a piece of parchment paper on top of a wire rack and flip the cake upside down on the rack - let it cool like this. Once it's cool enough to touch, remove the cake pan and let the cake cool completely (upside down).
Make the Mascarpone Cream
- Add the egg yolks and sugar to a double boiler and whisk vigorously until the sugar dissolves and the mixture is light and thick. This will cook the egg yolks so they are safe to eat. If you want to use a thermometer, it should reach a temperature of 165°F. Remove from the heat and keep whisking until you can drizzle a pattern on top and it stays for 1-2 seconds.
- Put the cold mascarpone cheese and Amaretto in the bowl of a stand mixer with the whisk attachment. Whip on medium speed for a few seconds until smooth and creamy. Don't overmix it.
- Pour the whisked egg yolk mixture into the mascarpone cream and whip on medium speed, just until combined. Transfer to a mixing bowl.
- Whip the cream until it reaches medium peaks. I like to get most of the way there with the mixer and finish it off by hand to make sure I don't overwhip. Don't let it get to stiff peaks or it won't incorporate well.(No need to clean your mixer bowl after the mascarpone mixture).
- Gently fold the whipped cream into the mascarpone mixture until it is totally incorporated, be careful not to squish out too much air. It's best to make this right before you are going to assemble the tiramisu cake.
Assemble the Tiramisu Cake
- Mix the espresso and amaretto together in a small bowl or jug.
- Slice the cake layers in half horizontally to make 4 thin cake layers.
- Place your first layer of cake onto your cake plate or board and use a pastry brush to generously dab the coffee soak all over the cake.
- Spread a thick, even layer of mascarpone cream all over the cake, then add the next cake layer and repeat until all your cake layers are stacked.
- Once the top layer is on, cover the whole cake in a thin layer of mascarpone cream (don't forget to add the coffee soak first!). Refrigerate for at least 4 hours, but preferably overnight. Keep the remaining mascarpone cream for decorating later.
- Once ready to serve, give the whole cake a light dusting of cocoa powder, then use the reserved mascarpone cream to pipe rosettes around the outside of the cake.
Notes
The sponge cake
The cake layers are made from a 1.5x adaptation of my genoise sponge cake recipe. For more in-depth instructions, including step-by-step process shots for the sponge cake, see my genoise sponge recipe post. I recommend you take a look at this before beginning so you know what to look out for.
Mascarpone
Some brands of mascarpone are not great quality and the mascarpone cheese is soft and watery. Try to find one that is thick and high quality, otherwise the cream may not be firm enough.
How much espresso to use:
I used 6 shots of fresh espresso, which equals ¾ cup or 180ml. You can use instant espresso or very strong instant coffee, but make sure the volume comes to the same amount and it's nice and strong.
For common mistakes and troubleshooting, see the blog post above.
I strongly recommend using a kitchen scale to measure your ingredients for this recipe. I recommend this for all baking, but it is particularly important to get the measurements accurate, or you risk having a dense cake or sloppy filling.