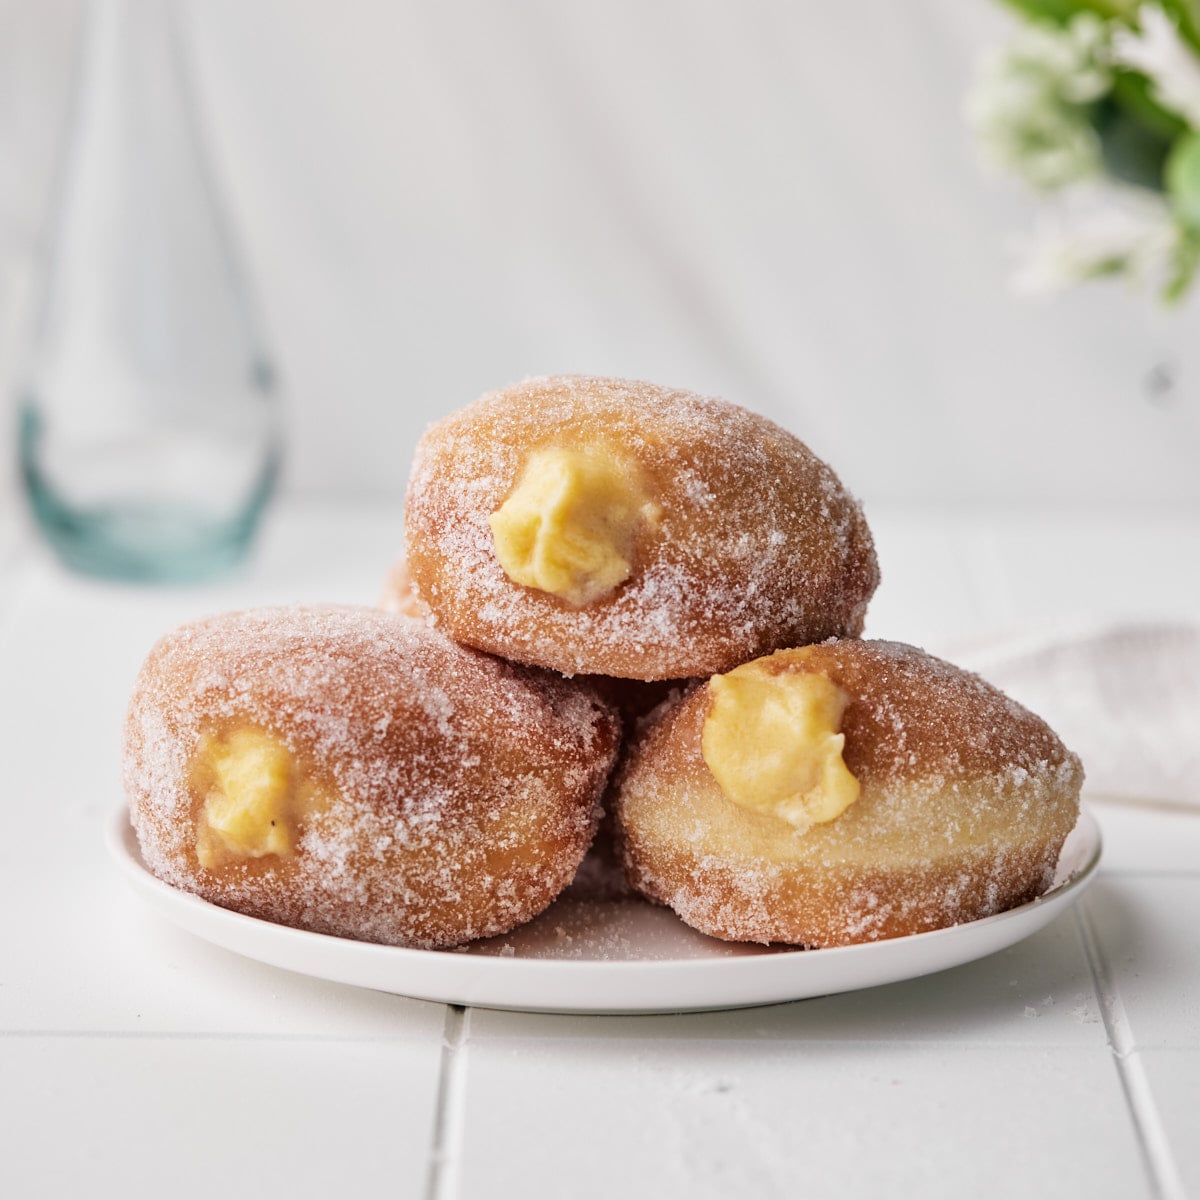

Custard Donut Recipe
Soft, fluffy yeast donuts fried until golden, rolled in sugar and filled generously with silky homemade vanilla pastry cream
Servings: 18 donuts
Ingredients
For the Custard Filling (Vanilla Pastry Cream)
- 5 (5) Large Egg Yolks
- 100 g (½ cup) Granulated Sugar, (Caster sugar)
- 40 g (⅓ cup) Cornstarch
- 480 ml (2 cups) Whole Milk
- 30 g (2 tablespoon) Unsalted Butter
- 2 teaspoon (2 teaspoon) Vanilla Bean Paste, or extract
- ¼ teaspoon (¼ teaspoon) Salt
For the Donut Dough
- 600 g (5 cups) All-purpose Flour, (Plain Flour)
- 100 g (½ cup) Granulated Sugar, (Caster Sugar) plus extra for coating
- 1 teaspoon (1 teaspoon) Salt
- 14 g (4½ teaspoon) Active Dry Yeast, two 7g sachets
- 240 ml (1 cup) Whole Milk
- 2 (2) Large Eggs
- 75 g (⅔ stick) Unsalted Butter, melted and cooled
- Neutral Frying Oil, enough to fill the pan at least 2 inches deep
Instructions
Make the Custard Filling
- Make the custard at least a few hours in advance so it has time to cool before filling the donuts. If this is your first time making custard, I have a detailed tutorial, process pictures, and a video on my homemade pastry cream recipe.
- Whisk the egg yolks with the sugar and cornstarch until pale and thick.
- Heat the milk in a pan over medium heat until it is scalding hot - this means there is steam rising from it and tiny bubbles appearing on the surface.
- Slowly drizzle the hot milk into the whisked egg yolk mixture, whisking as you go. Do this slowly so the temperature of the eggs rises gradually, avoiding scrambling.
- Pour everything back into the pan and cook, whisking constantly, until it thickens and starts to boil. Keep whisking gently and let it boil for 1-2 minutes to fully activate the cornstarch.
- Take off the heat and whisk in the vanilla, salt, and butter.
- Cover with plastic wrap touching the surface of the custard and chill for at least two hours, preferably overnight, or until ready to use.
Make the Donut Dough
- Warm the milk to lukewarm and add the yeast and one tablespoon of sugar. Stir and let it sit for 5-10 minutes, it should form a layer of foam on the surface. This tells us that the yeast is alive and active. If you are using instant yeast, you can skip this step and add your yeast in at the same time as the flour.
- In the bowl of a stand mixer with a dough hook attachment, add the remaining sugar, eggs, and salt. Once the yeast has activated, add the milk/yeast mixture to this bowl and mix everything to combine.
- Add the flour to the mixing bowl and turn the mixer on low for one minute to let the flour mix in, then slowly drizzle in the cooled melted butter.
- Turn the mixer up to medium speed and let it mix for about 5 minutes or until the dough looks smooth and is pulling away from the sides of the bowl. If it seems too wet, you can add an extra tablespoon of flour and knead for a bit longer.
- Tip your dough out onto a floured work surface and knead by hand for a couple of minutes until it is smooth, elastic, and no longer sticking to your hands.Use the windowpane test to check if it has been kneaded enough. Take a small piece of dough and stretch it out thinly with your fingers. If you can stretch it out thin enough to see light through it without it tearing, it's ready. (See image in the post above for an example).
- Form a smooth ball with the dough and place it into a lightly greased bowl. Cover with plastic wrap and let proof on the counter until it doubles in size (about 1-2 hours, depending on temperature).
- Once the dough has doubled in size, check if it's ready by pressing it lightly with your finger. If it springs back immediately, it needs longer. Once it is ready, it will spring back slowly and leave a slight indent.
- Give the dough a satisfying punch in the centre to release the built-up gas. Tip it onto a lightly floured work surface and gently press out any large air pockets, then roll it to approximately ½ inch thick.
- Cut rounds out of the dough with a cookie cutter that is 2½ - 3 inches wide. Press straight down with the cutter, don't twist it - this will help them to rise tall. Place each donut on a little square of parchment paper, on a cookie sheet, with a little space between them.
- Cover the tray of donuts loosely with plastic wrap or a kitchen towel and let them proof for another 45 minutes. You can use the same finger indent test to check when they are done proofing.
Fry the Donuts
- In the last 10 minutes of the 45-minute proof, you can start to prepare your frying oil. Pour at least 2 inches of oil into your saucepan and heat to about 350°F / 175°C.
- Gently place your donuts into the oil*, and they should start bubbling at the sides. I like to do only 2 or 3 at a time, depending on the size of the saucepan. They fry super fast and this allows you to have more control.
- Let the donuts to bob around and fry for a minute or two, checking the underside from time to time. Once the underside looks golden brown, flip the donut and fry the other side until the color matches. As there are so many variables (oil temperature, donut size, etc), it is impossible to give you an exact time to fry the donuts for - you really have to do it by eye and see when they look ready.
- Once both sides are golden brown, scoop the donuts out with a heatproof slotted spoon and lay them on a wire rack lined with paper towels to soak up the excess oil. Fry 2-3 donuts at a time and let the oil come back up to temperature in between batches.
- Let the donuts sit for a few minutes, then roll them in a bowl of sugar while still warm to coat them. Let them cool completely before filling.
Fill the Donuts
- Once the donuts are completely cool, use a long thin object (like a metal straw or a chopstick) to poke a hole in the side of the donuts and move it around to create extra space for your custard - we want these babies to be FULL of custard, so you need to give it somewhere to go.
- Remove your pastry cream from the fridge and give it a mix to restore the texture. Put it in a piping bag with piping tip.
- Push the nozzle into the hole you created earlier and squeeze gently. You will feel the donut start to feel heavy, which means it's full of delicious custard! Pull the nozzle slowly out of the donut, leaving a pretty little blob of custard on the outside to show the delicious custard filling.
Notes
Yeast - You can use active dry yeast or instant yeast for this recipe. If you use instant yeast there is no need to activate it first, just add it straight into the bowl with the wet ingredients.
Make-ahead - The pastry cream needs time to chill before it can be used to fill the donuts, make it at least 2 hours ahead (or up to 5 days ahead). See the post above for a timeline of when to do each element of the recipe.
Leftovers - Homemade fried donuts are best eaten on the same day they are made.