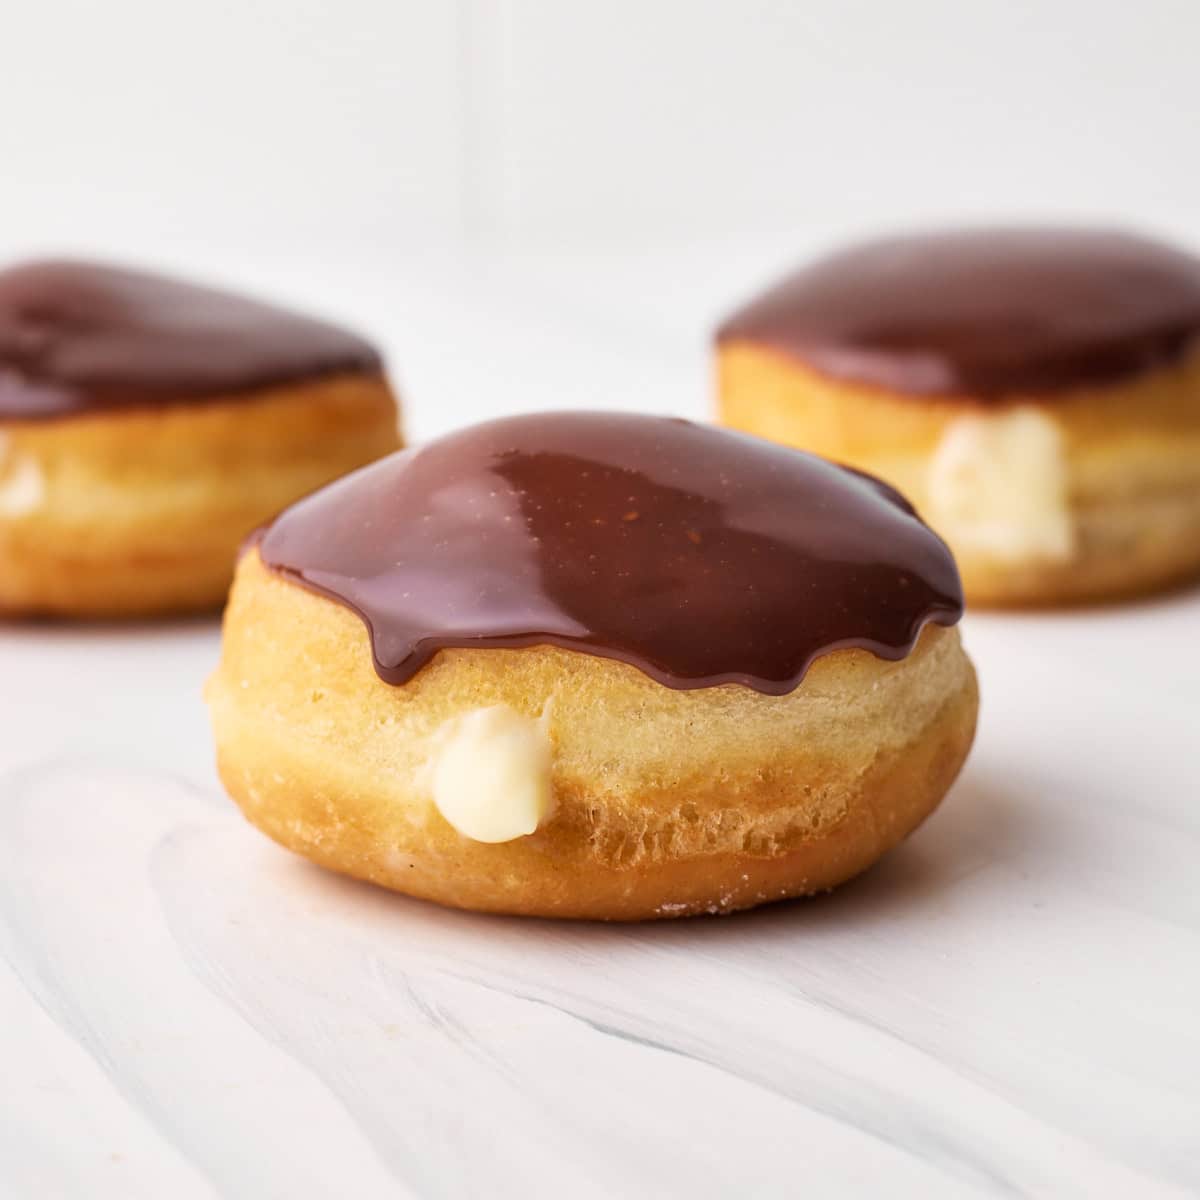

Boston Cream Donuts
Homemade fried donuts filled with pastry cream and topped with chocolate ganache.
Servings: 18 donuts
Ingredients
For the Pastry Cream Filling
- 3 (3) Egg Yolks
- 50 g (¼ cup) Granulated Sugar, (caster sugar)
- 240 ml (1 cup) Whole Milk
- 2 tablespoon (2 tablespoon) Cornstarch
- 1 teaspoon (1 teaspoon) Vanilla Extract
- 14 g (1 tablespoon) Unsalted Butter
For the Donuts
- 600 g (5 cups) All-purpose Flour, (plain flour)
- 100 g (½ cup) Granulated Sugar, (caster sugar) plus extra for coating
- 2 packs (2 packs) Active Dry Yeast, or instant yeast*
- 240 ml (1 cup) Whole Milk, (room temperature)
- 2 (2) Large Eggs, (room temperature)
- 80 g (⅔ stick) Unsalted Butter, (melted)
- 1 teaspoon (1 teaspoon) Salt
- Vegetable Oil, for frying
For the Chocolate Glaze
- 225 g (8 oz) Semi-sweet Chocolate, (chopped)
- 120 ml (½ cup) Heavy Cream
Instructions
Make the Pastry Cream
- Note: Make the pastry cream filling ahead of time, at least two hours before it is needed so it has time to chill. For more in-depth instructions and step-by-step process shots, see my post on how to make pastry cream.
- Whisk the egg yolks together with the cornstarch and sugar.
- Pour the milk and vanilla into a saucepan and heat over medium-low heat.
- Once the milk begins to steam, drizzle it slowly into the egg yolk mixture, whisking it in to combine as you go. It's important to do this gradually to slowly bring up the temperature of the egg yolks so they don't scramble.
- Once all the milk has been added, pour the whole mixture back into the saucepan and continue to cook, stirring gently but constantly, until the pastry cream begins to boil.
- Once you see thick bubbles boiling on the surface of the cream, boil for 1-2 minutes until the pastry cream has thickened. Whisk the whole time so the custard doesn't burn.
- Remove from the heat. If you have warmed it slowly, then there shouldn't be any lumps in the pastry cream, but if you do have some lumps, pass the pastry cream through a fine mesh sieve to remove them.
- Whisk in the butter, one tablespoon at a time, making sure it has completely melted in before adding the next.
- Cover with plastic wrap, so the plastic is touching the surface of the pastry cream, and let cool. Then refrigerate until needed (at least 2 hours).
Make the Donut Dough
- Warm the milk to roughly body temperature and mix in the active dry yeast and 1 tablespoon of the sugar. Let it sit for 5-10 minutes or until it starts to froth up.If you are using instant yeast, you can skip this step.
- In the bowl of a stand mixer with a dough hook attachment, add the remaining sugar, salt, and eggs.
- Once the yeast is frothy, pour the milk/yeast mixture into the mixer bowl and stir everything together to combine.
- Add the flour and turn the mixer on low speed for 1 minute until it incorporates slightly.
- With the mixer still on low speed, slowly drizzle in the melted butter.
- Turn the mixer up to high speed and let it mix for 3-5 minutes or until the dough is no longer sticking to the side of the bowl. If it seems too sticky, you can add another 1-2 tablespoons of flour.
- Tip the dough out onto a lightly floured work surface and knead it by hand until it is no longer sticking to your hands. You can do the windowpane test to see if it has been kneaded enough.*
- Form the dough into a smooth ball and place it in an oiled bowl. Cover with plastic wrap and leave it on the countertop to rise until it has doubled in size (1-2 hours, depending on the temperature of your kitchen.
- Once the dough has doubled in size, check if it is ready by pressing on it lightly with your finger. If the indent disappears immediately, it needs longer to prove. If the indent comes back slowly and only about halfway, then it is ready to use.
- Punch the dough to release the excess air, then tip it onto a floured work surface and roll it out to ½ an inch thick.
- Use a round cookie cutter (2 ½ - 3 inches wide) to cut rounds out of the dough and place them on a lined baking sheet, with a little space between them. You can re-roll and cut out the scraps, but I don't recommend doing it more than once.
- Cover the donuts loosely with plastic wrap or a kitchen towel and leave to prove again for roughly 45 minutes. Do the indent test again to see if they are ready. If not, check them again at 15-minute intervals.
Fry the Donuts
- Once the donuts are ready, uncover them and start heating up the oil. Make sure the oil in your pan is at least 2-3 inches deep.
- Using a candy thermometer, bring the oil to a temperature of 350°F / 180°C.
- Next to your stovetop, set up a wire rack lined with paper towels (this is to absorb the excess oil).
- Test out your first donut by lowering it gently into the oil with a metal slotted spoon. It should start to bubble around the edges.
- Fry the donut until it is a pale golden brown color (it will continue to brown after). Then flip the donut over and fry the other side until it is the same color. This should take about 1-2 minutes per side.
- I find the optimum temperature for frying these donuts is 325° - 340°F ( 165° - 171°C). Make sure you let the oil come back up to temperature in between donuts, as it may cool down as you are frying.
- Remove the donut from the oil and place it on the wire rack lined with paper towels.
- Repeat with all the donuts. I recommend frying just 2 or 3 at a time, as they do fry so quickly.
- Let the donuts cool completely before filling and glazing.
Make the Glaze
- Make the ganache glaze right before you fill the donuts so it has time to cool slightly and will be ready to dip the filled donuts into. Heat the cream in a saucepan until it is steaming but not boiling, then pour over the chopped chocolate and let sit for 1 minute.
- Stir the chocolate and cream until all the chocolate has melted and the ganache is smooth and glossy.
Fill the Donuts
- Take the pastry cream out of the fridge, whisk it a little to bring the texture back, and then transfer it to a piping bag with any kind of tip.
- Use a long, thin object like a chopstick or a metal straw to poke a hole in the side of each donut and move it around to create space in the middle.
- Gently squeeze a generous amount of pastry cream into each donut. Once the donut feels heavy, you will know it is full.
- Dip each filled donut into the chocolate ganache, shake gently to get rid of any excess, and set them down on a baking sheet to set.
Notes
*Windowpane Test - to test if your dough has been kneaded enough, take a small piece of it and stretch it out with your fingers. If you can stretch it thin enough to see light through it without it tearing, it's ready. If it tears, keep kneading. See the post above for an image of what this looks like.
Frying Temperature
Many recipes will tell you that the optimal temperature for frying donuts is 375°F. I have tested frying these donuts at various temperatures, and I consistently find that 325° - 340° is the best temperature to fry them at.
Troubleshooting
I have a whole troubleshooting section in the blog post above for common mistakes and questions.