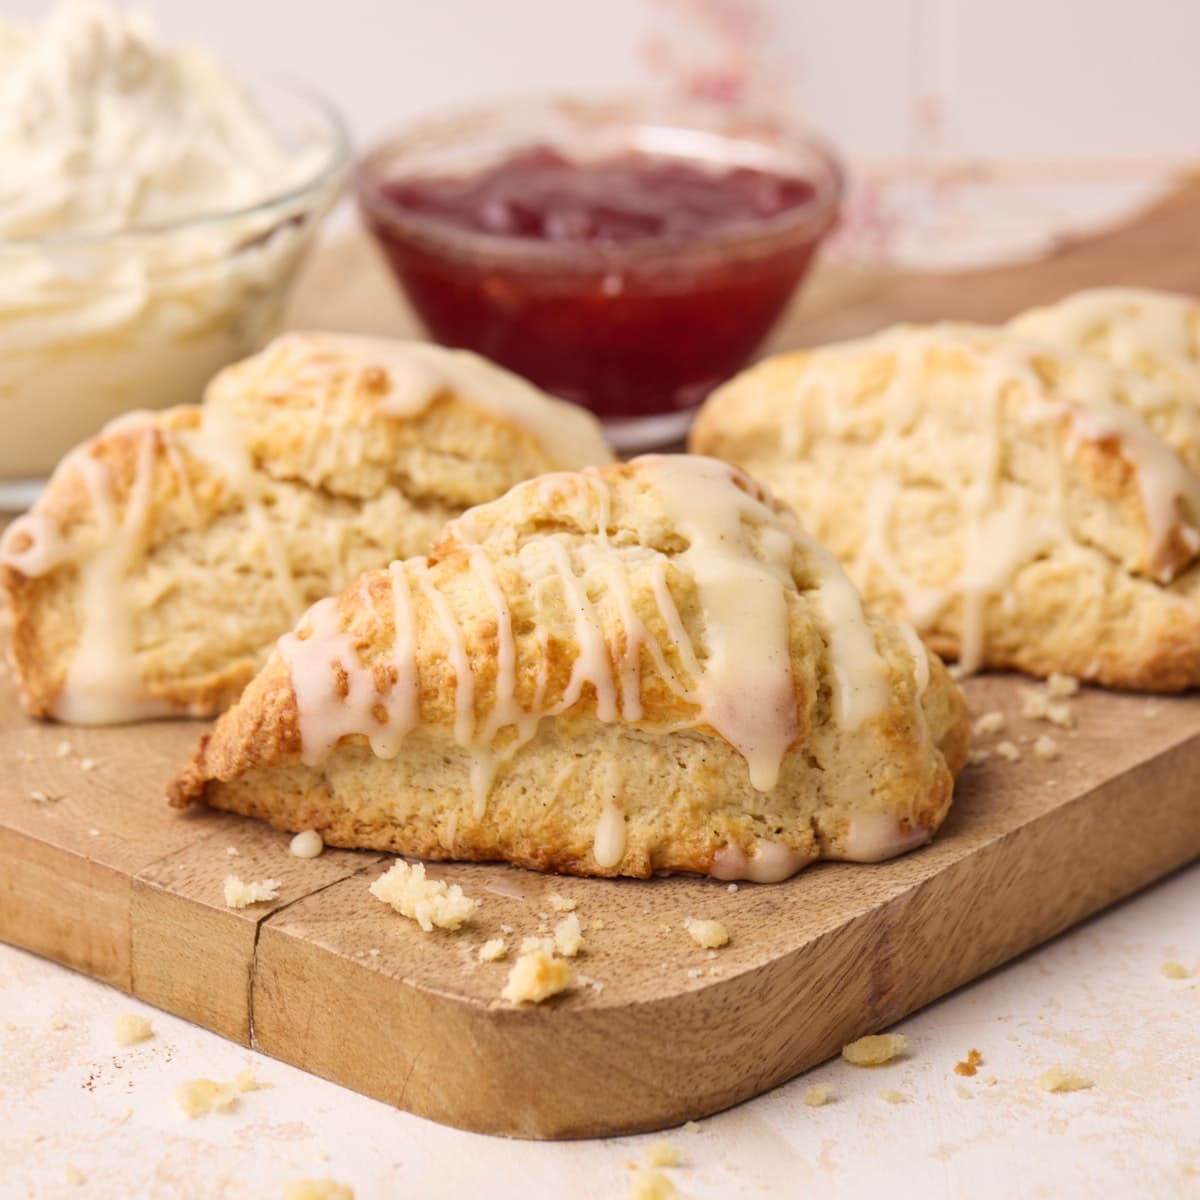

Best Scones Recipe
Buttery, tender, melt-in-your-mouth scones.
Servings: 8 scones
Ingredients
- 2 ½ cups All-purpose Flour 312g
- ⅓ cup Granulated Sugar 66g
- ½ teaspoon Salt
- 1 tablespoon Baking Powder
- 1 ¼ sticks Unsalted Butter 140g (cold)
- ½ cup Buttermilk 120ml (cold)
- 1 Large Egg (cold)
- 1 teaspoon Vanilla Extract
Instructions
- Sift the flour, sugar, salt, and baking powder into a large bowl, and mix together until combined.
- Cut the butter into the flour mixture - you can either do this by rubbing it into the flour between your fingers, or by using a food processor or pastry cutter. Keep going until the butter is in pea-sized lumps.
- Use your fingers to gently flatten the butter chunks into flat butter flakes.
- In a separate bowl, whisk the buttermilk, egg, and vanilla together with a fork.
- Pour the wet ingredients into the dry ingredients and stir together just until it starts to come together into a shaggy mixture.
- Tip the mixture out onto a floured work surface and use your hands to bring it together into one piece.
- Flatten the dough out into a rough rectangle shape, then fold it in half one way and flatten down. Fold it in half the opposite way and flatten again. Repeat 3 or 4 times to carefully laminate the dough for extra flaky layers in the scones.
- Shape the dough into a circle, roughly 8-inches in diameter.
- Use a bench scraper or sharp knife to cut the dough circle into 8 slices, like you're slicing a cake. Transfer the wedges to a baking sheet lined with parchment paper, with plenty of space between them.
- Chill the scones in the fridge for 30 minutes to allow the butter to firm up again. Meanwhile, preheat the oven to 400°F / 200°C (180° fan-assisted).
- Right before baking, brush the top of the scones with egg wash, milk, or leftover buttermilk to help give them a golden, shiny top. Don't brush the sides of the scones. If you like, you can also sprinkle the top of the scones with some coarse sugar.
- Bake for 15-18 minutes until they are risen and golden brown on top.
Notes
Butter - Make sure the butter is completely cold. If it isn't cold then it will melt in the oven before it gets the chance to create the steam pockets that make the flaky layers in the scones.
See post above for expert tips, storage instructions, and tips on what to serve with these tasty homemade scones.