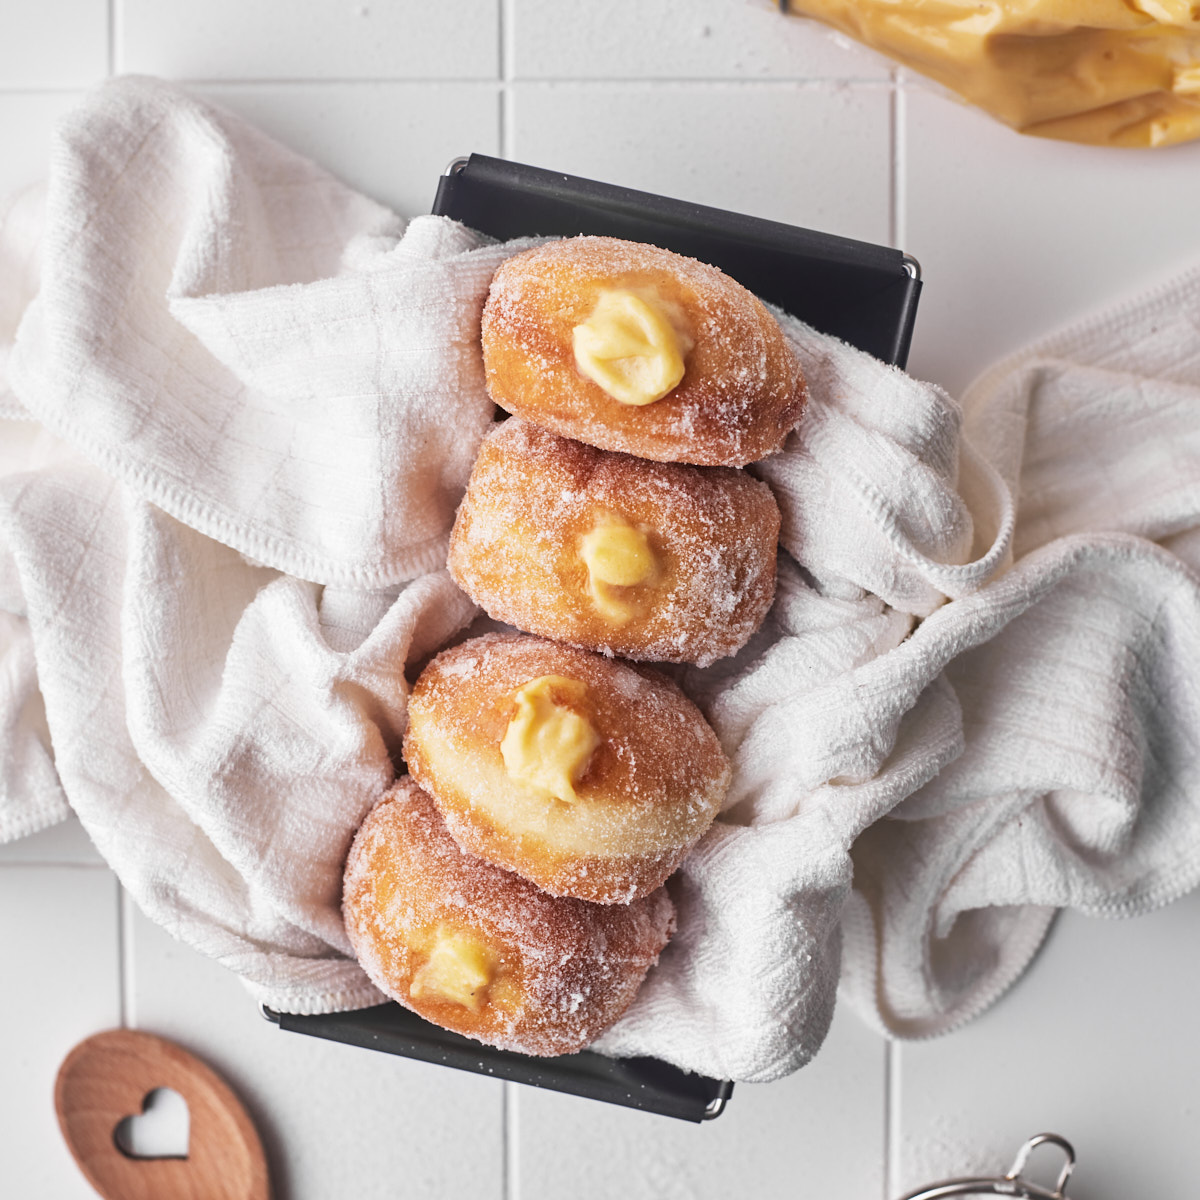
Custard Donuts
Light and soft homemade fried donuts bursting with luxurious custard filling.
Servings: 8 donuts
Calories: 437kcal
Ingredients
For the Custard - (view Vanilla Pastry Cream Recipe for more detail)
- 2 ½ cups Whole Milk 600g
- ⅔ stick Butter 85g
- 2 teaspoon Vanilla Extract
- ½ cup White Sugar 100g
- 5 Egg Yolks
- 3 tablespoon Cornstarch
- 1 ½ tablespoon All-purpose Flour
For the Donuts
- 2 ½ cups All-purpose Flour 300g
- ¼ cup White Sugar 50g (plus extra for coating)
- ½ teaspoon Salt
- 1 pack Dry Yeast 7g
- ½ cup Whole Milk 120g
- 1 Egg
- ⅓ stick Butter 40g (melted)
- Oil for frying
Instructions
Make the Custard
- Make the custard (pastry cream) in advance so it has time to cool before you make your donuts. I have a full post on this custard recipe if you'd like more information.
- Put your egg yolks, cornstarch and flour into a bowl along with 2 tablespoons of the sugar. Whisk to combine.½ cup White Sugar, 5 Egg Yolks, 1 ½ tablespoon All-purpose Flour, 3 tablespoon Cornstarch
- Put the rest of the sugar in a saucepan along with the milk and vanilla. Slowly warm over medium-low heat.2 ½ cups Whole Milk, 2 teaspoon Vanilla Extract
- When it begins to get warm to the touch, drizzle a small amount of warm milk into the egg yolk mixture and whisk, then add a little more, repeat until everything is together in the bowl, then pour the whole mixture back into the saucepan. It's important to do this slowly and gradually so you don't scramble the eggs.
- Keep heating the mixture, whisking constantly until it begins to boil. Boil for one minute or until you see thick bubbles bursting on the surface. Remove from the heat
- Pass the pastry cream through a sieve into a bowl to make sure there are no lumps.
- Whisk in the butter one small piece at a time, making sure it melts into the mixture completely before adding the next piece.
- Cover with plastic wrap (make sure the plastic wrap is touching the surface of the pastry cream to prevent a skin forming) and refrigerate for at least two hours. I like to make this the day before and let it sit overnight, but it can be used after 2 hours.
Make the Donuts
- Pour the milk, melted butter, egg and yeast into a bowl or jug, stir together and let sit for 10 minutes so the yeast can foam up.½ cup Whole Milk, 1 Egg, ⅓ stick Butter, 1 pack Dry Yeast
- In your mixer bowl, combine the flour, sugar and salt. I use a stand mixer with a dough hook attachment, if you are doing this by hand, see blog post above for details on how to make this recipe by hand.2 ½ cups All-purpose Flour, ¼ cup White Sugar, ½ teaspoon Salt
- Start the mixer with the dry ingredients on low, then slowly add in the foamed up milk/yeast mixture. Once it is all in, turn the mixer up to high speed and let mix for 3 minutes.
- After 3 minutes, tip your dough out onto a floured work surface to finish it off by hand. It will still be very soft and sticky, but if it is too sticky to get out of the bowl, add 1 tablespoon more flour and mix for another minute. I find a bowl scraper the best tool to make sure you get all the dough out of the bowl.
- Knead the dough a little by hand, just until it is smooth and can form into a nice ball without sticking to your hands.
- Form a smooth ball with the dough and place it into an oiled bowl. Cover with plastic wrap and let prove on the counter for two hours. It should rise up nicely and about triple in size.
- After two hours, tip your donut dough out of the bowl and back onto the floured work surface - it will deflate substantially, don't worry this is normal!
- Roll the dough out with a rolling pin to about 1-inch thickness. Use a round cookie cutter to cut out donuts and place on a cookie sheet lined with parchment paper.
- Cover the tray of donuts loosely with plastic wrap and let prove for another 45 minutes.
- In the last 10 minutes of the 45-minute proof, you can start to prepare your frying oil. Pour at least 2 inches of oil into your saucepan and heat to about 350°F / 180°C.Oil for frying
- Gently place your donuts into the oil*, they should start bubbling at the sides. I like to do only 2 or 3 at a time, depending on the size of the saucepan. They fry super fast and this allows you to have more control.
- Allow the donuts to bob around and fry for a minute or two, checking the underside from time to time. Once the underside looks golden brown, flip the donut and fry the other side until the color matches. As there are so many variables (oil temperature, donut size etc) it is impossible to give you an exact time to fry the donuts for - you really have to do it by eye and see when they look ready.
- Once both sides are golden brown, scoop the donuts out with a frying spoon or spatula (something that is resistant to the heat, e.g. metal), and lay them on a wire rack lined with paper towels. The paper towels will soak up the excess fat.
- Once the donuts look dry, but are still hot, roll them in a bowl of white sugar to coat entirely, then let continue to cool.
- Once donuts are completely cool, use a long thin object (like a metal straw) to poke a hole in the side of the donuts and move it around to create extra space for your custard - we want these babies to be FULL of custard, so you need to give it somewhere to go.
- Put your custard in a piping bag with any kind of nozzle, then push the nozzle into the hole you created earlier and squeeze gently. You will feel the donut start to feel heavy, which means it's full of delicious custard! Pull the nozzle slowly out of the donut, leaving a pretty little blob of custard on the outside to show the delicious custard filling.
Notes
Custard Notes:
Make sure you whisk constantly while your custard is on the heat - if you let it sit you will end up with lumps of egg or burnt pastry cream!
When your pastry cream is ready, you will be able to coat the back of a spoon and run your finger through it to make a line - the line will not fill in, it should stay visible. This means your pastry cream is cooked enough.
If left to develop overnight, the custard has a much richer flavor - if you have time I highly recommend this!
Donut Notes:
It can be helpful to cut the parchment paper under the proofed donuts into little squares to help you slip the donuts into the oil without getting finger dents in them. Slide the parchment paper and donut onto a frying spoon or spatula (something that can withstand the heat of the oil - e.g. metal) and then slowly lower it into the oil while holding onto the corner of the parchment paper - the donut will slip off into the oil without any marks or dents! It's an extra step and is not necessary - but it ensures better results!